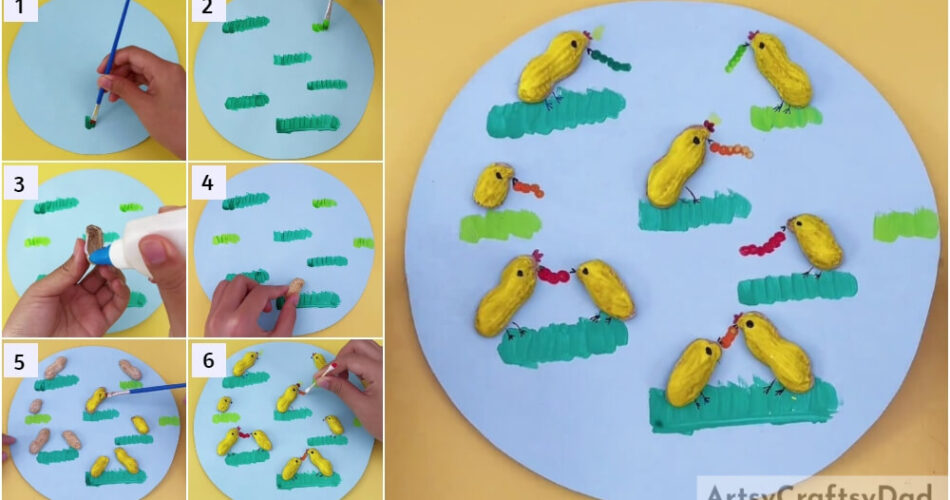
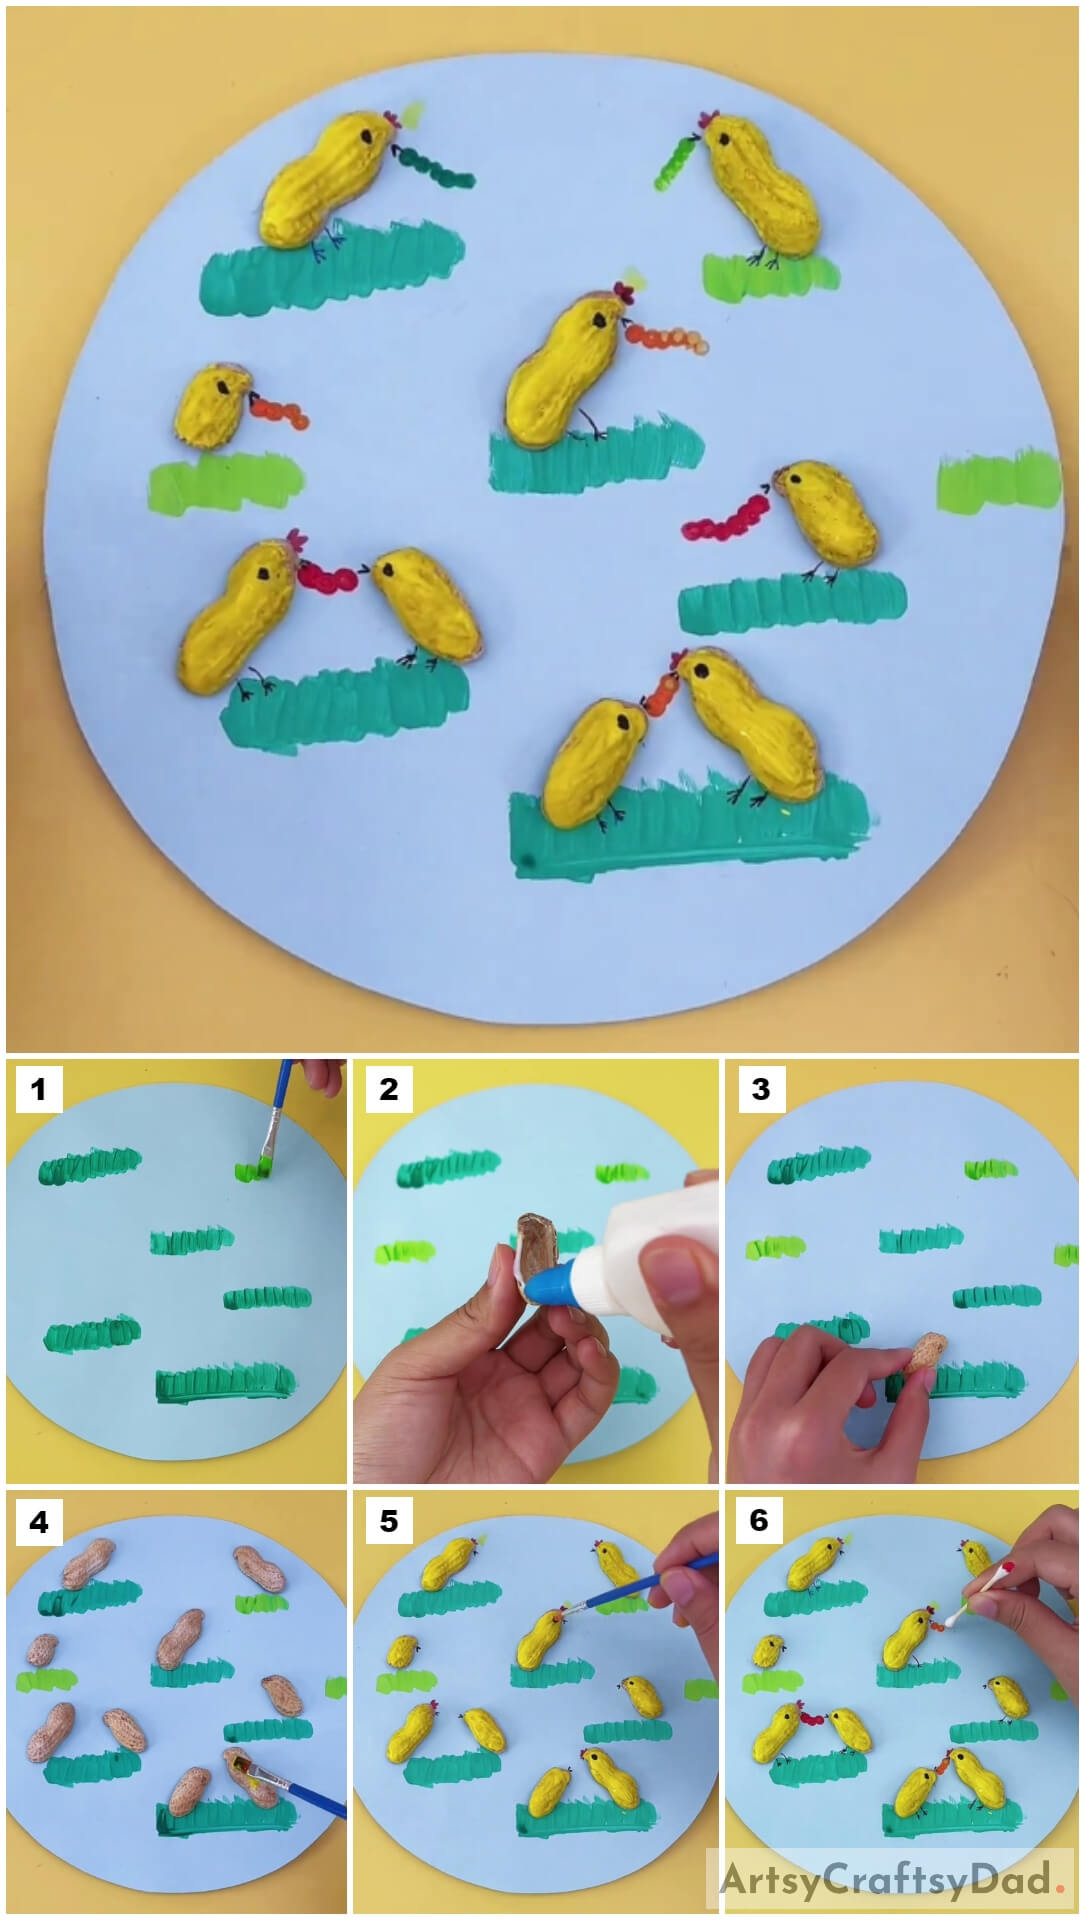
This step-by-step tutorial will help you to make your own peanut shell chicks craft effortlessly, which is suitable for kids.
Welcome! In this tutorial, we show you how to make your own peanut shell chicks craft with step-by-step instructions. This craft is appropriate for kids of all ages, using a few craft materials like acrylic paint, painting brush, construction paper, peanut shells, glue, black pen, and Q-tips, you can create this easy craft with less effort. Let’s get started!
Adorable Peanut Shell Chicks Craft For Kids
Must Read: Easy Town Landscape Drawing Tutorial For Kids
Supplies & Tools
- Construction Paper (any color)
- Acrylic Paint and Painting Brush
- Glue
- Peanut Shells
- Black Pen
- Q-tips
Chicks Craft Instructions
Step #1: Drawing Green Color Grass On Construction Paper
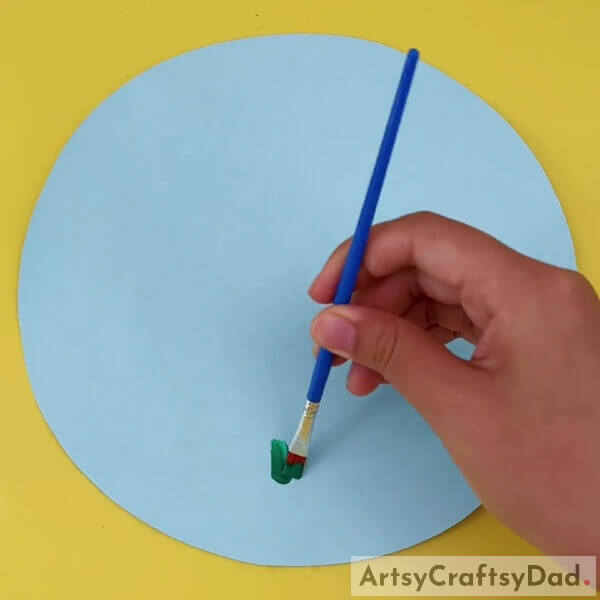
Grab your painting brush and dip it into your dark green acrylic paint, then closely draw some small lines to draw grass on your construction paper. Randomly draw five sets of dark green grasses on your paper.
Step #2: Drawing Light Green Color Grass On Construction Paper
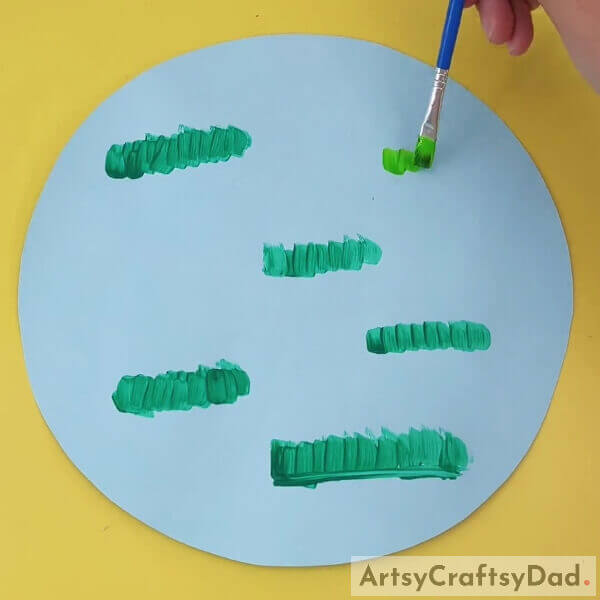
After finishing your dark green grass, wash your painting brush and dip it into light green color paint. Now draw three very small sets of light green color grass in between your dark green grass as shown in the image by using the same method.
Step #3: Applying Glue On Our Peanut Shells
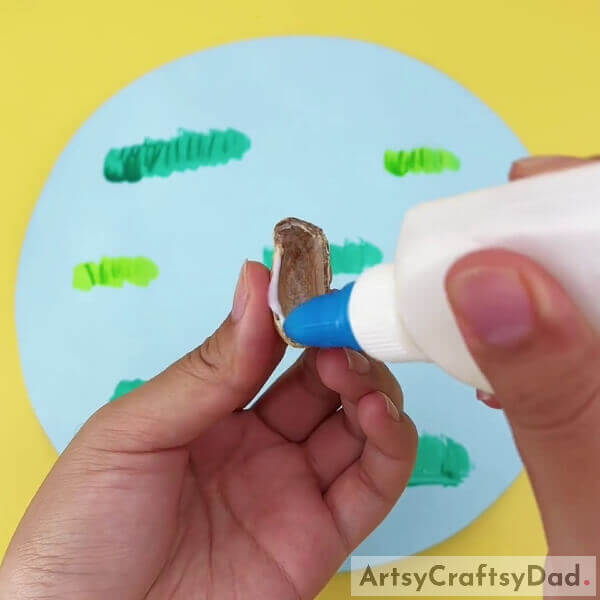
Take a medium-sized piece of peanut shell and apply some glue inside of your peanut shell as shown.
Step #4: Pasting Our Peanut Shell Above Grass
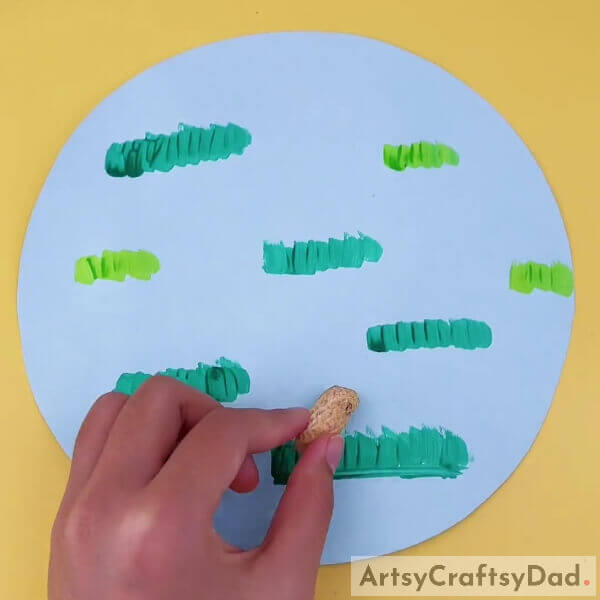
Now, paste that piece of peanut shell above the dark green grass on the left side as shown.
Step #5: Pasting Our Peanut Shell Above All Grass
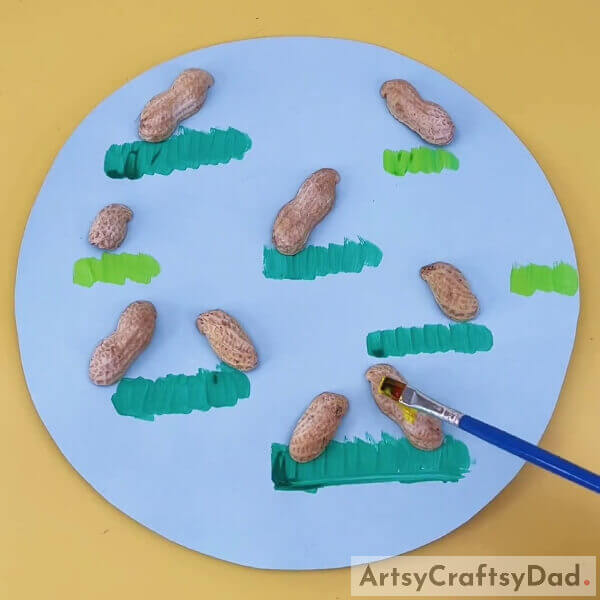
Take some more peanut shells and apply glue on them, then based on the length of the grass, paste one or two shells for each set of grass as shown in the image.
Step #6: Coloring Peanut Shells Using Yellow Color Acrylic Paint
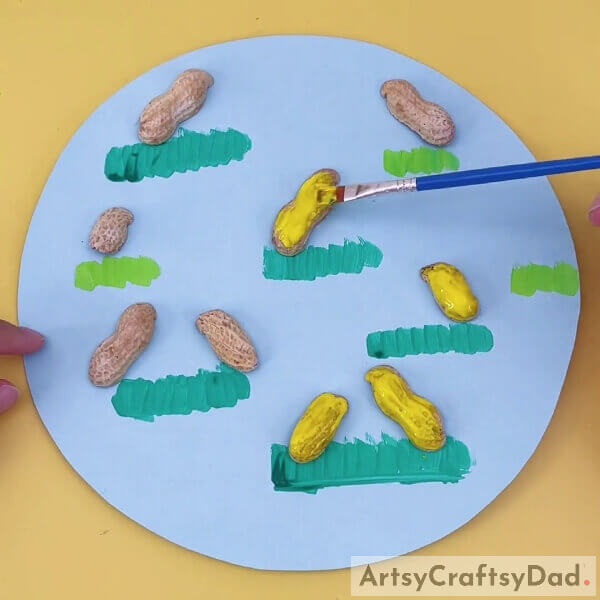
After glue dries, take yellow color paint on your painting brush and paint all those shells with yellow color, then let it dry.
Step #7: Drawing Peaks And Crown For Each Shell
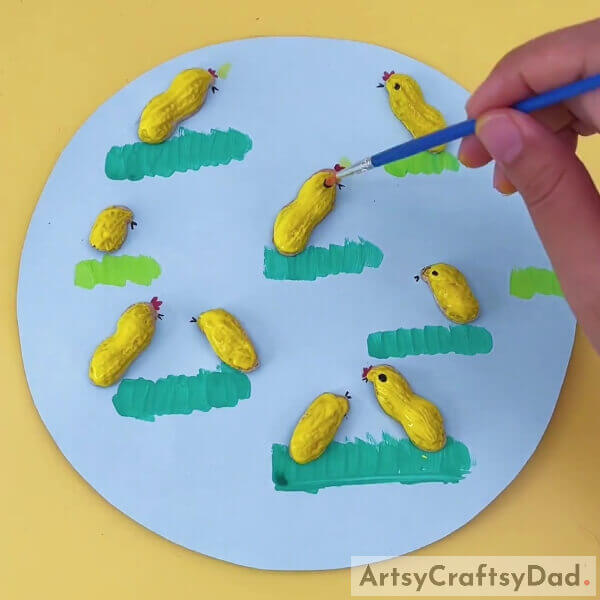
To make chicks, draw little crowns only for medium-sized shells using red color paint and with the use of a black pen draw a horizontal ‘V’ near the head for each shell as shown in the image to make the chicks peak.
Step #8: Putting Black Dot For Each Shell To Make Chick’s Eyes
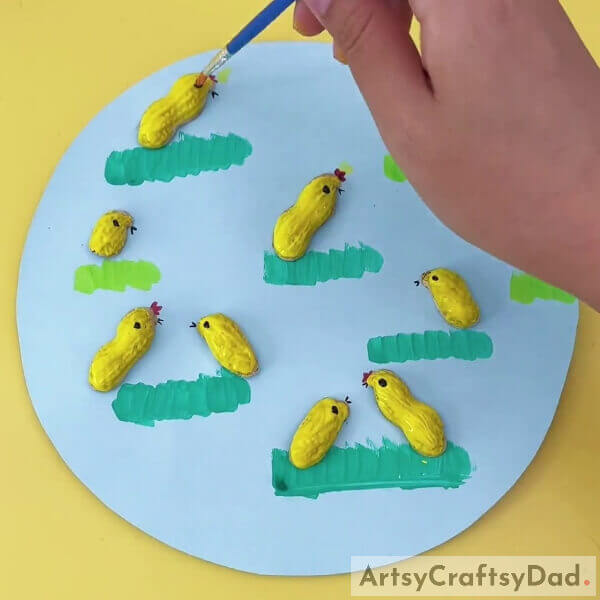
Take black color paint on your painting brush and carefully put one very small dot on top of all the shells to make a chick’s eyes.
Step #9: Drawing Worms Using Q-tips

Take one piece of Q-tip and dip it into orange color paint (you can choose any color that you like), put small dots near the chicks’ peaks like worms, and use a black pen to draw the foot for all the chicks.
Our Peanut Shell Craft Is Ready!

You can choose different colors to draw worms or use the same color for all worms, choosing different colors will make your craft look colorful. After completing your painting, let it dry and that’s all your easy peanut shells chick craft is completed.
We hope this tutorial will be useful for you, leave your thoughts about this tutorial in the comment section. For more easy craft and art tutorials like this, visit our website.
Thank you for visiting our website.
You May Also Like
- Clay Chicks In Garden Craft Tutorial
- Clay Snails On Leaves Craft Tutorial For Kids
- How to make coconut shell showpiece
- How to make pista shell bird for wall decoration
- How to make pista shell wall decoration – step-by-step
