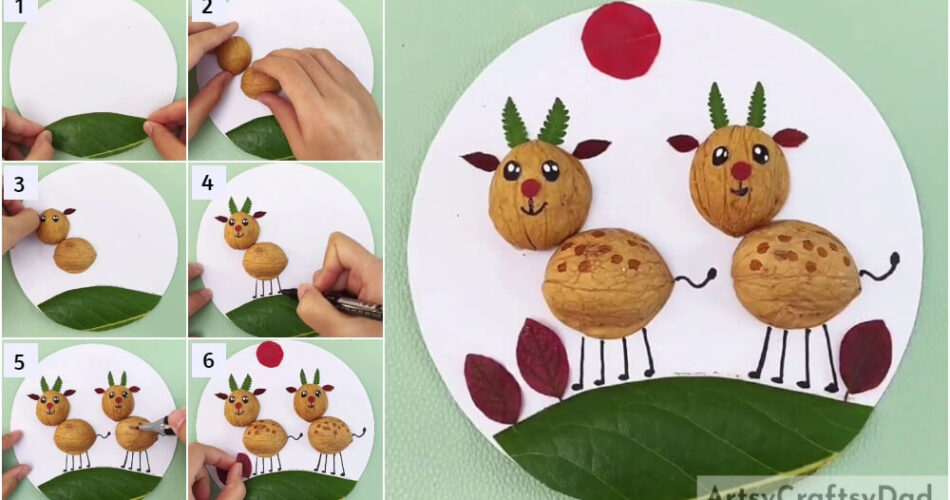
Make a natural scenery involving deer using natural supplies! This tutorial will help you to make this craft using walnut shells and leaves!
We knew you would come by! We have got an amazing craft for you today! This step-by-step tutorial will guide you on making a deer landscape using walnut shells and leaves! Amazing, right? Creating natural craft with natural supplies! This craft is suitable for kids and even beginners! You can make this craft easily with the help of our easy instructions on every step! Don’t throw away the walnut shells and the fallen leaves, you will create it with us right now!
Walnut Shell Deer Leaves Craft Tutorial
Must Read: Clay Chicks In Garden Craft Tutorial
Supplies & Tools
- White Paper Sheet
- Scissors
- Glue
- Leaves (Red And Green)
- Walnut Shells
- Black Marker
- Brown Sketch Pen
Deer Leaves Instructions
Step #1: Cutting Out The Ground Of The Craft
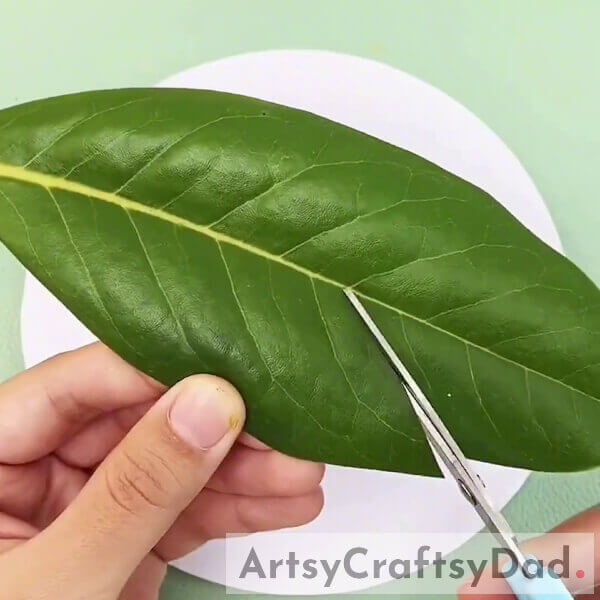
Begin this craft by taking a white paper sheet and cutting it down into a circle as the base of your craft, a leaf, and a pair of scissors. Using scissors, cut out a curvy ground from the leaf horizontally.
Step #2: Pasting The Ground On The Base
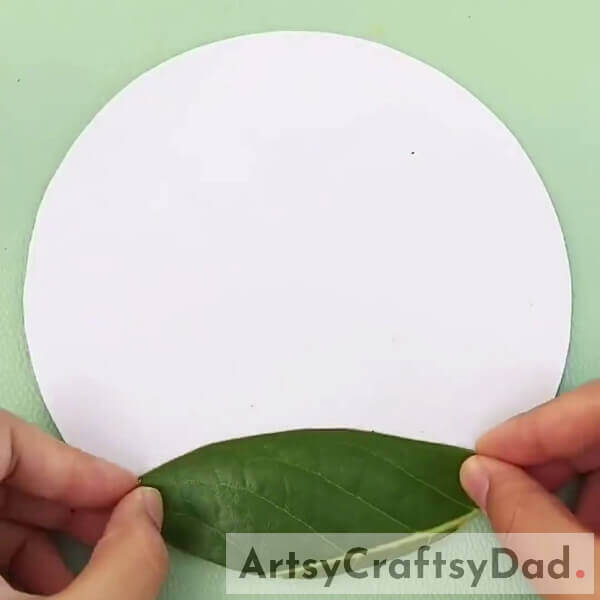
Paste the ground cut out on the bottom of the base using glue as shown in the image.
Step #3: Pasting Apricot Shells
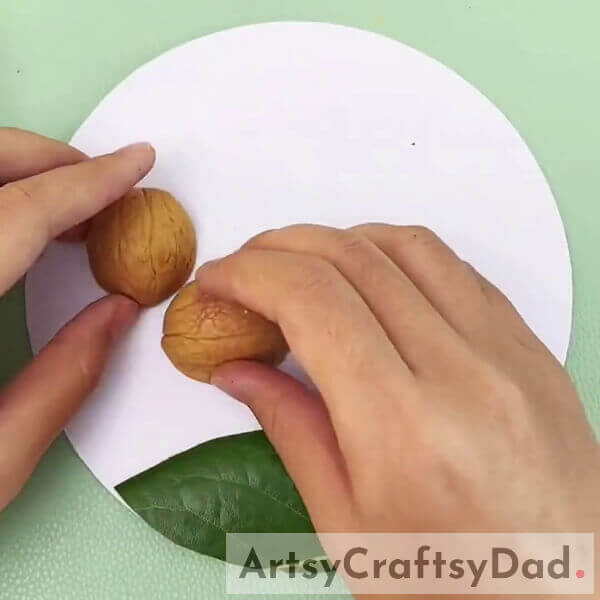
Now, take 2 halves of walnut shells and paste them onto the base on the left side making an ‘L’ of them above the ground using glue. These will form the body of the deer. See the image for reference.
Step #4: Making Eyes Of The Deer
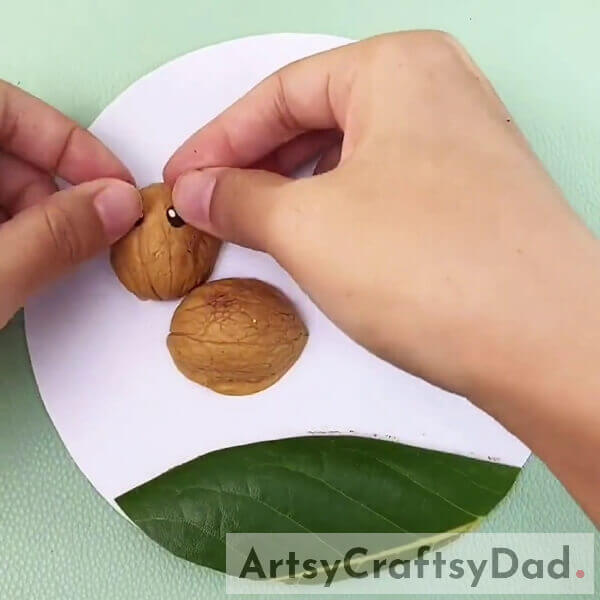
Using scissors, cut out 2 tiny circles from the white paper sheet as the eyes of the deer and color them out using a black marker, leaving 2 further smaller circles to look like the shine in the eyes. Paste these eyes side-by-side over the vertically stuck walnut shell which is the face of the deer using glue.
Step #5: Making The Ears Of Deer
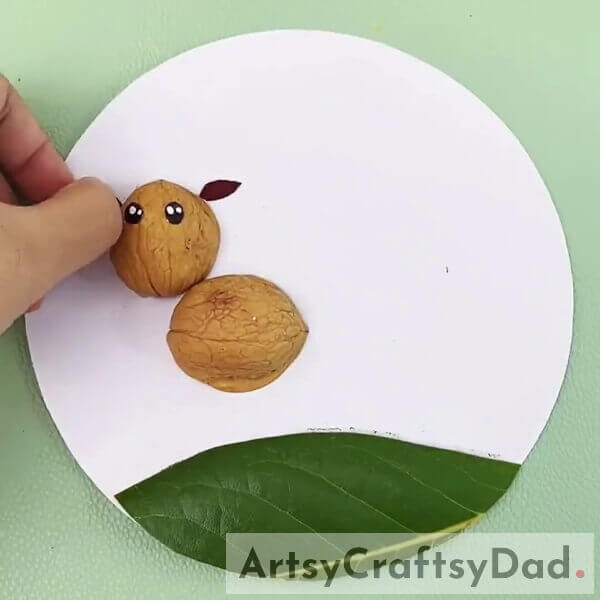
Using scissors, cut out tiny leaf shapes from a red leaf and paste them onto the base on the top sides of the face of the deer using glue.
Step #6: Making The Horns, Nose, And Smile Of Deer
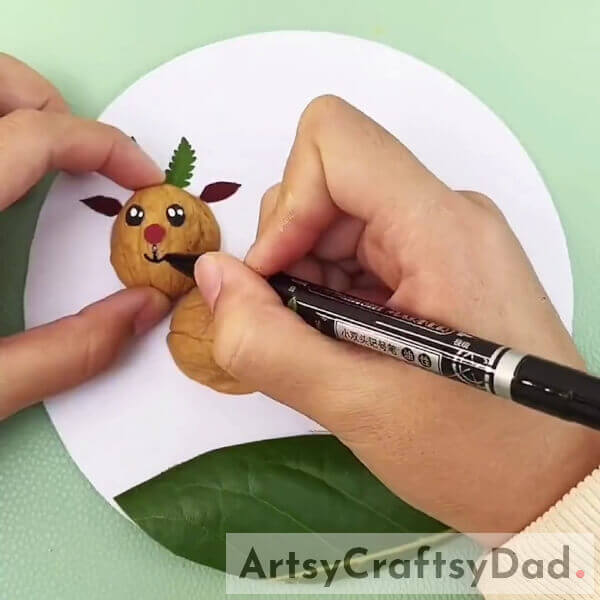
Cut out tiny horns for the deer from green leaves with curves on the sides as shown in the image. Paste these horns over the base above the face of the deer using glue.
Using scissors, cut out a circle from the red leaf and paste it below and between the eyes to make the nose of the deer using glue.
Using a black marker, draw a curvy smile below the nose with a small vertical line attached to the nose and smile.
Step #7: Drawing The Legs Of The Deer
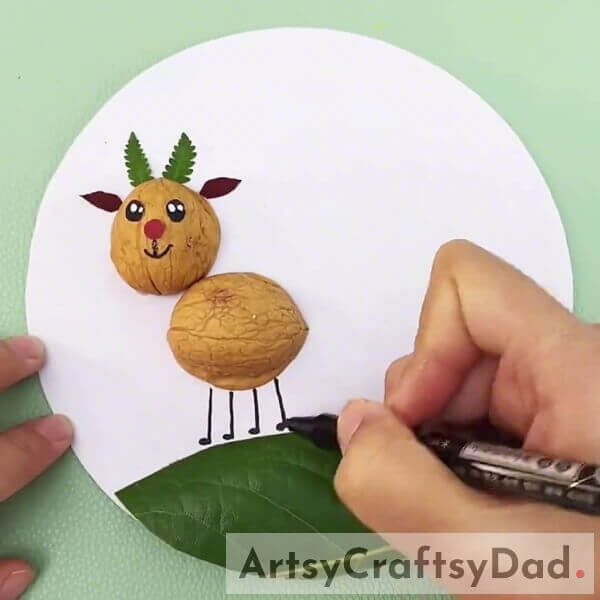
Using the black marker, draw the straight 4 legs of the deer beneath its body with knob-like tips of the legs above the ground.
Step #8: Making Another Deer And Their Tails And Texture
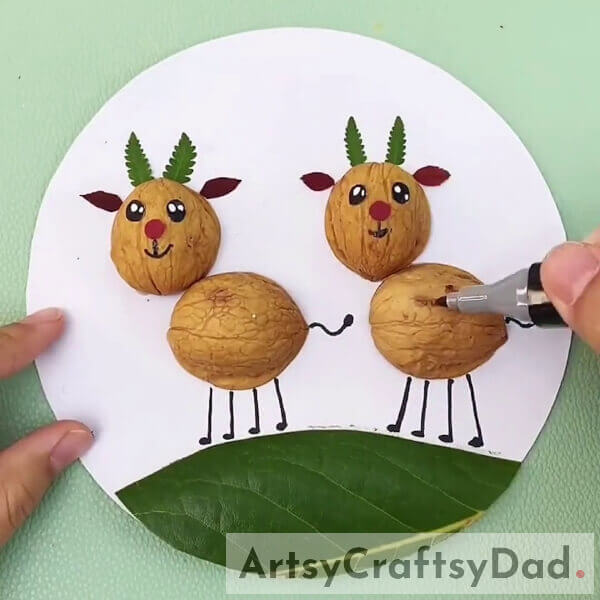
As you make the previous deer, make another deer on the right side of the base, following the all previous steps. Also, draw a wavy tail of these deer on their right side as shown in the image using the black marker. Also, using a brown sketch pen, draw the oval patches over the upper half of the body randomly to texture your deer as real ones.
Step #9: Adding A Sun In The Scenery
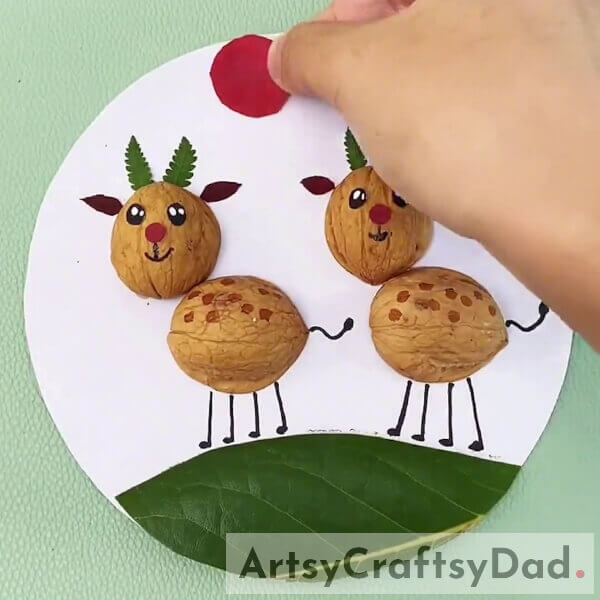
Cut out a circle from the red leaf as the sun and paste it over the top of the base using glue.
Step #10: Making Plants

Paste tiny red leaves above the ground vertically using glue. They will represent the plants above the ground.
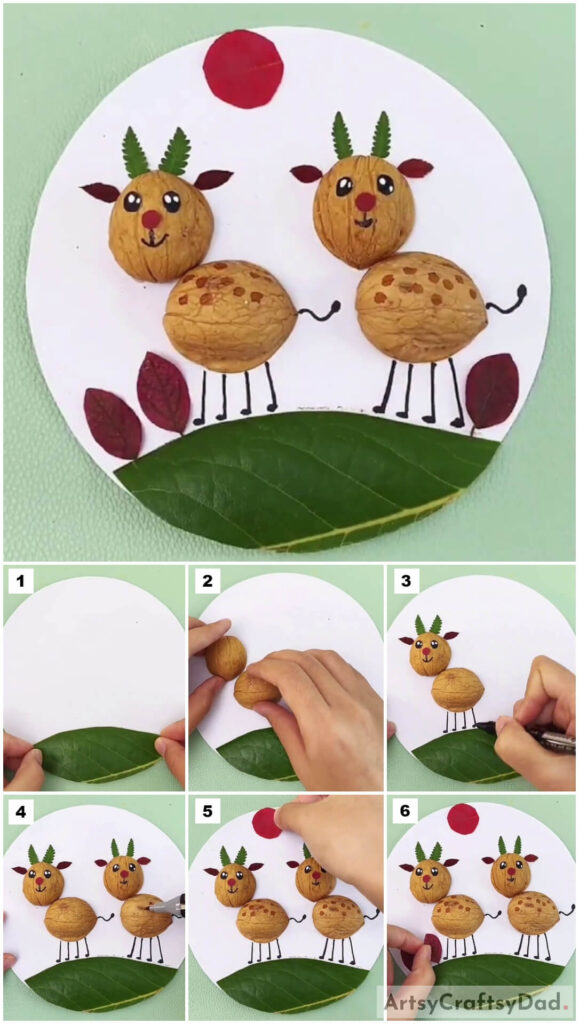
This Is The Final Look Of Your Deer Landscape!
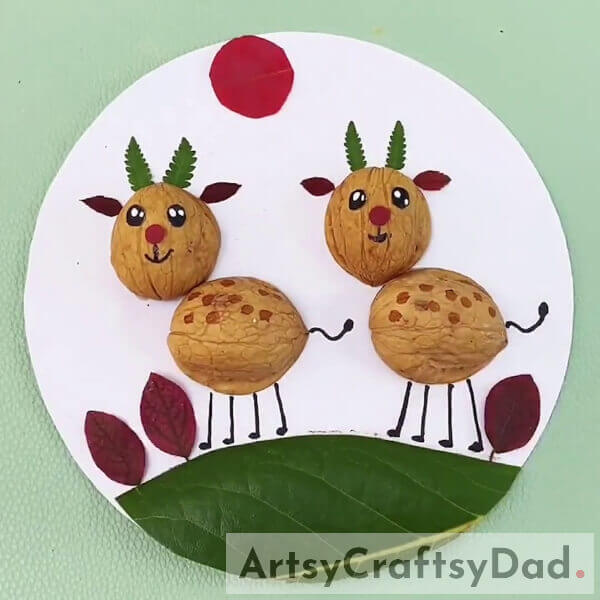
Tada! You have finally created your amazing deer landscape craft in no time!
You can now decorate this craft in your room or add it to your craft collection to make it more diverse and amazing! This craft will also thrive as the best-out-of-waste one! Show it off as a school craft project and see everyone being envious of your creation and you being the teacher’s favorite! You can also customize this craft by adding up more in the landscape behind the deer! Make it as unique as you are!
We are hoping you liked the article and the craft idea! Do give it a like and share it with your buddies! Also, drop your feedback in the comment section below!
You May Also Like
- Clay Snails On Leaves Craft Tutorial For Kids
- Easy Town Landscape Drawing Tutorial For Kids
- Clay Heart Leaf Tree Craft Tutorial For Kids
- Clay-Paper Sunflower Garden Craft Tutorial
- How to make coconut shell showpiece


