Learn how to create beautiful flower pots using the straw stamping technique with this easy-to-follow craft tutorial. Discover step-by-step instructions on how to paint intricate floral designs on terracotta pots using straws as stamps.
Welcome to our tutorial on straw stamping flower pot painting craft! This fun and creative activity is perfect for kids and adults alike who want to add a touch of personalization to their flower pots. Whether you’re looking to spruce up your garden or create a unique gift for a loved one, this tutorial will guide you through the step-by-step process of creating beautiful and vibrant flower pot designs using simple materials such as straws and acrylic paints. Collect all the necessary materials for this craft & start creating this beautiful flower pot craft by straw stamping.
Straw Stamping Flowers Creation Craft
Must Read: Lily Artificial Flowers: Plastic Straw Craft Tutorial
Supplies & Tools
- Craft Paper (White, Blue)
- Straw
- Earbuds
- Acrylic Paint (Red, Yellow, Green)
- Green Color Pen (Green)
- Scissors
- Glue
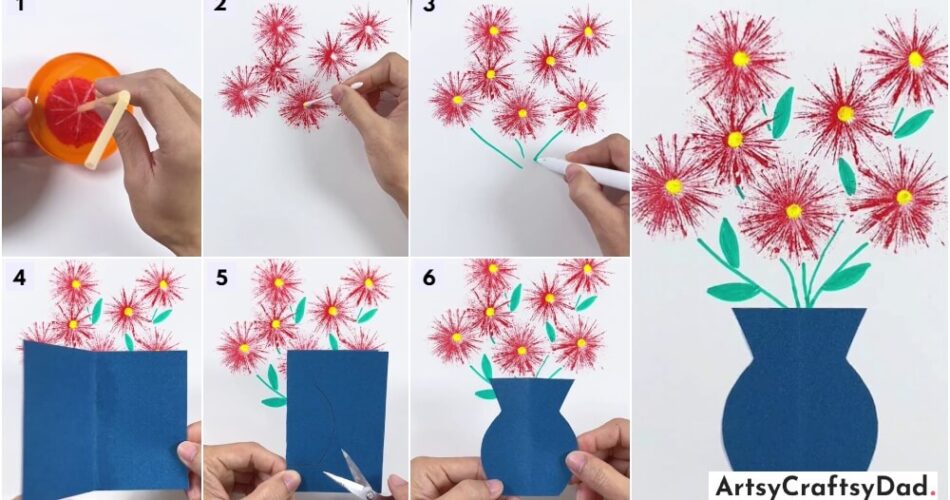
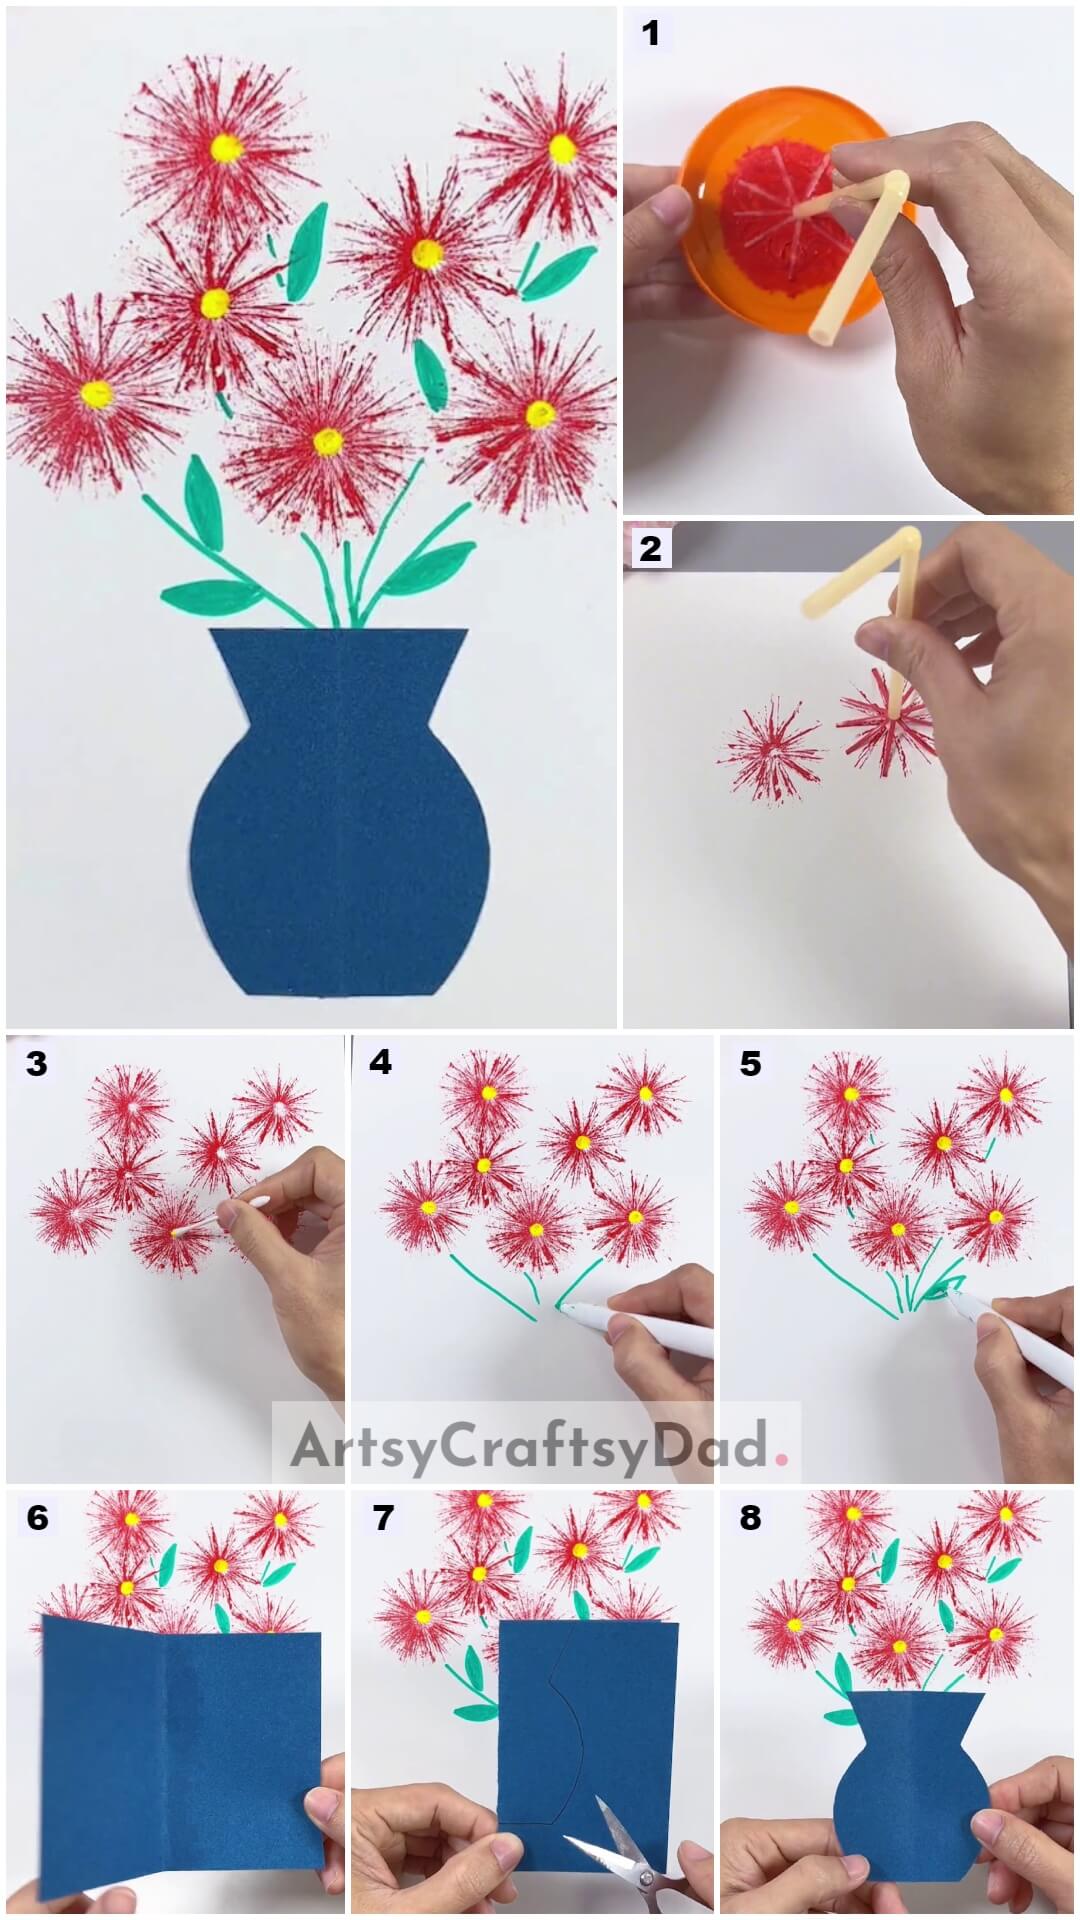
Stamping Flowers Pot Instructions
Step #1: Taking A White Paper And Straw
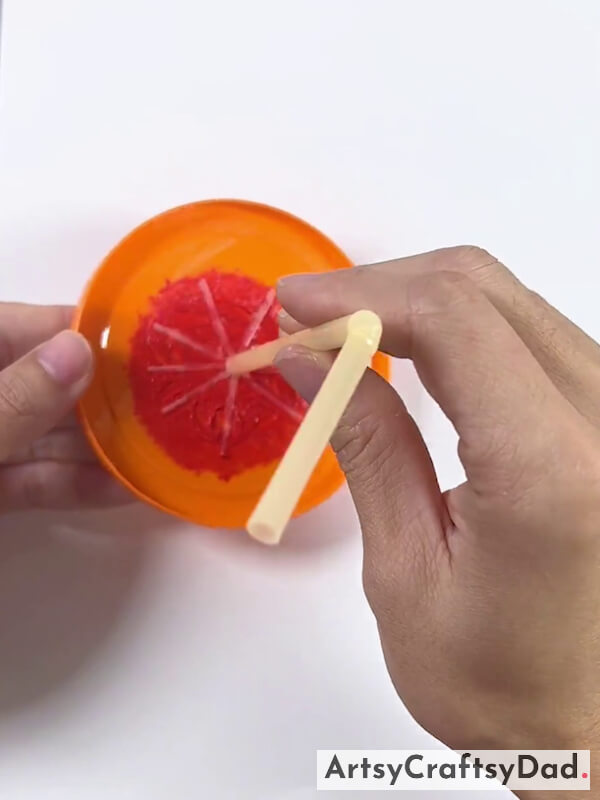
Firstly, we take a fresh A4 white craft paper as a craft base & a plastic straw. Then, make some vertical cuts on the bottom part of the straw using scissors. Then take red color paint & dip the straw cut part into it.
Step #2: Stamping Flower
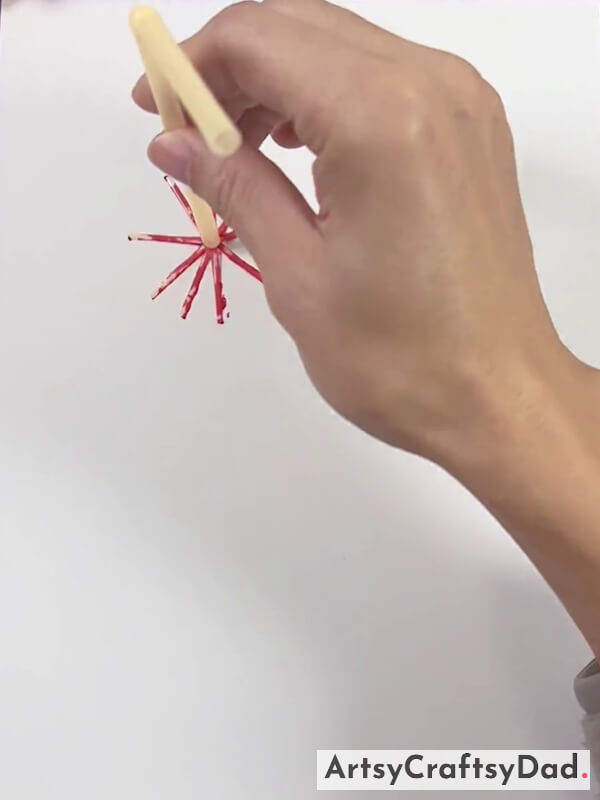
Now, imprint the flower with the help of straw on the craft base.
Step #3: Stamping One More Flower

Stamp one more flower on white paper by following the same steps.
Step #4: Drawing Flowers Pistil Part
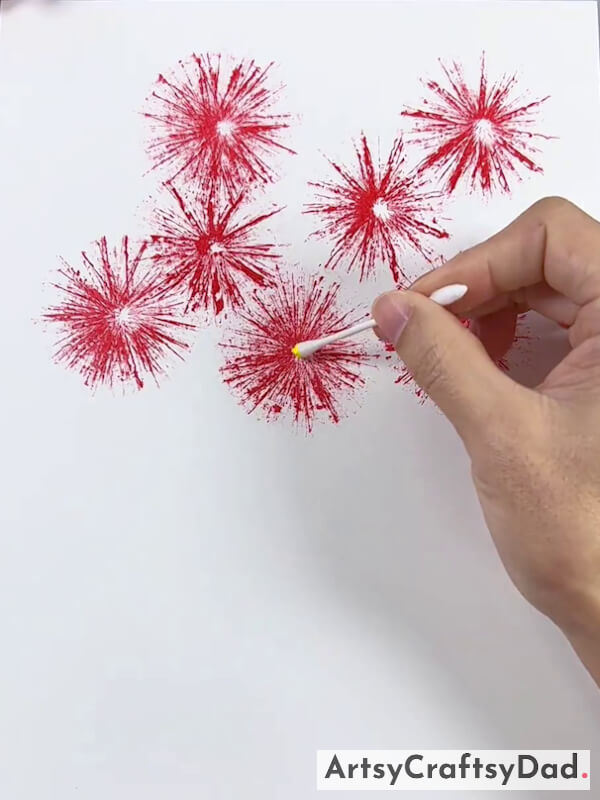
After creating the flowers now, fill the gap between the flowers. Take yellow paint & dip an earbud into it & then fill the flower center part called the pistil by drawing a yellow dot.
Step #5: Drawing Flowers Stems
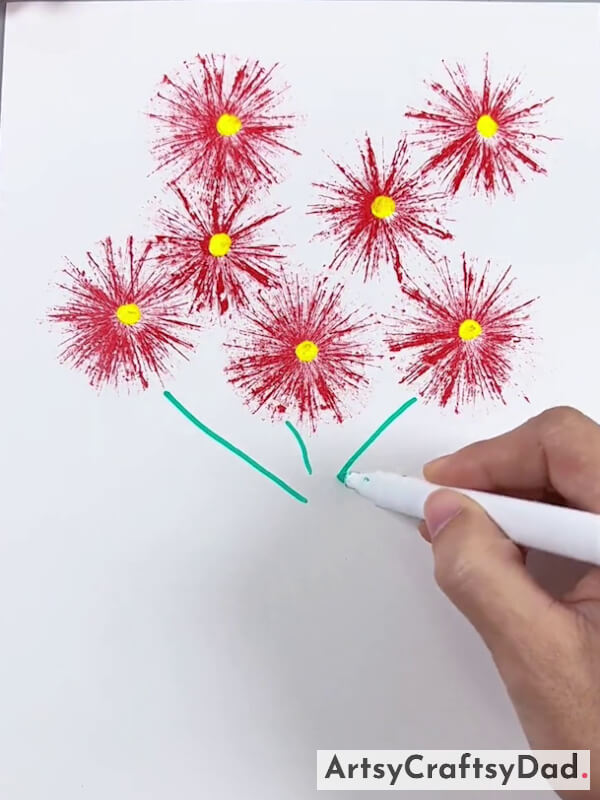
Draw yellow dots at the center of the flowers by repeating the same steps. Now, draw flower stems one by one using a green sketch pen.
Step #6: Drawing A Leaf
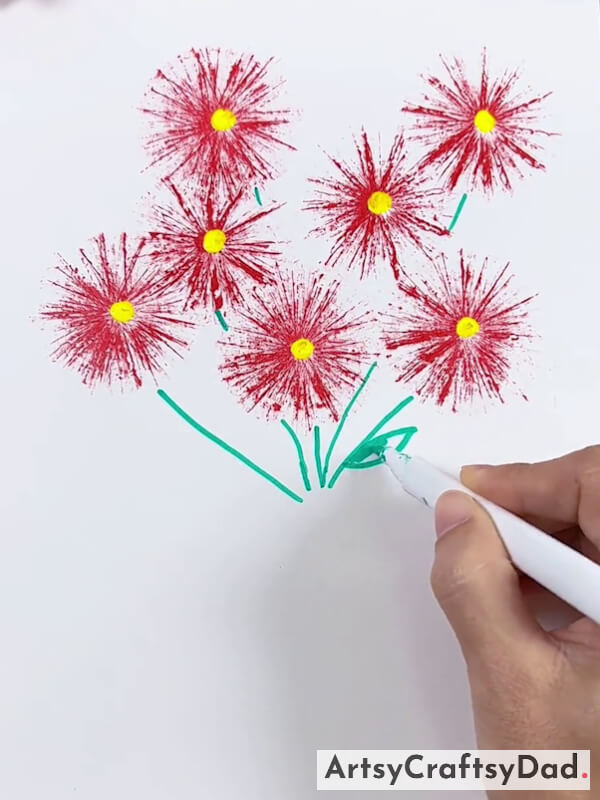
After drawing the stems, draw a leaf around the stem using a green sketch pen.
Step #7: Completing Drawing Leaves
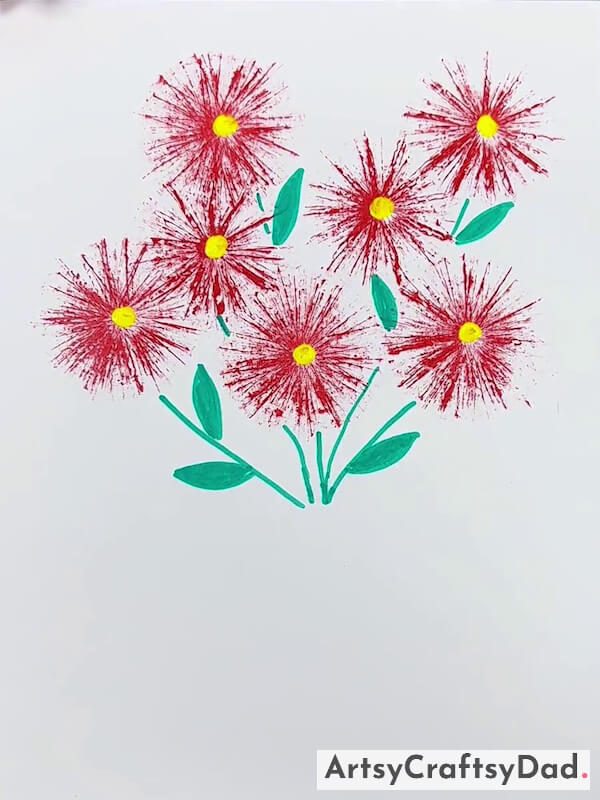
In this step, complete drawing all leaves around all the stems by following the same process as we mentioned above.
Step #8: Taking A Craft Paper
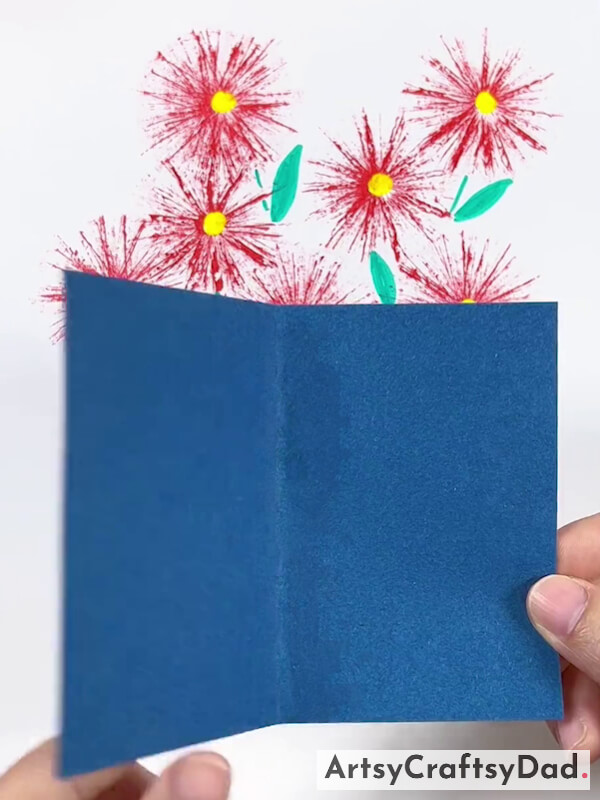
After completing the flowers and flowers stems, and leaves, take a piece of blue craft paper & fold it vertically half from the center to make creases. Then unfold the paper.
Step #9: Drawing Half Flower Pot
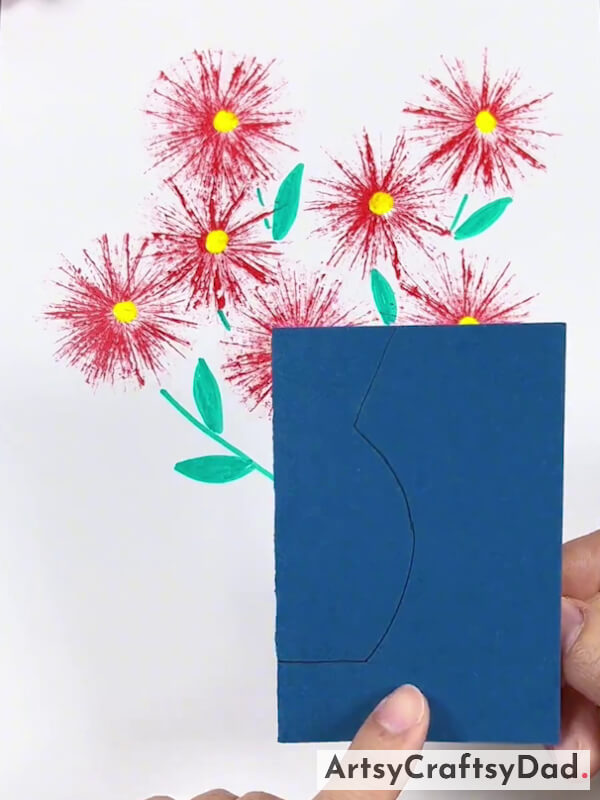
Now, fold the paper again & draw a half flower pot on craft paper using a black sketch pen.
Step #10: Cutting Flower Pot Outline
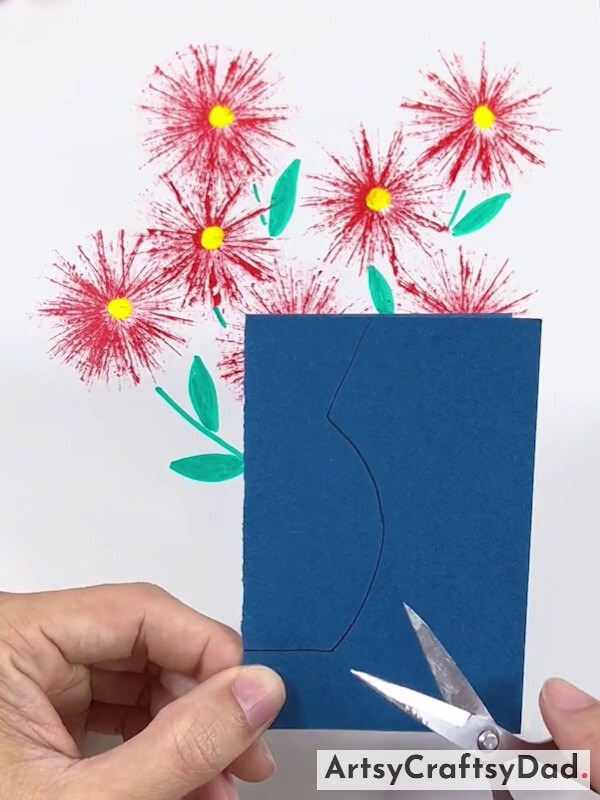
Now, cut the flower pot outline that we drew using scissors.
Step #11: Unfold The Flower Pot Cut Shape
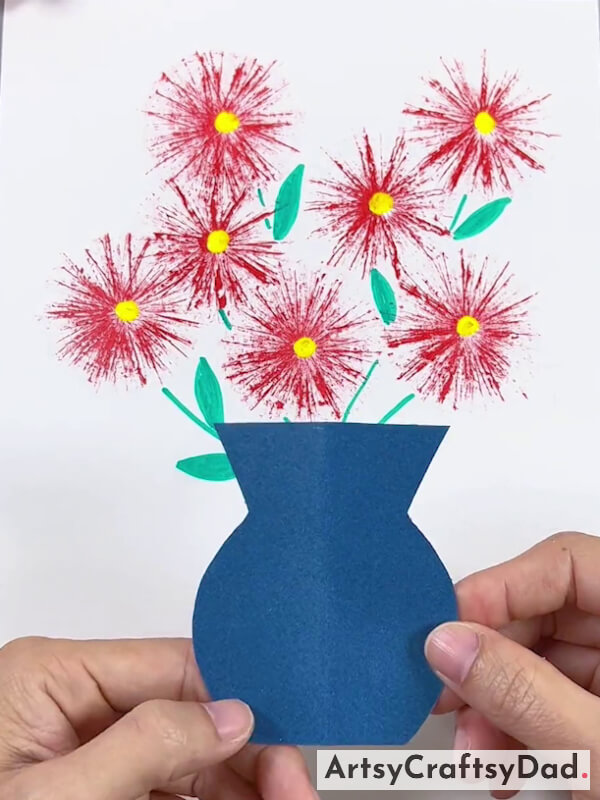
Now, unfold the flower pot shape that we cut in the previous step.
Our Straw Stamping Flower Pot Is Completed Here!
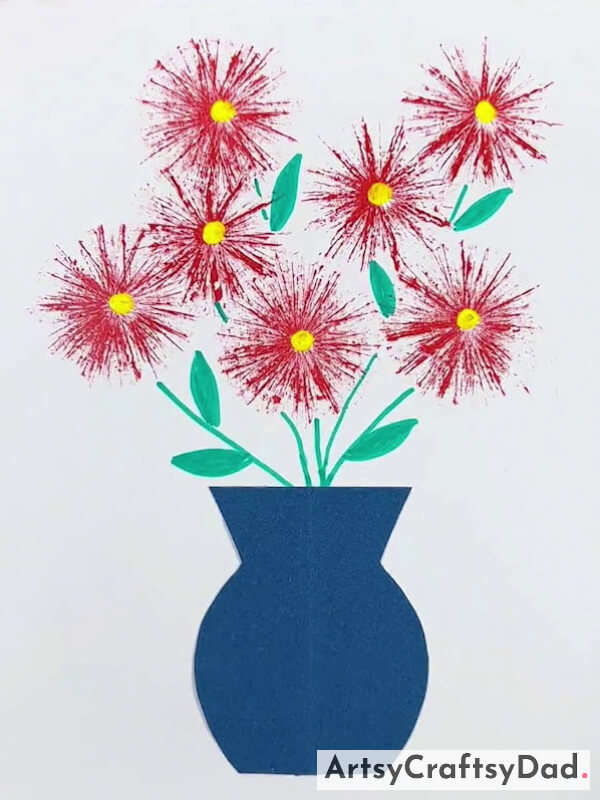
Here we complete our stamping flower pot by pasting the paper flower pot over the flower stems using glue.
Hurry, our gorgeous straw stamping flower pot craft is finished here. Straw stamping is a simple and creative technique that can be used to transform ordinary flower pots into beautiful works of art. You could show off this craft that you made from your hand to your friends. Please drop your feedback in the comment section because we love to hear your thoughts on this craft & will make more crafts by remembering your thoughts & ideas in mind.
Thank you for visiting our website! Don’t stop on this craft try some other types of crafts also.
You Might Also Like This
- Red Vector Flowers Stamp Painting Art Tutorial For Kids
- Balloon Stamping Painting Ideas
- Cherry Flowers In Pot Painting Step-by-Step Tutorial
- Plastic Straw Lavender Flower Craft Tutorial
- Cycle Model: Paper Cup & Plastic Straw Craft Tutorial

