Looking for a beautiful and easy way to make some lavender flowers at home? Well, you have come to the right place. Follow the tutorial and you are done.
This is a Plastic Straw Lavender Flower Craft Step-by-step Tutorial. It is apt and suitable for kids of ages around seven and above. This will be a nice creative outlet for the kids. Adults can make it too. This could be something new for the kids. They would be astonished to see how they can make lavender flowers out of plastic straws. This will also allow them to think of similar ideas and enhance their creativity and imagination.
DIY Plastic Straw Lavender Flower Craft
Must Read: Beautiful Clay Flower Vase Craft Tutorial For Beginners
Tools & Supplies
- Dark Green Colored Ribbon
- A Purple-Colored Plastic Straw
- ALight, Green-Colored Plastic Straw
- A Pair Of Scissors
- A Double-Sided Tape (Really Thin)
- A Dark Green Colored Stick
- A Greed-Colored, Textured Sheet Of Paper
- Black Pen
Straw Lavender Flower Instructions
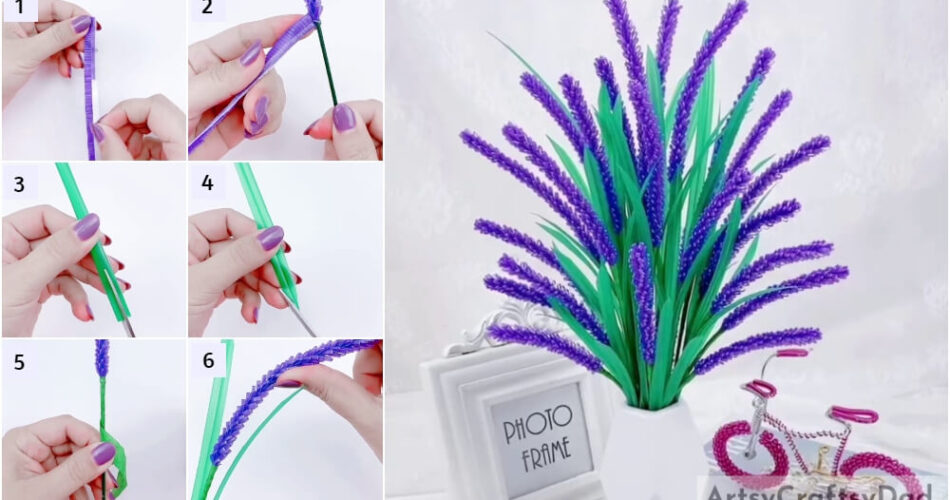
Step #1: Start With Gathering The Materials We Will Initially Require
Start the first step by gathering the materials that you will need at the beginning of its making. Get a purple-colored plastic straw and a pair of scissors.
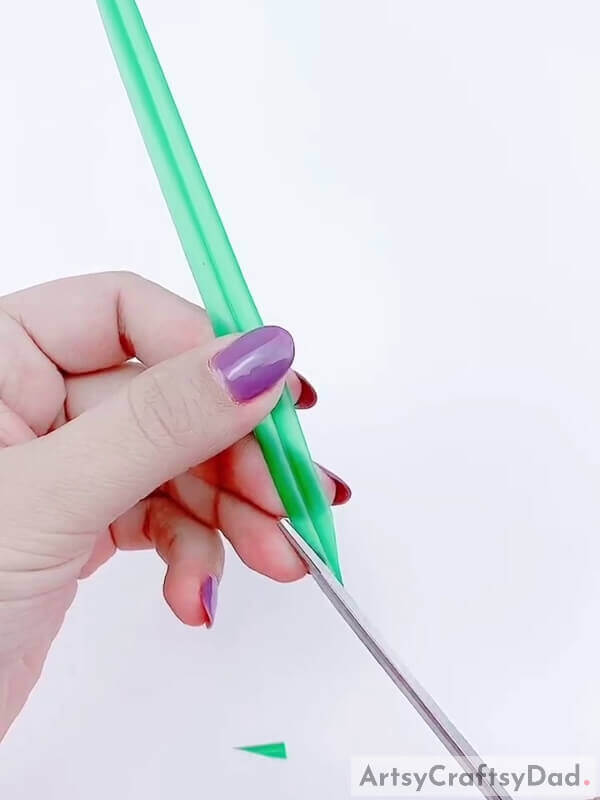
Step #2: Cut Out Little Stripes Using A Pair Of Scissors
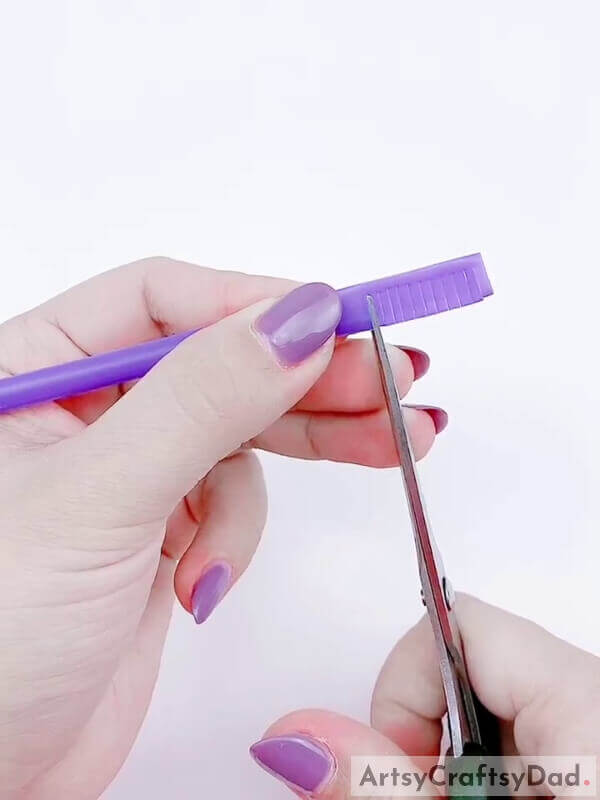
Now, flatten the straw a bit from its initial round shape. It will make it easier to cut. Leave a little gap at the end and cut little stripes on the straw. Do not cut it completely. The stripes must not be separated from the straw. And the gap must remain even and equal.
Step #3: Stick A Thin Double-Sided Tape On The Uncut Area
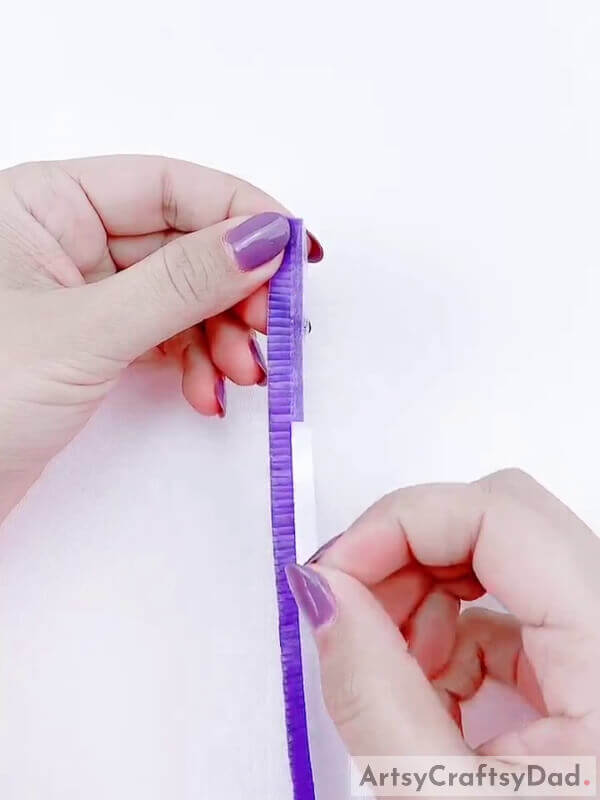
After you are done with cutting, get a double-sided tape. Cut a thin strip of the tape and leave the cover on the other side as it is. It will come into use later on. Now, place the tape on the portion that remains straight as a line, untouched, uncut. Make sure that the breadth of the tape matches the breadth of the uncut area.
Step #4: Start To Wrap The Plastic Straw Around The Stick
Take a dark green colored stick. It must be thinner than the usual plastic straw. Now, uncover the taping area which was left as it is. And carefully begin to wrap it around the green stick. Use the above-presented image to get a much better idea.
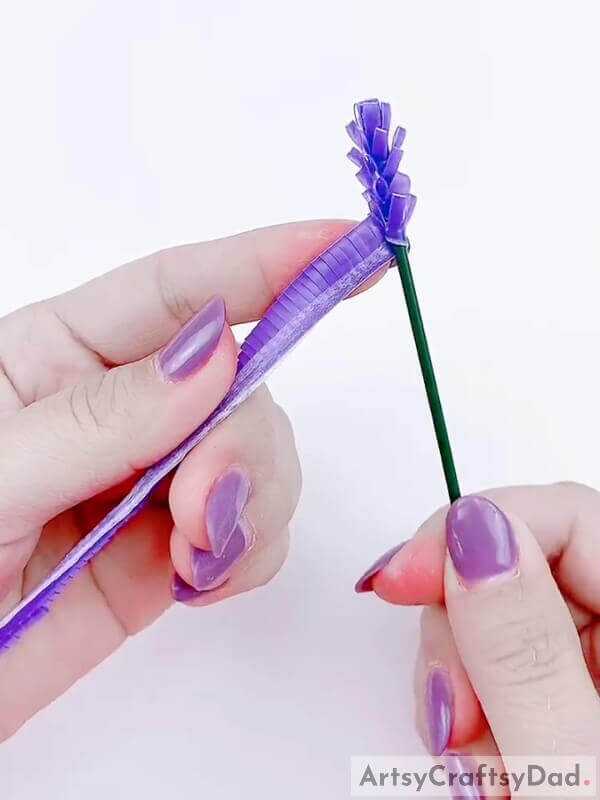
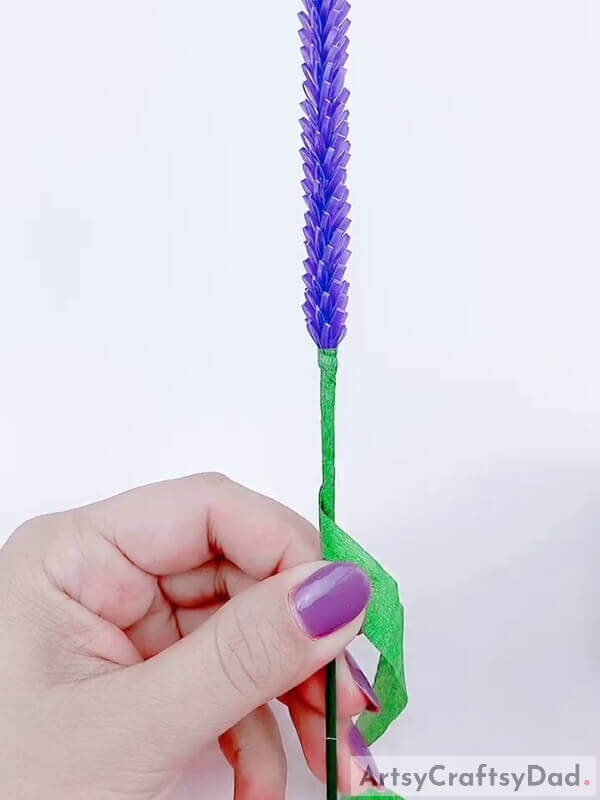
Step #5: Continue Wrapping The Plastic Straw
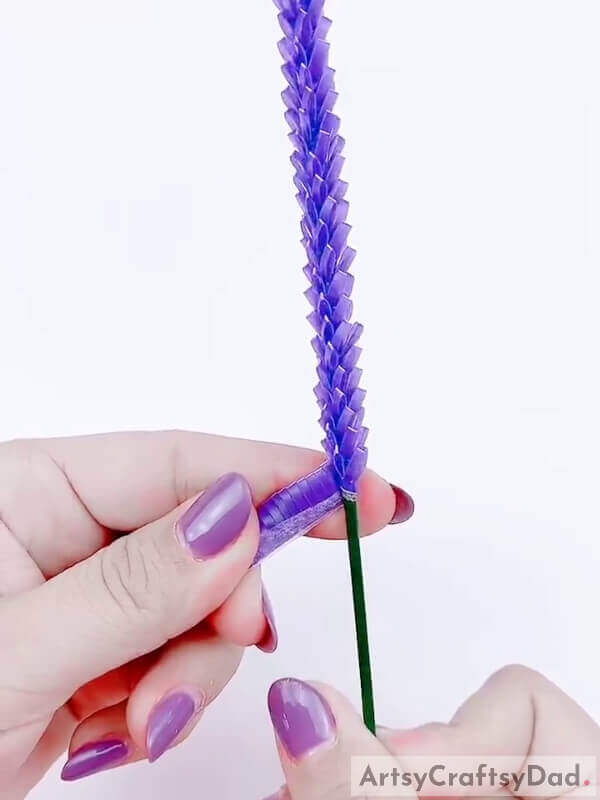
Continue wrapping it around the stick and see that you get the same pattern as in the image above. Do not wrap it completely towards the end. Leave some space to add the leaves and other things.
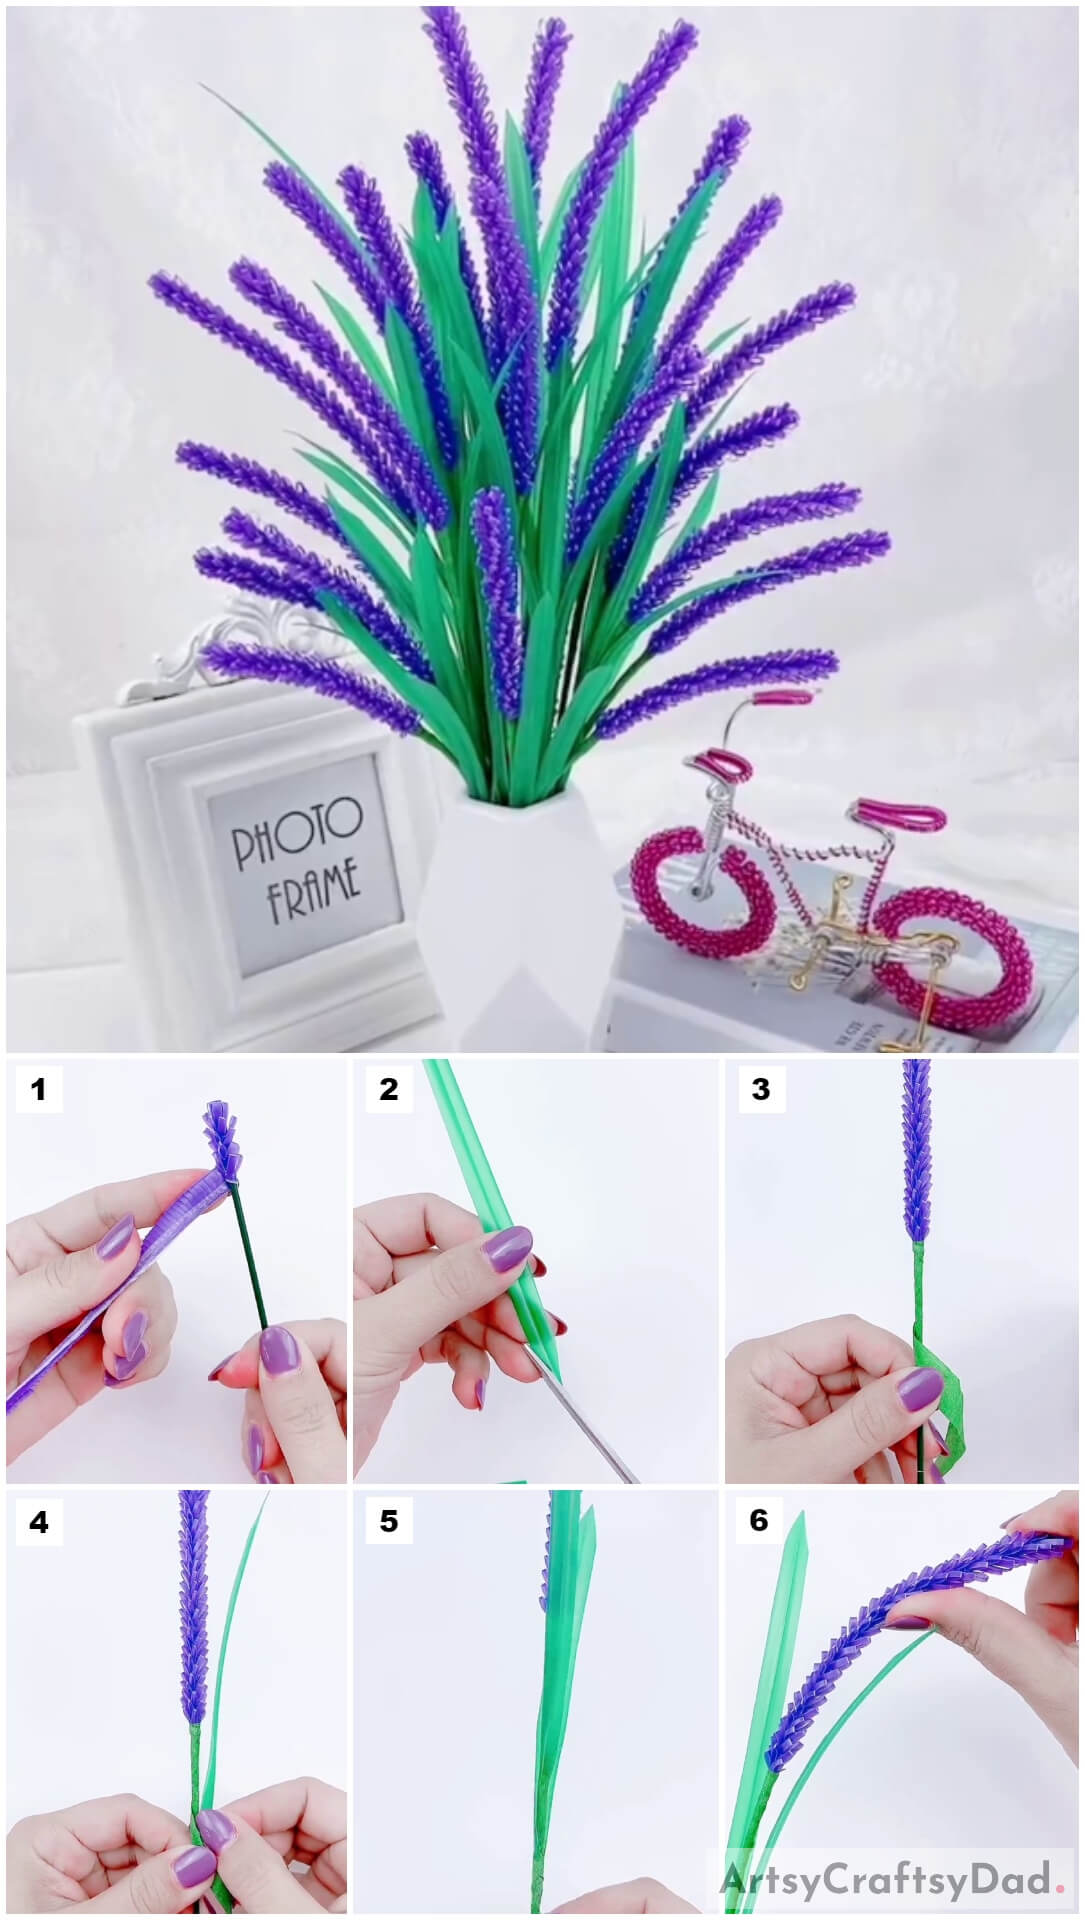
Step #6: Take A Light Green Plastic Straw And A Pair Of Scissors
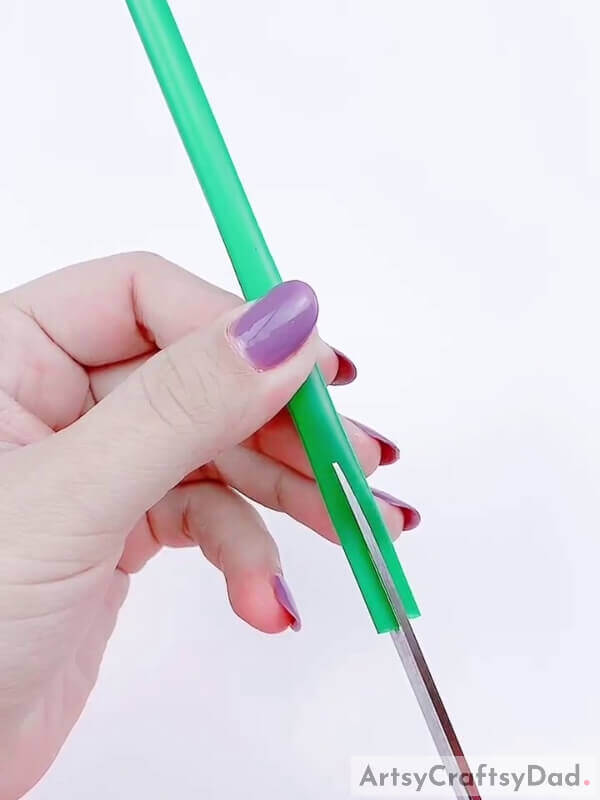
Take a dark green colored plastic straw and a pair of scissors. Cut the straw a little bit into halves from one end. Take a look at the above-presented reference image to come to a better understanding.
Step #7: Cut It Diagonally Towards The End To Make It Pointed
After cutting it from the middle as in the above image, Make the edges of that same side, pointed. Look how precise the cutting is. Try to be careful and accurate to get the same needly pointy, tip, and equal from both sides.
Step #8: Wrap The Light Green Colored Ribbon Around The Stick
Take a dark green colored shiny ribbon. It must not be too thick. Look at the image portrayed above; it will surely guide you. Also, get the lavender flower stick back again. Now, wrap the ribbon strip slowly around the stick, that is the stem. Wrap it around the portion that is empty and does not bear lavender petals. Do not fold it completely though, just around the midway.
Step #9: Add The Light Green Colored Straw To Get The Leaf
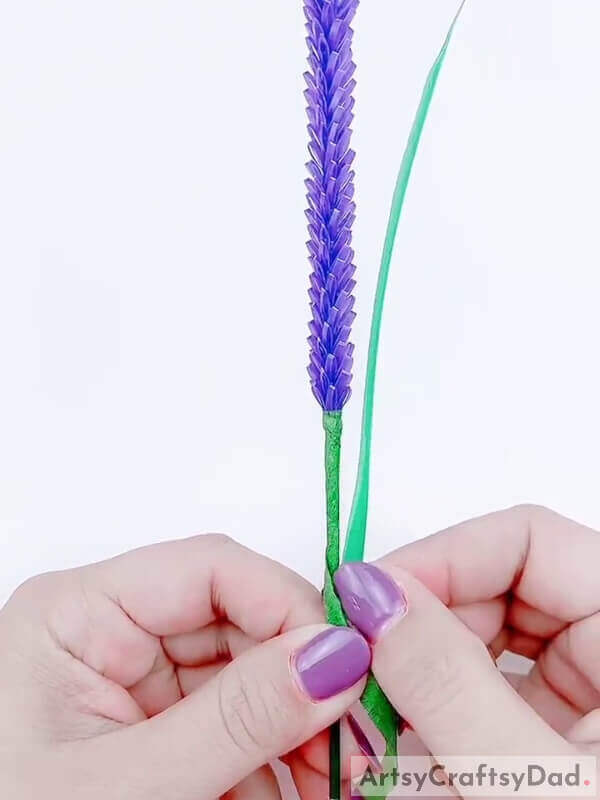
Grab the partially cut green-colored plastic straw. Insert the stick (stem) into it. They will form the leaves. Take the help of the above visual presentation. It will provide you with a better idea.
Step #10: Now Wrap It Fully To Hold The Leaves
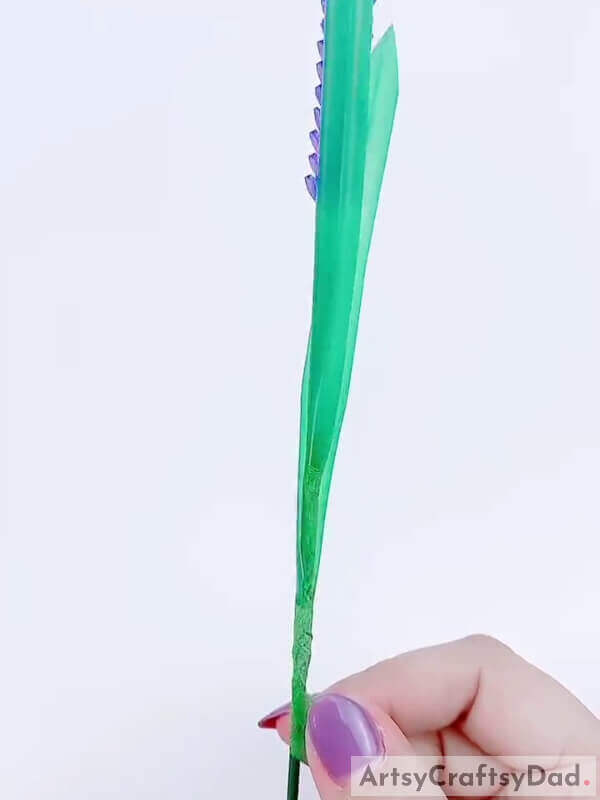
After placing the leaves right, keep wrapping the ribbon around. It will hold the leaves right and give them support and grip. This will give a very realistic effect.
Step #11: Give It Some Last, Finishing Touches Before The Final Look

Well, this is, however, the last step before the final reveal. In this step, give the final touches. Like, tilt the lavender from the middle, but just a little, and do that with complete delicacy. Otherwise, it will bend. This will make it seem real. It is just a little detail, but it adds to the overall impression and the appearance. Check for other details and make sure everything is done right. If you find a fault, fix it. And we are done.
Final Image: Voila! The lavender Flowers Made Out Of Straws Look Like
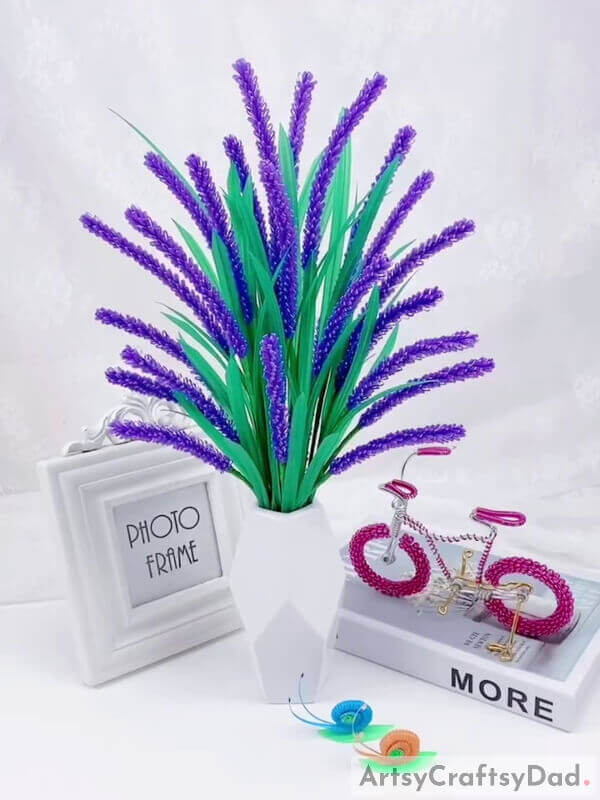
So, this is the final and ultimate look. You can use the same or similar procedures and techniques to make a variety of flowers. You can decorate your home with these flowers by placing them in a vase. It will look absolutely fabulous. For more art and craft-related content, be it ideas, tutorials, articles, suggestions, etc., check out the main website.
Thank you for your time and support.
You May Also Like
- Cycle Model: Paper Cup & Plastic Straw Craft Tutorial
- Recycled Flower Basket: Fruit Foam Net & Plastic Bottle Craft Tutorial
- Colorful Lavender Garden Night Painting
- Clay Flower Pot Model Craft Tutorial For Kids
- Paper Pinwheel Flower Craft Tutorial For Kids


