
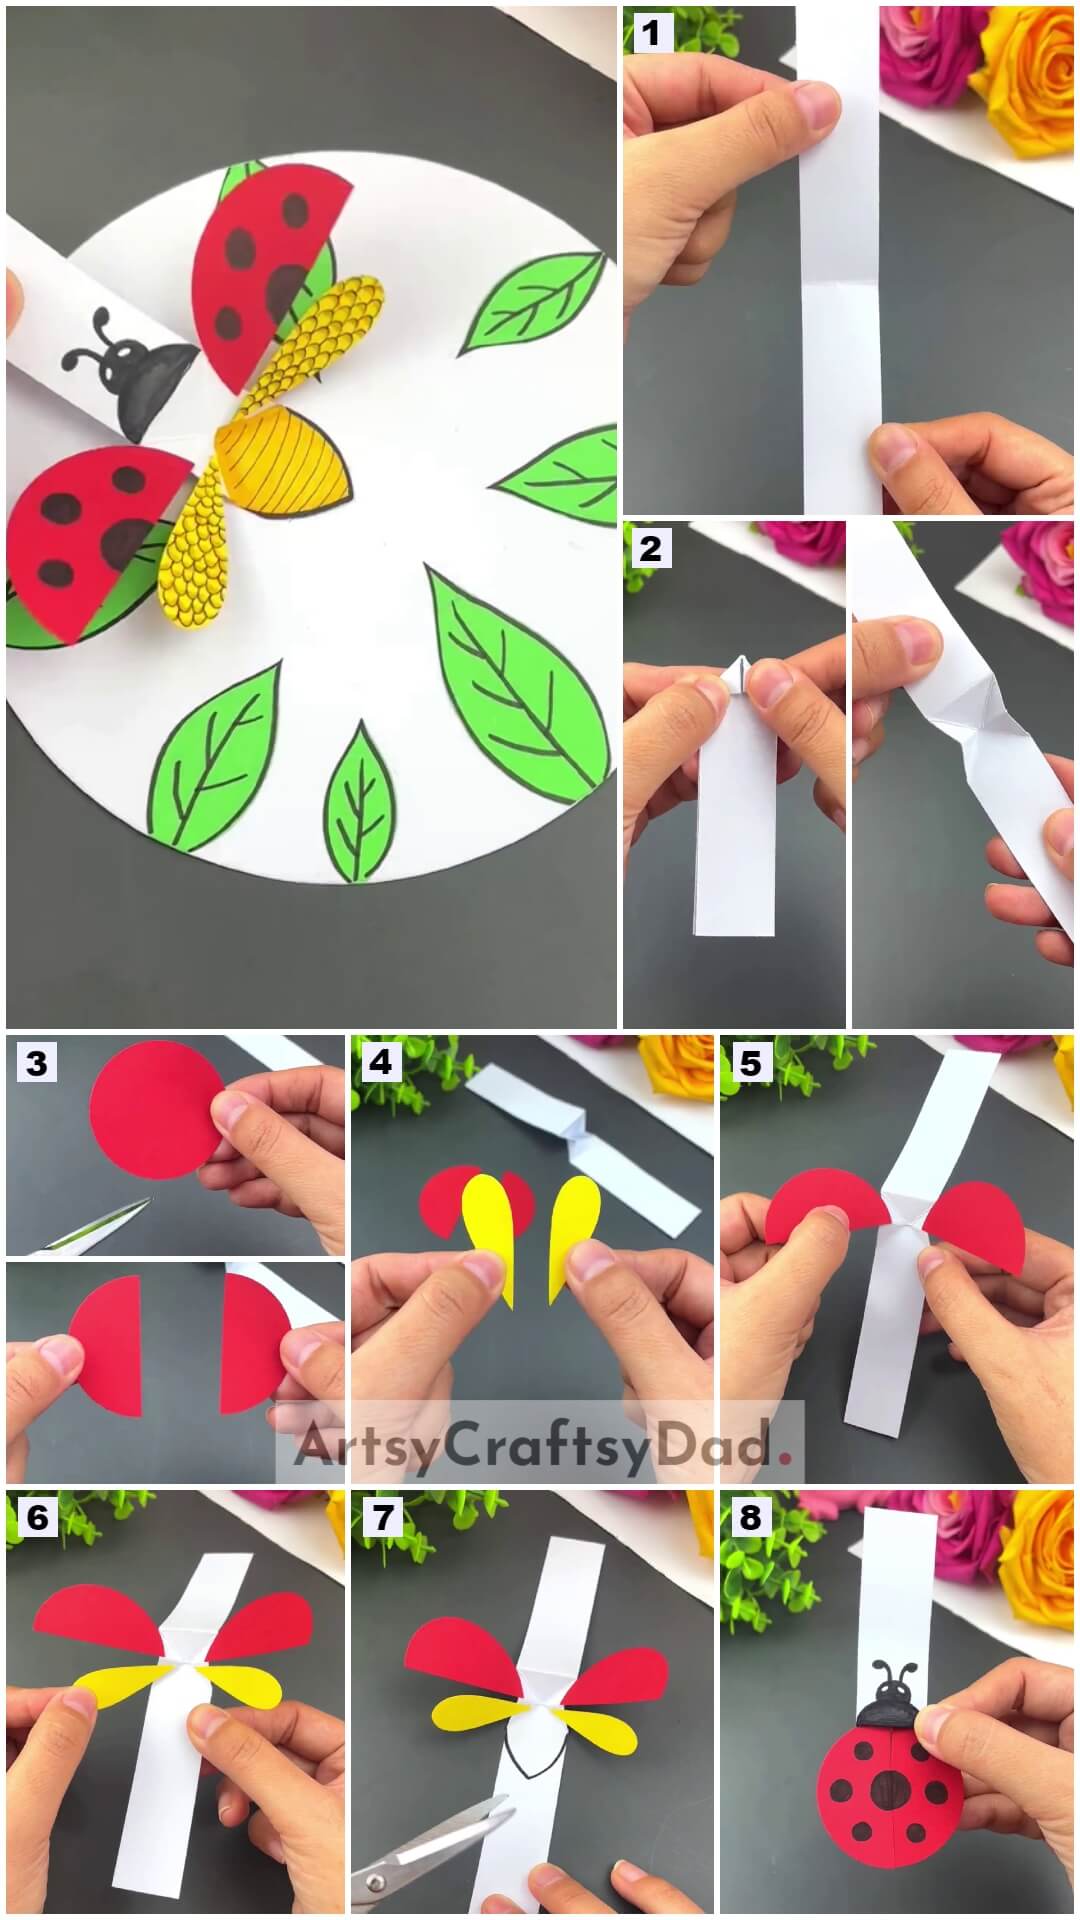
Learn how to make a flying paper ladybug craft with this easy tutorial for kids. This step-by-step guide will teach children how to create their adorable ladybug using simple materials like paper and glue. Watch as their creativity takes flight while they assemble and decorate their very own flying paper ladybug.
In this tutorial, we will be showing you how to make a flying paper ladybug craft. Here we provide you with step-by-step instructions & by following them you can make this flying ladybug craft without any difficulty. Ladybugs are also known as ladybeetles or ladybird beetles. One ladybug can eat up to 5,000 insects in its lifetime! Most ladybugs have oval, dome-shaped bodies with six short legs. They are considered beneficial as they eat other plant-eating insects. This adorable little insect will not only entertain your children but also teach them about the concept of flight. So let’s get started and have some crafty fun!
Unique Flying Ladybug Paper Craft
Must Read: Flying Paper Rice Dumplings Art & Craft Tutorial
Supplies & Tools
- Craft Paper (Red, White, Yellow)
- Markers (Black, Yellow, Green)
- Scissors
- Glue
Ladybug Craft Instructions
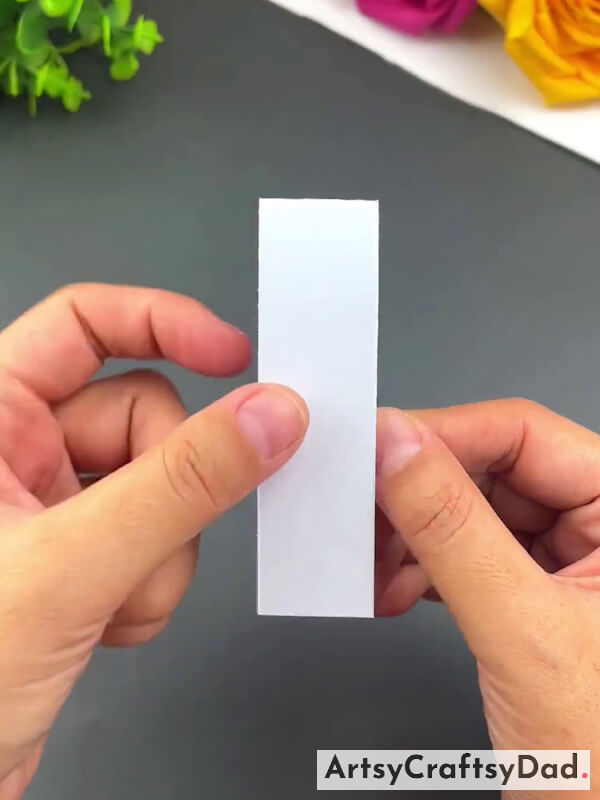
Step #1: Taking A White Paper Strap

Firstly, we take a fresh white paper strap & cut it into a strap, and fold it half horizontally to make creases & then unfold the strap again.
Step #2: Folding The Strap
Now, fold the paper strap again.
Step #3: Folding The Paper & Make Two Triangle
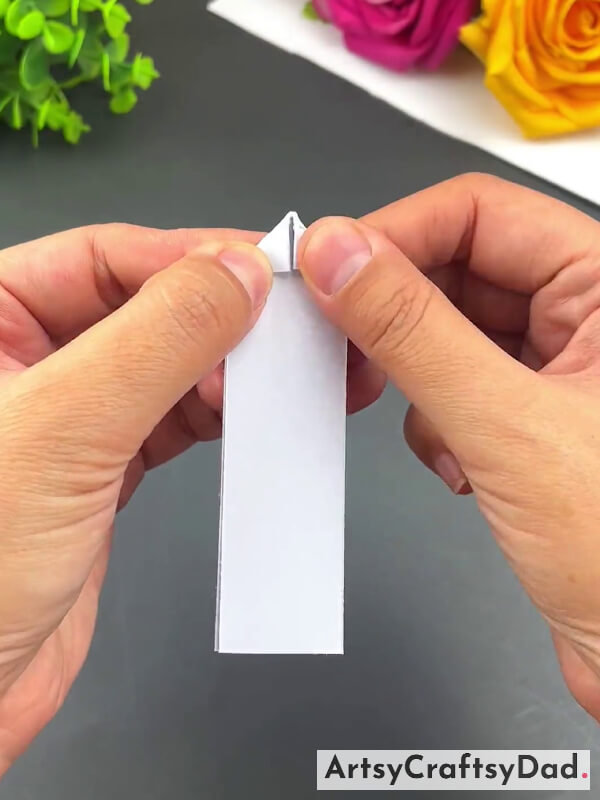
Now, fold the paper’s top left corner towards the center to make a triangle & in the same manner the top right corner towards the center to make another triangle.
Step #4: Unfolding Folded Triangles
Now, unfold the folded triangles & we get creases of triangles. Now, fold the top left & right corners inside the paper strap that we folded towards the center of the paper strap to make triangles as shown in the above image.
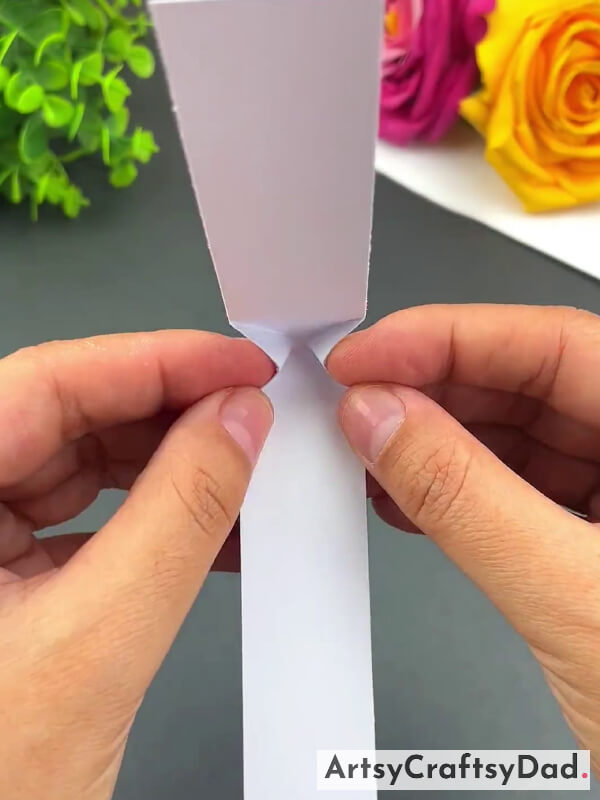
Step #5: Completing Folding Paper Strap

After folding press the paper folded part with your fingers.
Step #6: Unfolding The Paper Strap
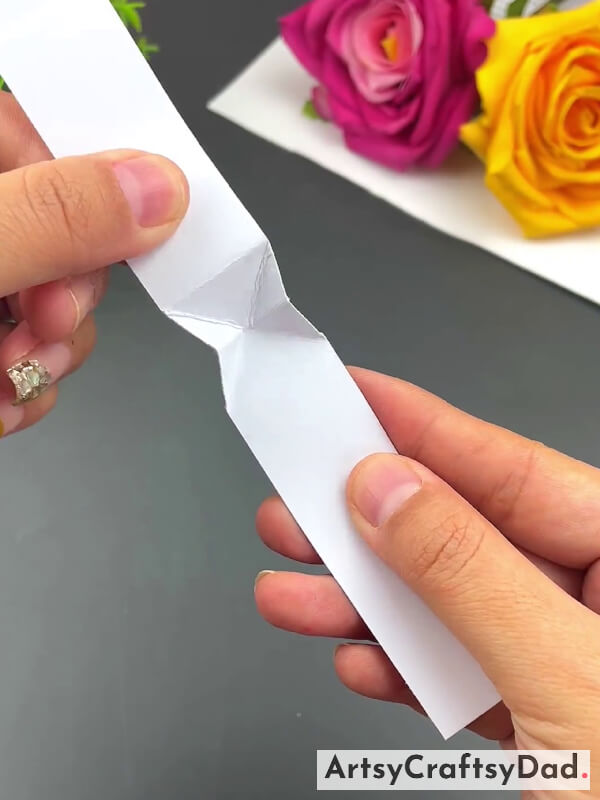
Now, unfold the paper strap again.
Step #7: Cutting Out A Small Circle
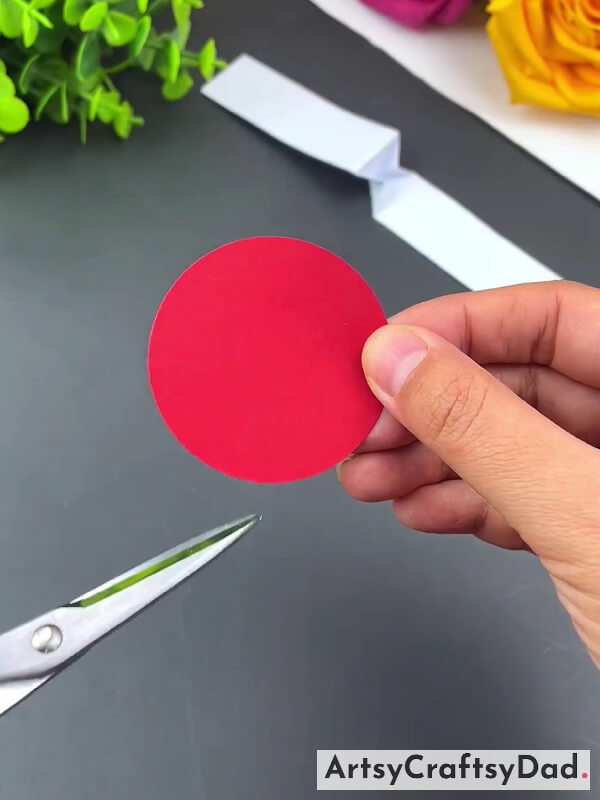
Take a red craft paper & cut it into a circle using scissors.
Step #8: Cutting Circle In Half
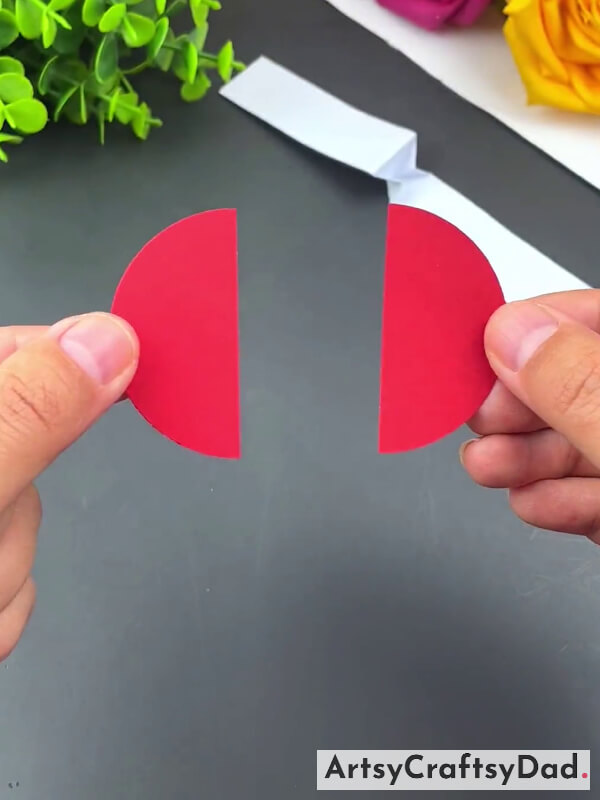
After cutting out a red paper circle, cut the red circle in equal halves from the middle & use it for the ladybug elytra part (Elytra is the first pair of hardened wings that protect the flight wings underneath. The elytra opens when the ladybug takes flight, and the thin, veined wings unfold).
Step #9: Making Ladybug’s Wings
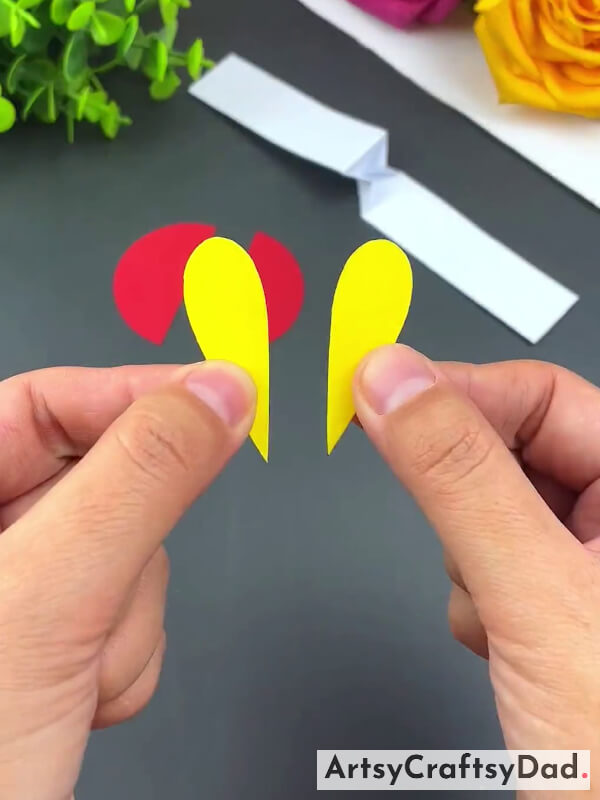
Take a yellow craft paper & cut it into two rounded cone shapes for the ladybug’s wings.
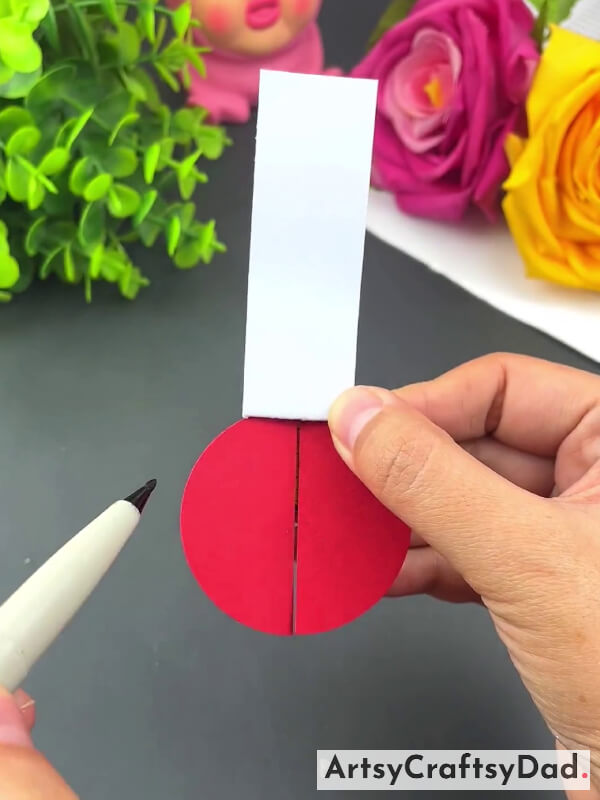
Step #10: Pasting The Wings On Paper Strap
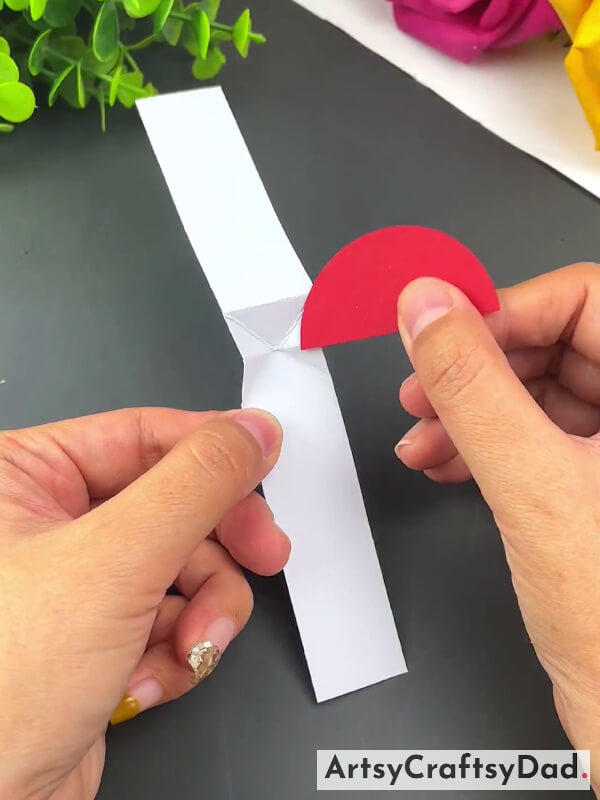
Take the red half circle & paste it on the right side of the white paper strap as shown in the above figure.
Step #11: Completing Pasting Wings
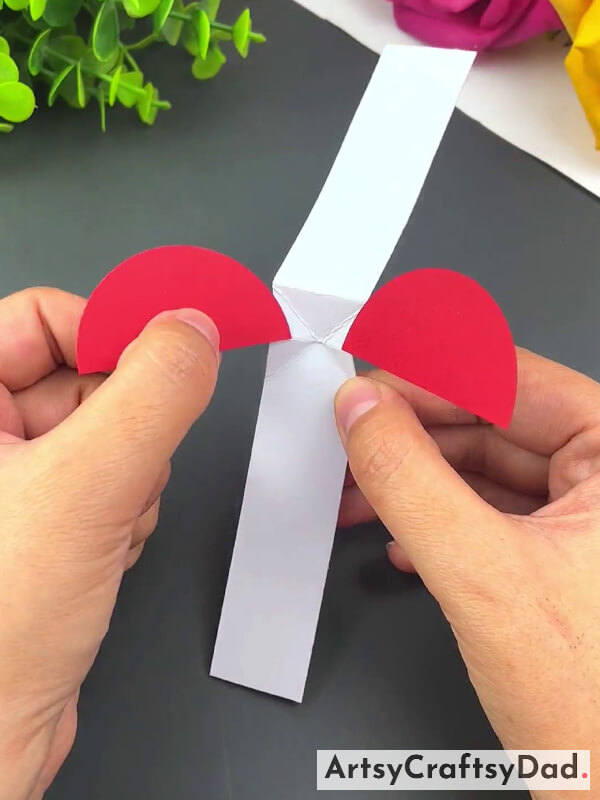
Take the other half circle part & paste it on the left side of the paper strap.
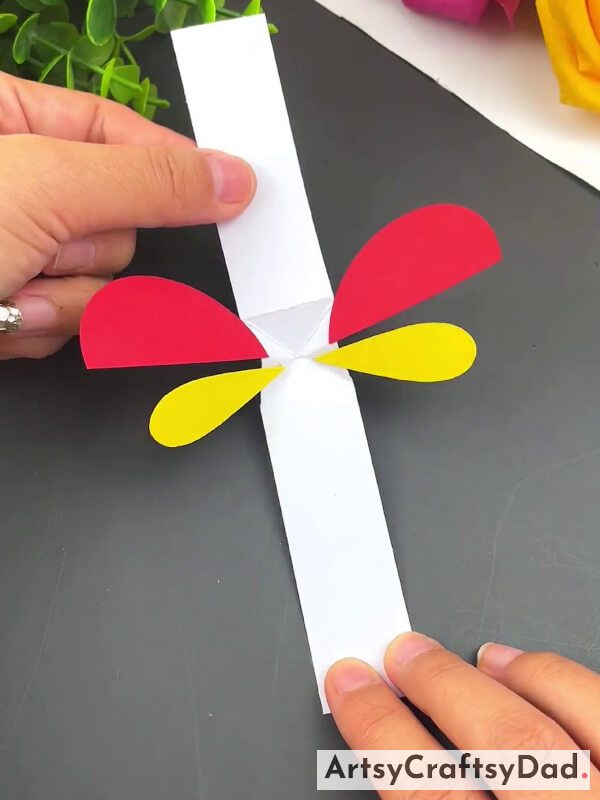
Step #12: Pasting Yellow Wings On Left & Right Side
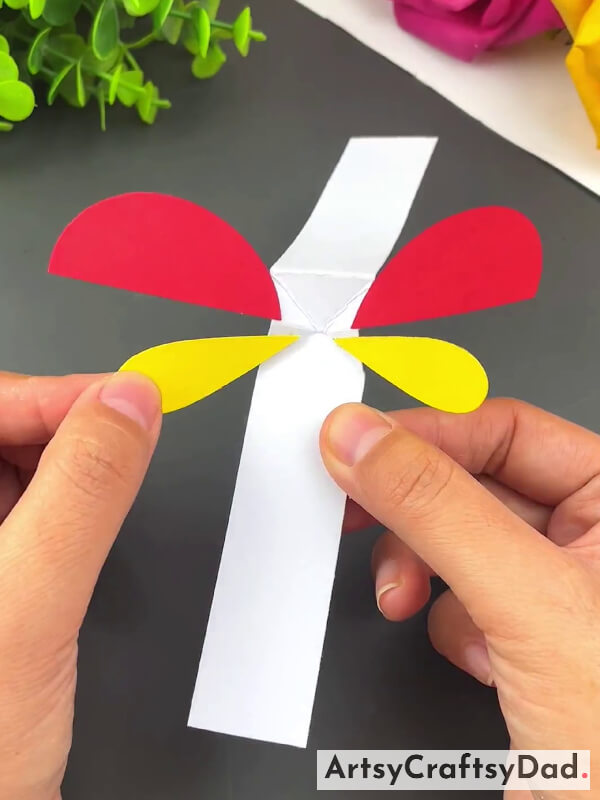
Take yellow wings & paste them under the red wings on the left & right side one by one on the paper strap.
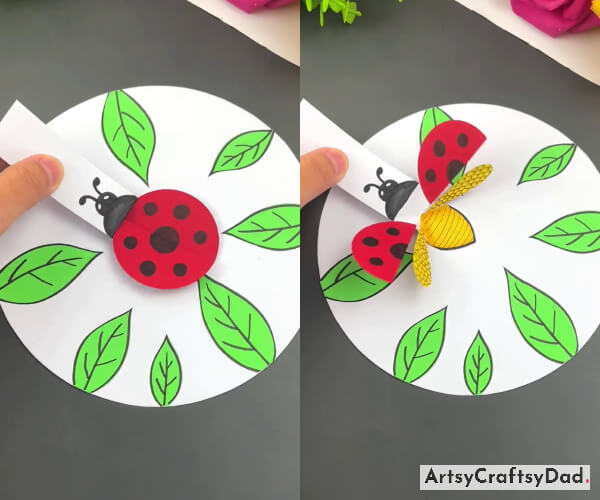
Step #13: Slipping The Paper Strap Downside
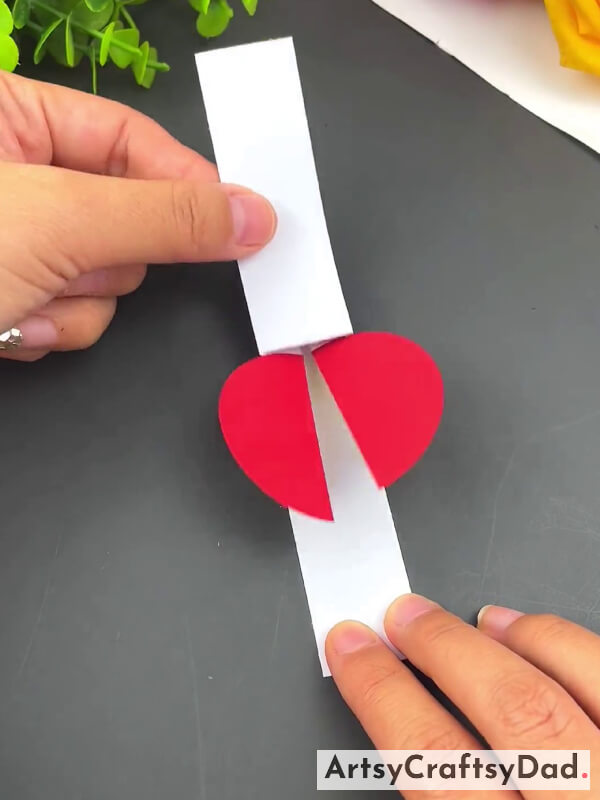
Now, slip the upper part of the paper strap in the downside direction due to this the yellow wings are hidden under the red wings.
Step #14: Pulling The Paper Strap Upside
Now, pull the paper strap in the opposite direction. we did this to check that the wings are working correctly.
Step #15: Drawing Ladybug’s Body
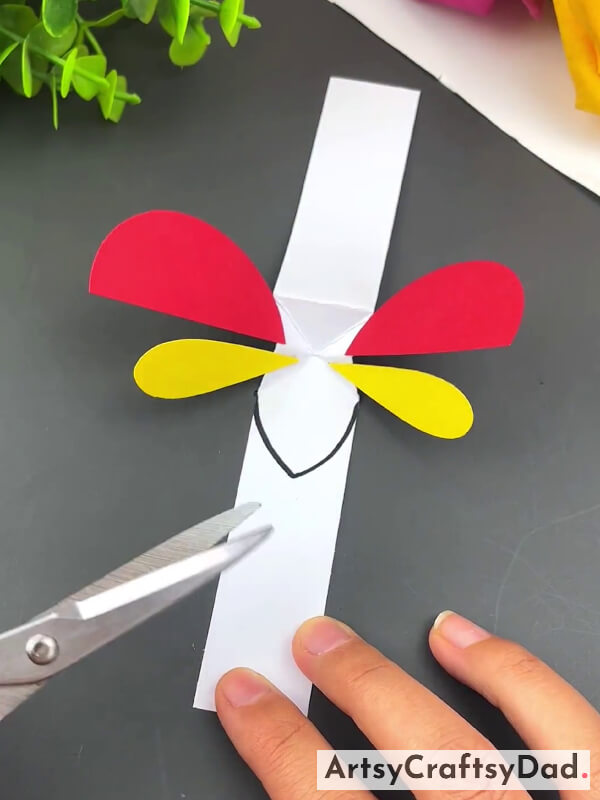
Take a black marker & draw the ladybug’s body on the paper strap as shown in the above image. Then, cut out the lower part of the paper strap alongside that body outline.
Step #16: Taking Black Marker
Take a black marker here.
Step #17: Drawing Ladybugs Details
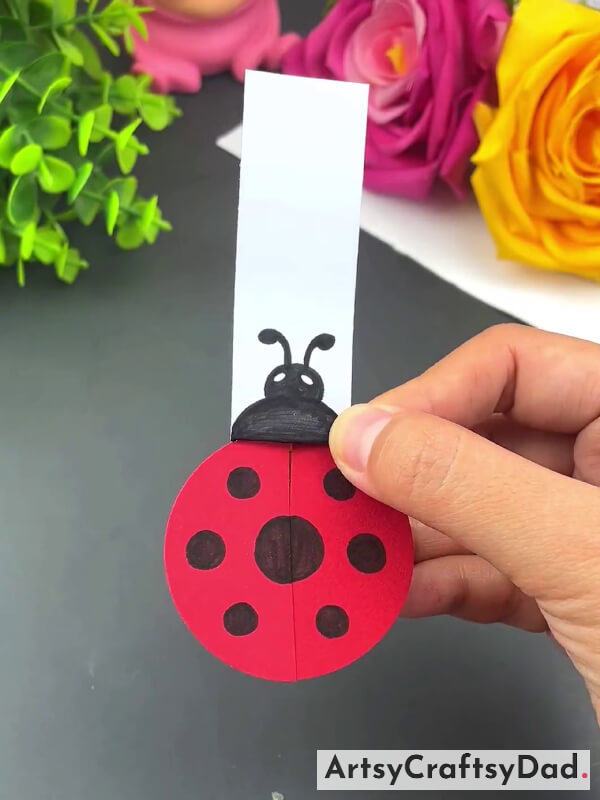
Now, draw eyes, antenna, on ladybugs face & black dots on the wings.
Step #18: Pasting Ladybug
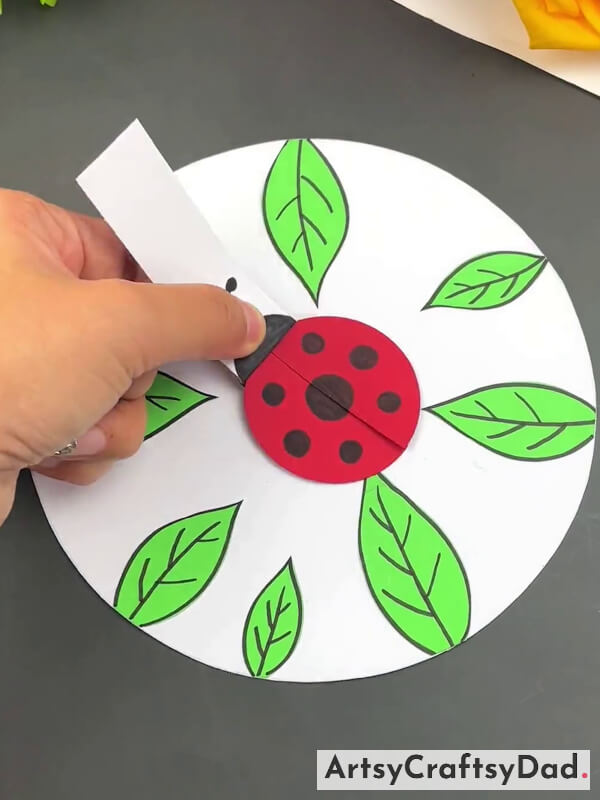
Paste the ladybug at the center of the craft base. Then draw leaves around the ladybug using black marker & then color all of them using green marker.
Our Flying Ladybug Paper Craft Is Achieved Here!
This is the final look of our flying ladybug paper craft.
We have completed the ladybug craft. Most people like ladybugs because they are pretty, graceful, and harmless to humans. But farmers love them because they eat aphids and other plant-eating pests. I hope kids enjoyed the process of making ladybug crafts. Kids could show this craft to their friends & play together. You could make some other crafts like this & if you want some ideas then visit our other websites. Drop your opinion on this craft in the comment section.
Thank you for visiting us!
You Might Also Like This
- DIY Paper Princesses Pencil Topper Craft Tutorial For Kids
- Origami Bow Paper Craft Tutorial For Kids
- Easy Paper Dinosaur Animal Craft Tutorial For Kids
- Paper Lollipop Origami Craft Tutorial For Kids
- Paper Heart Origami Craft Tutorial For Kids


