Explore a step-by-step chrysanthemum flower easy painting tutorial for kids. This activity is for you to learn a new technique. This awaits you!
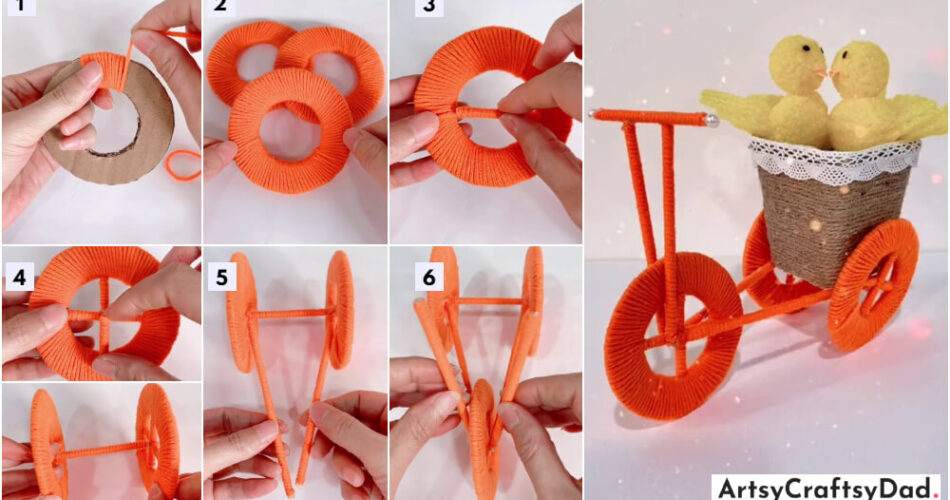
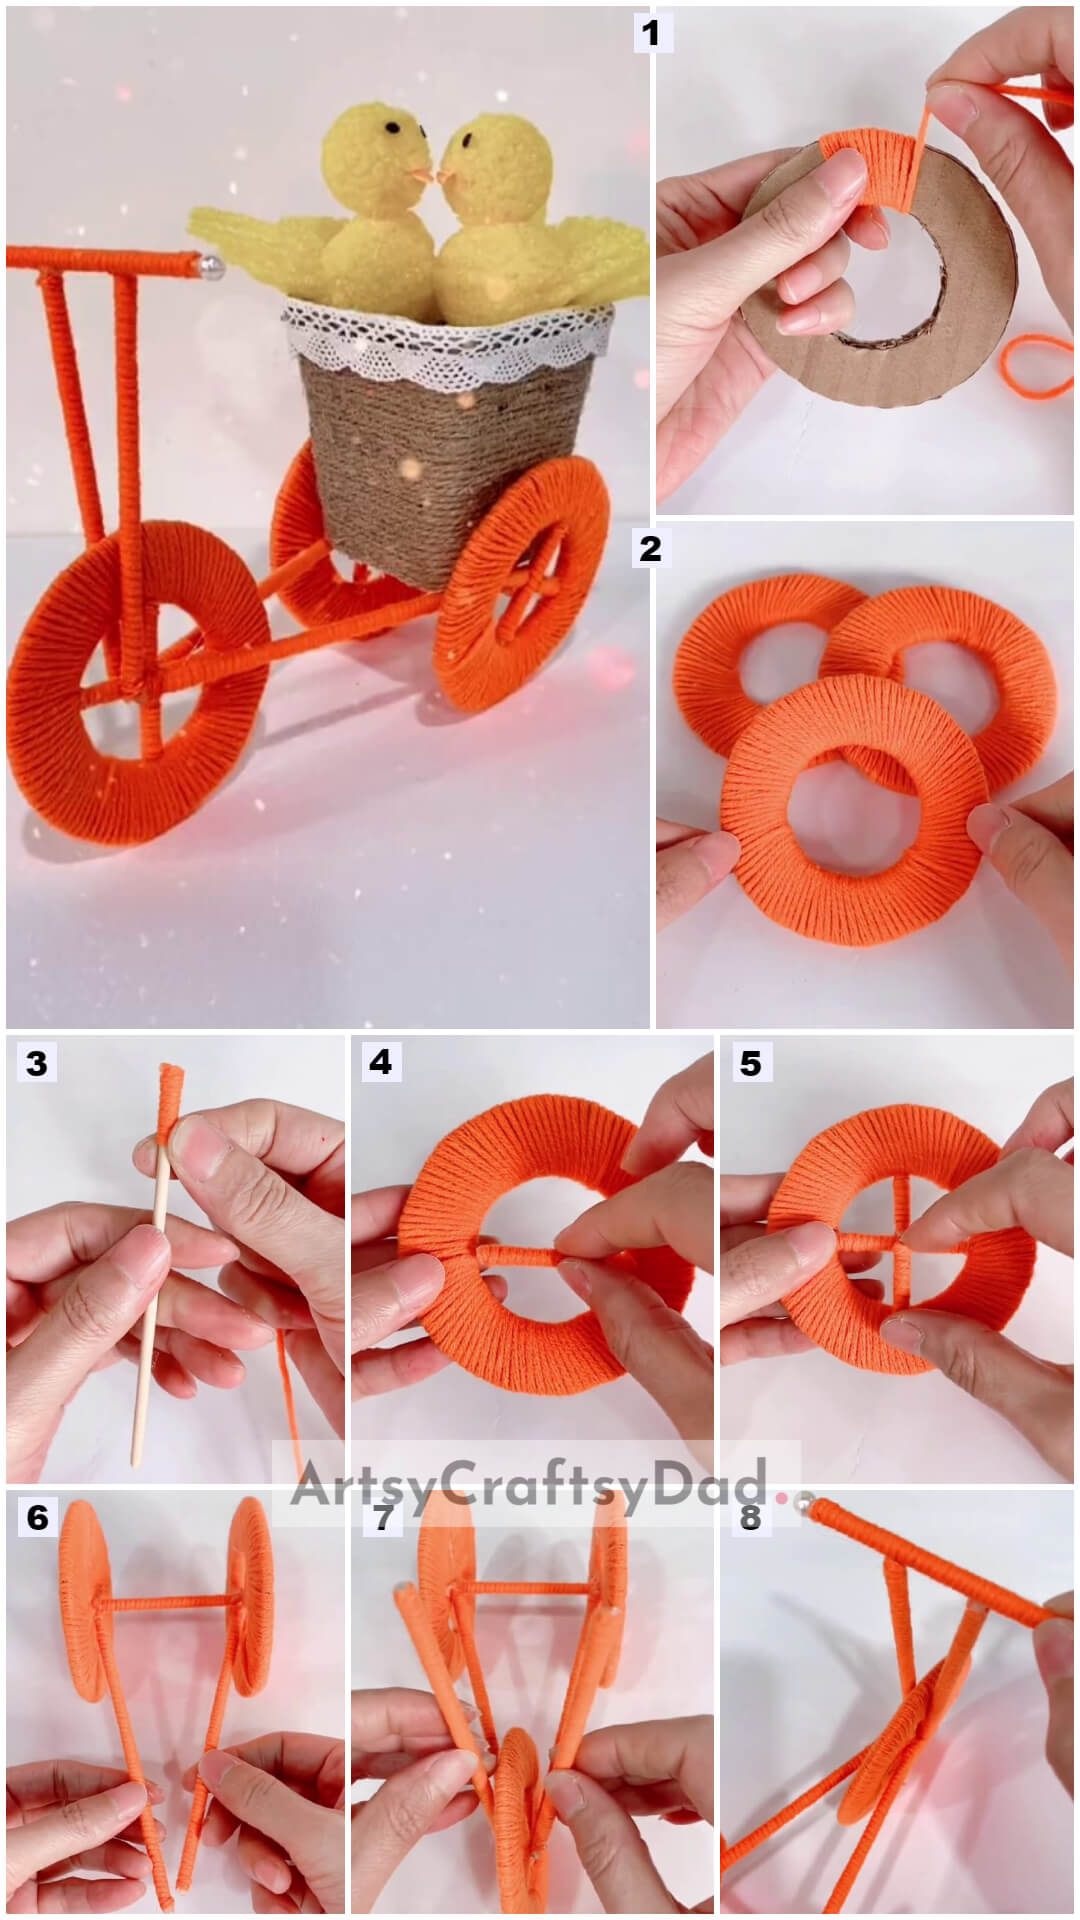
Welcome to this cycle decor: cardboard and thread craft step-by-step tutorial! This fun and easy project is perfect for both kids and adults. In this tutorial, we will show you how to make your cycle decor by using cardboard and thread. By using some easily available materials and following a few easy steps this task could be accomplished. With some basic craft skills, you’ll be able to make your decor cycle flawlessly.
Cycle Decor Using Cardboard And Thread Craft
Must Read: Cycle Model: Paper Cup & Plastic Straw Craft Tutorial
Supplies & Tools
- A Cardboard
- A Tape or Anything Having a Donut-like Shape
- A Black Marker pen
- A Pair of Scissors
- A Skein of Orange Color
- Wooden Sticks
- Glue
- Decorative Beads
Cardboard Cycle Decor Instructions
Step #1: Tracing The Circle Shape
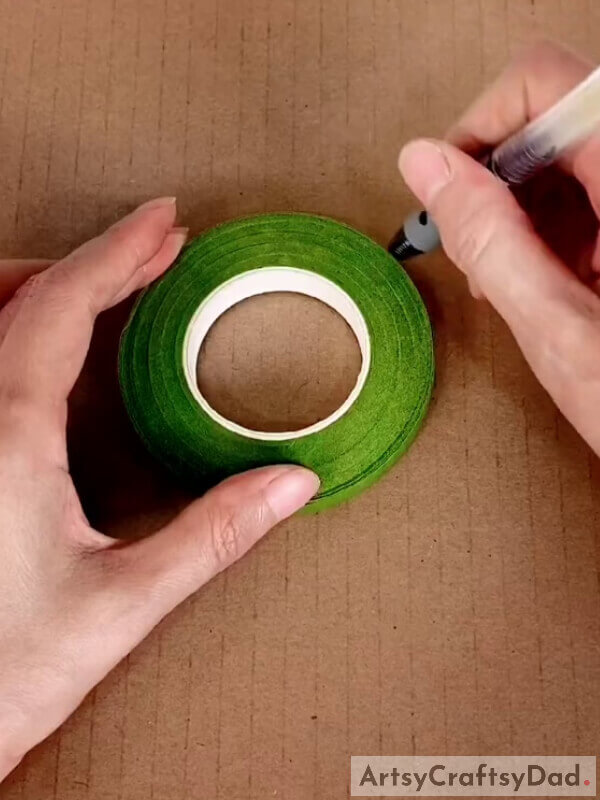
Put the tape on the cardboard and trace its outline.
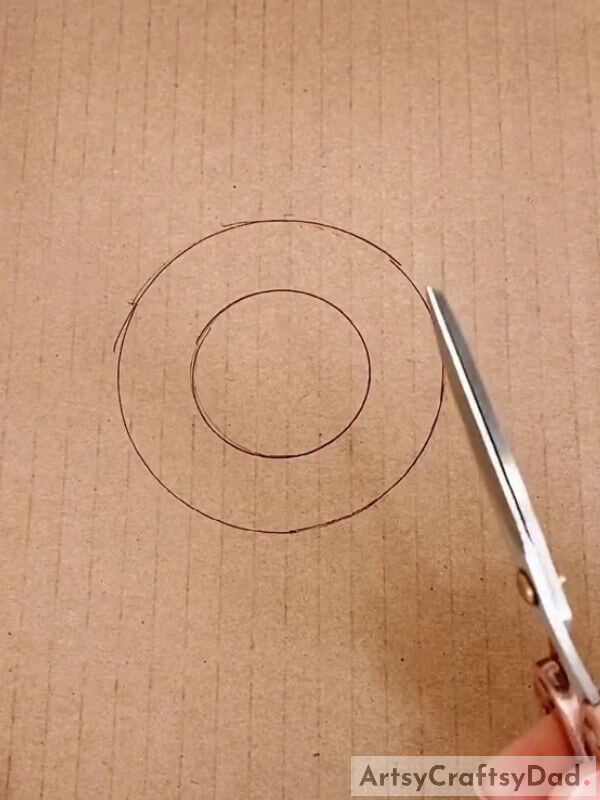
Step #2: Cutting The Outline
Trace carefully and make sure that the tape is held in one place while drawing.
Step #3: Cutting The Outline Of The Inner Circle
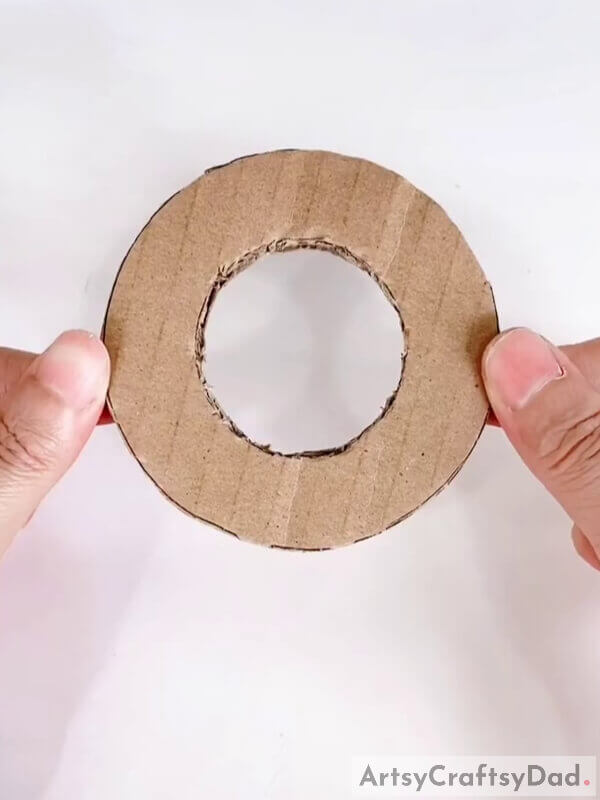
Now, by using a pair of scissors, cut the trace layout. Be careful while using scissors.
Step #4: Wrapping The Wool Around The Wheel
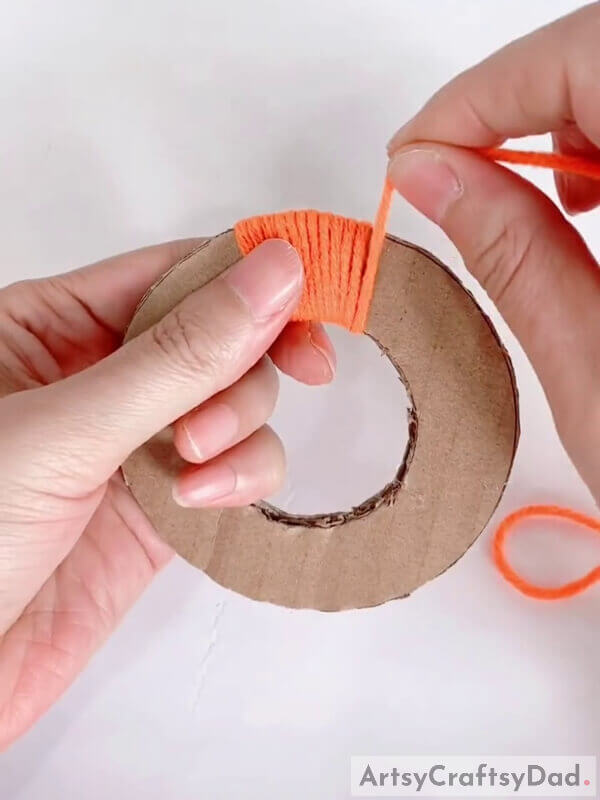
Take the cut-out and a skein, and wrap the wool around the cut-out shape as shown in the given picture.
Step #5: Making Two More Wheels In the Same Way
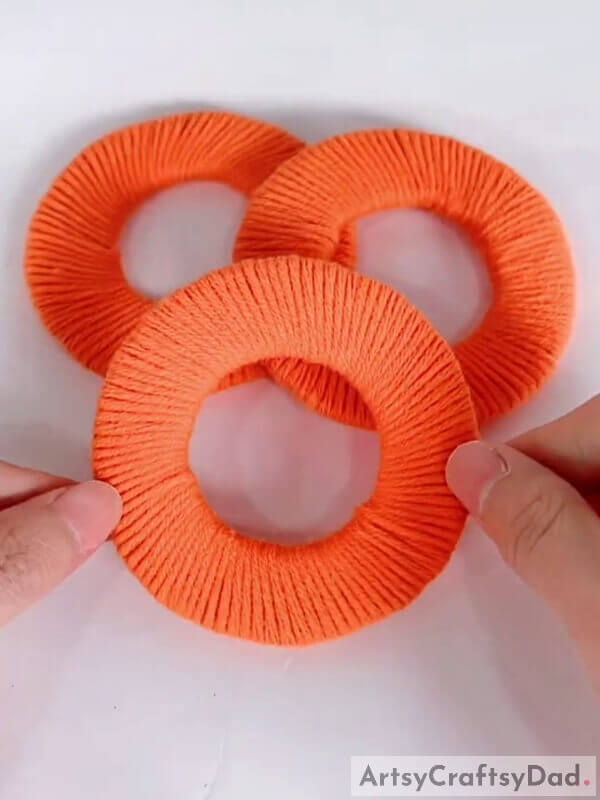
Make two more identical cutouts and wrap them using wool in the same way. These would be the wheels.
Step #6: Taking a Wooden Stick and Wrap With Wool
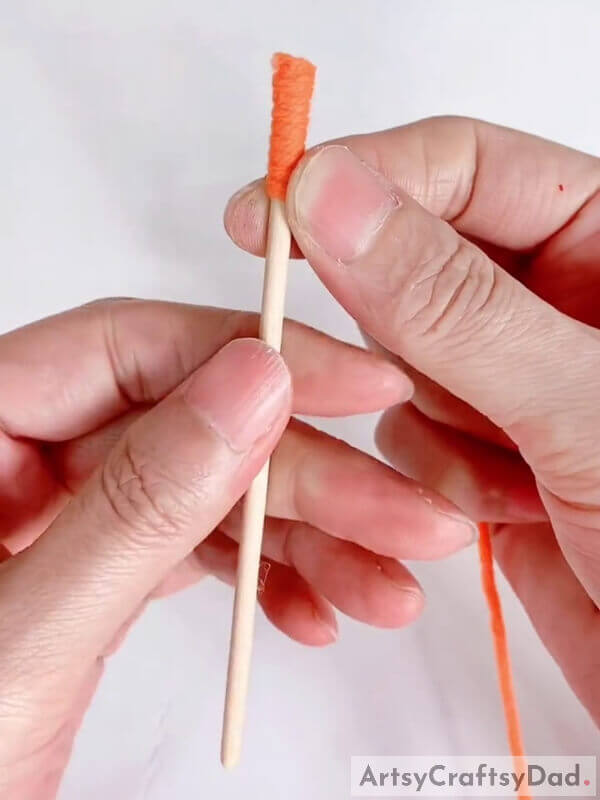
Take a wooden stick and wrap it using the same woolen thread. Make sure it is wrapped tightly.
Step #7: Making Five More Wooden Sticks
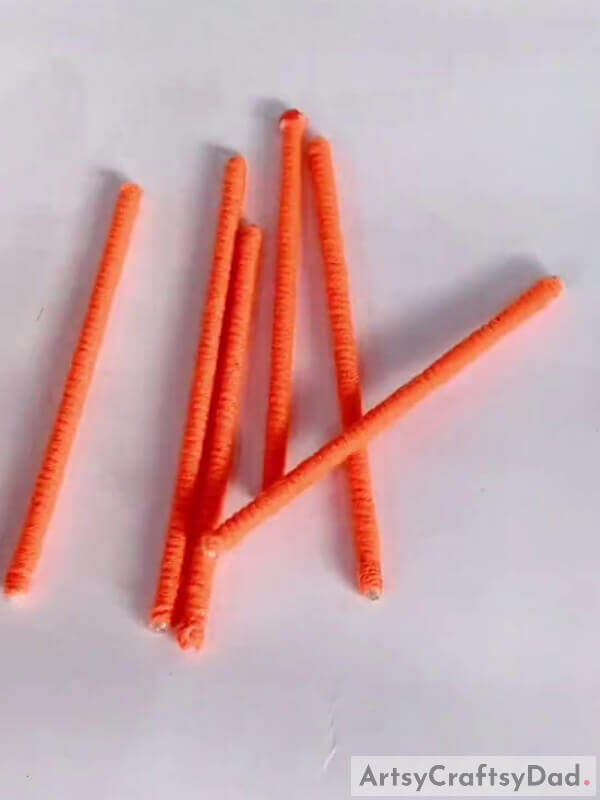
Take five more wooden sticks of equal length and wrap them as well using the same woolen thread. Make sure it is wrapped tightly.
Step #8: Sticking a Thread Stick in the Wheel
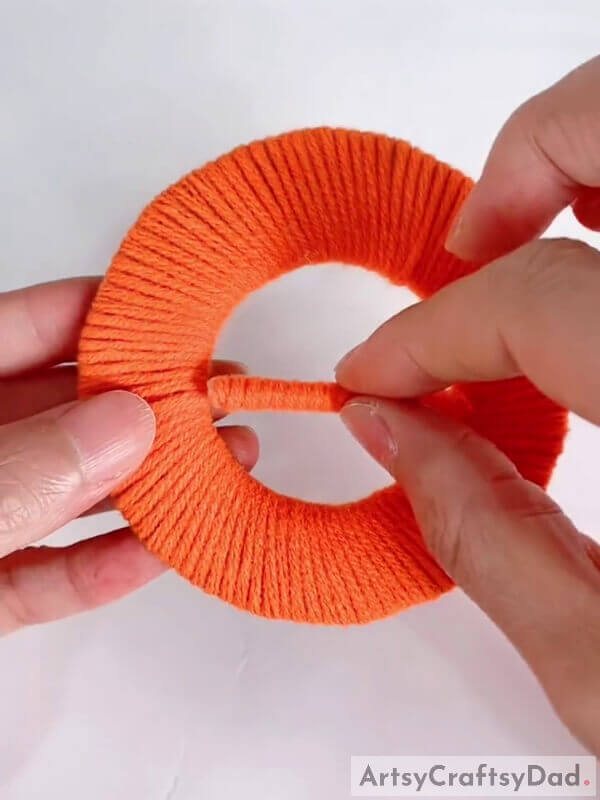
Take a stick and cut as per the length of the inner diameter of the wheel. Then, paste the stick with the wheel as shown in the picture.
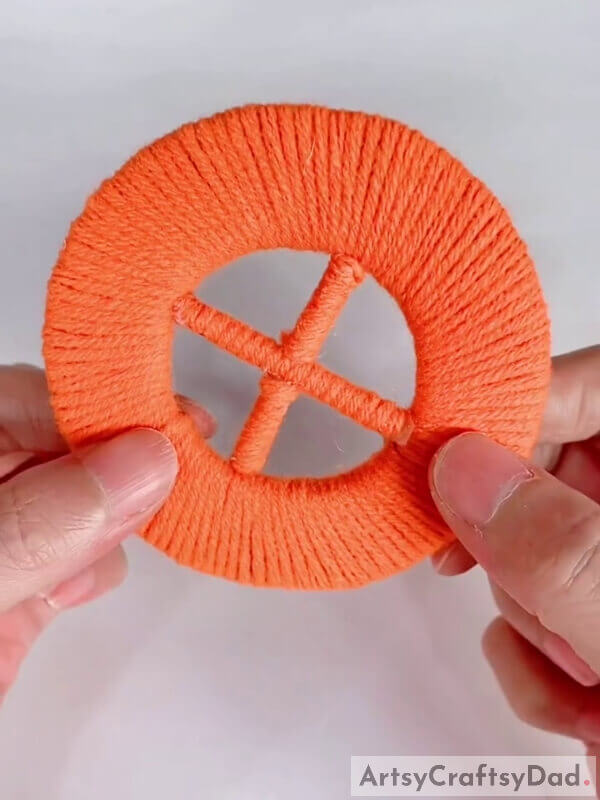
Step #9: Pasting Another Stick in Plus Sign Form

Now, cut the other stick in the same manner, that is, as per the length of the inner diameter of the wheel and paste it on the wheel so that a plus sign is formed.
Step #10: Making Two More Wheels
Repeat the same process with other wheels as well. Cut and paste the stick in the same manner on the other two wheels.
Step #11: Pasting Wheels On Both Ends Of The Stick
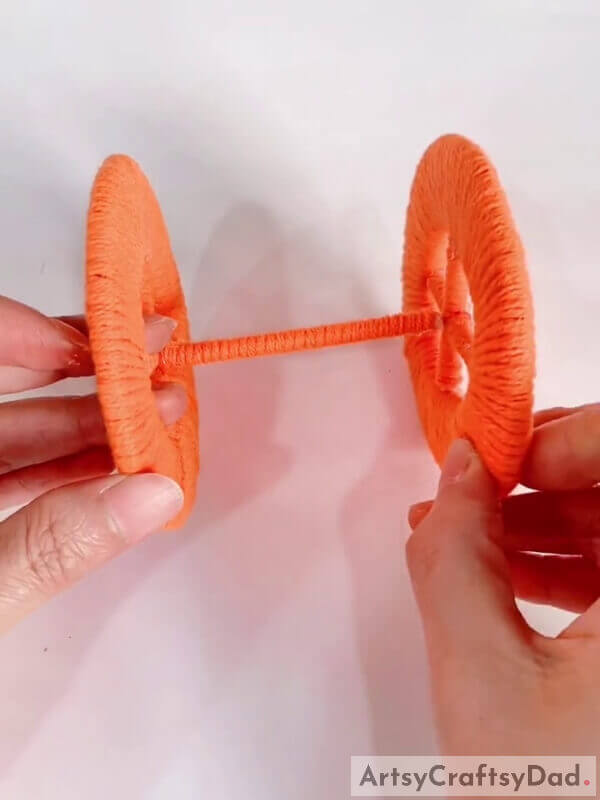
Now, Take a wrapped stick and two wheels. Cut the stick in half and paste wheels on both ends of the stick.
Step #12: Pasting Two Sticks In Triangular Shaped
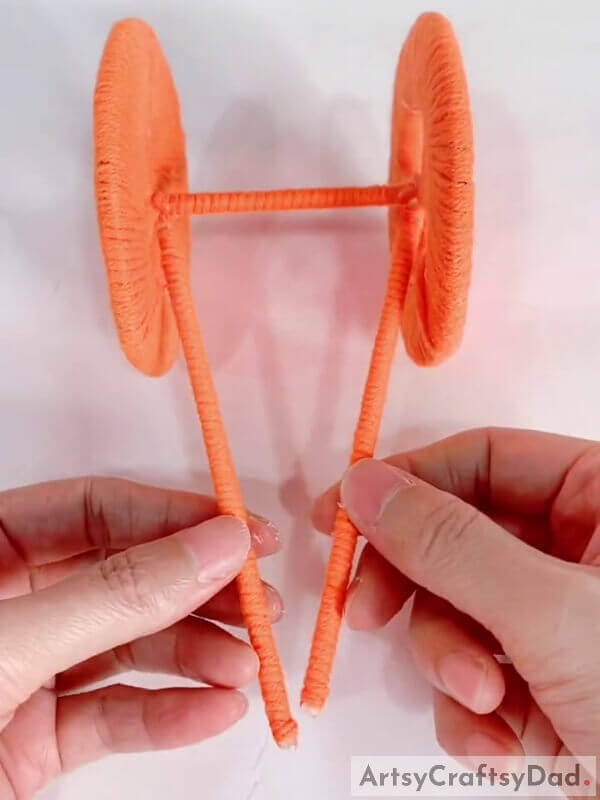
Take two sticks and paste one end at both wheels. Paste the end on the point where the two sticks on wheels are intersecting.
Step #13: Pasting Another Wheel
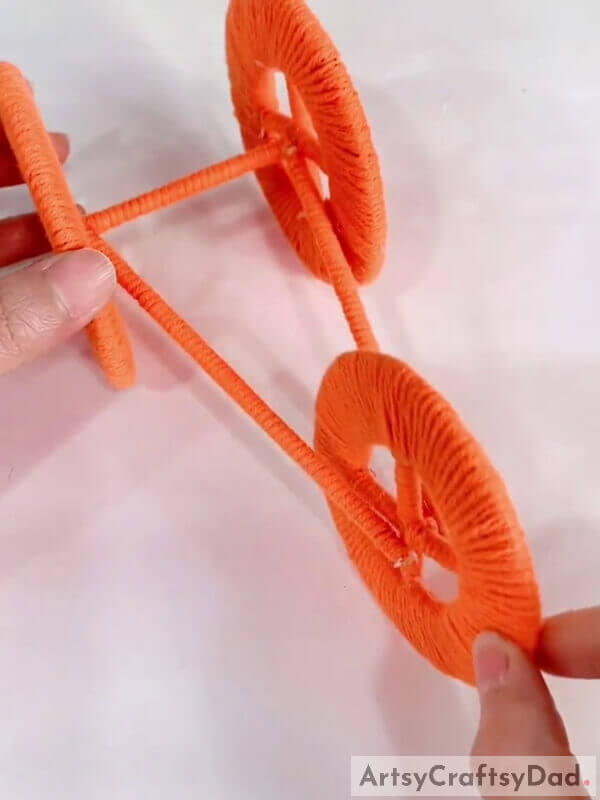
The two previously pasted sticks’ other ends are yet to be attached to the third wheel. Paste the two ends on the intersecting point of the wheel from both sides.
Step #14: Pasting Two Sticks Over The Front Wheel
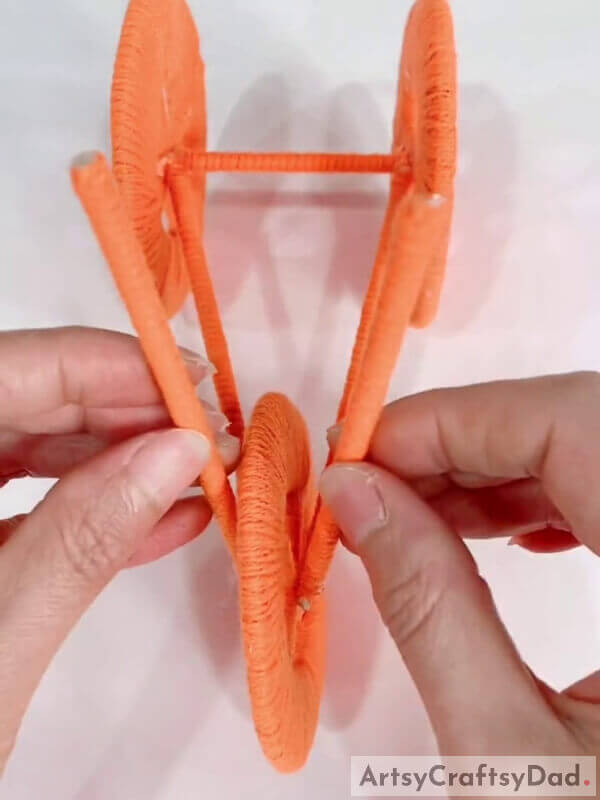
Take two more sticks and paste their ends on the intersecting point of the third wheel from both the sides.
Step #15: Making Handle Bar
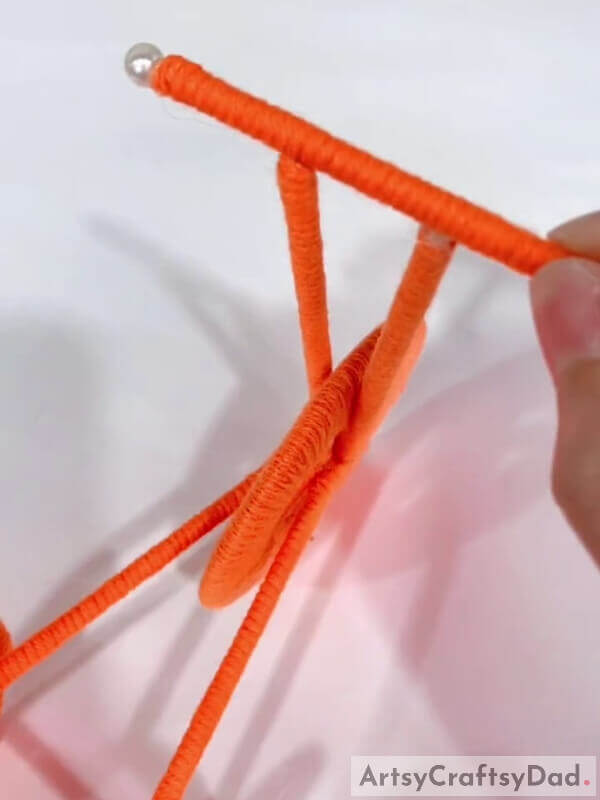
Take another stick and paste it on the previous two sticks. This would be the handle of our cycle.
Step #16: Decorating With Beads
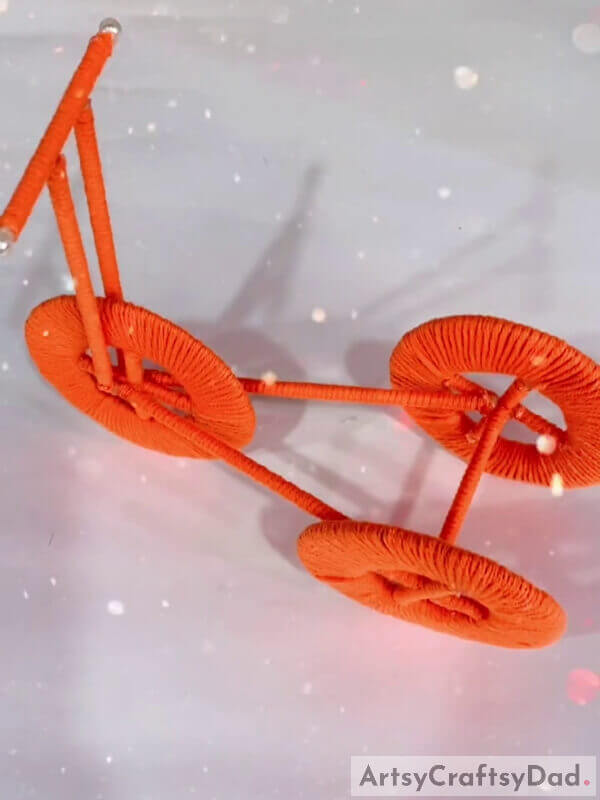
Take some decorative beads and paste them on both ends of the handlebar.
Finally! Cycle Decor: Cardboard And Thread Craft Tutorial – For Kids
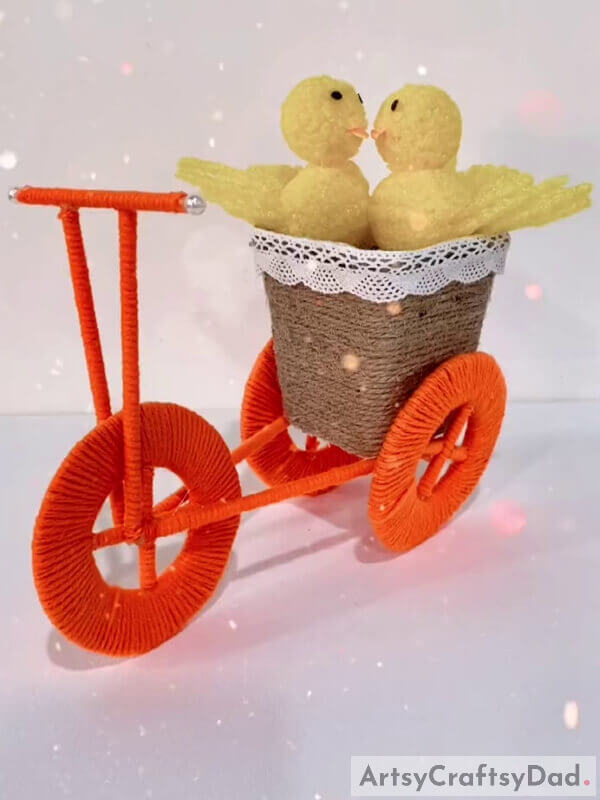
With this you have come to the end of the Cycle Decor: Cardboard and Thread Craft Tutorial. This was a good learning experience for kids as they learned a new technique, that is, wrapping the wool on a frame, making a cycle decor must be fun for kids of 6-12 years of age. For more decoration, a small basket along with two ducklings are added. Kids can make the basket by following a similar procedure of wrapping.
Hope you liked this Cycle Decor: Cardboard and Thread Craft Step-by-step Tutorial. Don’t forget to share your comments and inform us about your experience. Make sure to revisit our website!
Thanks for visiting our website.
You May Also Like
- Large wall decor with lighting using cardboard
- Popsicle Stick Airplane Craft Model Tutorial For Kids
- Thread Lanterns Tutorial – Handmade Craft
- Recycled Craft: How To Make Fire Truck From Cardboard Boxes
- How to Make Parrot Cardboard Crafts


