Explore a cardboard clock model craft step-by-step tutorial for kids to have fun. This activity is for you to learn a new crafting technique. Explore!
Easy Cardboard Alarm Clock Model Craft For Kids
Must Read: Unique Cardboard Flower Vase Craft Tutorial For Kids
Tools & Supplies
- Cardboard Sheets
- A Hot Glue Gun
- A Cutter
- Wooden Sticks
- Slightly Thin Wooden Sticks
- White, Red, And Black A4 Size Sheet
- A Red Sketch Pen
- A Pair Of Scissors
- A Pencil
- A Board Pin
- Sharpie
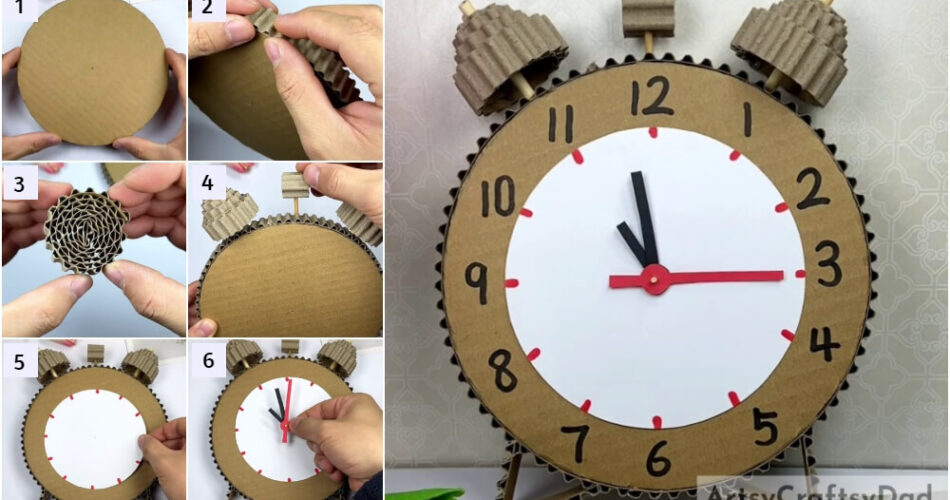
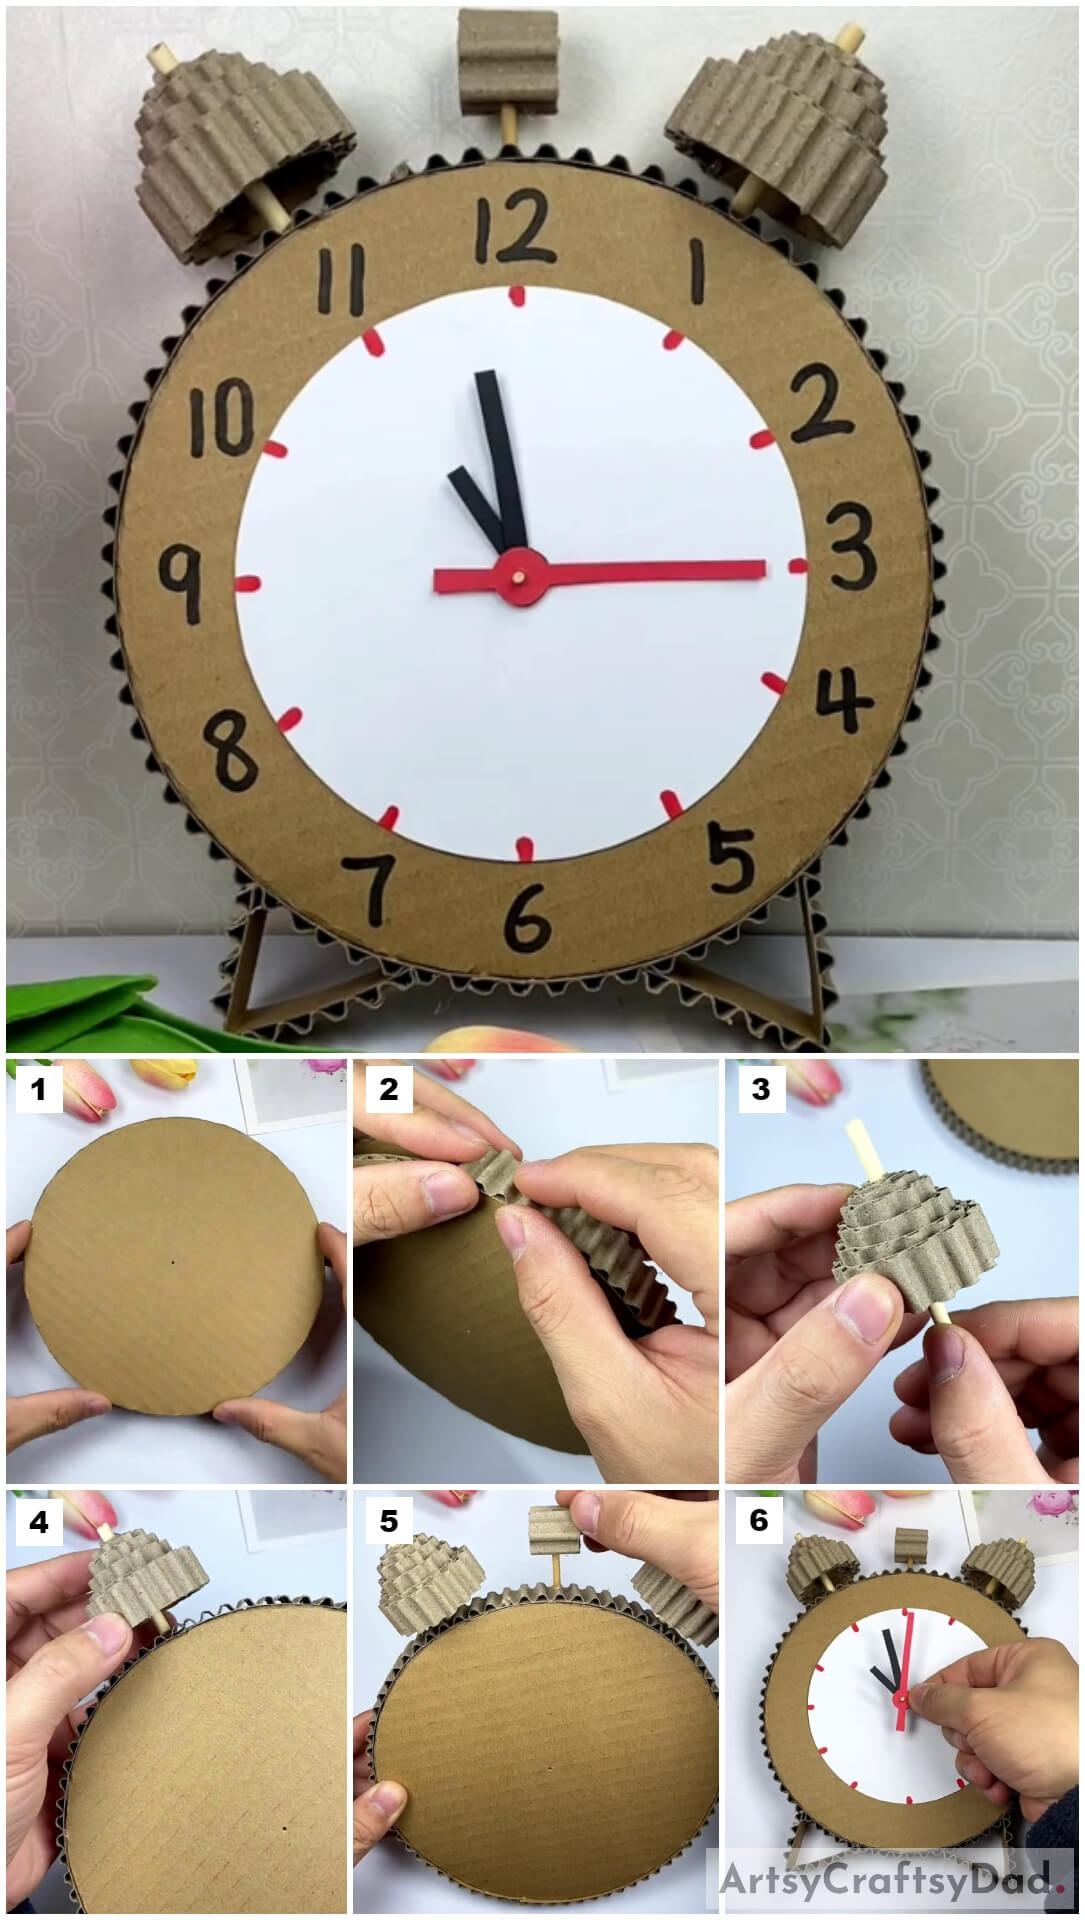
Cardboard Alarm Clock Instructions
Step#1: Cut and Apply Glue
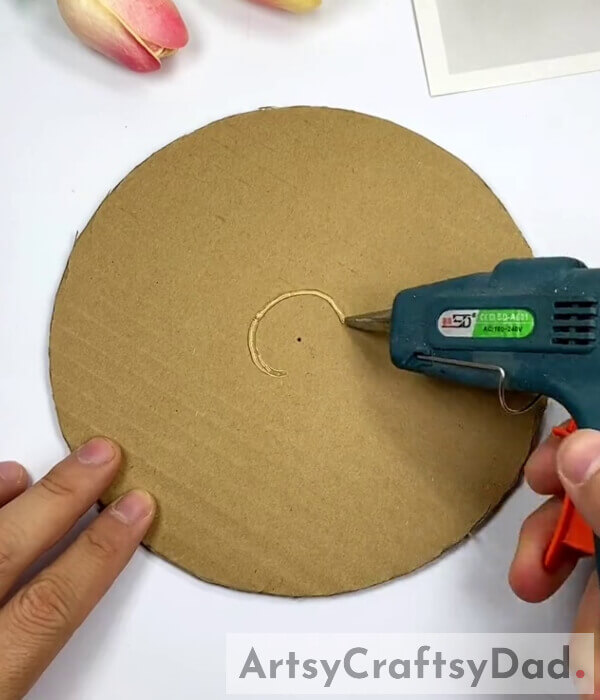
Firstly, take cardboard and cut it into a disc. And, apply glue on the center of it.
Step#2: Paste
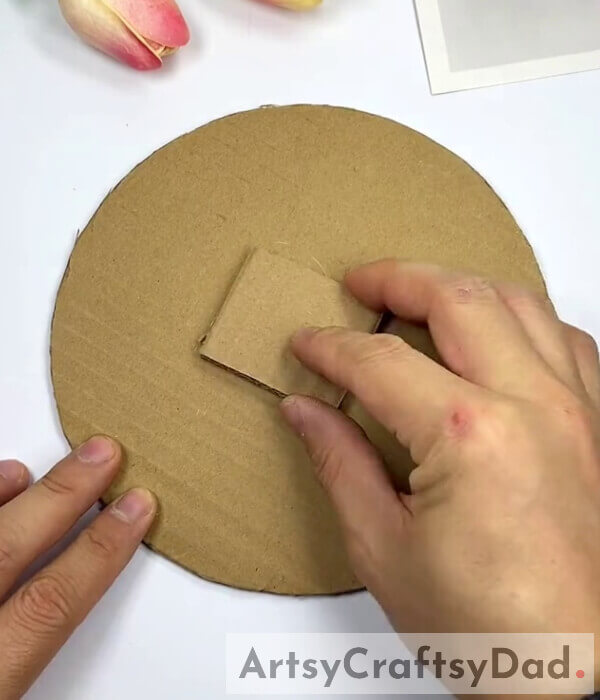
Now, cut a small square out of cardboard and paste it at the center of the circular cardboard.
Step#3: Cut Another Disc
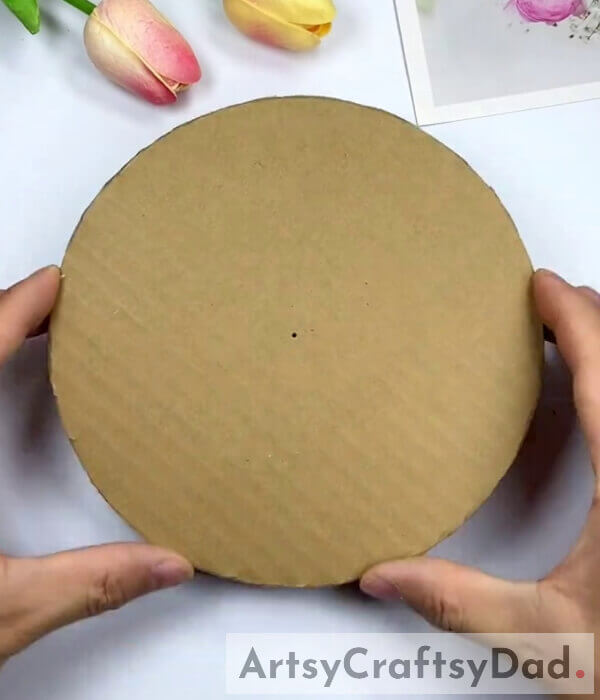
Take cardboard and cut another disc identical to the first disc.
Step#4: Combine the Discs
Now, take a long cardboard strip equivalent to the circumference of the discs. Paste the two long sides of the strips with the circumferences of the discs.
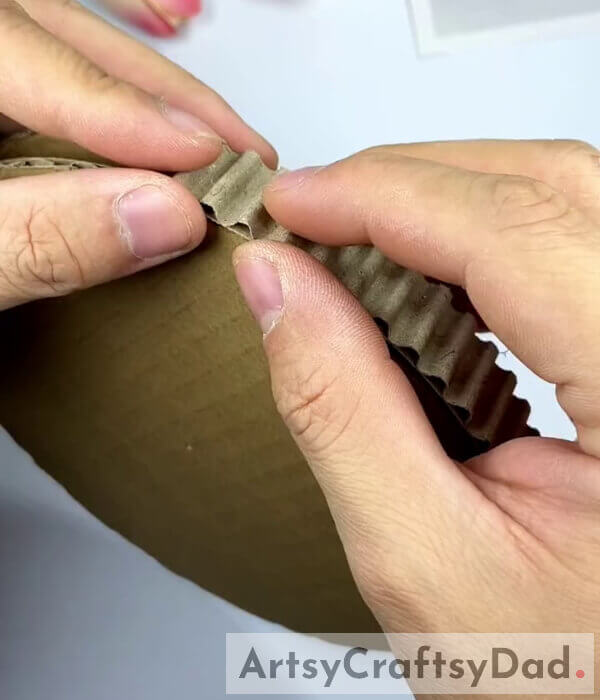
Step#5: Zig-zag Fold
Now, fold a cardboard strip slightly longer in length and fold it in a zig-zag manner. Paste this on the previous strip.
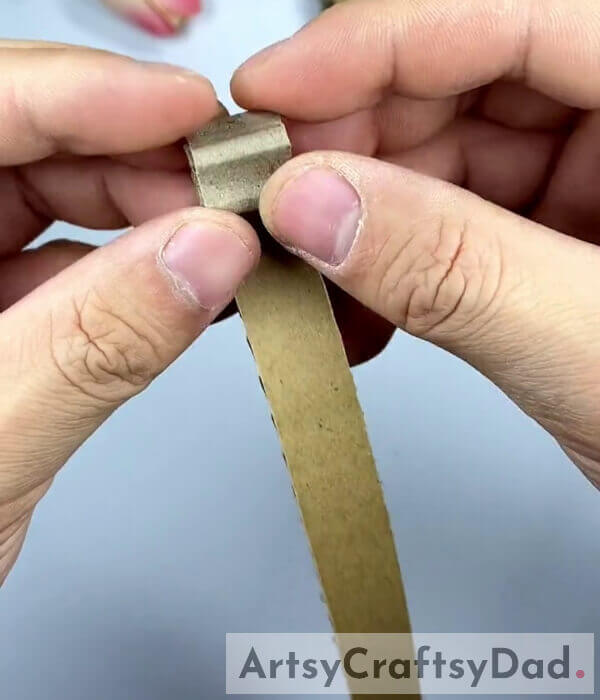
Step#6: Roll a Strip
Cut another strip of the same length and make a zig-zag strip and paste it on it. Let it dry and roll it.
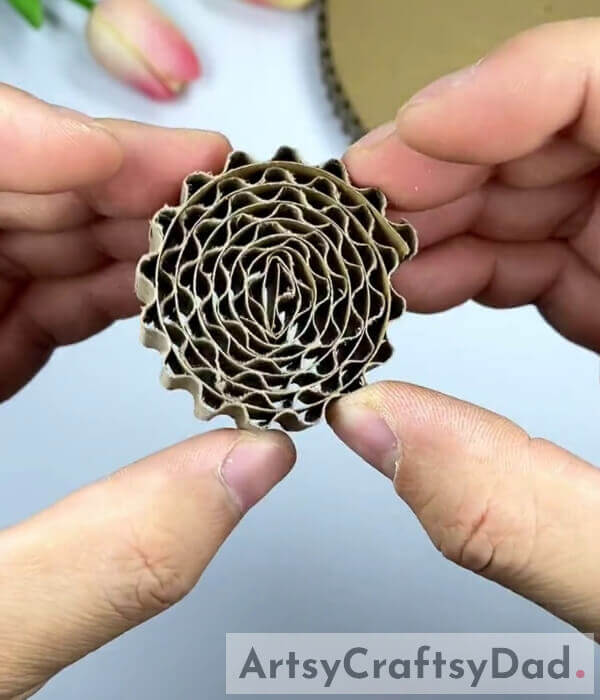
Step#7: Push It
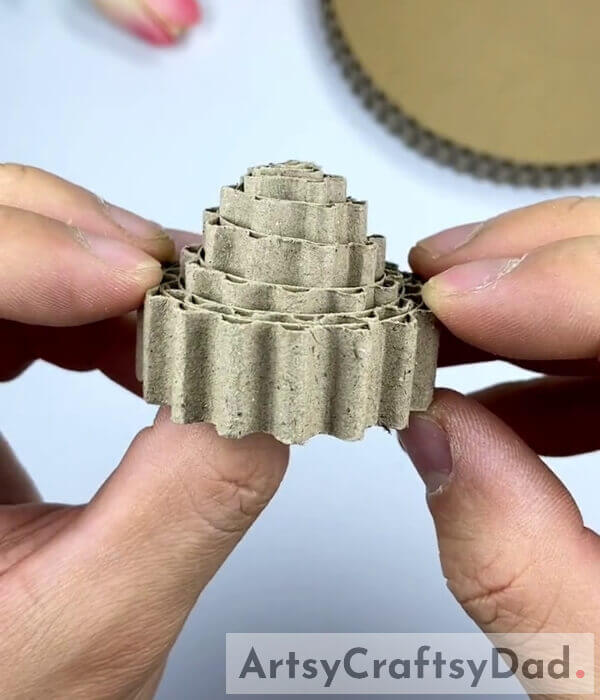
After rolling, push its center outwards. Secure it with some glue.
Step#8: Wooden Stick
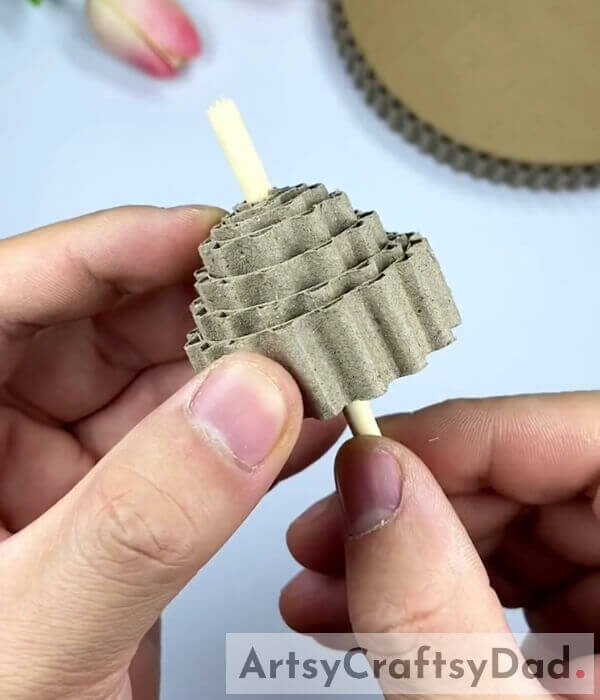
Now, take a wooden stick and break it into two identical pieces. Put one of them into the center of the circle. This would be the bell of the clock.
Step#9: Bell of the Clock
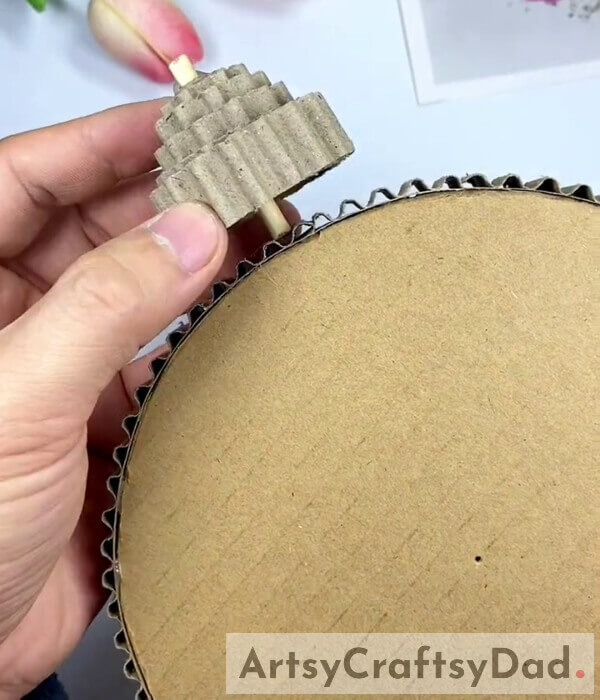
Paste the bell on the left side of the clock first.
Step#10: Second Bell
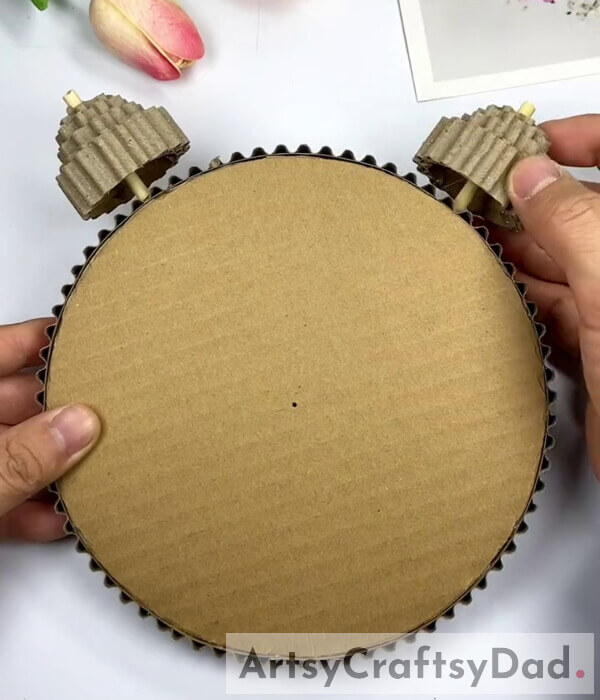
Construct another bell and paste it on the right side of the clock.
Step#11: Another Cardboard Strip
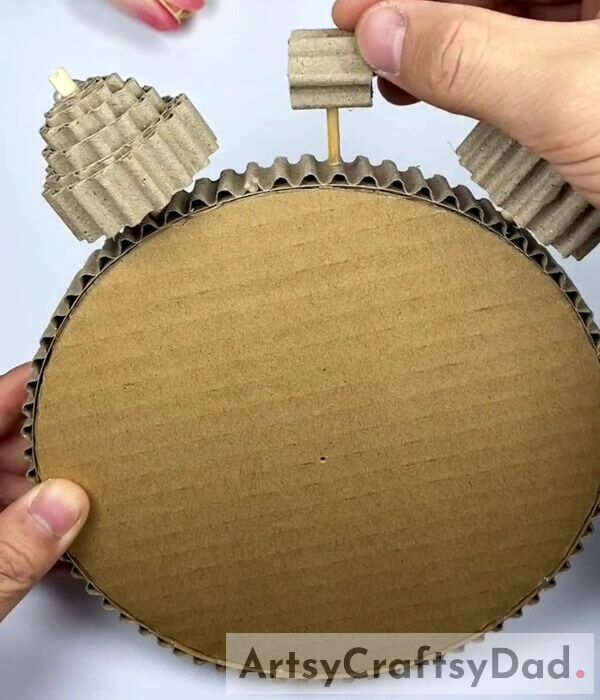
Cut another strip of half of the length make a zig-zag strip and paste it on it. Roll it and insert a piece of slightly thin wooden sticks, insert it from the side. Paste it in the middle of the bells. Also, make two more cardboard strips and paste them at the right and left bottom, this would be the stand of the clock.
Step#12: White Circular Sheet
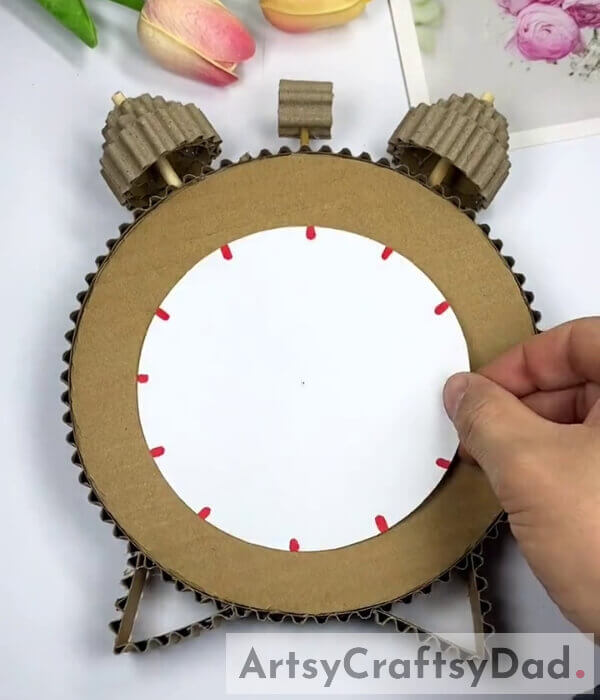
Now, cut a white circular sheet and paste it on the disc on which the cardboard square is not pasted. Mark the 12 houses on it using a red marker.
Step#13: Clock Hands
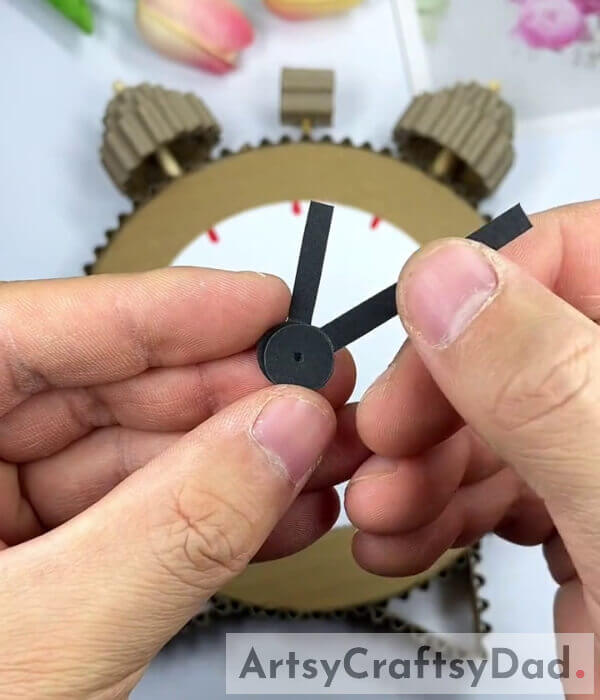
Take a black sheet draw minute and hour hands on it and cut them off.
Step#14: Second Hand
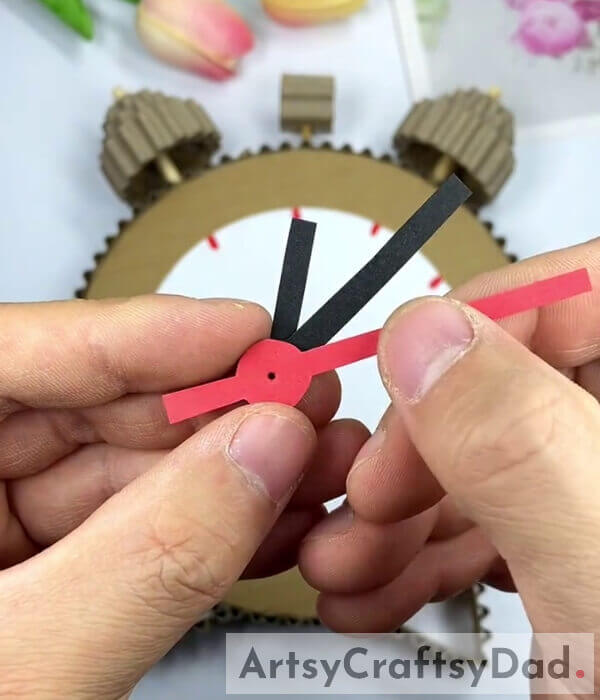
Now, take a red sheet draw a second hand, and cut it off.
Step#15: Fasten The Hands
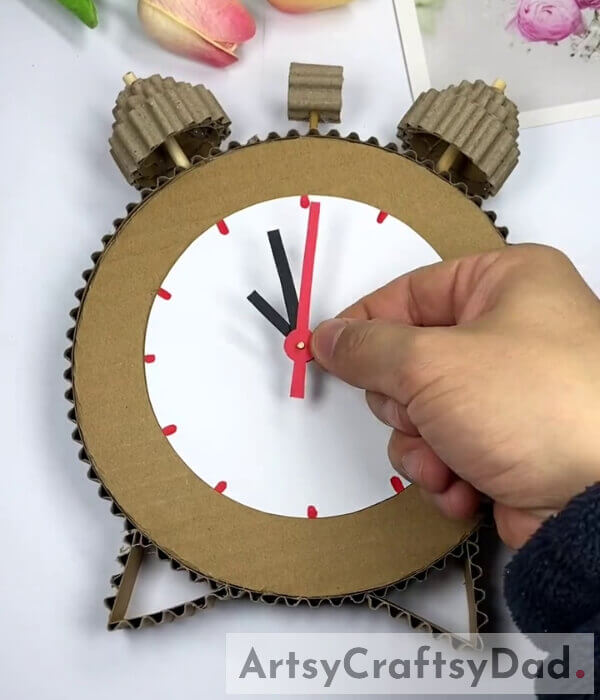
Now, paste these hands on the clock using a board pin. Write numbers on each house using a Sharpie.
Cardboard Alarm Clock Model Craft Tutorial – For Kids
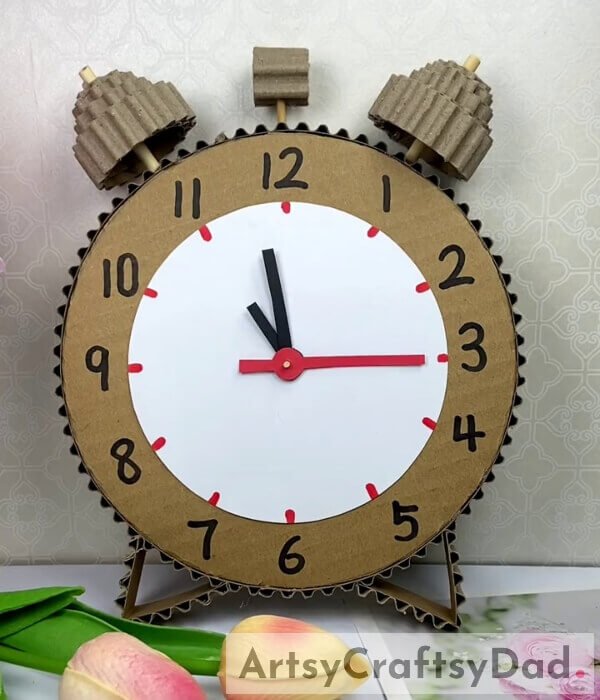
With this, you have come to the end of the cardboard clock model craft tutorial. This was a good learning experience for kids as they learned about making a clock model by using cardboard. This craft idea would teach students about houses and the hands of the clock. This must be fascinating for kids of 9-14 years of age. This clock looks very cool. Kids have learned about a new mechanism from this tutorial. It could be used for room decor.
Hope you liked this cardboard clock model craft step-by-step tutorial. Don’t forget to share your comments and inform us about your experience. Make sure to revisit our website!
Thanks for visiting our website.
You May Also Like
- Clay Flower Pot Model Craft Tutorial For Kids
- Fruit Foam Net Pineapple Model Craft Tutorial
- Paper Flower Garden Craft Tutorial For Kids
- Ribbons Pom-Pom Flower Craft Tutorial For Kids
- Ribbon Blooming Flower Craft Tutorial For Kids


