Learn how to make a polymer clay miniature doctor set with this easy craft tutorial. Follow along as we guide you through the step-by-step process of creating your adorable doctor-themed miniatures. From stethoscopes to syringes, this tutorial covers all the essentials for your polymer clay doctor collection. Get creative and have fun as you bring your miniature doctor’s office to life! Perfect for dollhouse enthusiasts and polymer clay hobbyists.
Polymer clay crafting has become increasingly popular in recent years, attracting both hobbyists and professionals alike. With its versatility and endless possibilities, polymer clay allows artists to create intricate and detailed miniatures. In this tutorial, we will explore how to make a miniature doctor set using polymer clay. From a stethoscope to a syringe, we will guide you step by step through the process, providing tips and techniques along the way. Whether you are a seasoned clay artist or a beginner looking to try something new, this tutorial is sure to inspire and assist you in creating your very own polymer clay miniature doctor set. Let’s get started!
Miniature Doctor Set Polymer Clay Craft Tutorial
Must Read: How to make polymer clay calla lily necklace
Supplies & Tools
- Polymer Colored Clays (Yellow, Sky-Blue, White, Red, Black, Light Green)
- White Craft Paper
- Transparent Acrylic Sheet
- Black Marker Or Pen
- Googly Eyes
Miniature Doctor Set Instructions
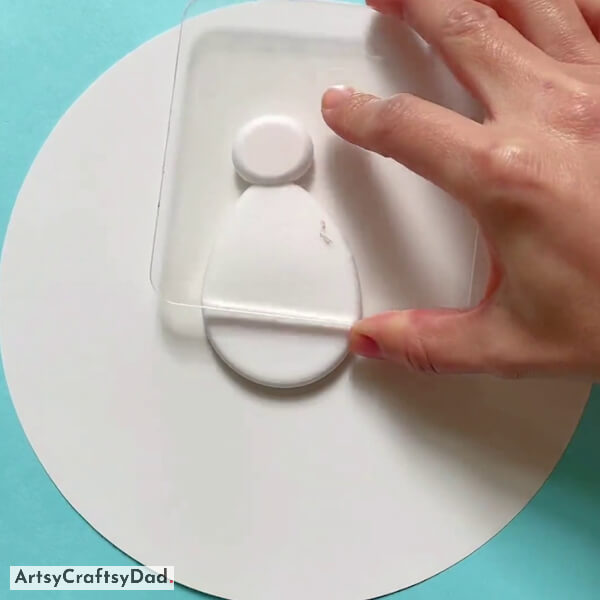
Step #1: Taking White Clay
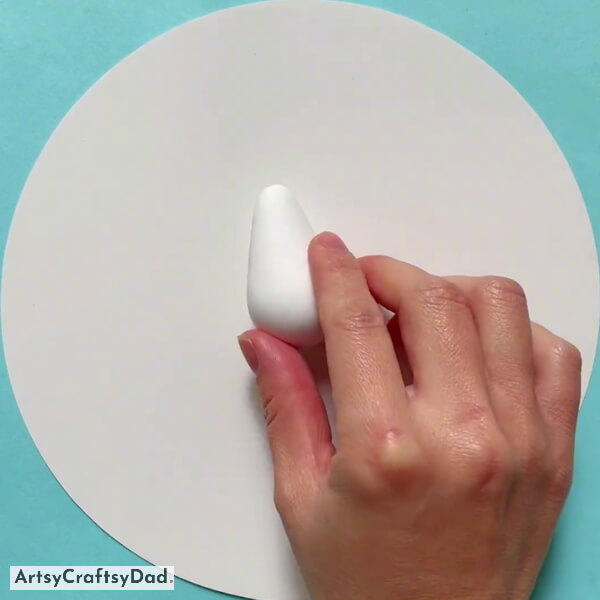
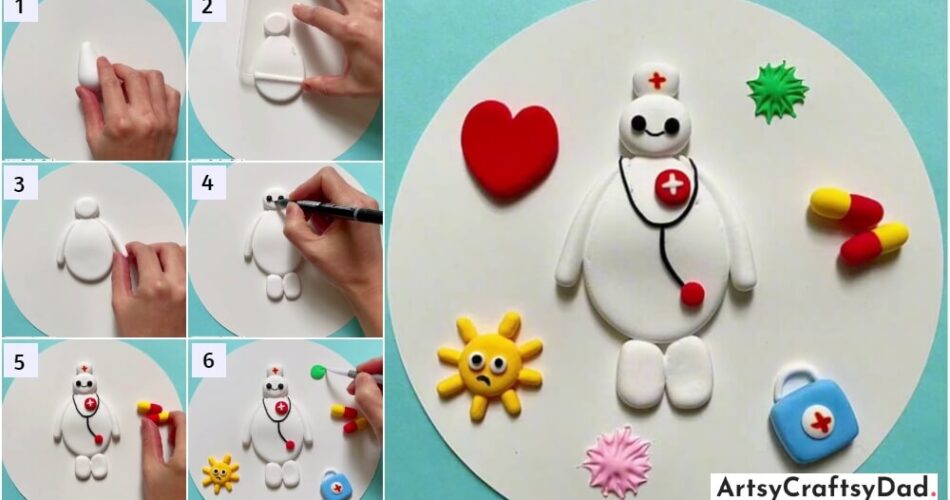
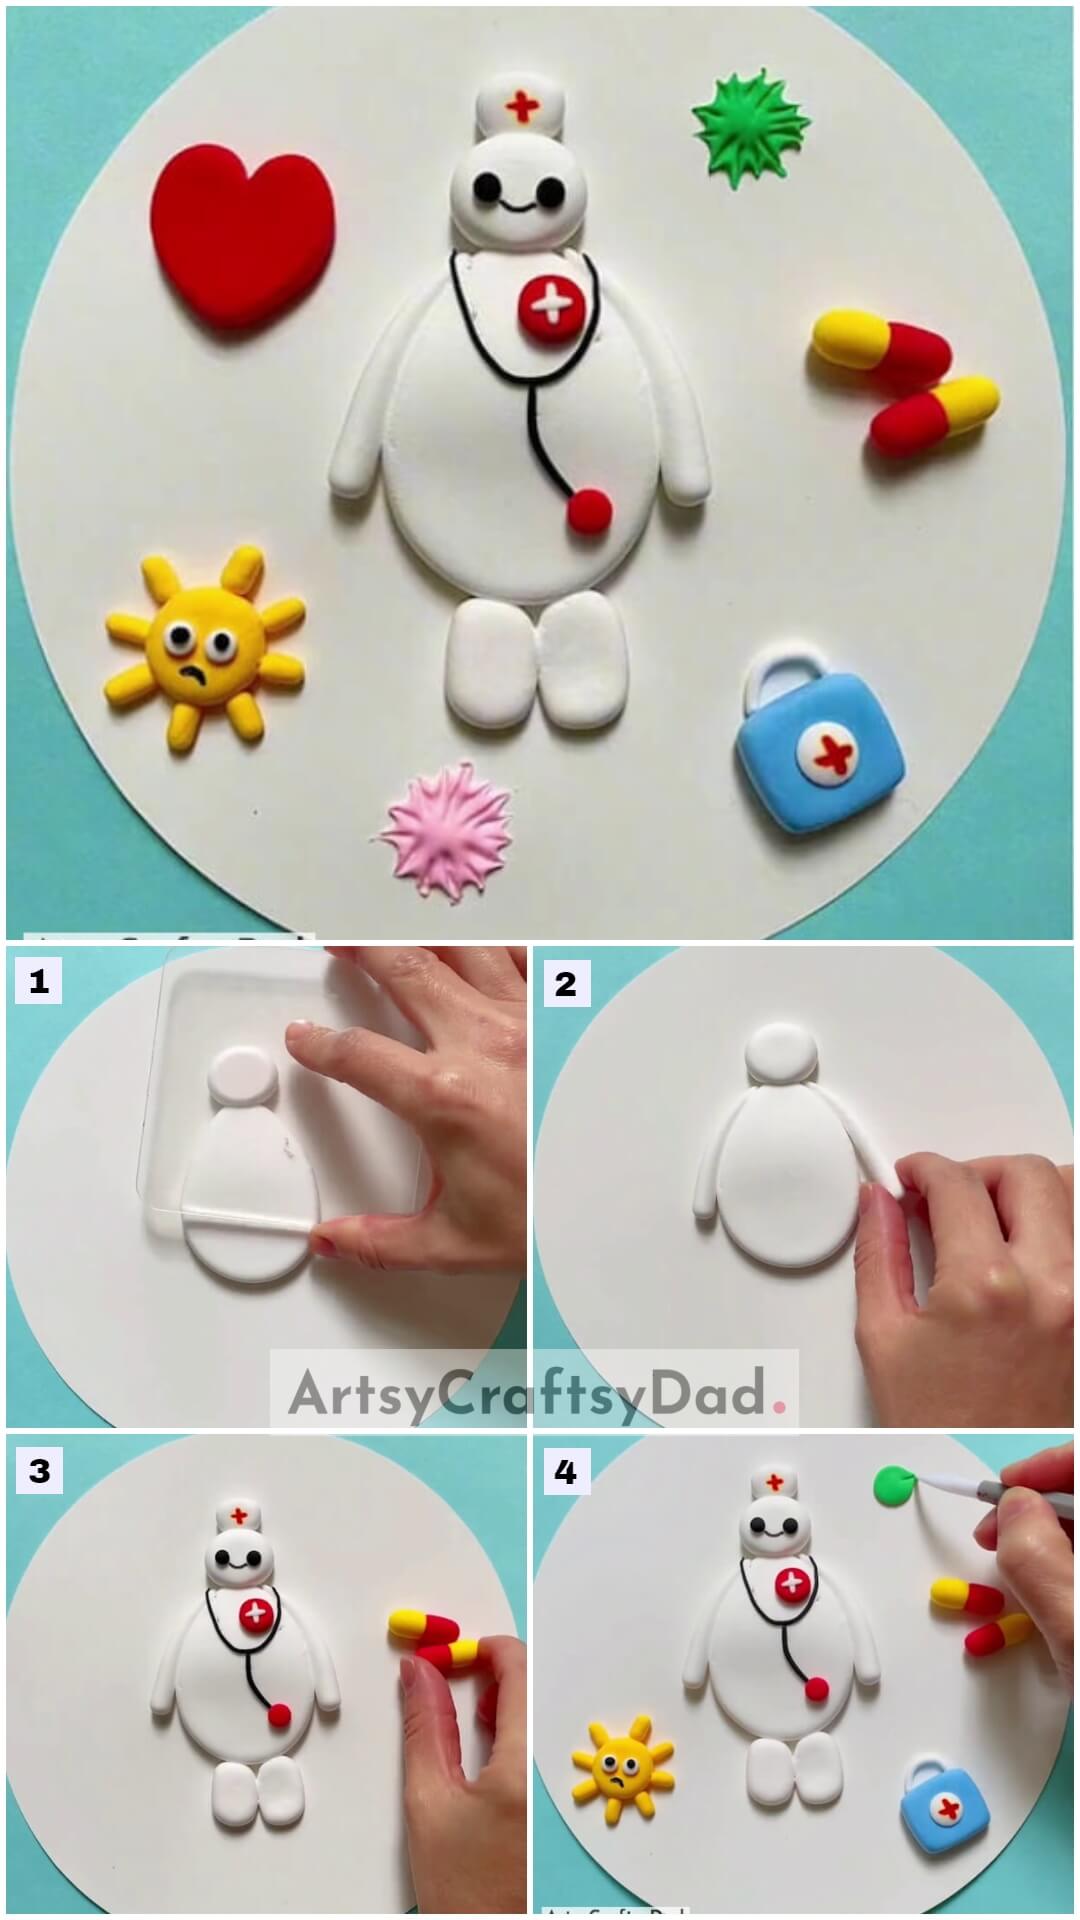
Take a white craft paper & cut it into a circle using scissors. Take a piece of white clay & make an oval shape of it.
Step #2: Making Doctor Body
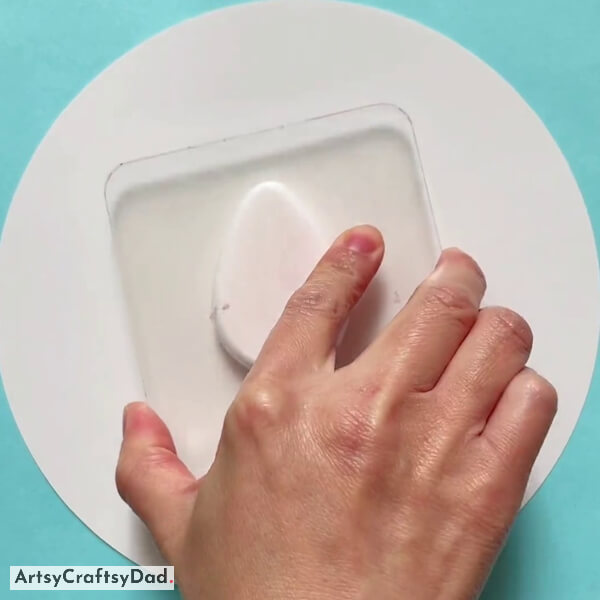
Now, make a doctor’s body from white clay & press it with the help of a transparent acrylic sheet.
Step #3: Making Head For Doctor
Take a piece of white clay & make a circle for the head & put it on the top of the oval-shaped clay & press it.
Step #4: Making Hands
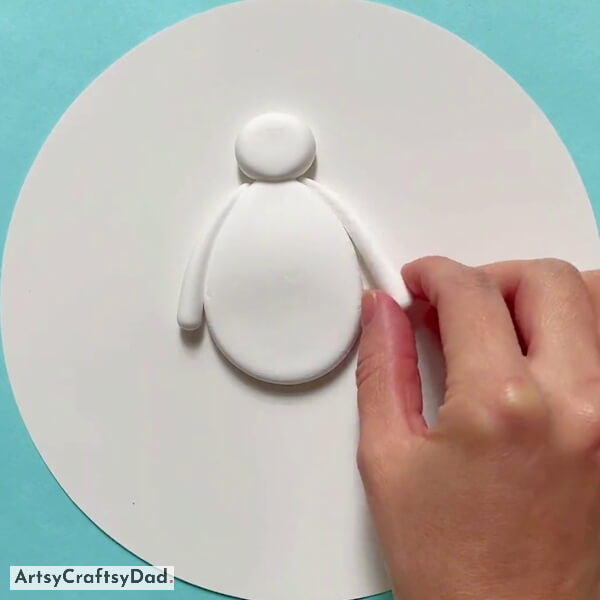
Take a piece of white clay & make two thin rolls of it for the hands of the doctor. Now, paste one hand on the left side near the neck part & follow the same process for the other hand.
Step #5: Making Eyes, Mouth & Legs
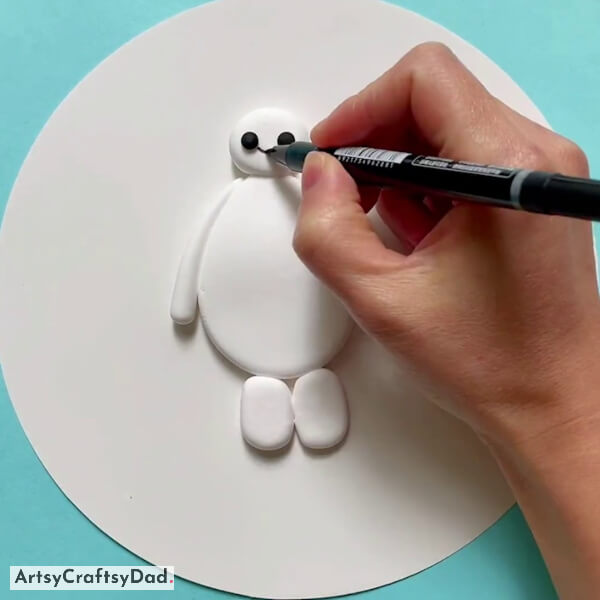
Take a piece of black clay & make two little circles for the eyes & paste it.
Take a black marker or pen & draw a curvy line just under the eyes.
Take white clay & make two small squares with rounded corners for legs & paste them on the lower side of the doctor’s body.
Step #6: Making “+” Sign
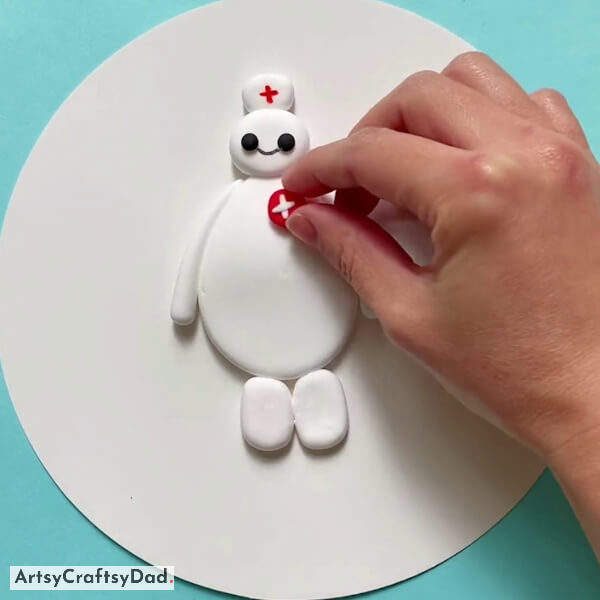
Take a piece of white clay & make a little circle of it & paste it on top of the doctor’s head using glue & draw a “+” sign using a red color sketch.
Take a small piece of red clay & make a little circles of it & use white clay to make a “+” sign on it. Then paste it on the left part of the doctor’s body
Step #7: Making Stethoscope & Capsules
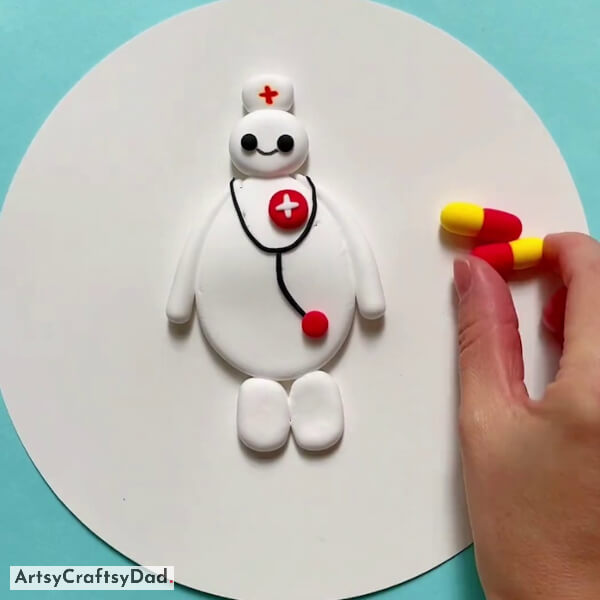
Take a piece of black & red clay. Make all parts of the stethoscope with black clay & lower bell part with red clay as shown in the above figure.
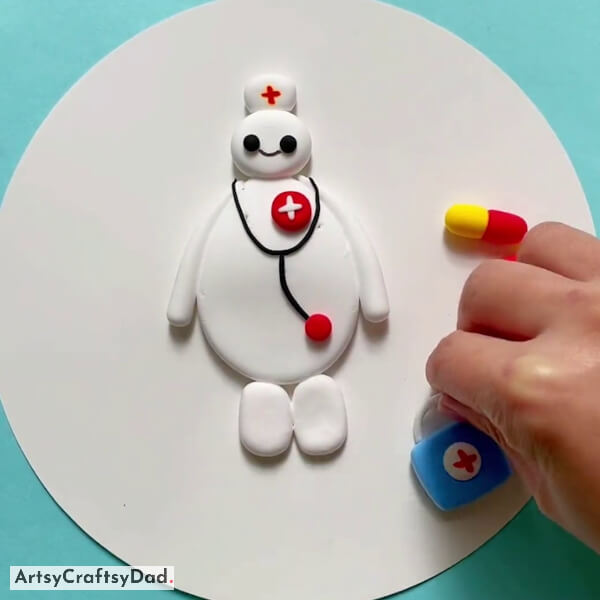
Step #8: Making Briefcase
Use yellow, and red clay & make two capsules from it as shown in the above image.
Take sky-blue clay & make a square shape it with rounded corners & white clay thin roll for the briefcase & paste it over the blue square shape. Take white clay & make a little circle of it & use red clay to make a “+” sign & paste it on the white circle. Now, paste it on the briefcase.
Step #9: Making Sun & Paste Green Clay
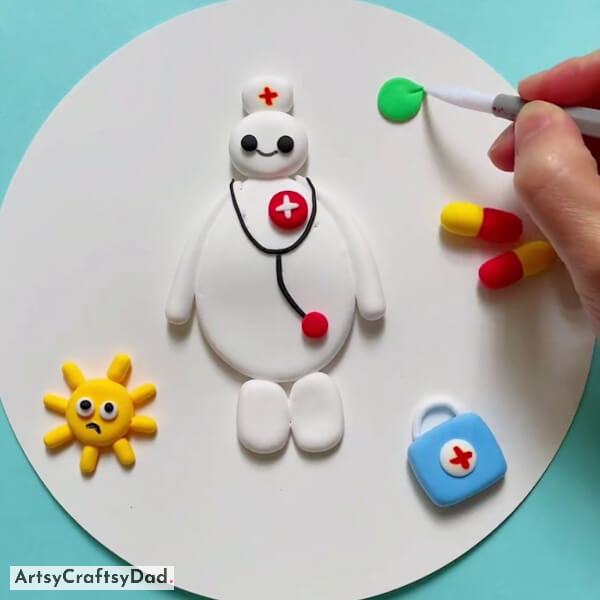
Take a piece of yellow clay & make a circle shape then put it on the bottom left side of the white craft paper. For the rays of the sun, make little rolls of yellow clay & paste them around the yellow circle. Take two googly eyes & paste them on the sun. Take a black marker & draw a curve under the eyes for the sun’s mouth.
Take a green clay & put it on the upper left of the white paper craft.
This Is The Final Look Of Our Polymer Clay Miniature Doctor Set!
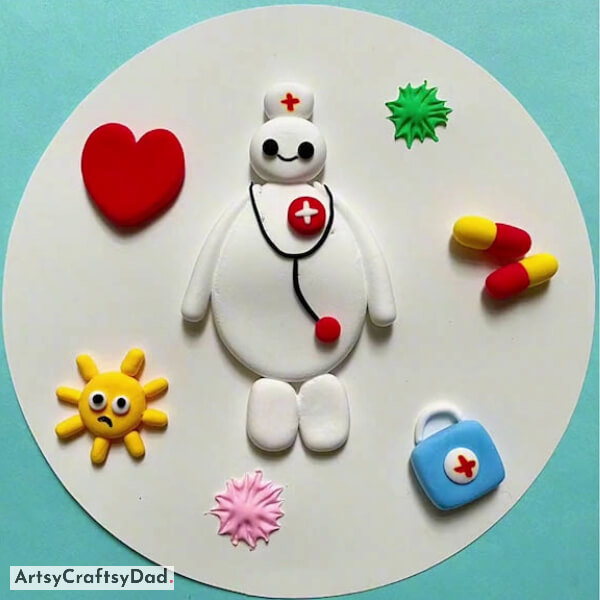
Now, make a flaky shape of green clay as shown in the above figure. Take a piece of pink clay & paste it on the bottom left side of the craft paper & follow the same procedure as we did for green clay.
Finally, we have completed our polymer clay miniature doctor set craft. This craft allows for endless possibilities of customization and personalization. Whether you are a beginner or an experienced polymer clay artist, all these step-by-step instructions and helpful tips to help you create your miniature doctor set by adding your ideas. From stethoscopes to syringes, the possibilities are endless when it comes to creating miniature medical tools with polymer clay. So, gather your materials and get ready to unleash your creativity as you embark on this delightful craft project. Don’t forget to share your thoughts in the comment section because we love to hear your thoughts about our crafts.
Thanks for visiting our website!
You Might Also Like
- How To Make New Year’s Toys from Polymer Clay
- Polymer Clay Mushroom Tutorial For Kids
- DIY Frog & Tadpole Clay Craft Tutorial In Pond
- Clay Chicks In Garden Craft Tutorial
- How to make a polymer clay butterfly fairy doll


