Looking for a fun and creative DIY project? Check out our step-by-step frog and tadpole clay craft tutorial in pond! Learn how to make adorable clay sculptures of frogs and tadpoles, perfect for decorating your garden or adding a touch of nature to your home. Get inspired and start crafting today!
Are you looking for a fun and creative craft project to do with your kids? Look no further than this DIY frog & tadpole clay craft tutorial in Pond. This tutorial will guide you step by step in creating adorable clay frogs and tadpoles, complete with their little pond. Not only will this project provide hours of entertainment, but it also offers a great opportunity to teach children about the life cycle of frogs and the importance of preserving natural habitats. So, gather your materials and get ready to make a masterpiece.
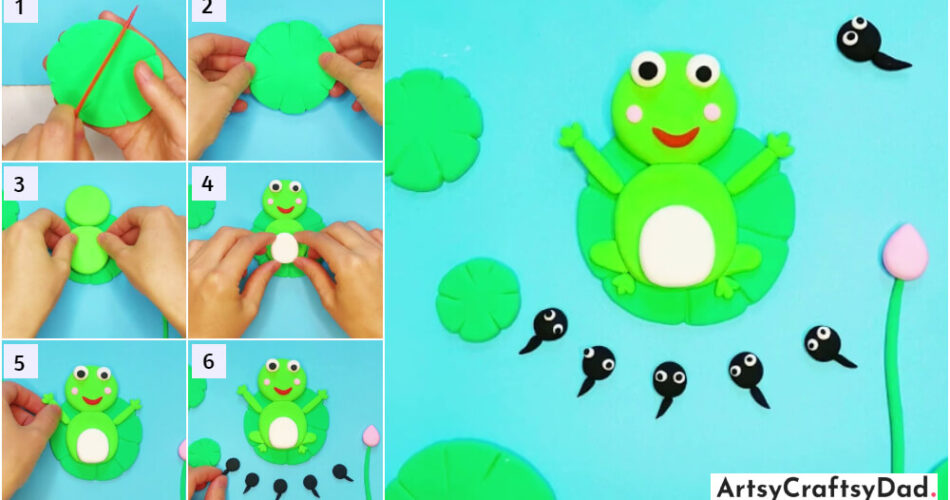
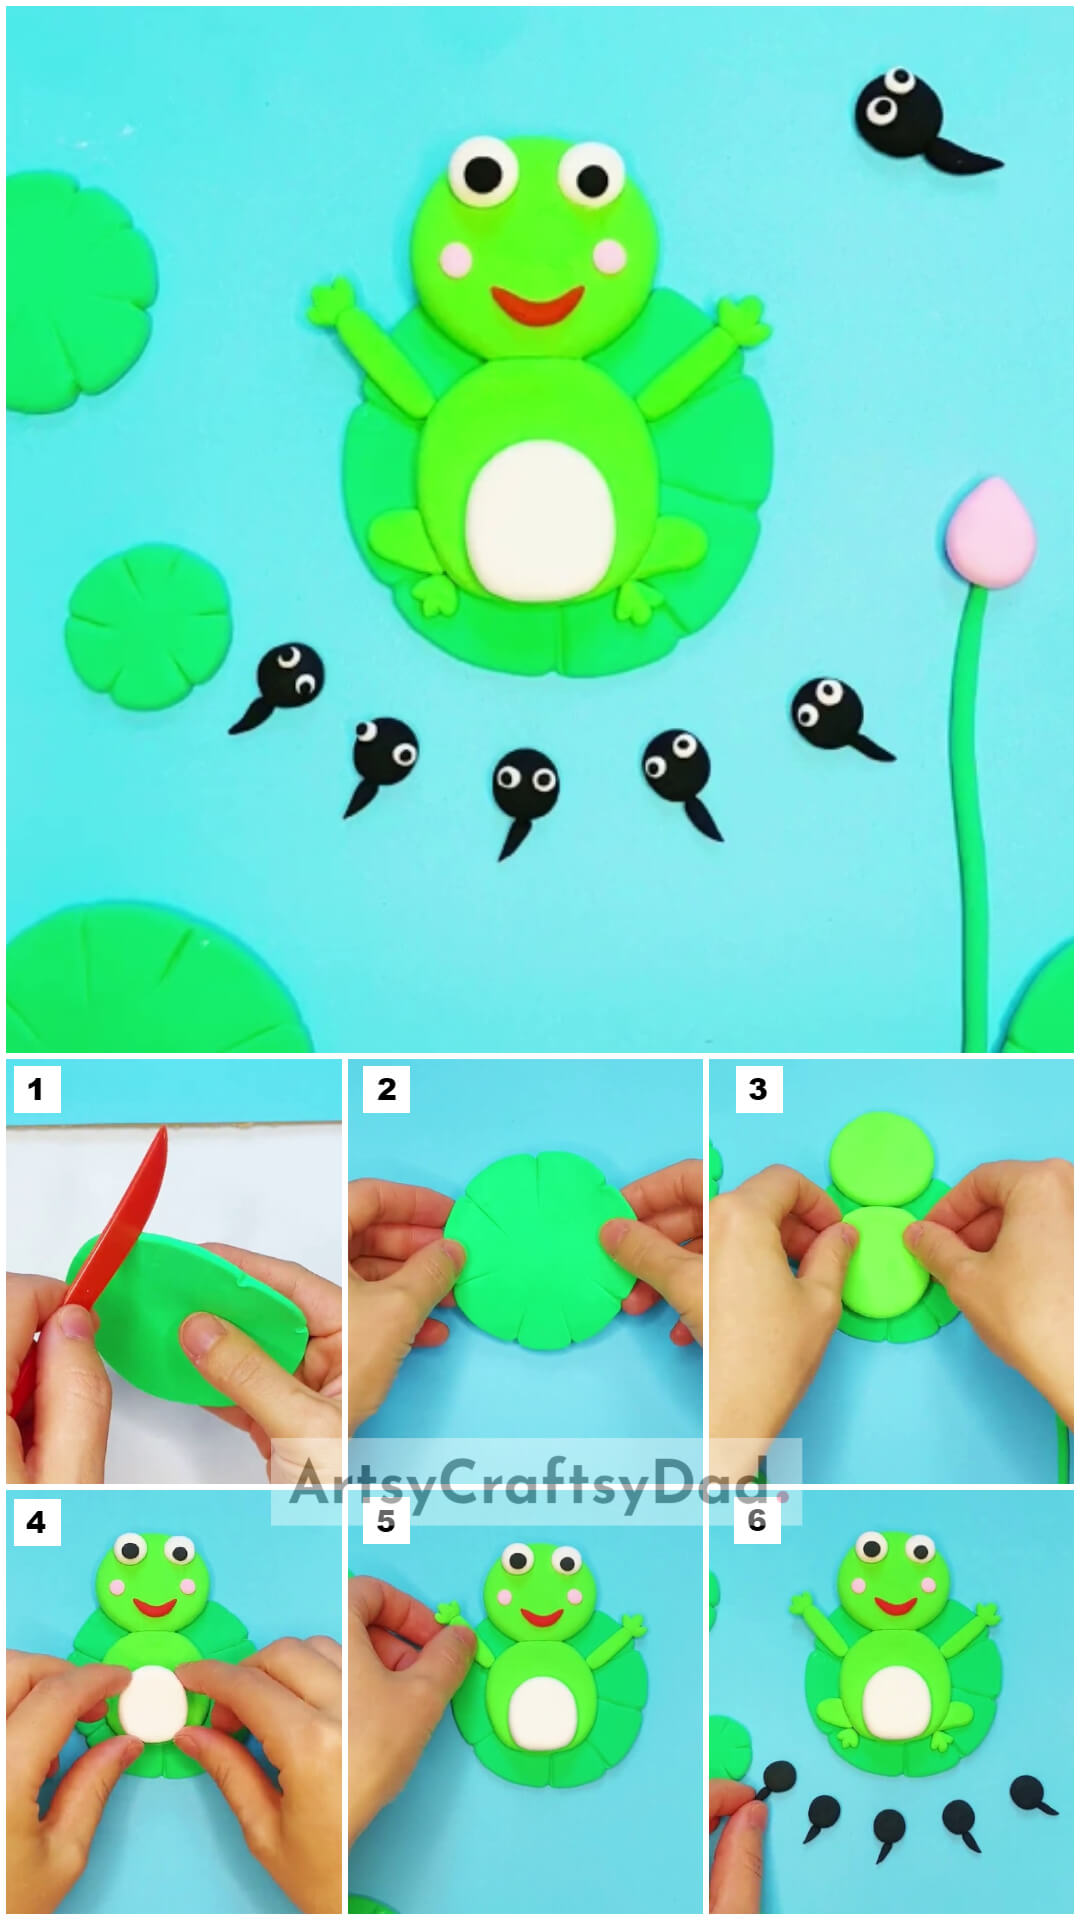
DIY Frog & Tadpole In Pond Craft Made With Clay
Must Read: Leaf Frogs In Pond Scenery Craft Tutorial For Kids
Supplies & Tools
- Sky Blue Color Craft Paper
- Colored Clays (Green, Light Green, White, Black, Red, Baby Pink)
- Plastic Knife
- Colored Paper (Sky Blue)
- Polymer Clay Pressing Tool
Frog & Tadpole Clay Craft Tutorial
Step #1: Making a Ball of Green Color Clay
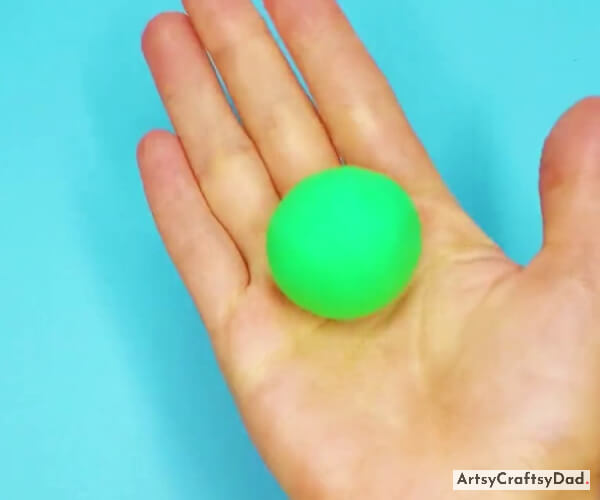
First, take a sky-blue color paper to make a pond for the frog. Then take a piece of green clay & make a ball shape from it.
Step #2: Pressing Green Ball

Now put that green ball down & press the green clay ball with the help of a polymer clay pressing tool.
Step #3: Making Cuts On Green Clay
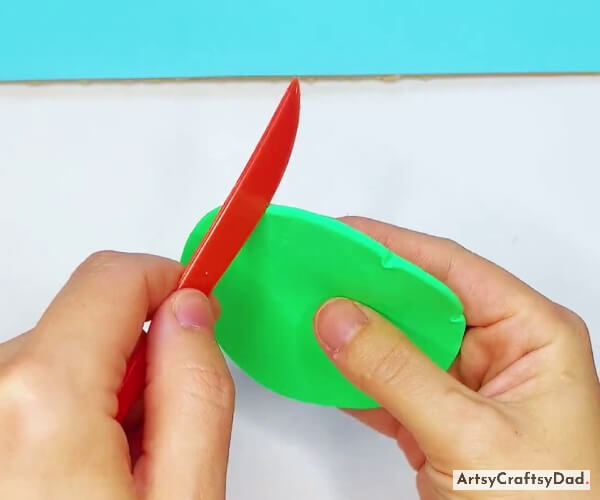
Now, we are going to make some cuts on a pressed clay ball with the help of a plastic knife.
Step #4: Making Some More Cuts
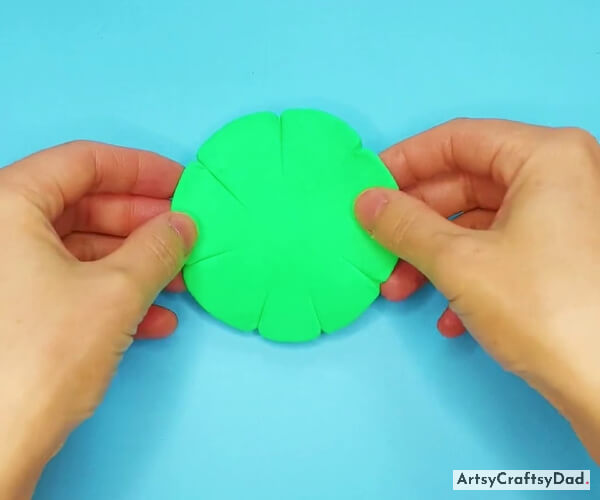
Make some more cuts on that pressed clay ball with the help of a plastic knife.
Step #5: Making More Clay Balls With the Same Process
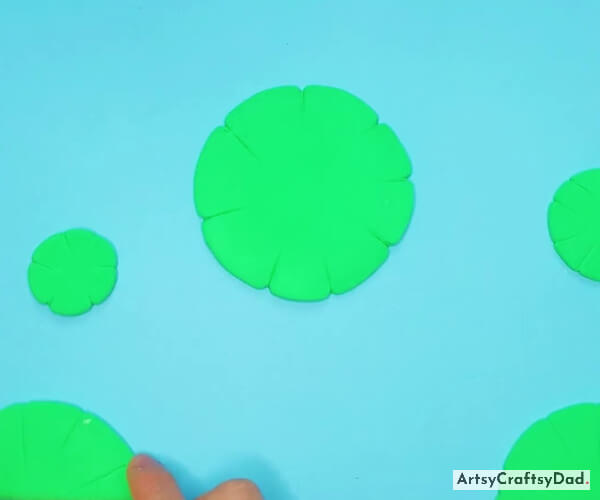
Now we make more green clay balls & press them one by one with the help of a polymer clay pressing tool & follow the same procedure as in the above steps. After that paste them on blue paper one by one.
Step #6: Making a Flower From Baby Pink Color Clay
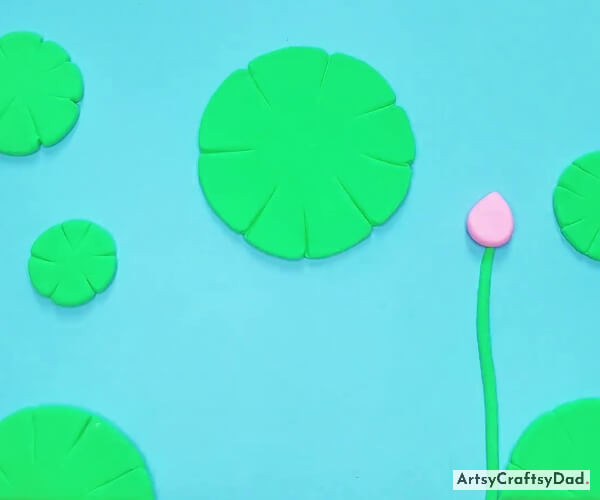
Take a baby pink color clay & make a flower from it as shown in the above image. Now we take green clay & make a thin line for the stem of the flower. Paste the pink flower and stem on the bottom right side of the blue paper.
Step #7: Making Frog Body From Light Green Clay
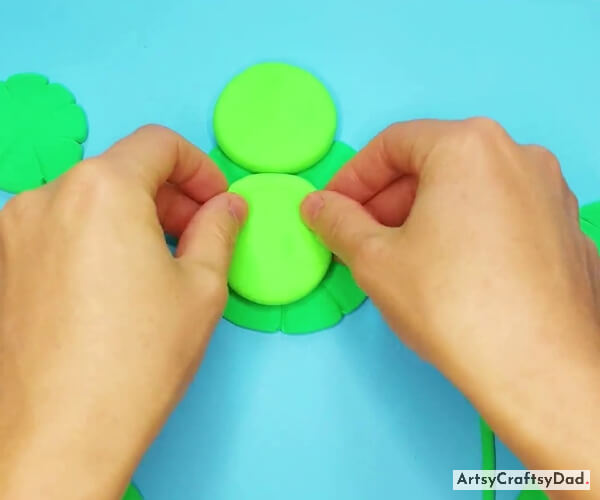
Take two light green color clay and make a ball of them. Now press those two light green color clay with a polymer clay pressing tool. After that paste them on the dark green pressed ball which is at the center as shown in the above image.
Step #8: Making White Color Clay
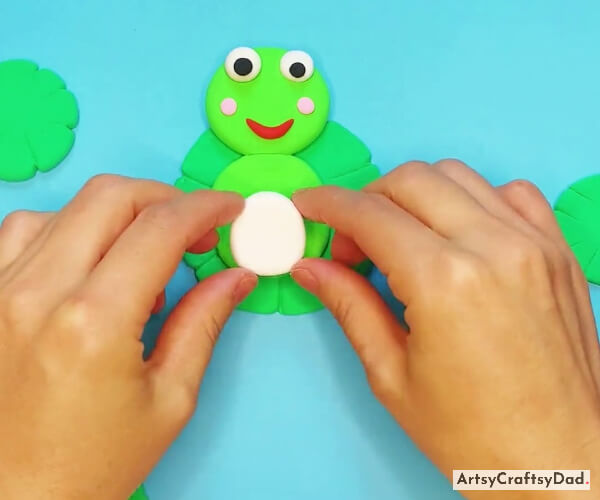
Now, we are going to make the eyes, mouth, and belly of the frog. Make two small circles of the same size from white clay & two more little circles of black clay. Paste two white circles on the top of the head of the frog then two little circles of black clay on these white circles. Paste two baby pink color clay circles of the same size on the cheeks of the frog. Grab red color clay & make a little curvy line from it & paste it under the frog’s eyes to make its mouth. Now take a piece of white color clay & make a ball of it & press it with the help of a polymer clay pressing tool. Then paste it on the belly of the frog.
Step #9: Making Frog Hands
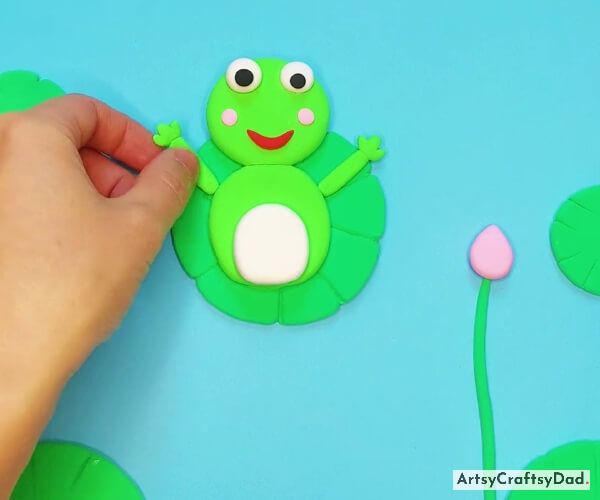
Take a small piece of light green clay and make two little hands for the frog. Now paste them on the left & right sides of the lower body of the frog.
Step #10: Pasting Pressed Black Clay Little Circles
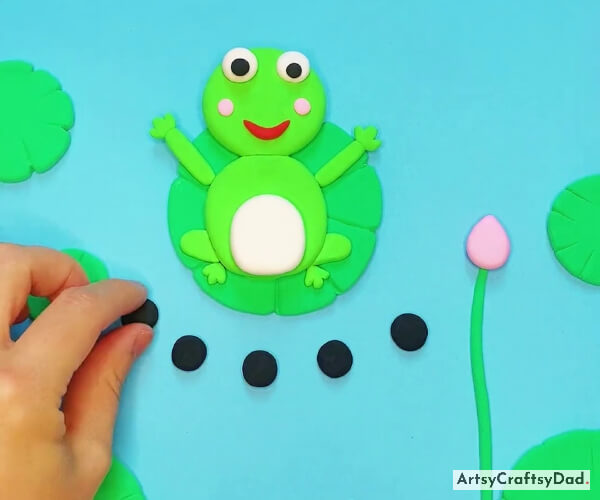
Make feet for the frog with green clay and paste them on the lower body of the frog. Take black color clay & make five little balls from it. Then press them with the help of your finger & paste them under the frog in a little curvy order to make tadpoles.
Step #11: Making Tail Fins For Tadpoles
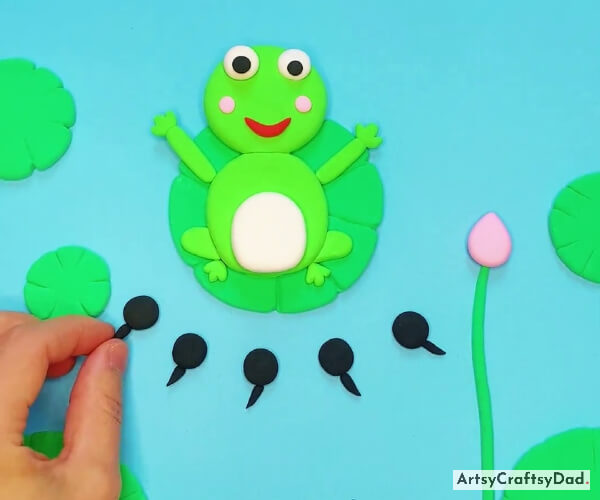
Take black color clay & make tail fins for all five tadpoles. Now paste them below these little black clay circles one by one.
Step #12: Detailing the Tadpoles
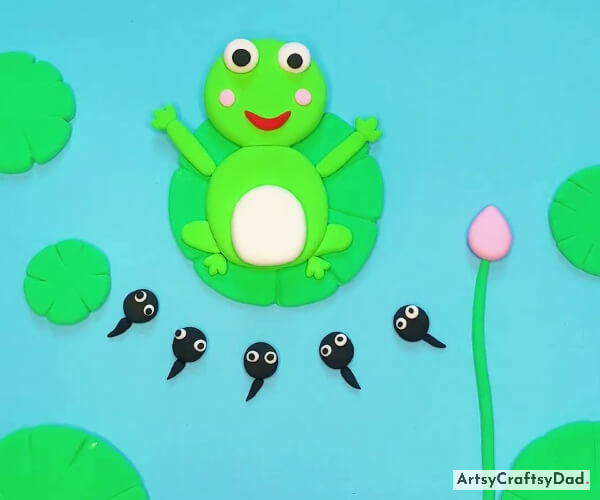
Take white & black color clay. Now make little circles of white & black color clay. Now first paste a white circle on the tadpole head then a black circle on it. Follow this same procedure on all tadpoles.
Tada! Our Frog & Tadpole Clay Craft In Pond Is Ready!
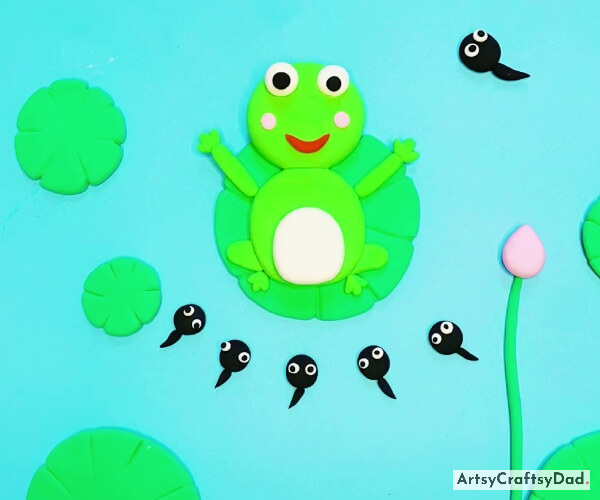
Make another Tadpole with the same process and paste it on the top right of the sky-blue paper. After pasting the last tadpole our craft will look like this. Hurry! our frog & tadpole clay craft in the pond is ready.
Yahoo, we have created a beautiful & creative frog & tadpole clay craft. Creating a DIY frog and tadpole clay craft tutorial in a pond can be a fun and educational activity for both children and adults. Not only does it provide a hands-on experience in sculpting and painting, but it also allows for a deeper understanding and appreciation of the life cycle of frogs and their importance in the ecosystem. By immersing ourselves in nature and fostering creativity, we can foster a love for these fascinating creatures and inspire future generations to protect and preserve our natural habitats. Please don’t forget to share your thoughts in the comment section. We love to hear your thoughts & you could share some new ideas with us for future crafts.
Thank you for visiting us! Keep visiting our website for more new craft ideas in the future.
You May Also Like
- Clay Flower Pot Model Craft Tutorial For Kids
- Designer Chicks: Tissue And Clay Craft Tutorial
- Colorful Clay Cactuses Craft Tutorial For Kids
- Clay Flower Vase Model Craft Tutorial For Kids
- Mini Rose Bouquet: Clay & Surgical Mask Craft Tutorial


