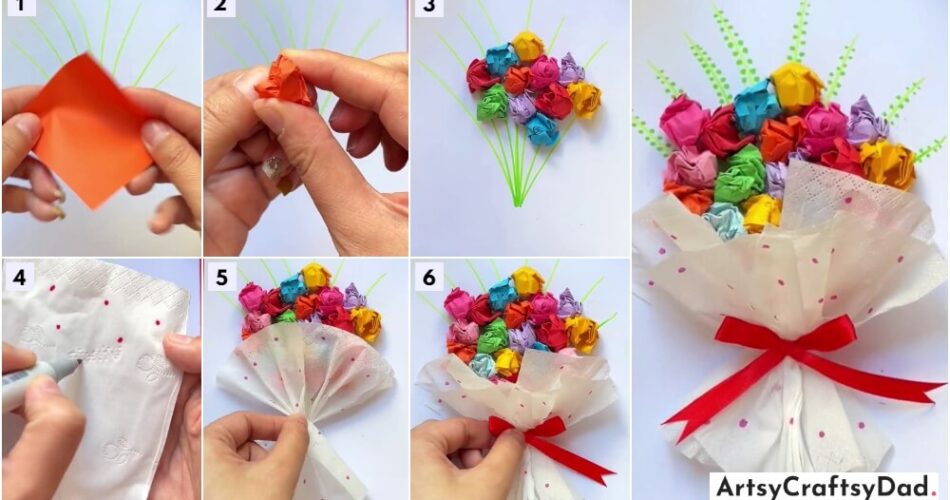
Learn how to create a beautiful paper lump flower bouquet with this fun and easy craft tutorial for kids. Using simple supplies like colored paper, tissue paper, scissors, and glue.
Looking for a fun and creative craft project to do with your kids? Look no further than this Paper Lump Flower Bouquet Craft Tutorial! This simple and colorful DIY paper project is perfect for children of all ages and will provide hours of entertainment. With just a few supplies and easy-to-follow instructions, your kids will be able to create their very own beautiful bouquet of paper lump flowers. You just need tissue paper, paper, glue, scissors, and craft paper. Let’s get crafting!
Lovely Flower Bouquet Craft Using Paper Lump

Must Read: Paper Flower Bouquet Artwork Craft Tutorial For Kids
Supplies & Tools
- Colored Craft Papers (Pink, Red, Sky-Blue, Yellow, Purple, Green)
- Sketch Pens (Green, Pink)
- Glue
- Two Tissue Paper
- Red Ribbon
Lump Flower Bouquet Craft
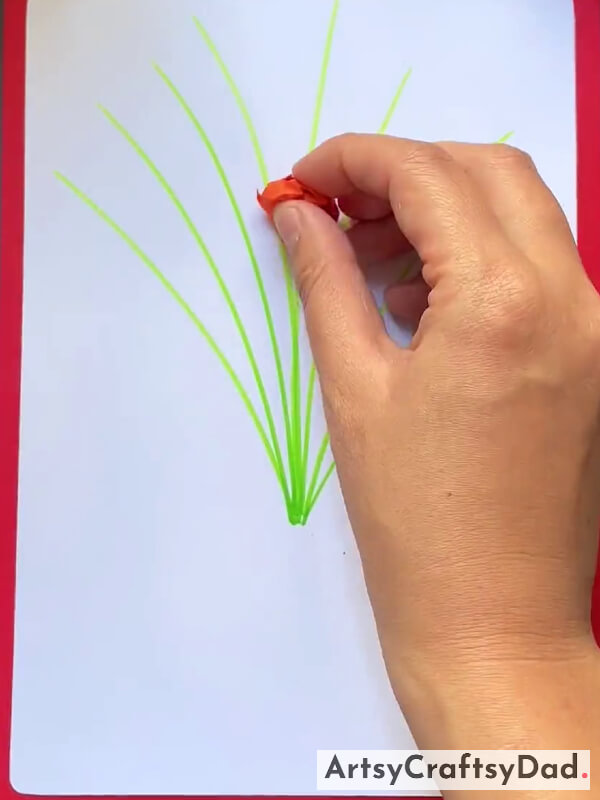
Step #1: Drawing Flower Stems

Firstly, we take white craft paper and a green color sketch. Then draw the stems using the green sketch color.
Step #2: Taking A Orange Colored Paper

Now, take an orange paper & cut it into a square shape to make a beautiful flower.
Step #3: Making A Flower

Now, we make a lump from that orange craft paper as a flower.
Step #4: Pasting The Flower
In this step, paste a lumped flower with the help of glue in the middle on the stems as shown in the image.
Step #5: Pasting More Flowers
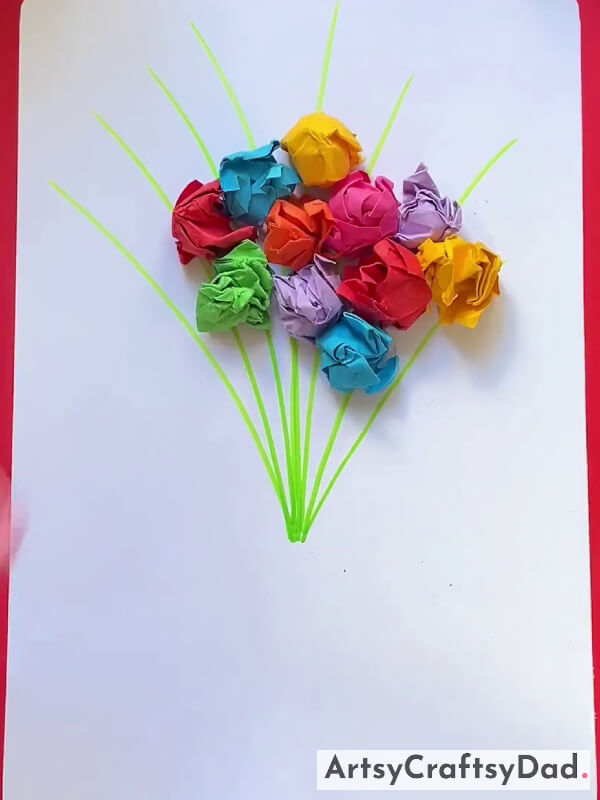
In this step, we take a different color of scrub paper and make a flower with the same process. then paste the flower on the stems using glue.
Step #6: Complete Pasting Flowers
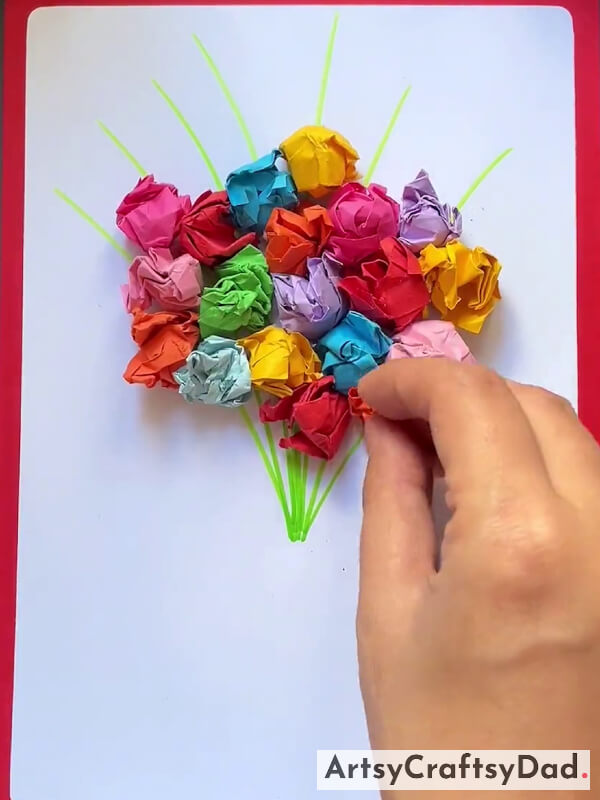
In this step, make and paste more flowers using the same process.
Step #7: Creating Dots

Now, we take tissue paper and create pink dots with the help of a pink sketch.
Step #8: Collecting Tissue Paper
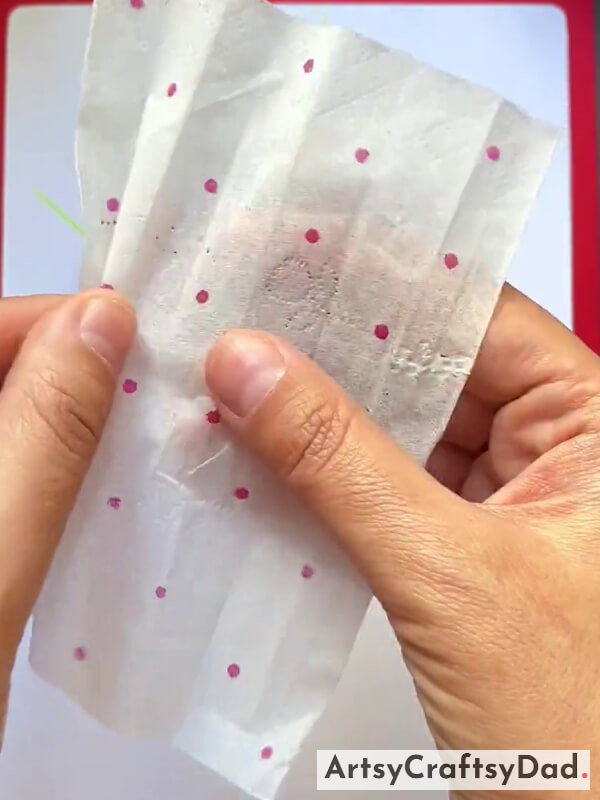
In this step, we complete the pink dots using the pink color. Then, we collect tissue paper to make a bouquet as shown in the image.
Step #9: Holding The Tissue Paper
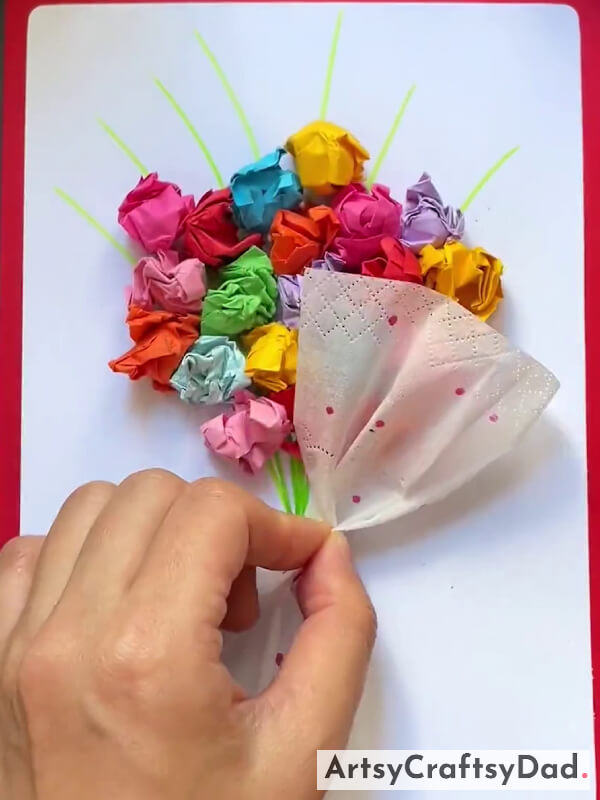
In this step, press the tissue paper from the center to make a flower bouquet.
Step #10: Taking Another Tissue Paper

In this step, make another tissue paper bouquet.
Step #11: Pasting The Tissue Paper

In this step, paste both bouquets on the lower side of the flowers.
Step #12: Pasting The Ribbon Bow
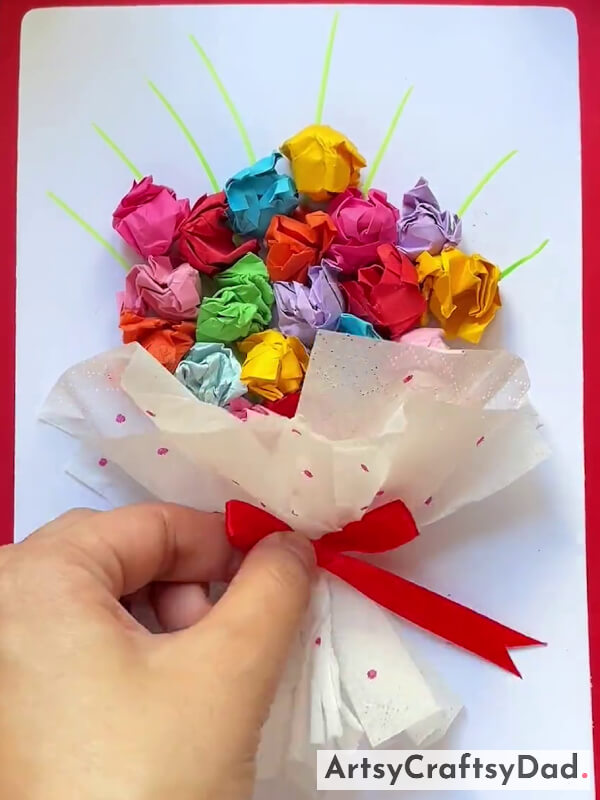
In the last step, take a red ribbon & make a bow shape, and paste it on the bouquet.
Final Glimpse Of Our Paper Lump Flower Bouquet Craft!

Complete our craft by drawing leaves on the stems using the green marker.
Our beautiful paper lump flower bouquet craft has finished here. For trying some more crafts like this visit our website where you can get many ideas for your future crafts. You could make this DIY paper flower bouquet craft according to your or could use materials like tissue paper, or crepe paper to make flowers. You could use this beautiful craft in decoration. Don’t forget to drop your feedback in the comment section.
Thanks for choosing us! Have a nice day!
You Might Also Like This
- Flower Bouquet: Clay & Tissue Craft Tutorial
- Paper Flower Craft For Kids To Make With Parents
- Paper Pinwheel Flower Craft Tutorial For Kids
- How to Make Flower Bouquet Pop-up Card
- Flower bouquet pop-up card


