Learn how to make a leaf singing bird craft with this step-by-step tutorial designed specifically for kids. This fun and educational activity will keep children engaged as they learn about nature and develop their fine motor skills.
Are you looking for a fun and creative craft activity for your kids? In this tutorial, we will guide you through the step-by-step process of creating a leaf-singing bird craft. This craft is not only enjoyable but also educational, as it allows children to explore their creativity and learn about different types of birds and their unique songs. So gather some leaves, grab your art supplies, and let’s dive into this exciting crafting adventure!
Attractive Singing Bird Craft Tutorial Using Leaf
Must Read: Leaf Fox Craft Step-by-Step Tutorial For Kids
Supplies & Tools
- Tree leaves (Yellow, Red)
- Green Leaf Stem
- Scissors
- Three Googly Eyes
- Glue
- Black Marker
- White Craft Paper
Singing Bird Craft Instructions
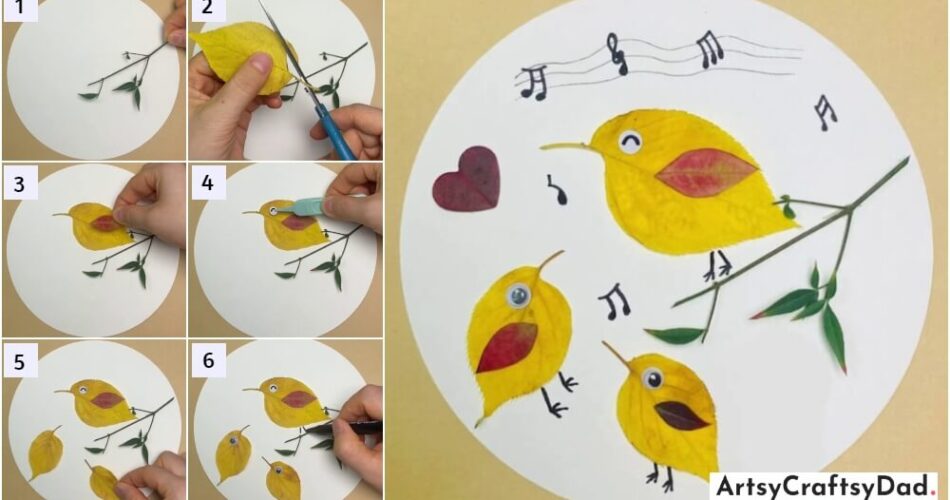
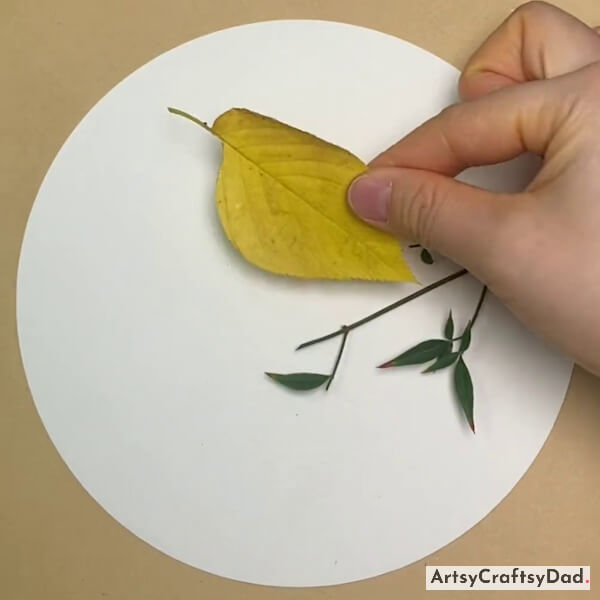
Step #1: Pasting Leaf Stem
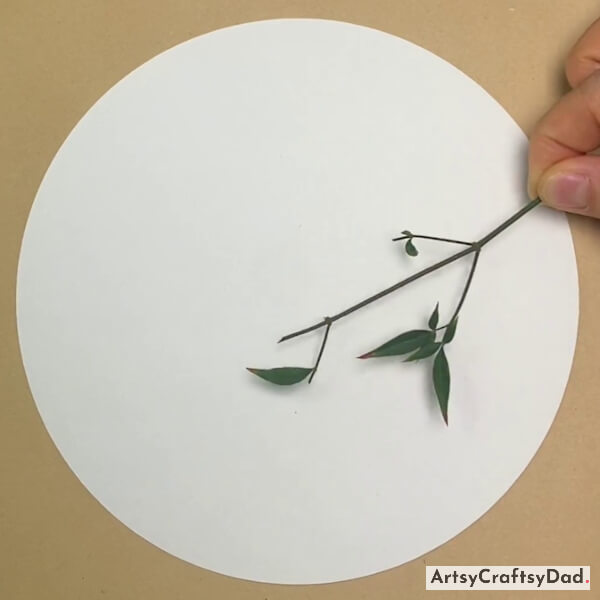
First, take a white craft paper & cut it into a circle & use it as a craft base. Take a small leaf stem along with leaves and paste it on the craft paper.
Step #2: Cutting Leaf
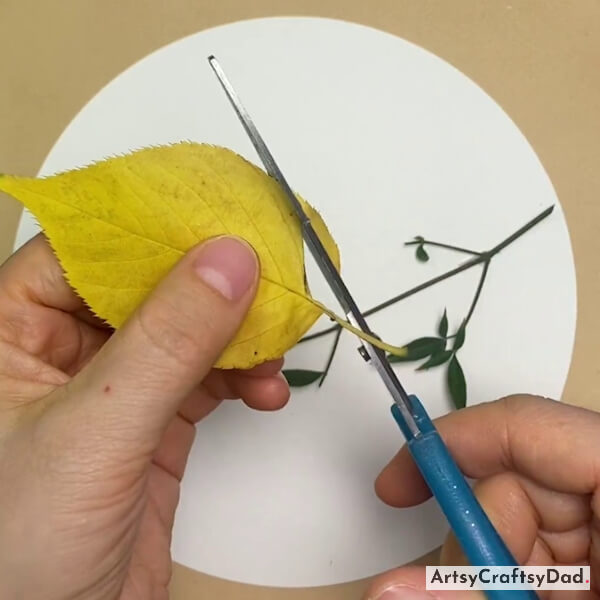
Now, take a large-sized yellow color leaf and cut a small part using scissors to create a bird shape.
Step #3: Pasting Leaf
Paste the leaf on the craft base over the leaf steam as shown in the above image.
Step #4: Pasting Another Red Color Leaf

Paste another small red color leaf on the previously pasted leaf to make the feathers of the bird.
Step #5: Pasting Eyes
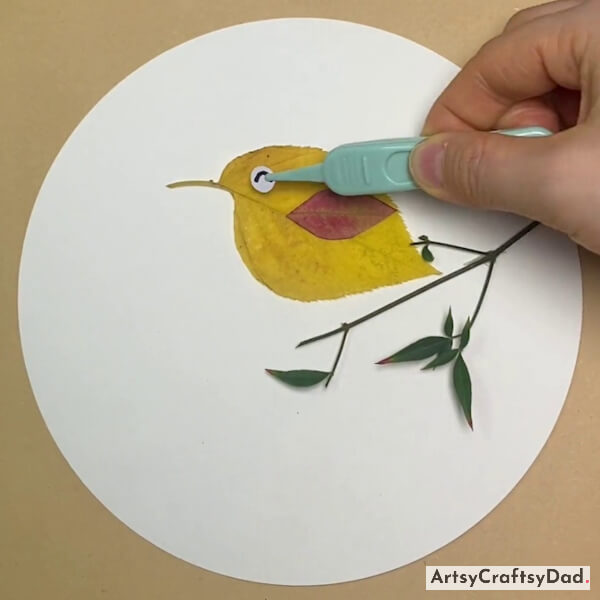
Now, take a piece of white craft paper & cut it into a little circle & paste it on the bird’s face then draw a curvy line on it using a black marker.
Step #6: Making Another Bird
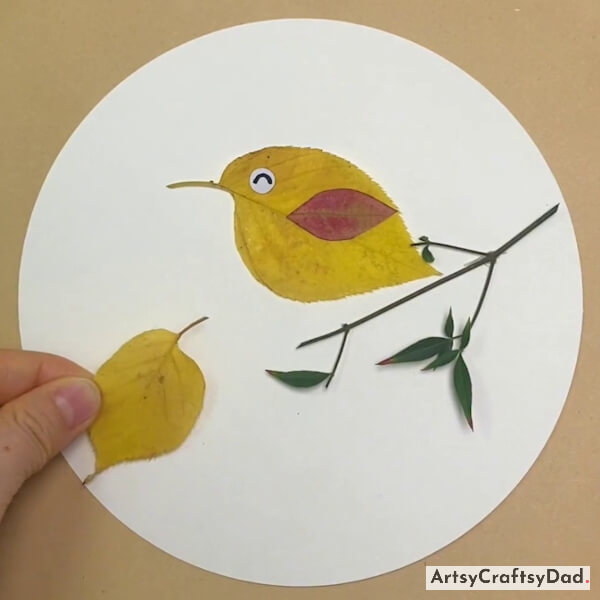
Make another bird’s body using a leaf by following the same steps.
Step #7: Making One More Bird
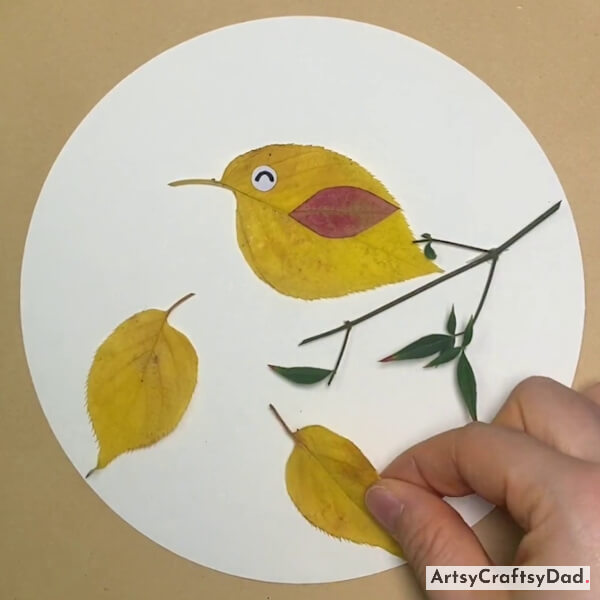
Make one more bird’s body & paste it as shown in the above image.
Step #8: Pasting Googly Eyes
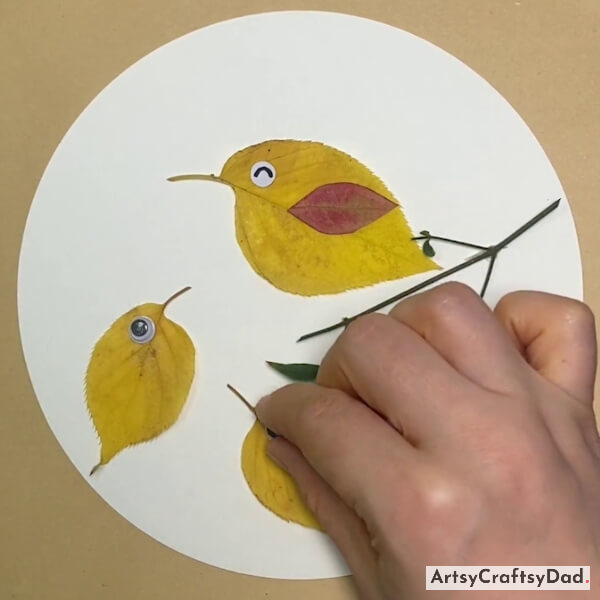
Paste googly eyes on both bird’s faces using glue.
Step #9: Drawing Birds Leg
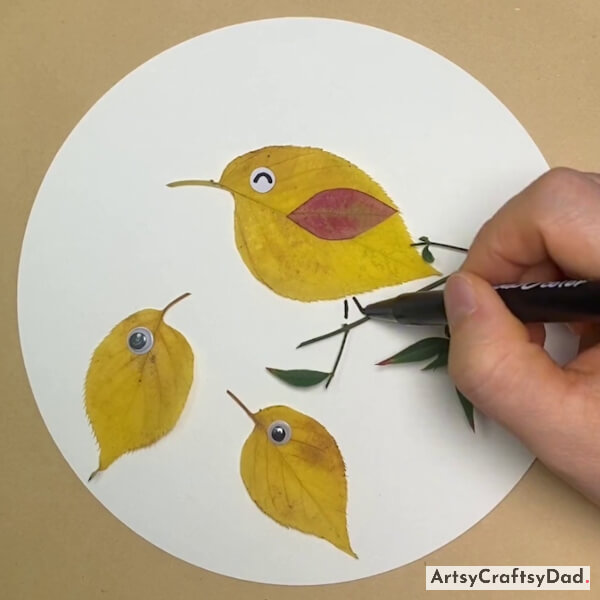
Take a black marker and start drawing the first bird’s legs that are placed on the leaf stem.
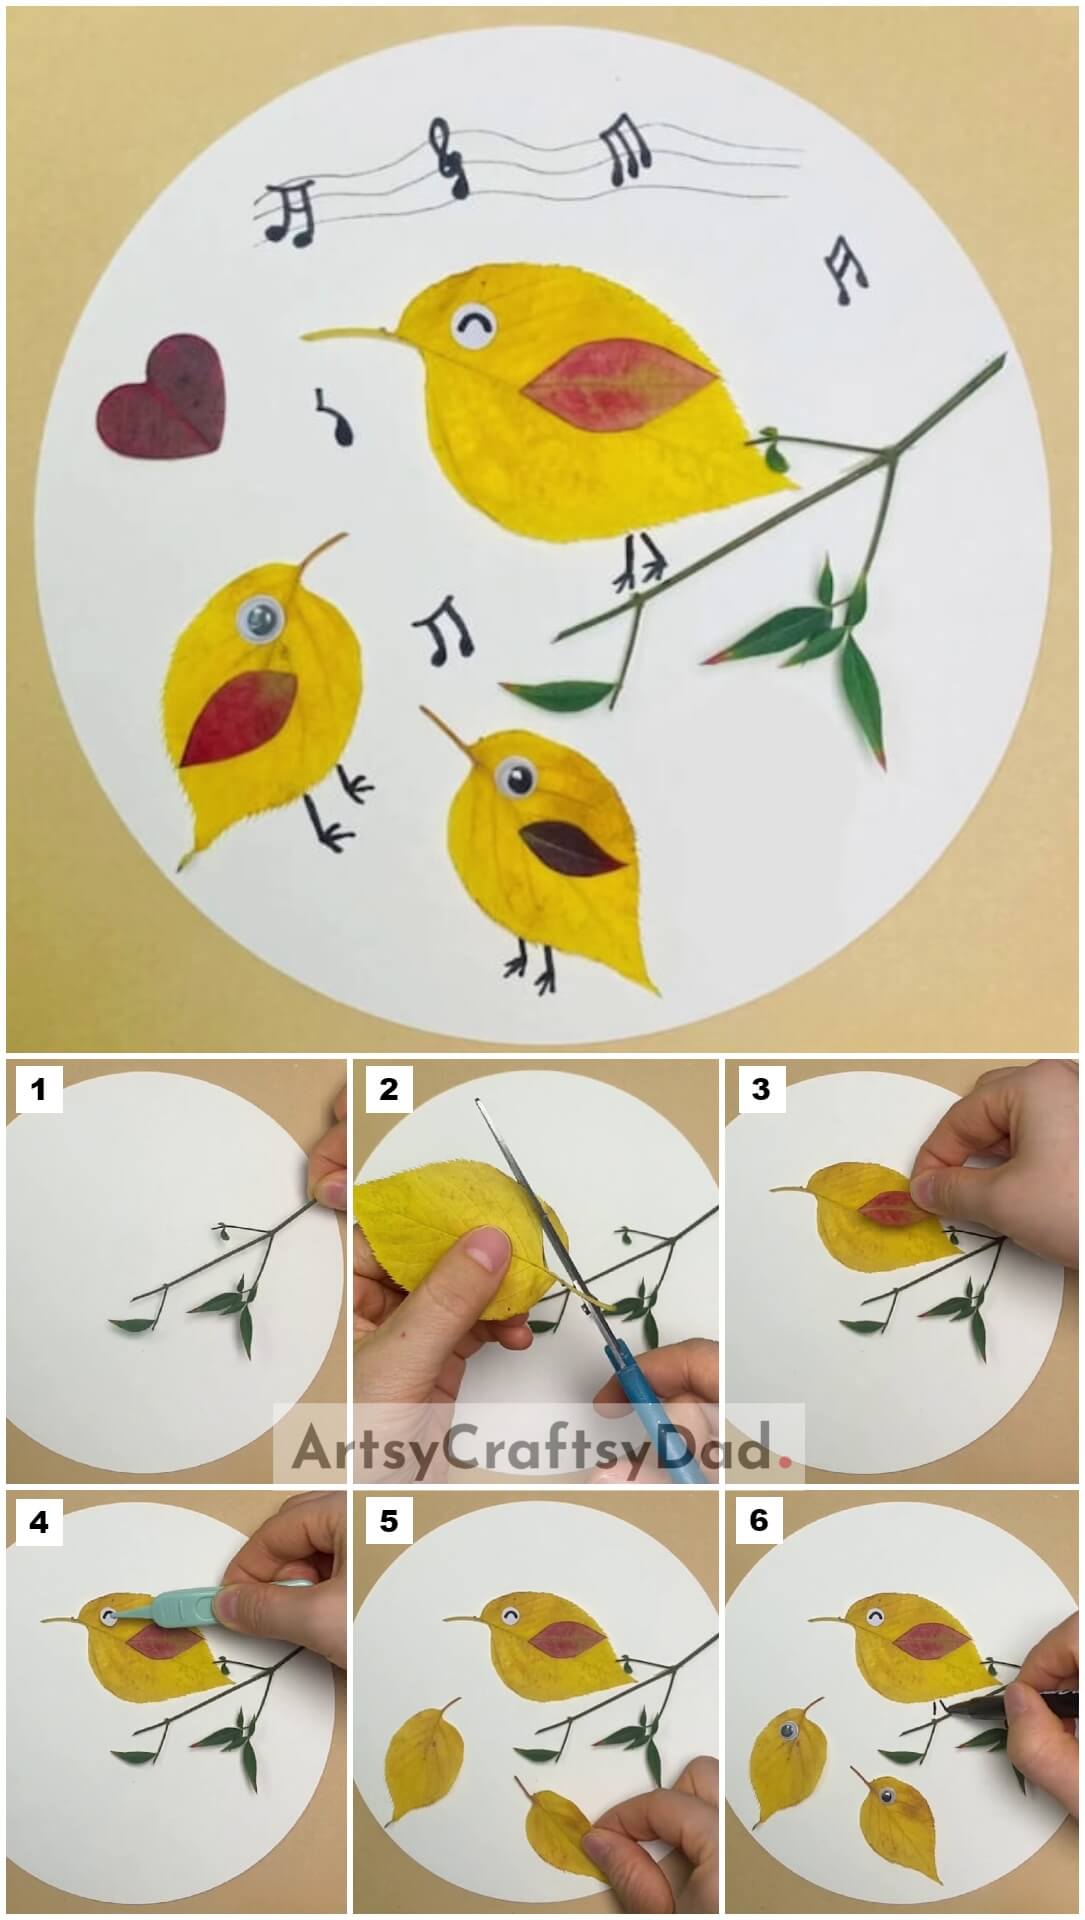
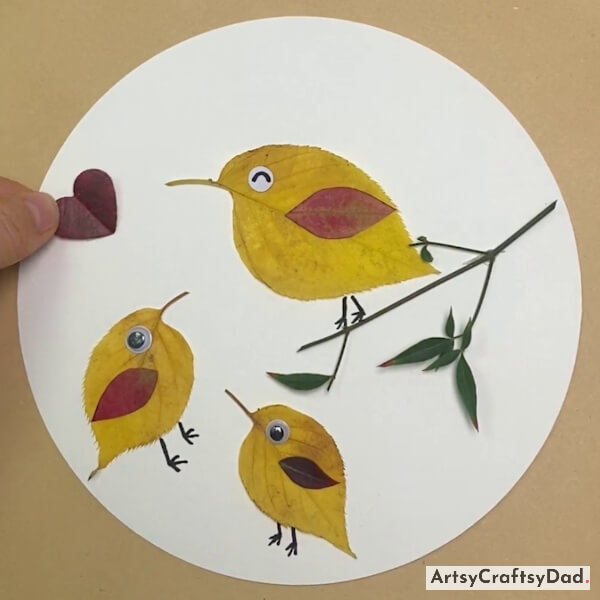
Step #10: Making & Pasting A Leaf Heart Shape
Take a red color leaf cut it into a small heart shape and paste it on the top left of the craft base.
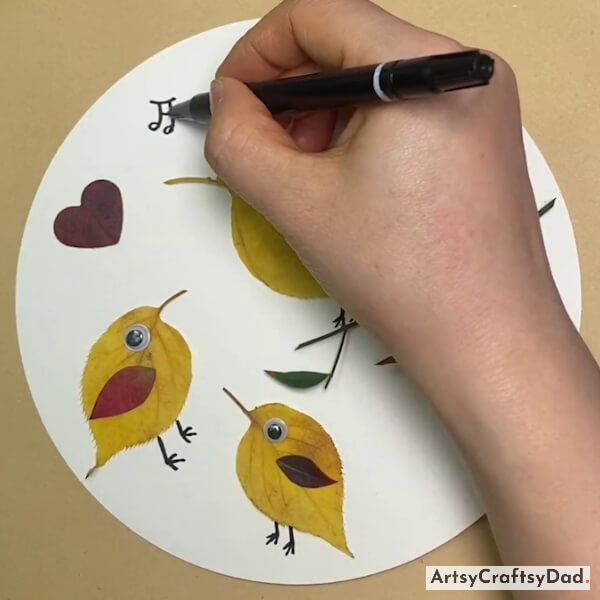
Step #11: Drawing Musical Symbols
Draw some musical symbols on the paper using a black marker.
Step #12: Drawing Music Waves
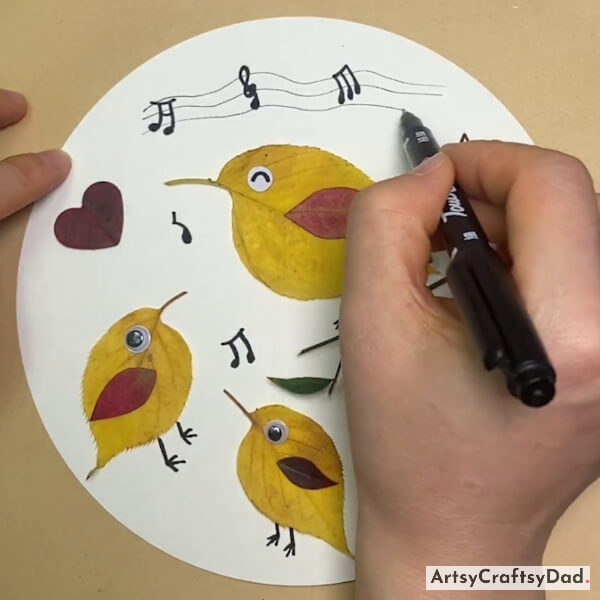
Draw some wavey lines that pass from the musical symbols using a black pen to give a music wave look.
Yeah! Your Singing Bird Leaf Craft Is Complete!
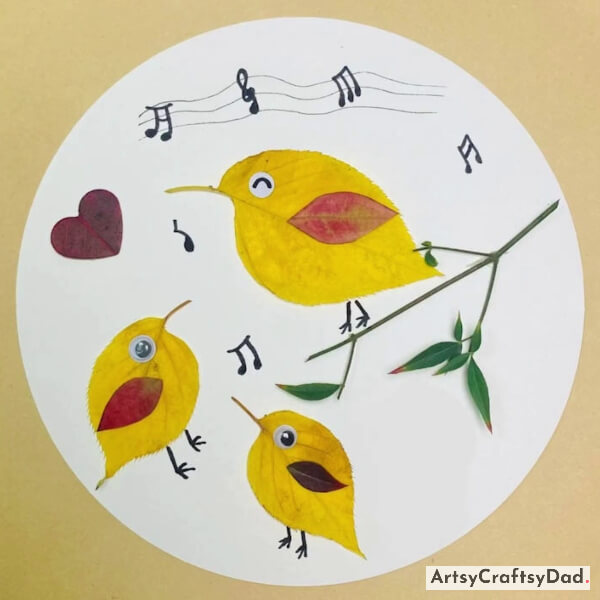
Yes, you did it! You have finally made your singing bird from fall leaves!
We have finished making our singing bird leaf craft here. This craft not only engages kid’s imagination but also encourages them to explore the beauty of the natural world around them. This craft will be great for a classroom project, this craft tutorial is sure to bring joy and excitement to children of all ages. Don’t miss to drop your comment in the comment section. If you want to explore more leaf crafts then you should visit our other websites where you can get infinite ideas for your craft.
Thank you for visiting our website!
You Might Also Like This
- Caterpillar Over Leaf Scenery: Leaf Craft Tutorial
- Leaf Ostrich Craft Tutorial For Kids
- Leaf Retro Plane Craft Tutorial For Kids
- Fallen Leaves Bird Craft Tutorial With Garden View
- Beautiful Girl In Leaf Dress Craft Tutorial For Kids

