Learn with crafting by making this ostrich! This step-by-step tutorial will guide you on making an ostrich craft using the fall leaves!
Hello and welcome to this step-by-step tutorial on making an ostrich craft! This craft is not only a motor skills-driven one but a budget-friendly one as well! The star supplies for this craft are the fall leaves, which you can find anywhere without spending a penny! The kids will be stunned to make such an incredible craft using up the mere waste, fall leaf! This craft will definitely enhance the creativity of the kiddos and will be keen to learn about the ostriches! Let’s start!
Ostrich Bird Craft Tutorial For Kids
Must Read: Clay Snails On Leaves Craft Tutorial For Kids
Supplies & Tools
- White Circular Paper Sheet
- Scissors
- Glue
- Fall Leaves (Red, Yellow, And Orange)
- Sketch Pens (Pink And Black)
- Googly Eye
- Black Pen
Leaf Ostrich Instructions
Step #1: Cutting The Leaf Stem
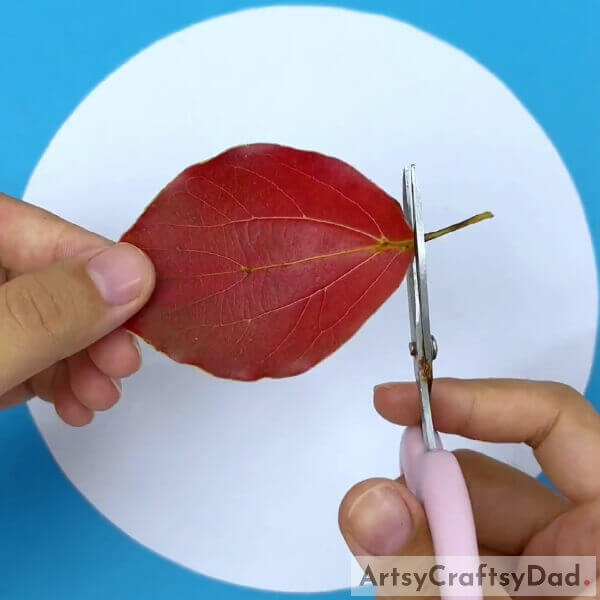
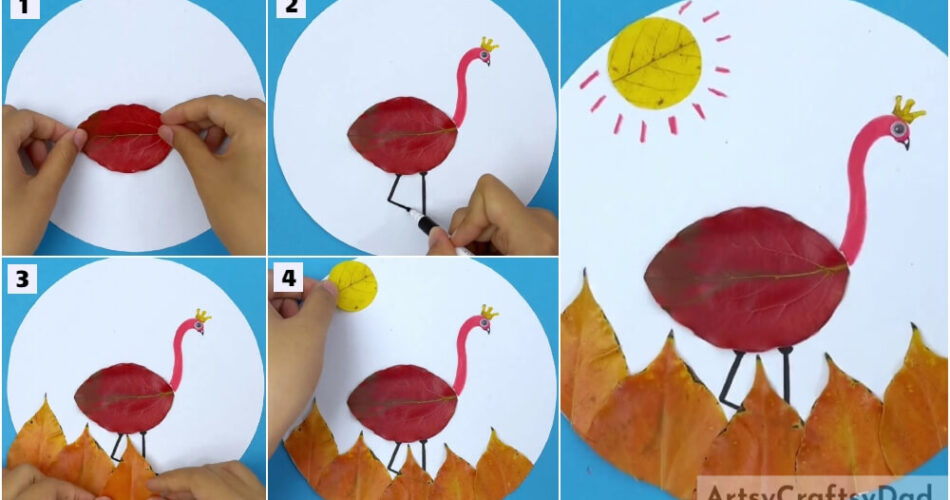
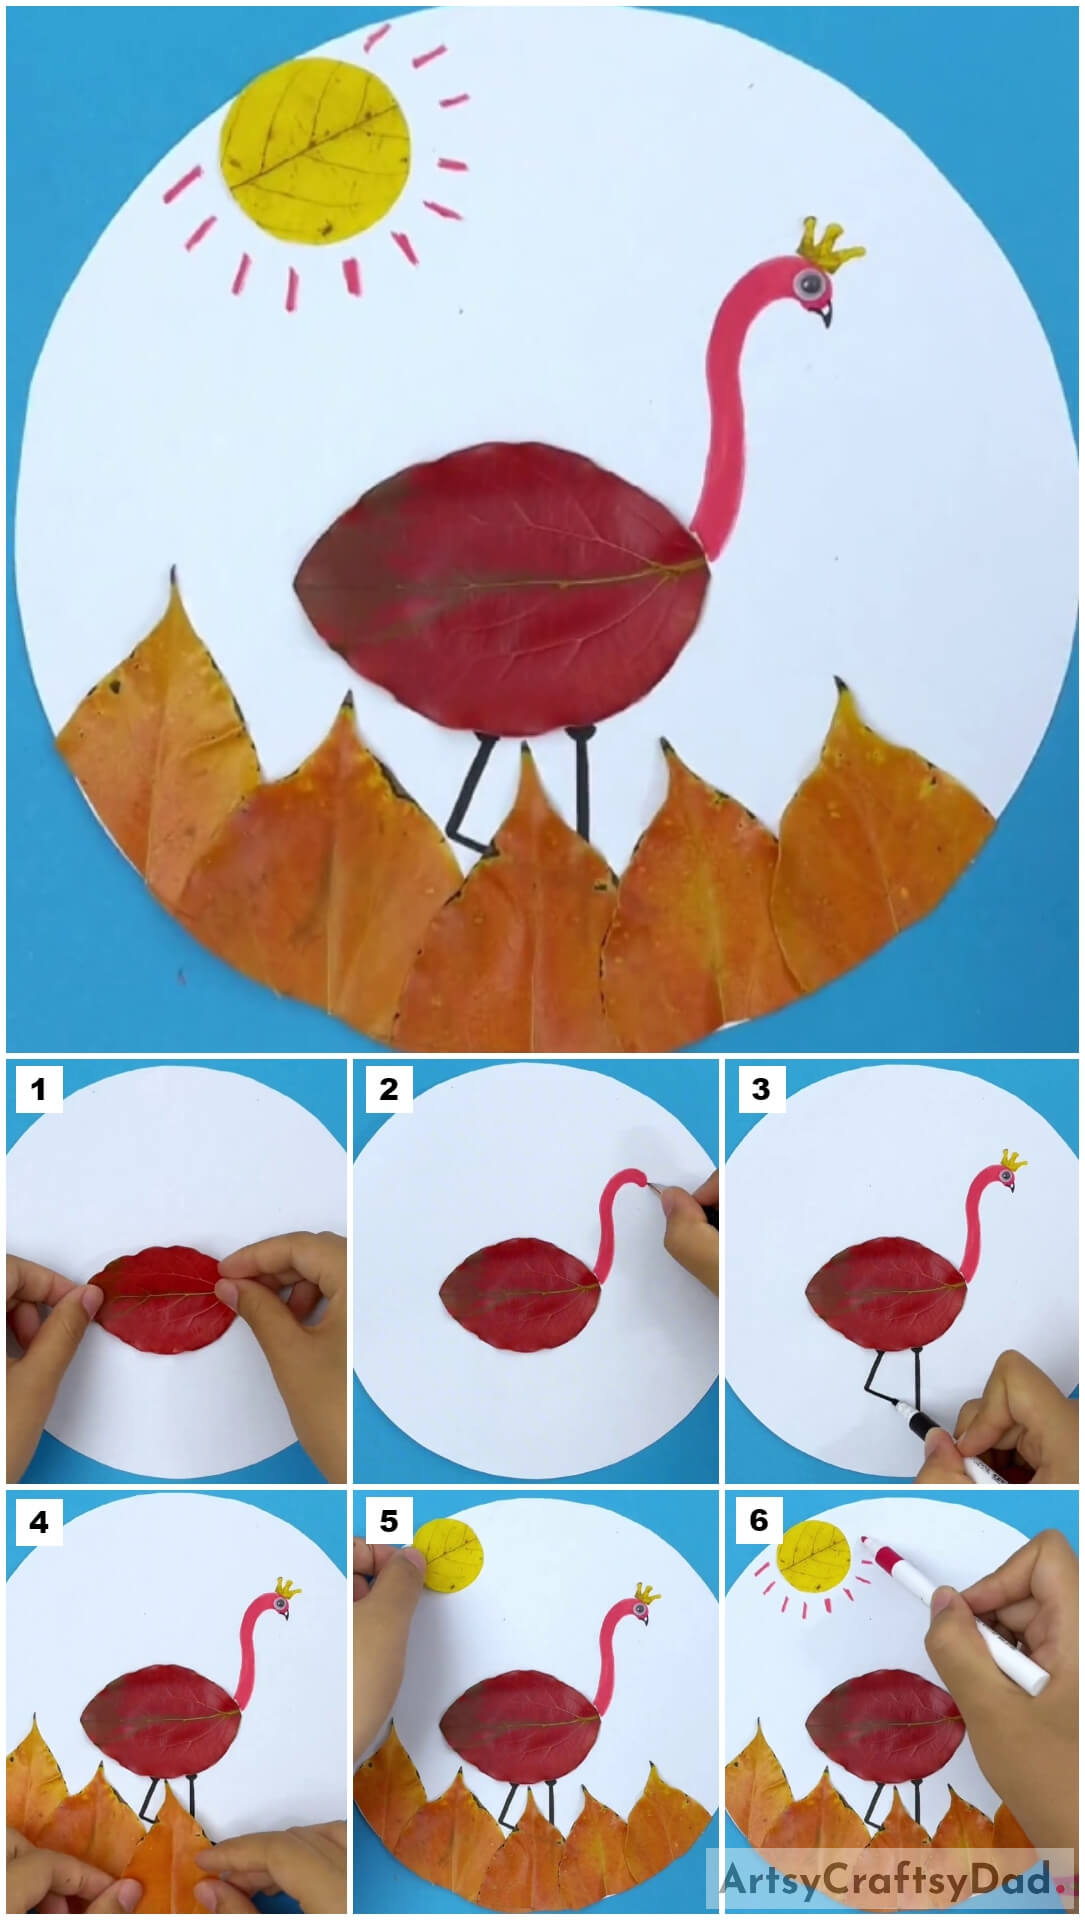
Begin this craft by taking a white circular paper sheet as the base for the craft and a red fall leaf. Using scissors, cut off the stem of the red fall leaf as shown in the image.
Step #2: Pasting The Red Leaf

Using glue, paste the red fall leaf on the base in the center horizontally. This will be the body of the ostrich.
Step #3: Making The Ostrich’s Neck And Face
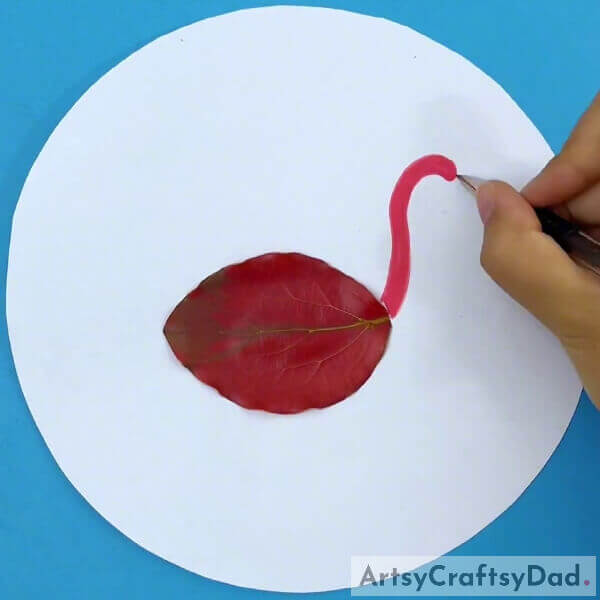
Using a pink sketch pen, make the long, thin, and wavy neck of the ostrich on the right side of the body and make the horizontally curved face at the top end of it. See the image for reference.
Step #4: Making Facial Features And Legs Of the Ostrich

Using scissors, cut out a tiny crown from the yellow fall leaf and paste it above the head of the ostrich to make its crown. Paste a googly eye over the end of the face using glue to add an eye to the ostrich. Also, using the black pen, make the curved little beak of the ostrich to the face of it. Using a black sketch pen make the thick legs of the ostrich, one standing straight and the left one bent towards the right one. See the image for reference.
Step #5: Making Bushes Beneath The Ostrich
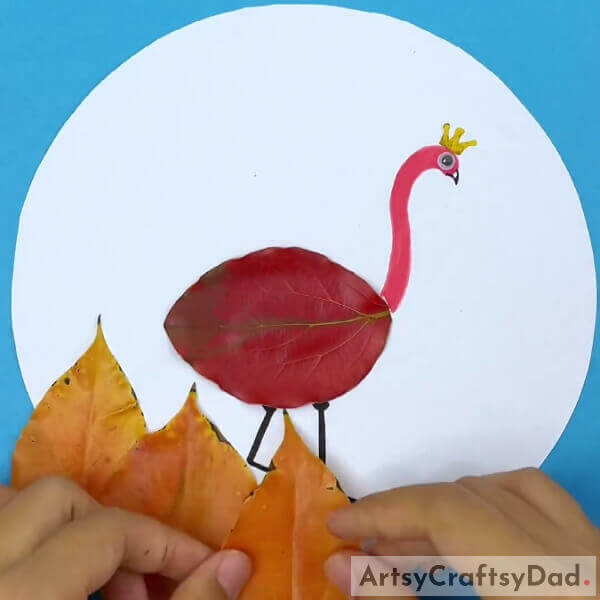
Grab orange fall leaves and paste them on the bottom of the base but make sure to paste them in a way that only the top half of them is over the base and they are slightly over one another using glue. These will represent the bushes beneath the ostrich.
Step #6: Completing Making The Bushes
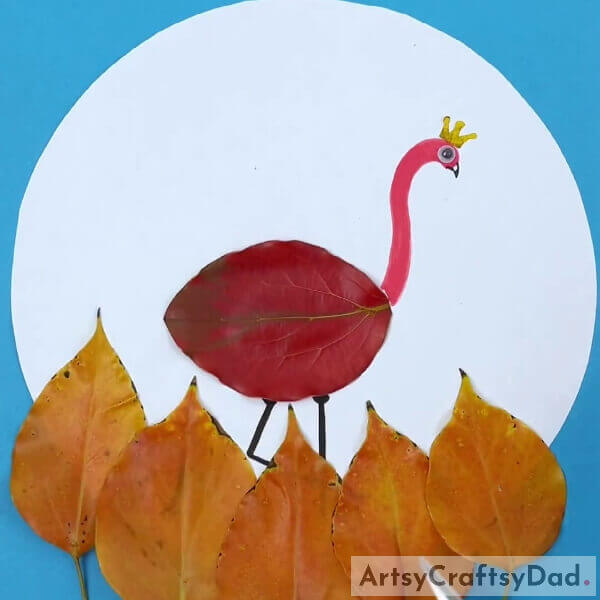
Completely cover the bottom region of the base with the leaf bushes as shown in the image.
Step #7: Adding A Sun
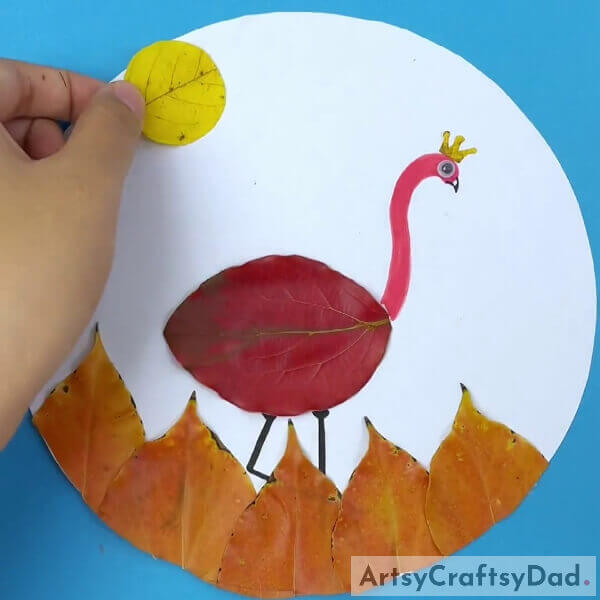
Using scissors, cut out a circular sun from the yellow leaf and paste it over the left top of the base using glue to add sun to your craftwork. Also, using the scissors cut off the extra leaf bushes coming out of the base.
Step #8: Drawing Sun Rays
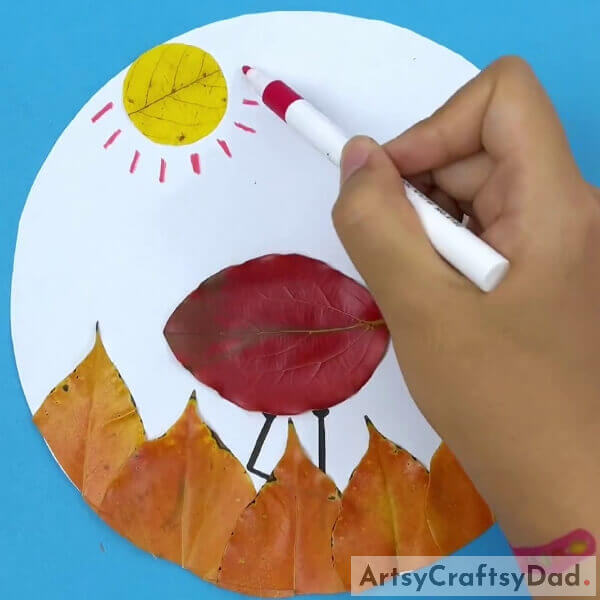
Using the pink sketch pen, make the small lined sun rays coming from the sun around it.
This Is the Final Look Of Your Leaf Ostrich Craft!
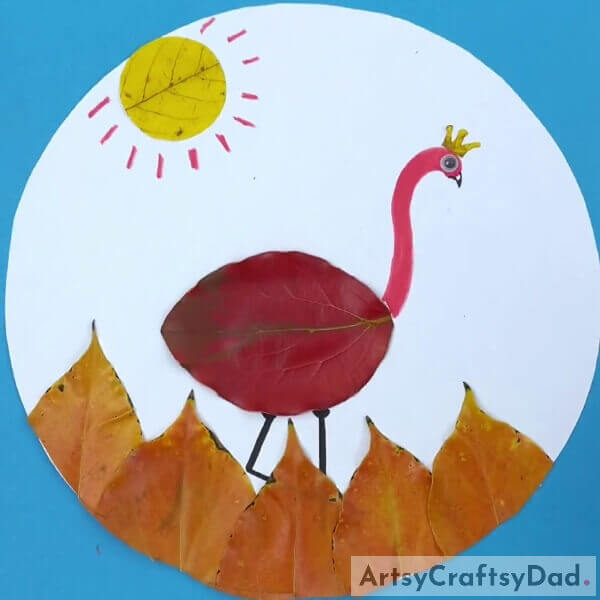
Yes, you did it! You have finally made your ostrich from fall leaves!
Decorate this craft in your room to showcase it to everyone who comes by! This craft will surely be a hit addition to your craft collection! You can also use this craft as your school project and see everyone jealous of you as the teacher’s favorite! Hehe! You can also, make it more attractive by customizing it, like adding feathers to the ostrich, making textures over it, anything! Your imagination is the limit!
Hope you had fun making this craft! If so, give it a like and share it with your buddies! Also, tell us your feedback in the comments section below! Waiting to hear from you!
You May Also Like
- Beautiful Girl In Leaf Dress Craft Tutorial For Kids
- Leaf Ballerina Pose – Drawing Craft Tutorial For Kids
- Leaf Frogs In Pond Scenery Craft Tutorial For Kids
- Leaf Fox Craft Step-by-Step Tutorial For Kids
- Leaf Fish Swimming Underwater Craft Tutorial


