It is a really fun and creative craft activity and kids will be thrilled to do it. They will also get to learn something new.
It is a very creative art activity for kids to do. It is very suitable for kids of ages around three and above. It is apt and very fitting for beginners. Kids will learn something new from this activity. Apart from the usual, crayons, paints and other types of colors, kids will get the opportunity to do something creative with markers. Moreover, they will be thrilled to make something by the outline of their hand.
There actually are a lot of things that can be made out of hand outlines, and this is just one of them. It will be something creative for the kids. They can use this hack in future for a lot of things. They will also have a lot of fun doing this. This will give them a different perspective with respect to art. Let us begin.
Easy Tree Drawing Hack For Kids
Must Read: Mountain Landscape: Hand Outline Hack Drawing Tutorial
Supplies & Tools
- White sheet of paper
- A Pair of Scissors
- Sketch pens or Markers (Brown color, Different shades of Green Color, Black Color)
- A White Pen
- A Pencil and An Eraser
- A Glue
- A Pair of Googly Eyes
Hand Outline Instructions
Step #1: Drawing An Outline Of Your Hand Using A Pencil
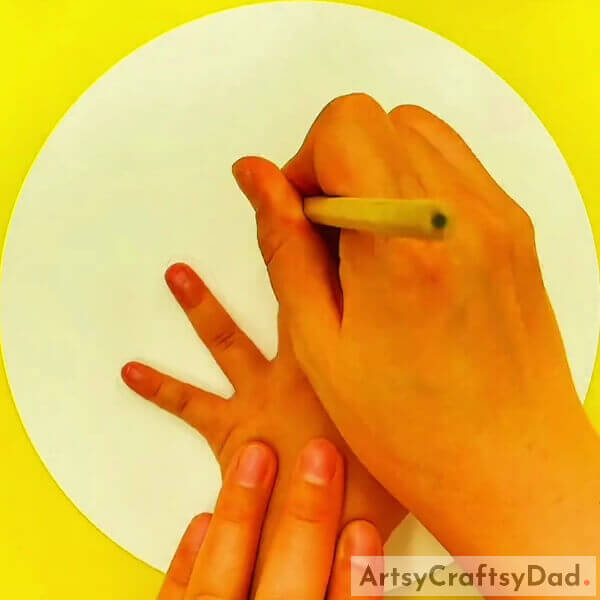
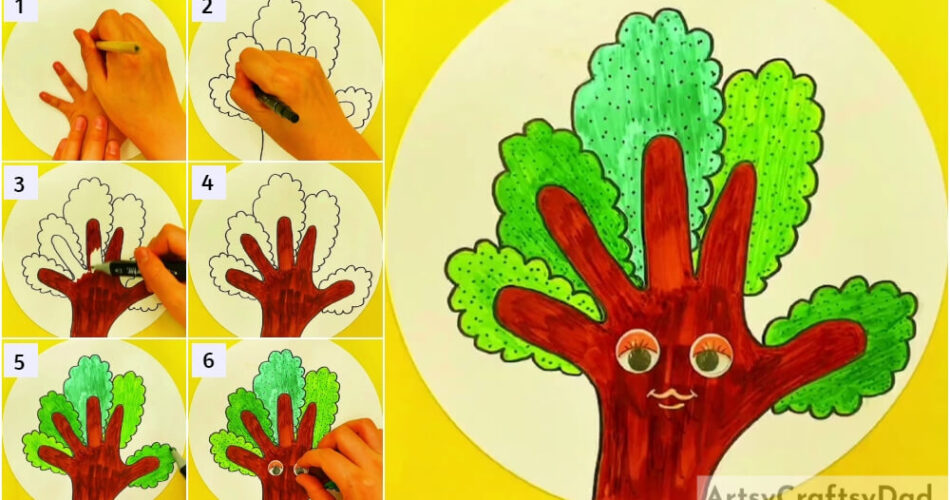
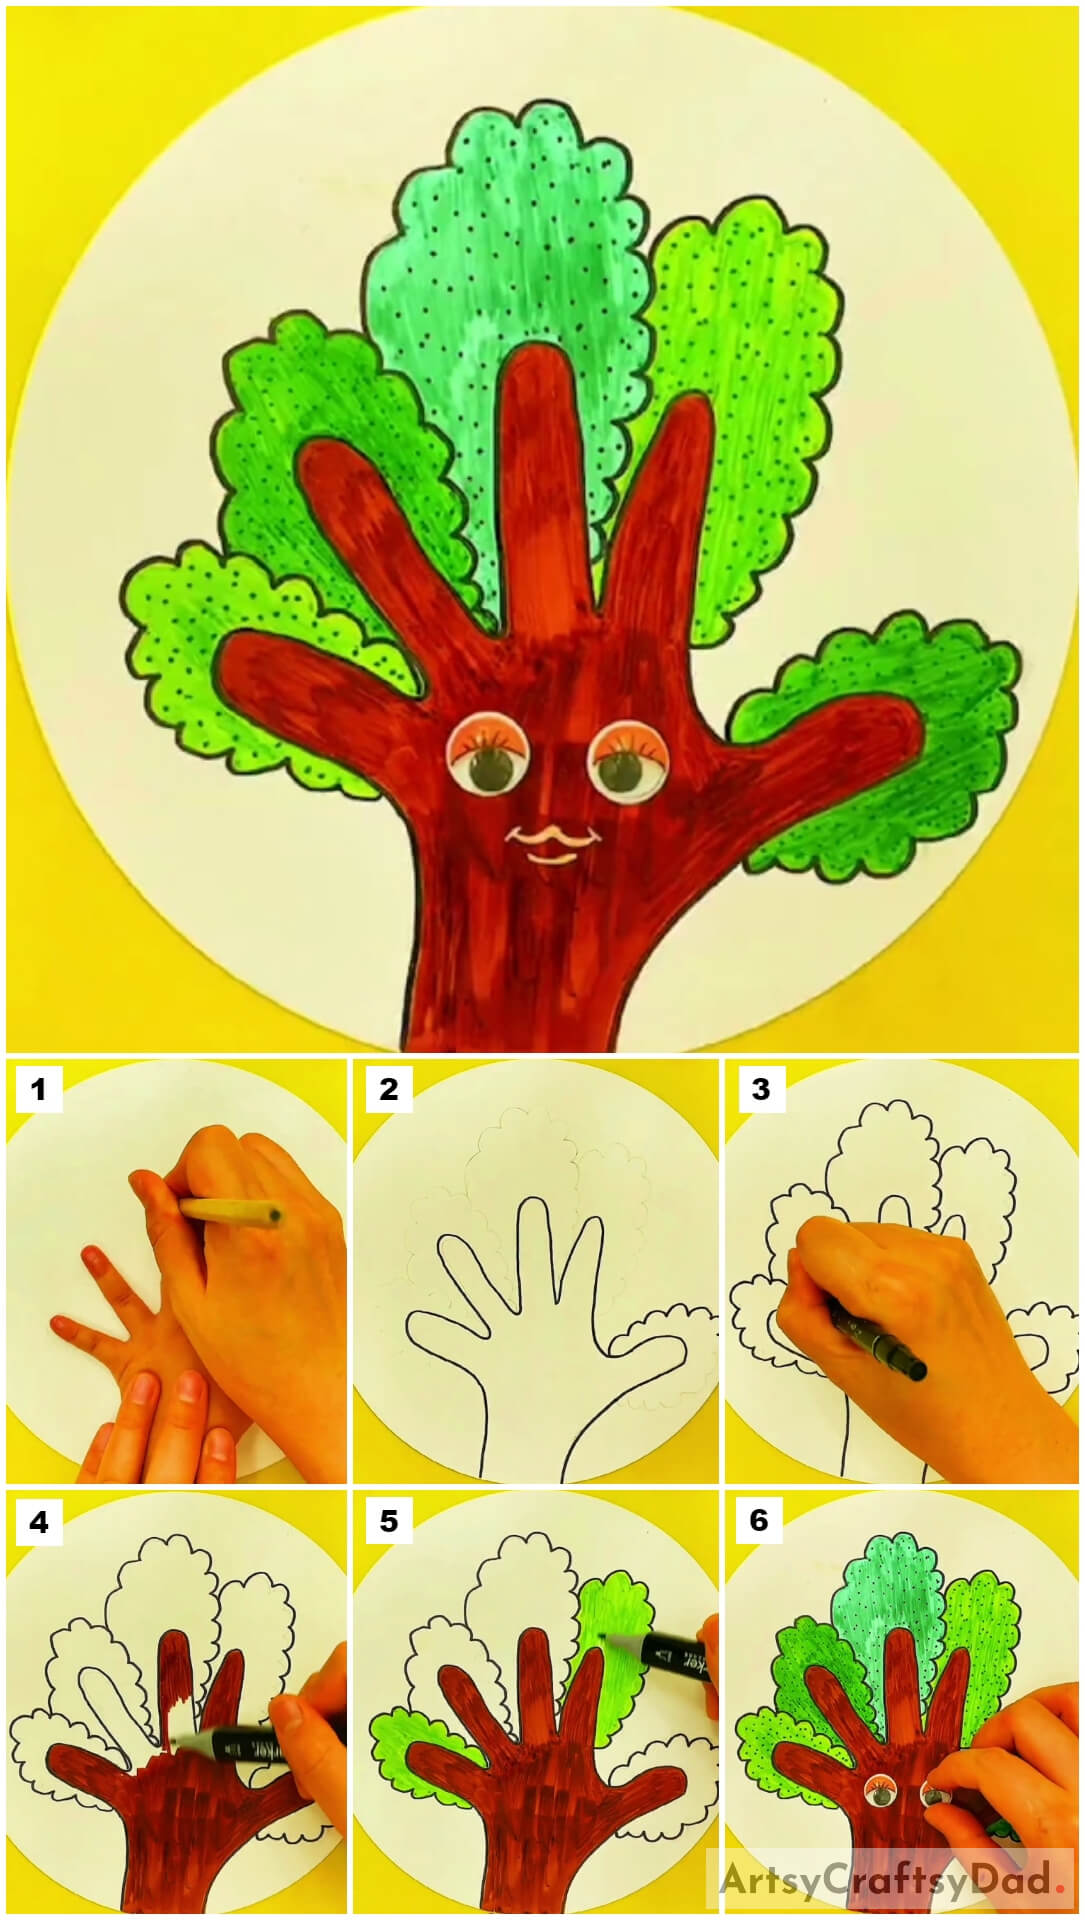
Take a plain, white sheet of paper and draw a circle on it. Cut out the circle using a pair of scissors. Put your hand on the paper and draw its outline using a pencil.
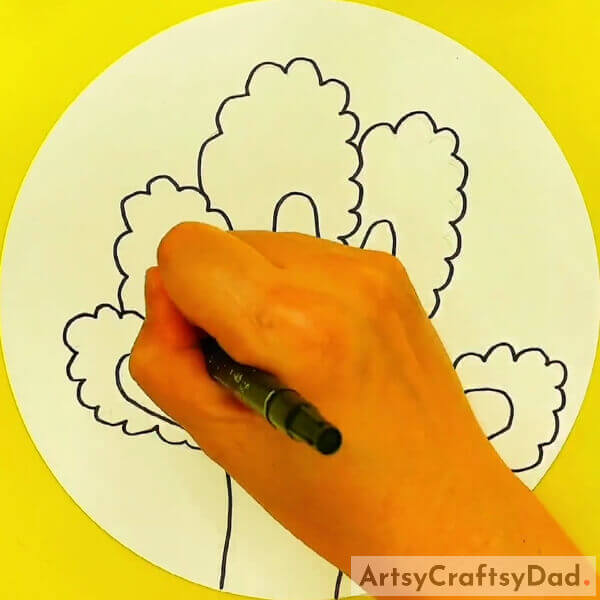
Step #2: Tracing The Pencil Outline And Make Some Bushes Around The Fingers
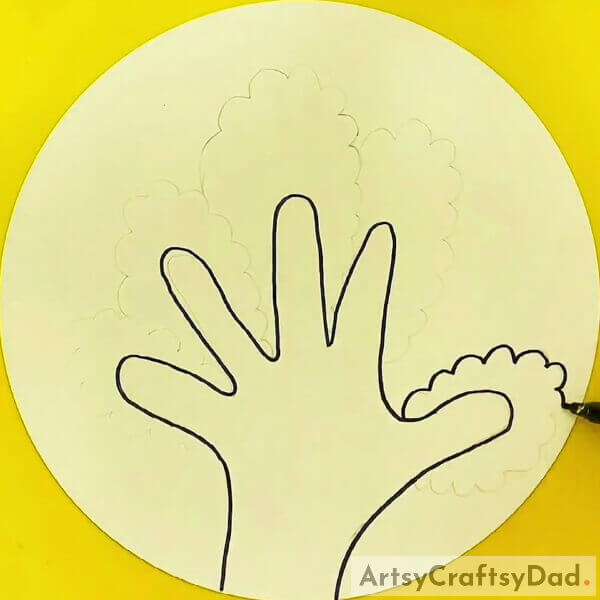
Now, trace the pencil outline of the hand with a black sketch pen or a marker. After that, make a bush around each finger.
Step #3: Tracing The Bushed You Made In The Previous Step
Do the same, that is, trace the bushes you made in the previous step with the black sketch pen or marker. After the tracing, erase the pencil with a light hand.
Step #4: Taking A Brown Sketch Pen Or Marker And Color The Fingers
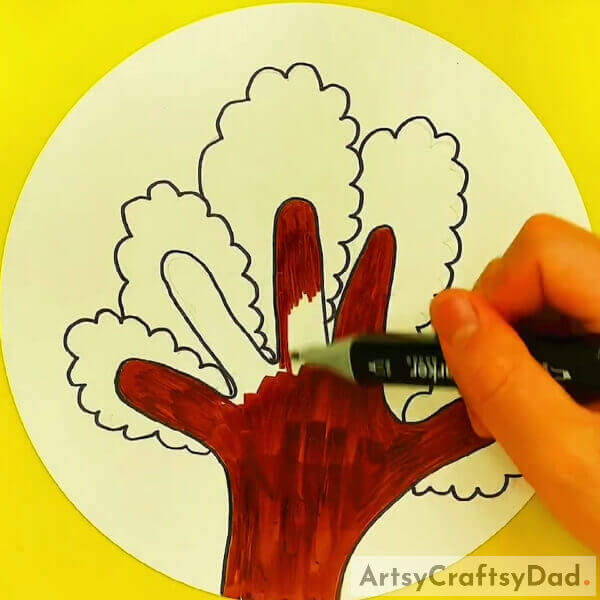
Now, grab a brown colored sketch pen or a marker and color the hand. The fingers will form the branches and the area around the wrist will form the trunk of the tree. Make sure you color it carefully as with sketch pens or markers, even a single layer more, whether intentionally or by mistake, that color shade changes to a darker one. So, is you wish to keep the same color throughout, try to not layer the color.
Step #5: Continuing To Finish Coloring The Hand
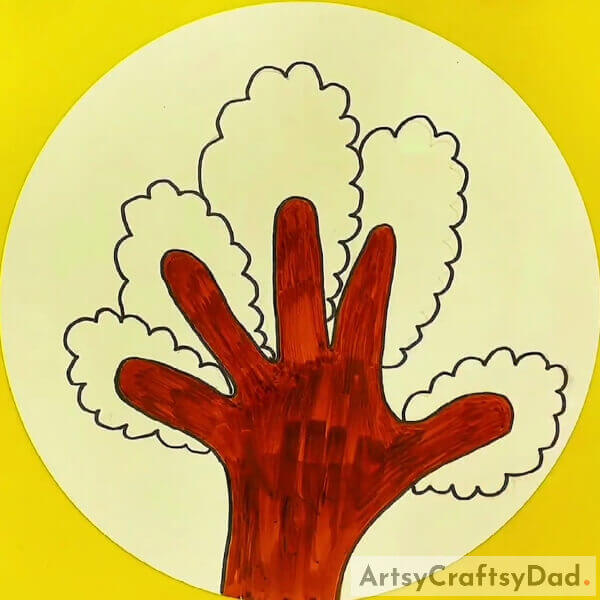
This step is a continuation to the previous one. So, keep coloring the hand aka, the branches and the truck using the same brown sketch pen or marker.
Step #6: Filling The Color In The Bushes
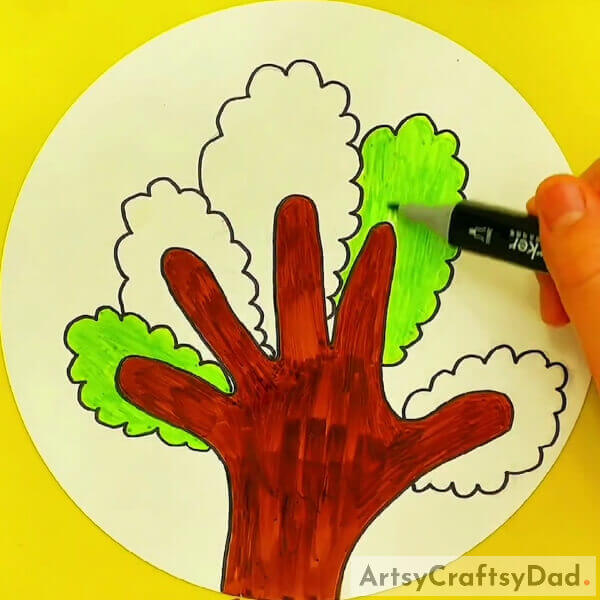
After the brown, comes the green. So, get a light green colored sketch pen or a marker. Using that, color the leafy part of the tree.
Step #7: Keep Coloring The Greens
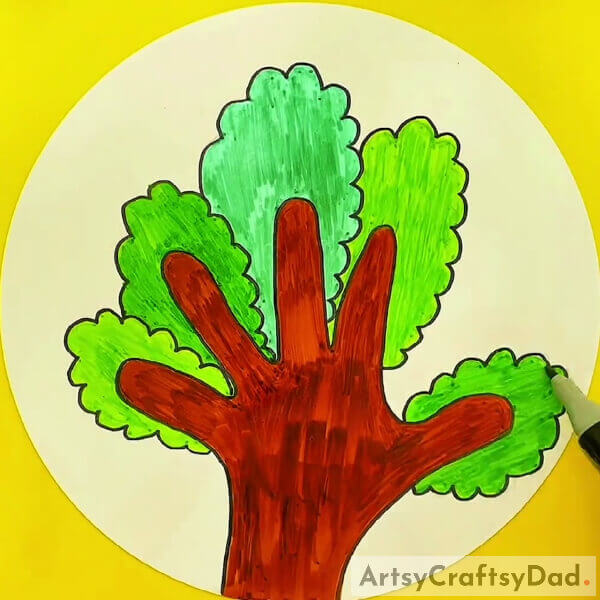
This step is a continuation to the previous one. So, keep coloring the leafy part of the tree. You can also give different branches, a different shade of green as per your choice.
Step #8: Now, Get The Googly Eyes And Paste Them On The Bark
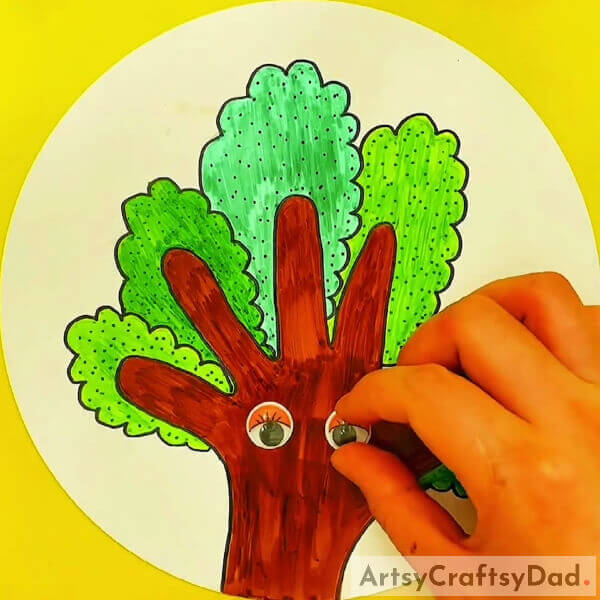
Get a pair of googly eyes and glue. Now paste the googly eyes using the glue in the palm of the hand impression, that is the bark of the tree.
Step #9: Making The Lips Of The Tree
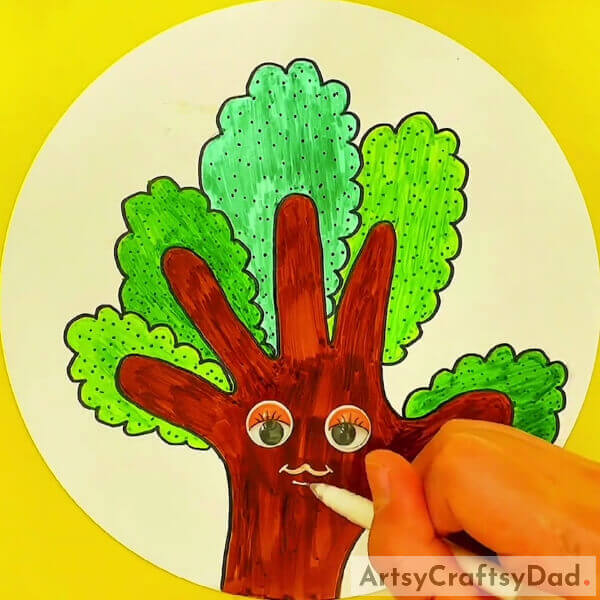
This is the last and the final step of the activity. Get a dark green colored sketch pen or marker. Using it, make tiny, little dots all over the greens. After you are done with that, grab a white colored pen. With that, make the lips of the tree. Take the assistance of the reference image presented above. It will guide and help you. Draw with the help of that.
Here It Is! Tree Drawing: Hand Outline Hack

Well, we are officially and finally done. There are so many more things you can do using the same idea. Well, first of all, if you wish to continue with this one itself, you can start by giving it a background. You can make birds, sky or mountains, or maybe more trees, or… well, there are tons of options to choose from.
But in case you wish to do something else, we have a solution for that too. You can check out the main website. You will find so many articles, tutorials, and ideas based on arts and crafts with a lot of varieties and options to choose from. You will find at least one thing or the other that you will like. Well, keep up the art and craft.
Mention down your experience of making this, or reviews, suggestions, ideas, or literally anything that you would like to say or share, in the comment section. It will be nice to hear from you. Thank you for your time and support. Have a good day.
You May Also Like
- Brinjal Drawing: Hand Outline Hack Tutorial
- Easy Palm Outline Happy Tree Drawing Tutorial
- Hand Gesture Outline Giraffe Drawing Tutorial For Kids
- Hand Outline Peacock Drawing Tutorial For Beginners
- Hand Outline Dinosaur Face Drawing Tutorial


