Have you seen a bird’s infant? How adorable it is! This painting tutorial will guide you to make those cute birds sitting on a tree branch!
Hello and welcome to the wonderful world of art and craft! Today, we have brought you an amazing painting idea that we were inspired by birds’ infants! Cute birds sitting on a tree branch! Trust me, the painting will leave you in ‘awe’ and you won’t be able to take your eyes off it! This step-by-step tutorial will help you with easy instructions on each and every step of this artwork making! You will only need the basic art supplies and some materials that you already have with you!
Beautiful Birds On Tree Painting Hack For Kids
Must Read: Fruit Foam Net Flower Pot Craft Hack Tutorial
Supplies & Tools
- White Circular Paper Sheet
- Paintbrushes (Thick And Thin)
- Cotton Earbuds
- Paint Colors
- Toothbrush
- Circle Stamps (Small And Smaller)
Birds Painting Instructions
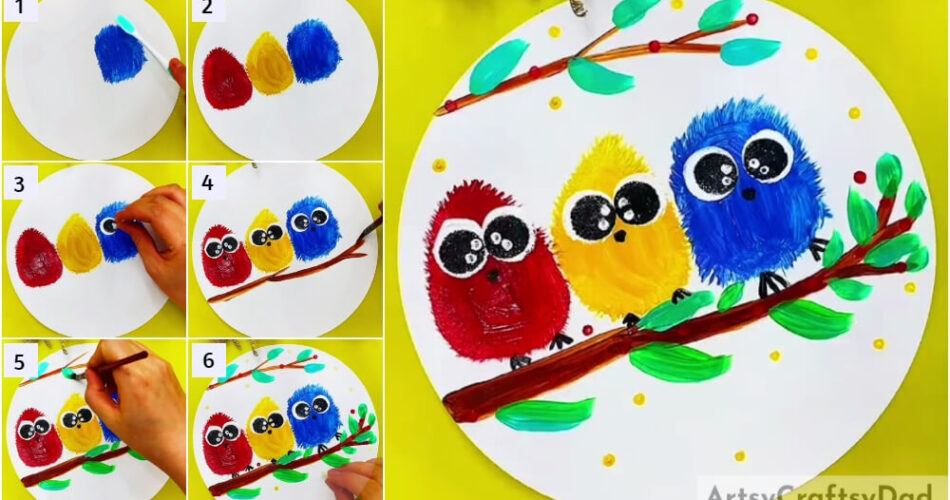
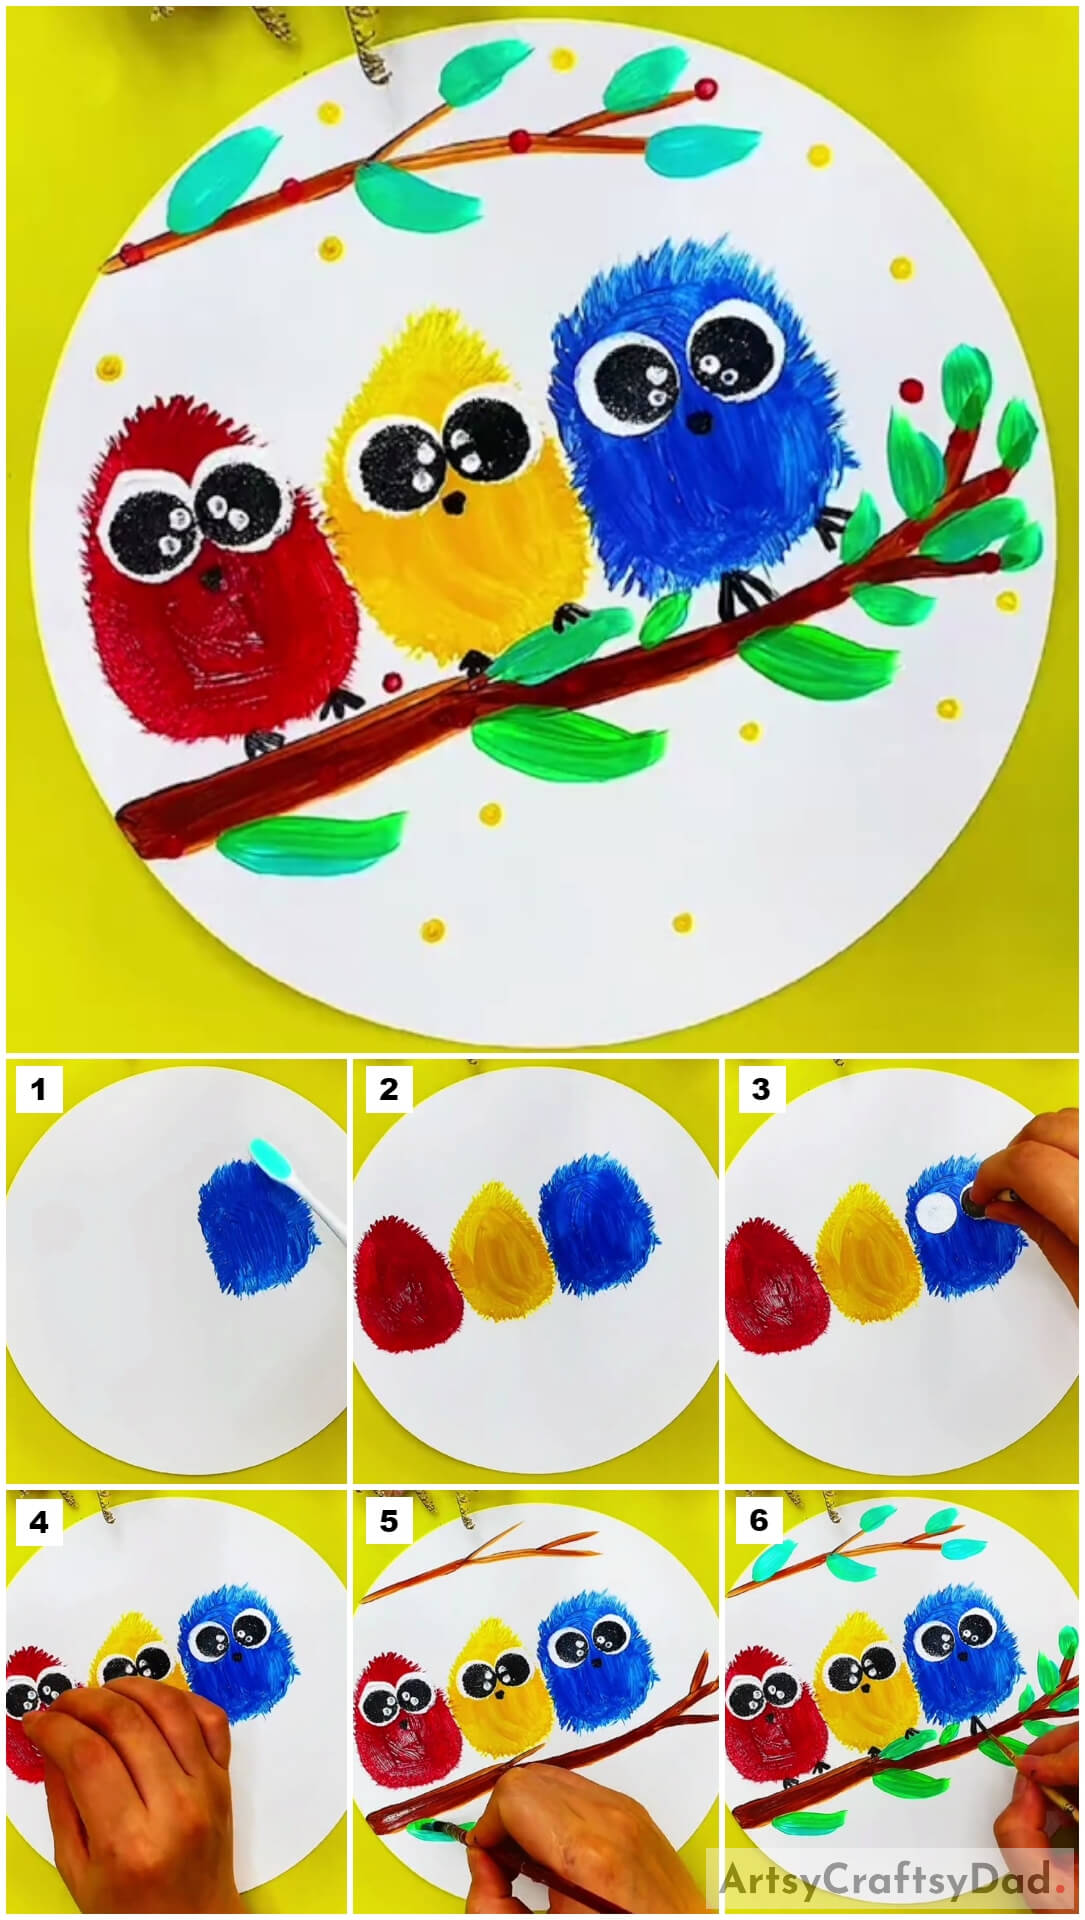
Step #1: Dropping Blue Paint On The Base
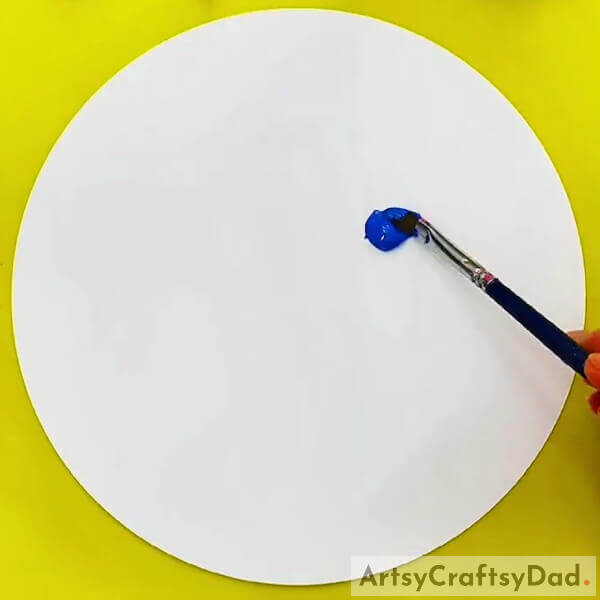
Begin this artwork by taking a white circular paper sheet as the base for this painting and a paintbrush. Dip your paintbrush into blue paint and drop some blue paint over the base on the right side as shown in the image.
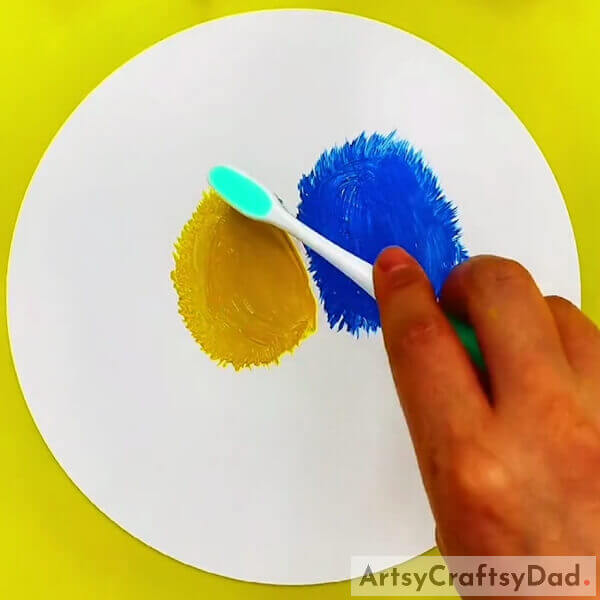
Step #2: Making An Irregular Oval

Using a toothbrush, scatter the blue paint to make an oval shape irregularly. This will be the body of a bluebird and the irregularities will represent the fur over its body.
Step #3: Making A Yellow Bird’s Body
As you make the blue bird’s body, make a yellow bird’s body on the left side of the blue one and also make it furry by toothbrush strokes.
Step #4: Making A Red Bird’s Body
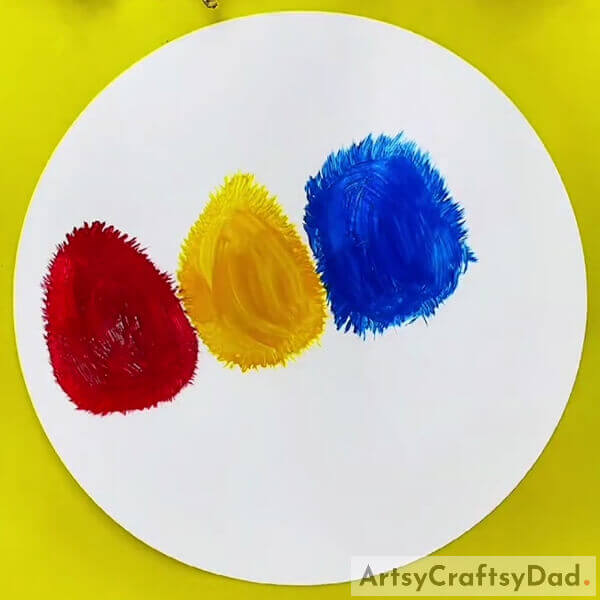
Make a red bird’s body on the left side of the yellow one in the same way you made the yellow and blue one. Make sure to keep these birds’ bodies in line.
Step #5: Making Eyes Of The Blue Bird
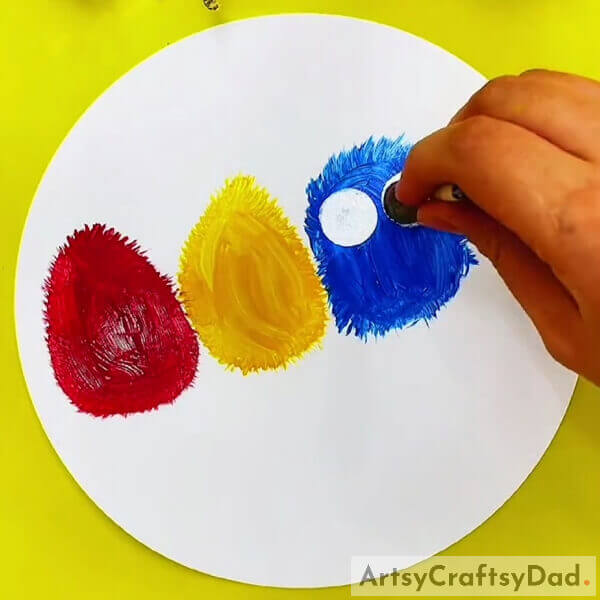
Dip a circle stamp into white paint and dab it over the blue bird’s body side-by-side to make the eyes of it. Dip a smaller circle in black paint and dab it over the white eyes to make the eyeballs of the birds. Make sure to make the eyeballs close to each other i.e. left eyeball at the right side of the eye and the right eyeball at the left side of the eye.
Step #6: Adding Shine To The Eyes

Dip a cotton earbud into white paint and dab 2-2 dots over the eyeballs, keeping them close to each other. These dots will add shine to the eyes.
Step #7: Making Eyes And Nose Of All Birds
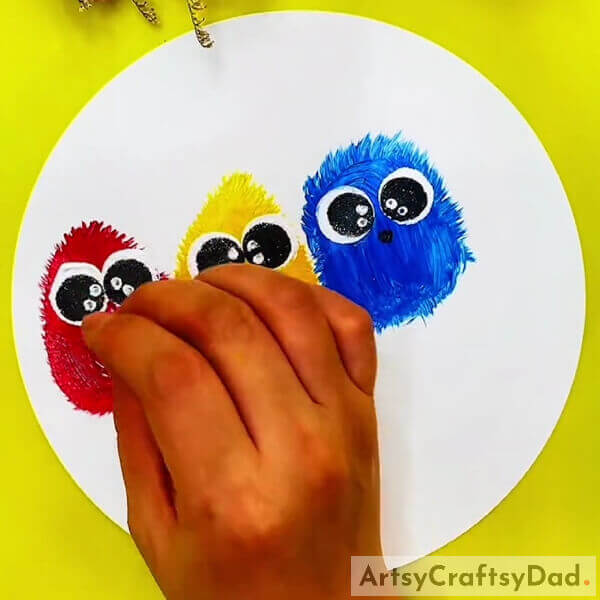
In the same way as before, make the eyes of all the birds. Now, dip the cotton earbud into black paint and dab it over the birds below and between the eyes to make the nose of the birds.
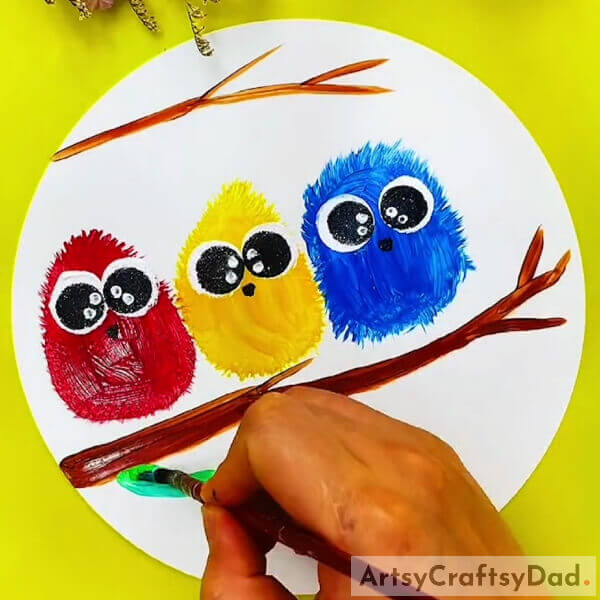
Step #8: Making Tree Branch
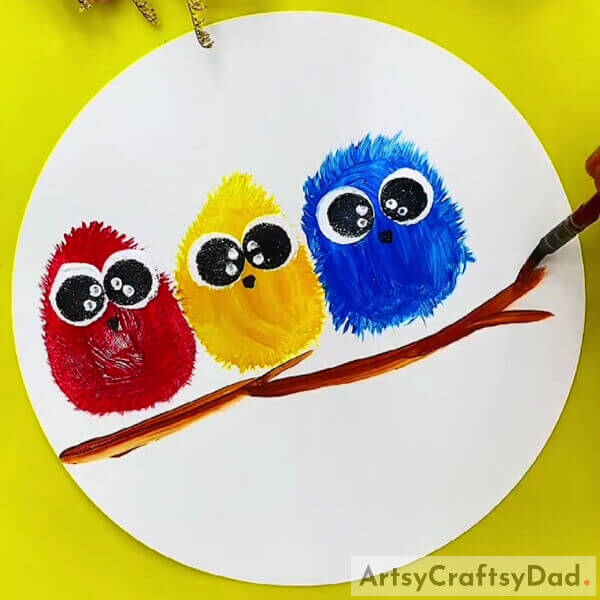
Dip the paintbrush into brown paint and make a tree branch beneath the birds as shown in the image. Make the birds look like sitting on the branch.
Step #9: Making Another Branch And A Leaf
Using the brown painted paintbrush, make another branch above the birds by leaving some space and a bit smaller. Now, dip the brush into green paint and make a long and tilted leaf on the end of the branch beneath the birds as shown in the image.
Step #10: Making More Leaves
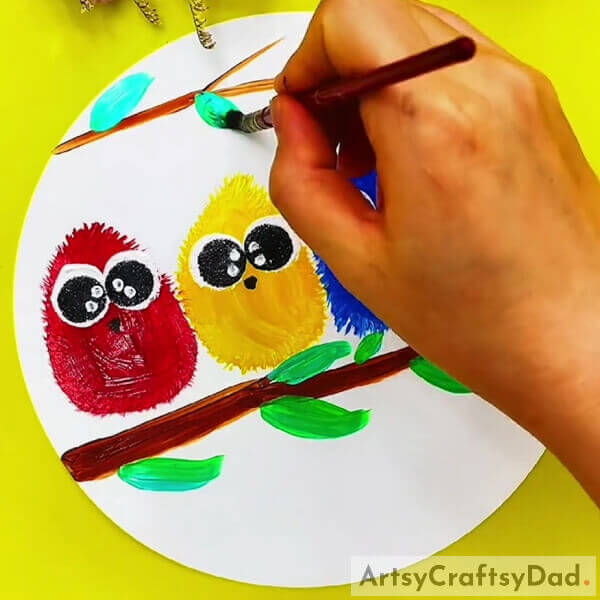
In the same way, make more and more leaves on the tree branches and cover them wholely. See the image for reference.
Step #11: Making Feet Of The Birds
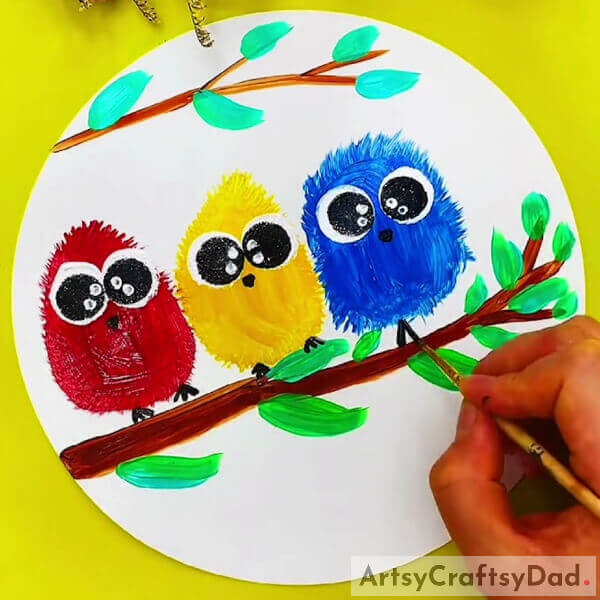
Dip a thin paintbrush into black paint and make the 3-lined feet of the birds beneath them and over the branch. See the image for reference.
Step #12: Making Dots On The Base
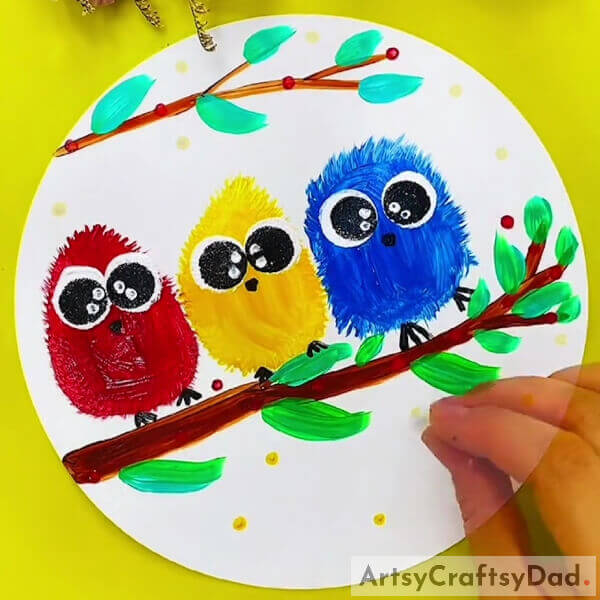
Dip the cotton earbuds into yellow and red paint randomly to make the yellow dots on the white base and red dots on the tree branch and near the tree branch randomly.
This Is The Final Look Of Your Cute Birds Sitting On A Branch!
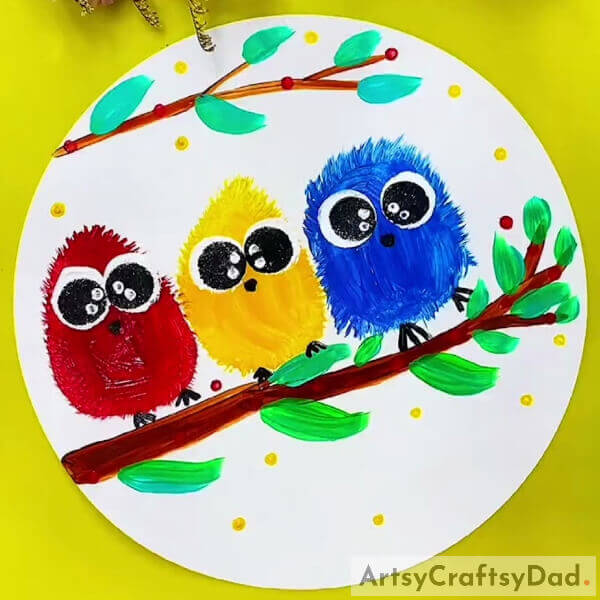
Awwwwww! Your adorable birds’ painting is ready!
Can’t take your eyes off it, right? Me neither. Well, so you can frame it on your wall to gaze at it every time you can! This will definitely soothe your mind and soul! Haha, I went too deep explaining it. You can even make this painting as your school art project! See everyone will be jealous of you being the teacher’s favorite! Everyone will definitely love this artwork of yours and will admire it! You can also customize your painting in order to make it more diverse and unique!
Hope you liked the article! Share it with your buddies as well as drop your feedback in the comments section below! We would love to hear from you!
You May Also Like
- Bubble Wrap Snowman Painting Craft Tutorial For Kids
- Autumn Trees: Fruit Foam Net Hack Artwork Tutorial
- Rose Bouquet: Stamp Painting Tutorial For Kids
- Oil Pastel Rose Bouquet Drawing Hack Craft Tutorial
- Beautiful Rose Vase: Easy Hacks Painting Tutorial


