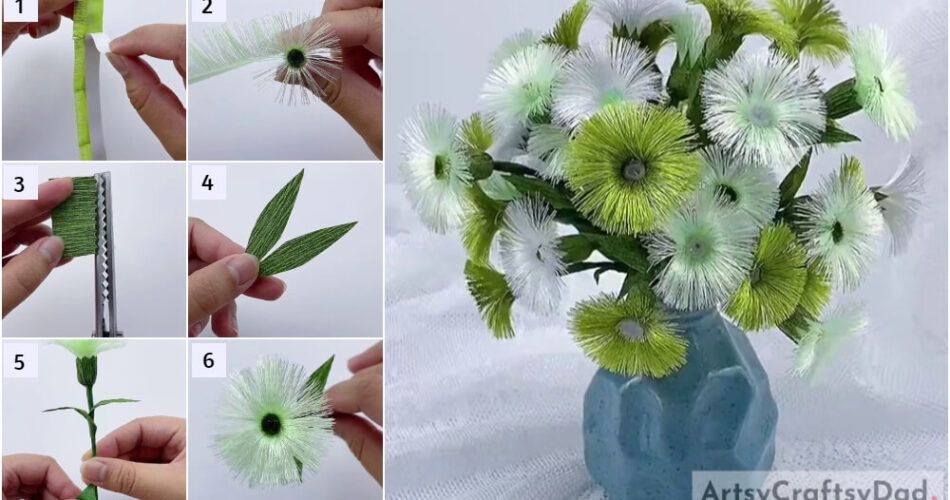
Explore a ribbon blooming flower craft step-by-step tutorial for kids to craft a flower. This activity is for you to learn a new technique.
This ribbon blooming flower craft step-by-step tutorial welcomes all creative minds. This tutorial will walk you through all the steps to craft a blooming flower. The following tutorial is going to be easy to understand for kids as well as adults. Kids as well as adults, can perform this interesting and fun activity. While doing this activity, children would learn a new method of art and craft. Happy crafting!
Easy Ribbon Blooming Flower Craft For Kids
Must Read: Paper Pinwheel Flower Craft Tutorial For Kids
Tools & Supplies
- Light Green And Slightly Dark-Colored Ribbons
- A Scale
- A Pair Of Scissors
- A Paper Tape
- A Hair Strainer
- A Dark Green Construction Paper
- A Zig-Zag Scissor
- A Plastic Stick
- A Hot Glue Gun
Ribbon Blooming Flower Instructions
Step #1: Take Two Ribbons
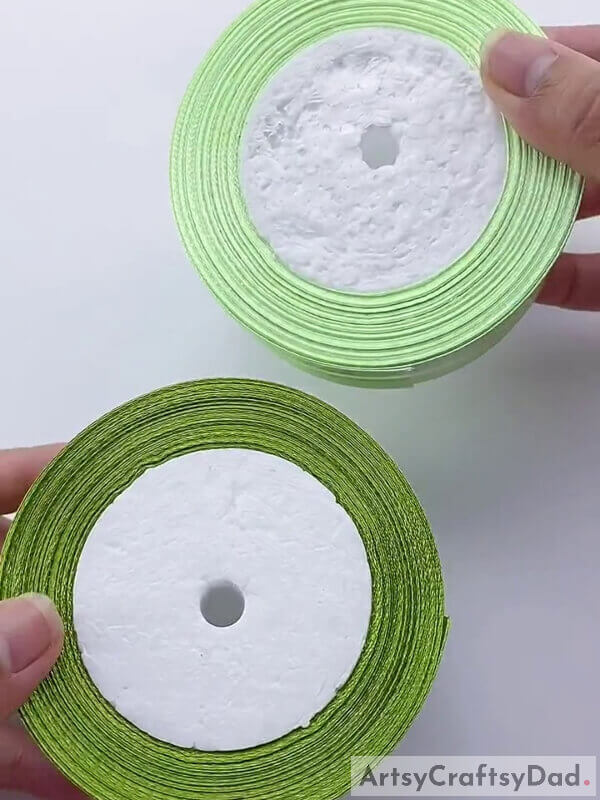
Take two ribbon roles, one of green and the other of dark green color. The ribbon should be 4 cm in breadth.
Step #2: Open The Ribbon
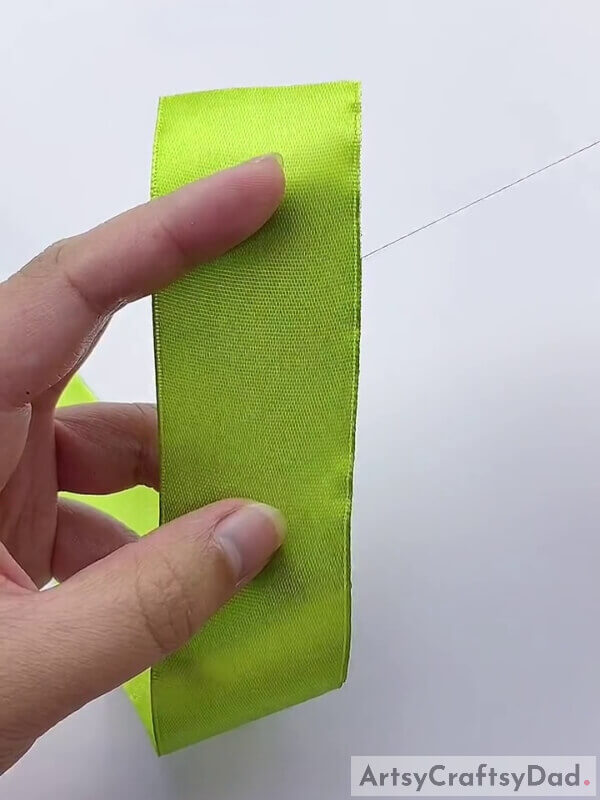
Open the dark green ribbon from its role.
Step #3: Measure It
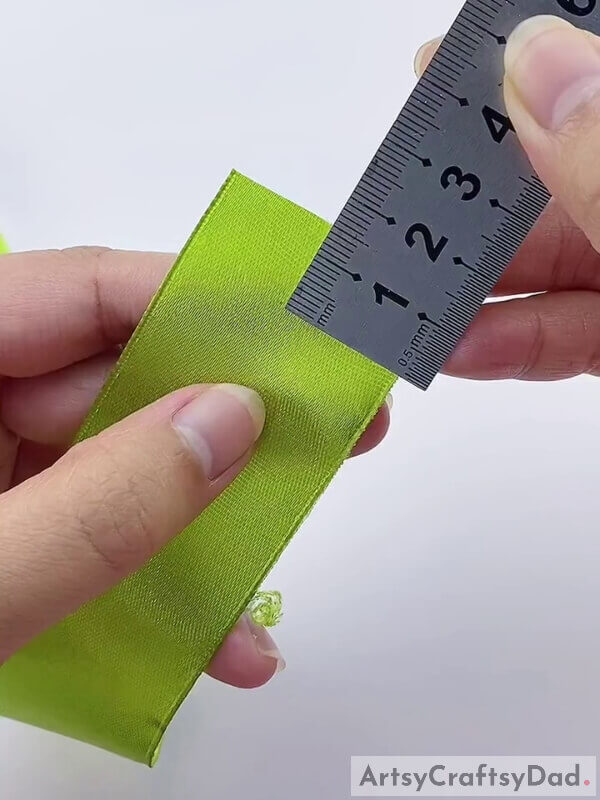
Now, by using a scale, measure the ribbon up to 2 cm.
Step #4: Cut It
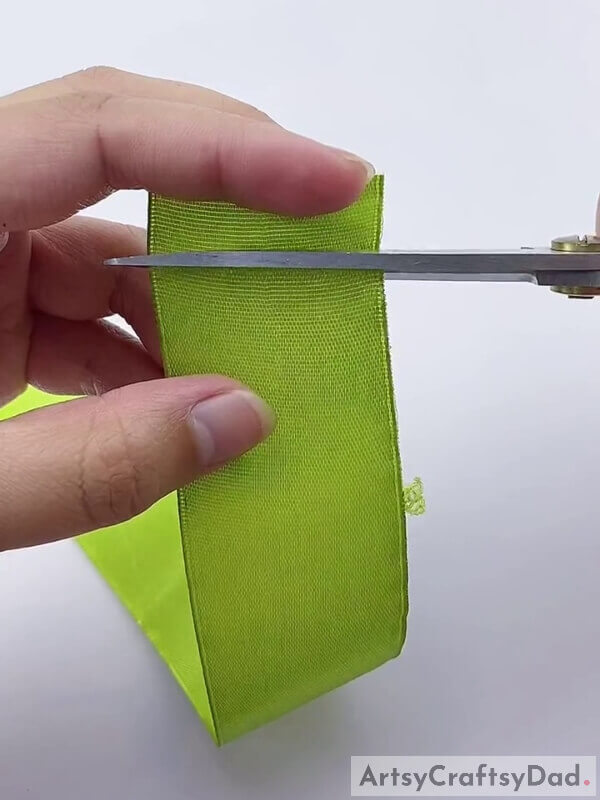
Now, cut the ribbon in 2 cm strips. Cut 6-7 strips.
Step #5: Measure Second Ribbon
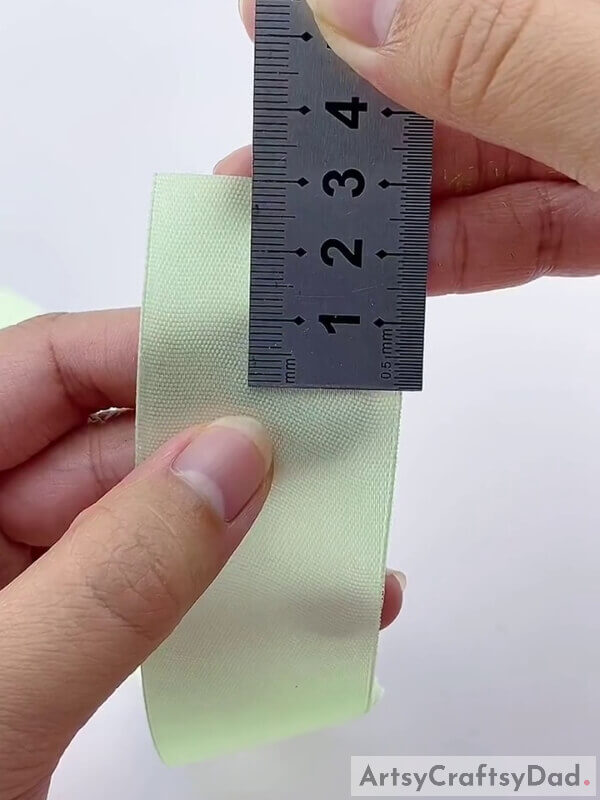
Now, take the light green and measure it up to 3 cm. 3-4 strips.
Step #6: Collect All The Strips
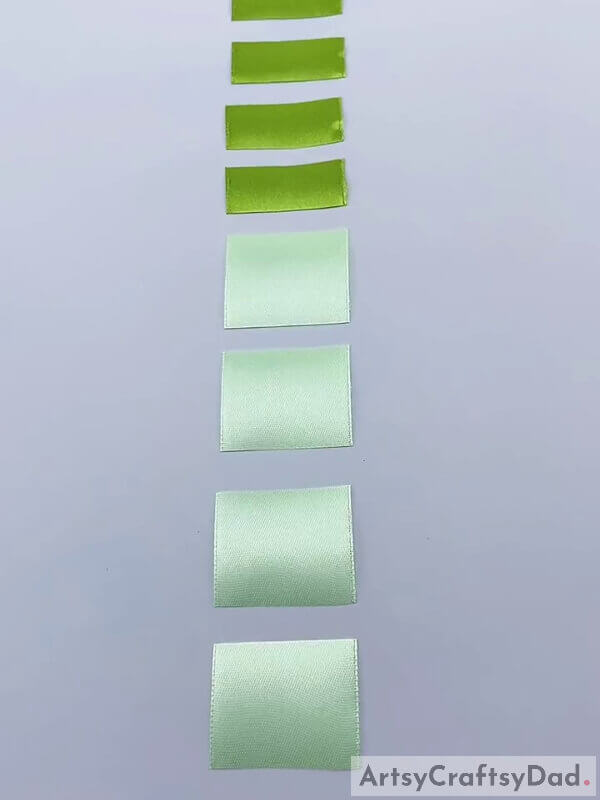
Collect all the strips and arrange them in a straight line.
Step #7: Arrange On Tape
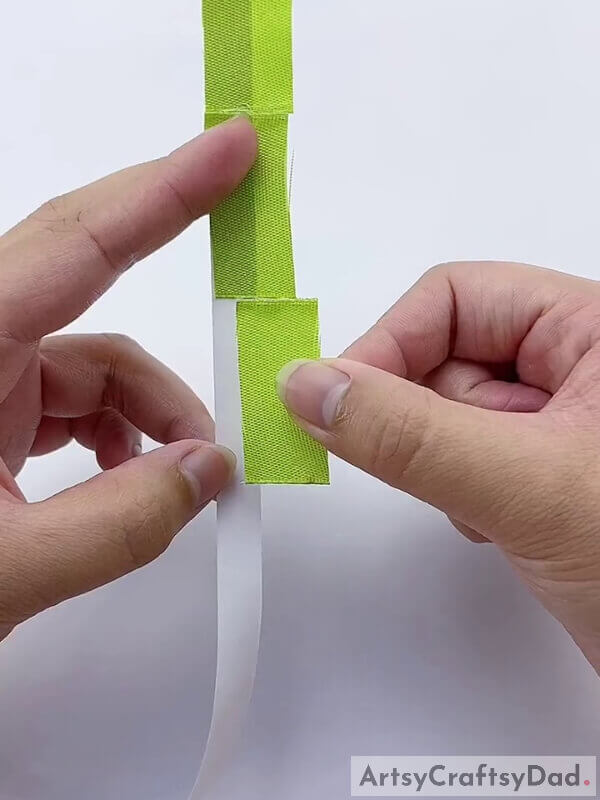
Arrange all the strips on the paper tape by pasting it on them.
Step #8: Paste Properly
Paste all the strips in a straight line on the paper strip, properly.
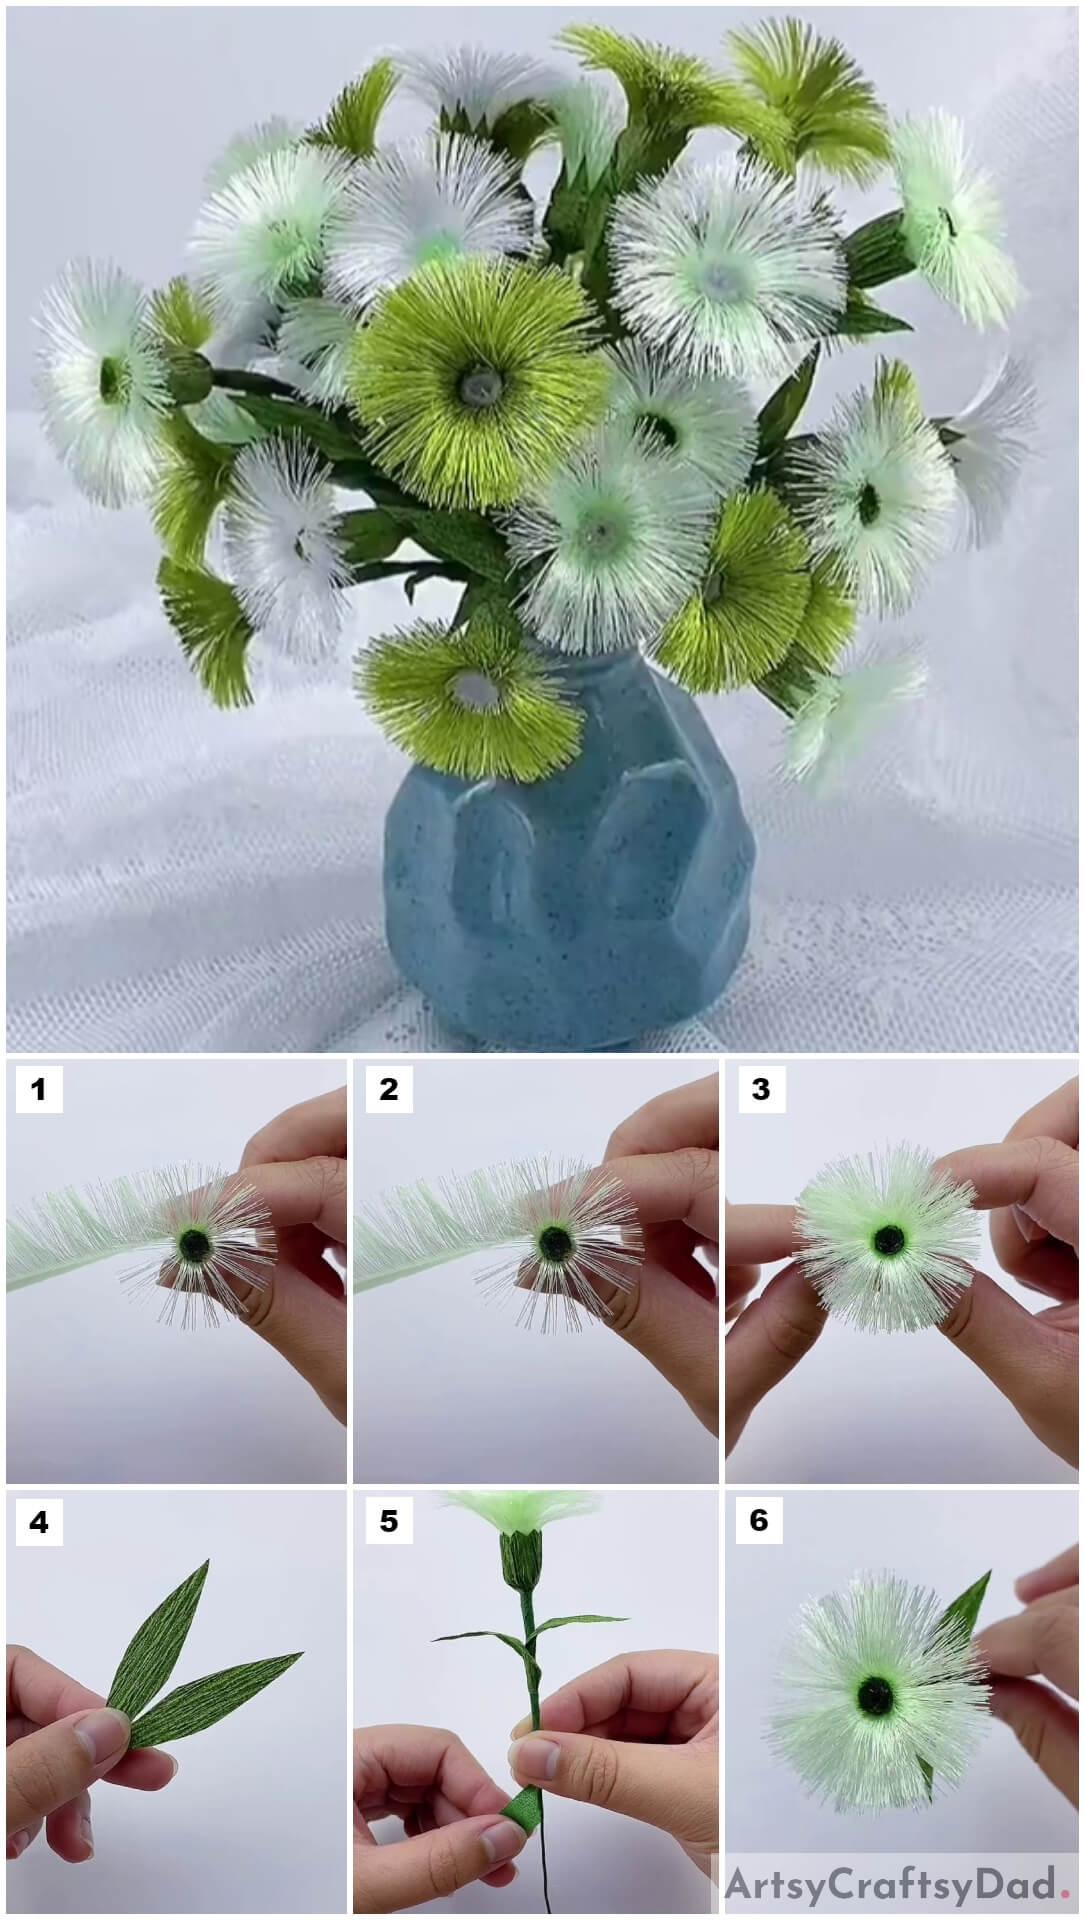
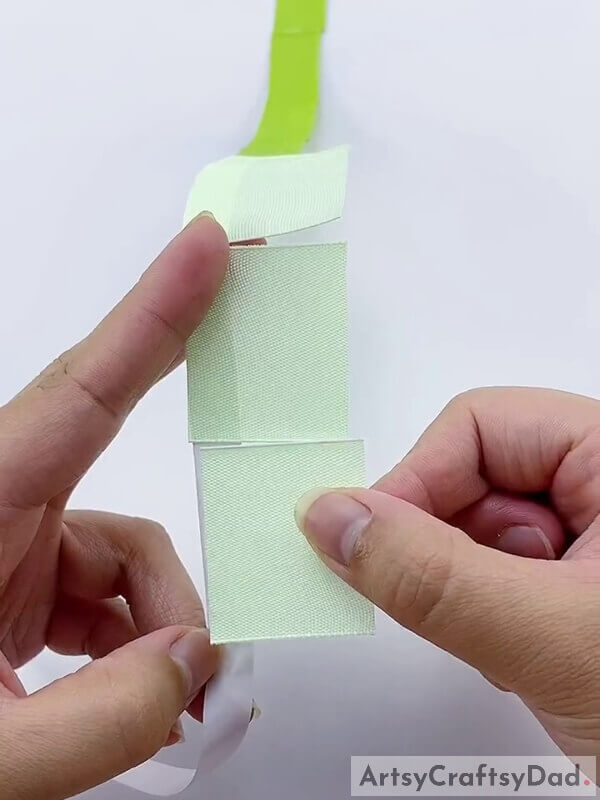
Step #9: Start Loosening

Now, start to loosen the ribbon strips, and remove the vertical threads of the ribbon.
Step #10: Continue Loosening It
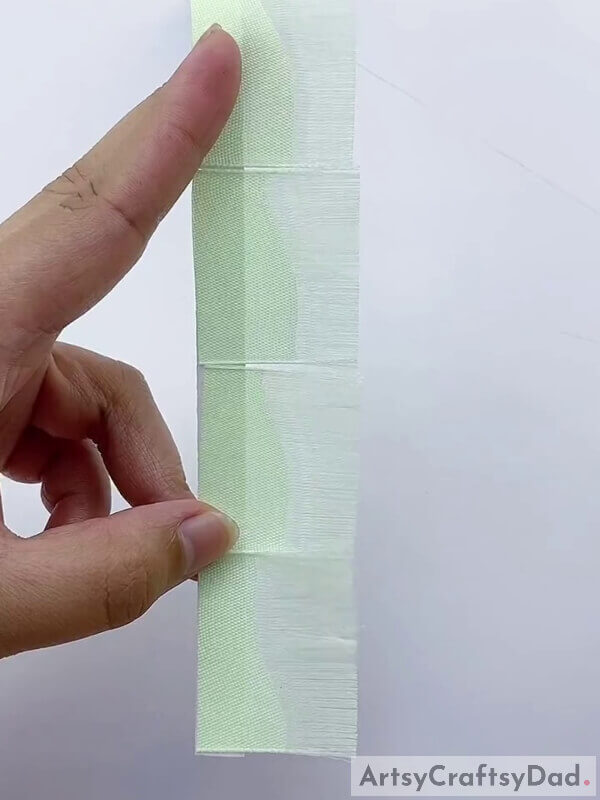
Loosen and remove all the vertical threads of all the strips.
Step #11: Iron Them
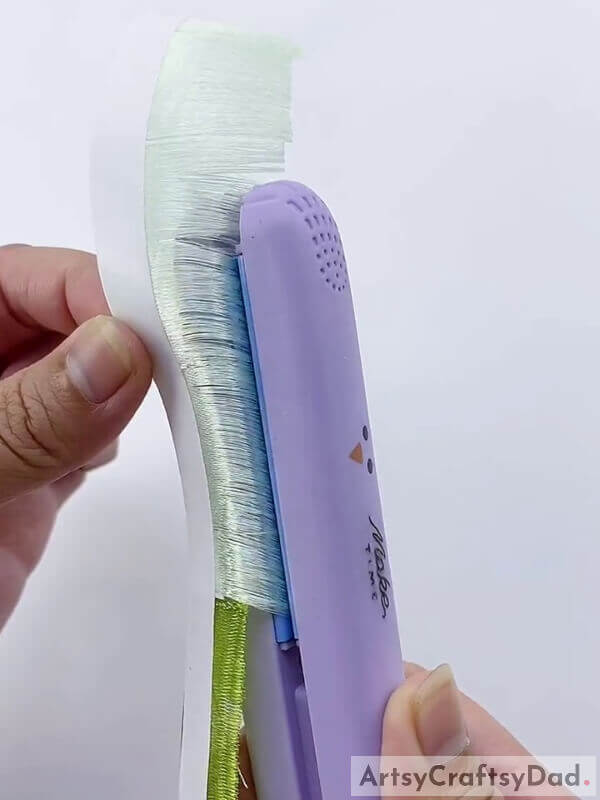
Now, iron all the strips so that all the individual horizontal threads are straight and it is looking clean. Also, iron the ribbons along with the tape, by doing this, the strips would attach to each other.
Step #12: Remove The Tape
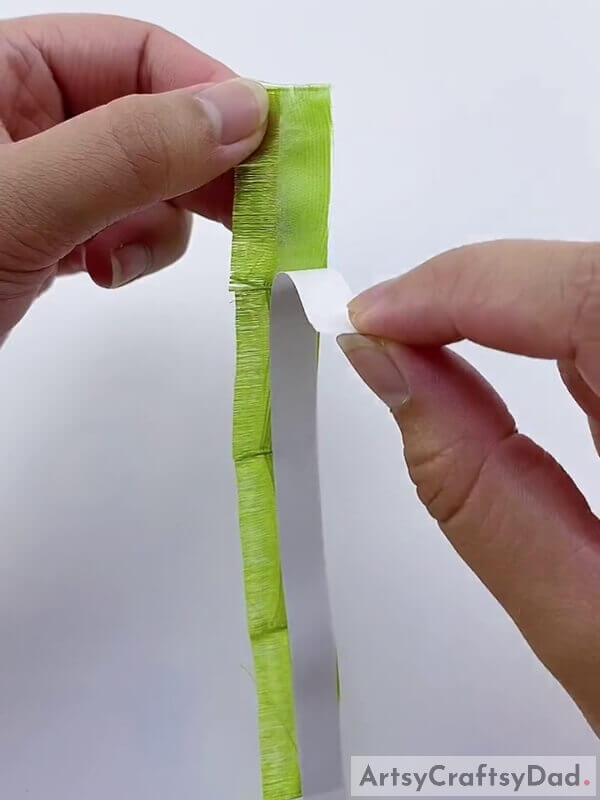
Remove the strip keeping a long line of attached strips.
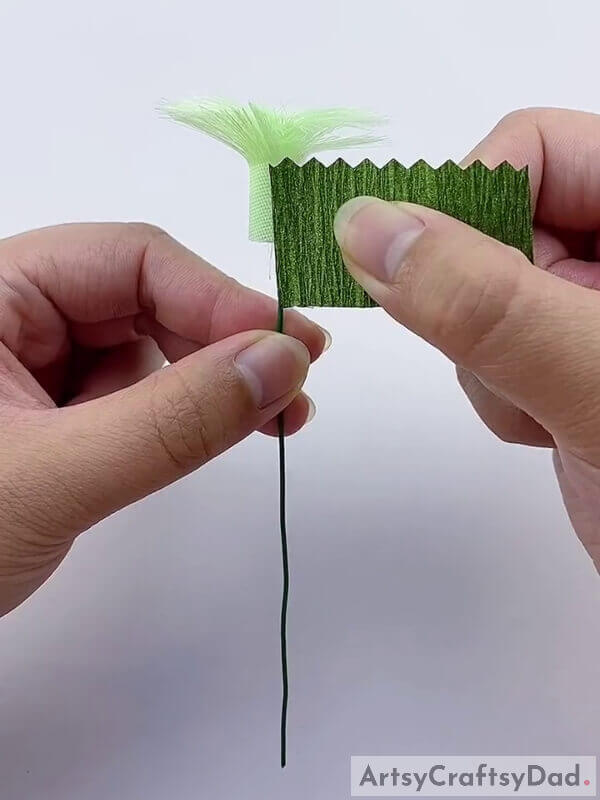
Step #13: Use The Stick
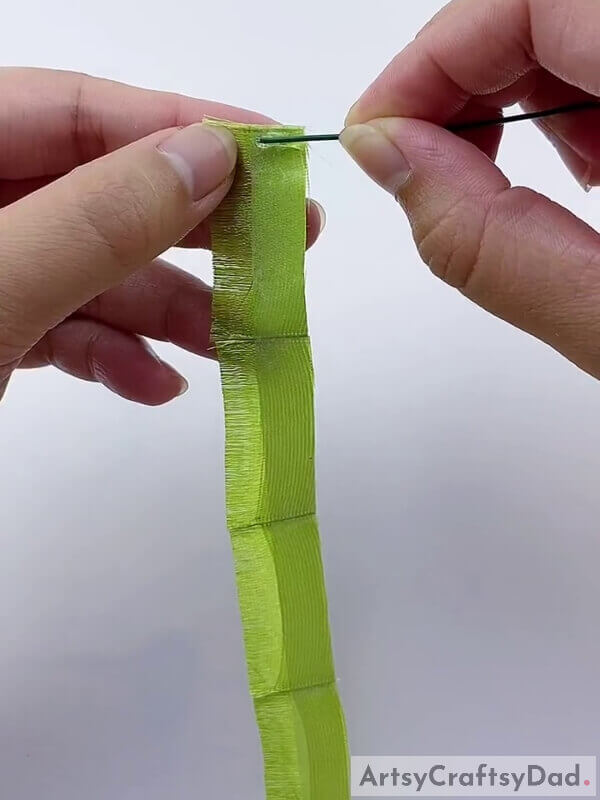
Take the stick and paste it at the end of the line of strips. Paste it at the dark green strip.
Step #14: Wrap It Around
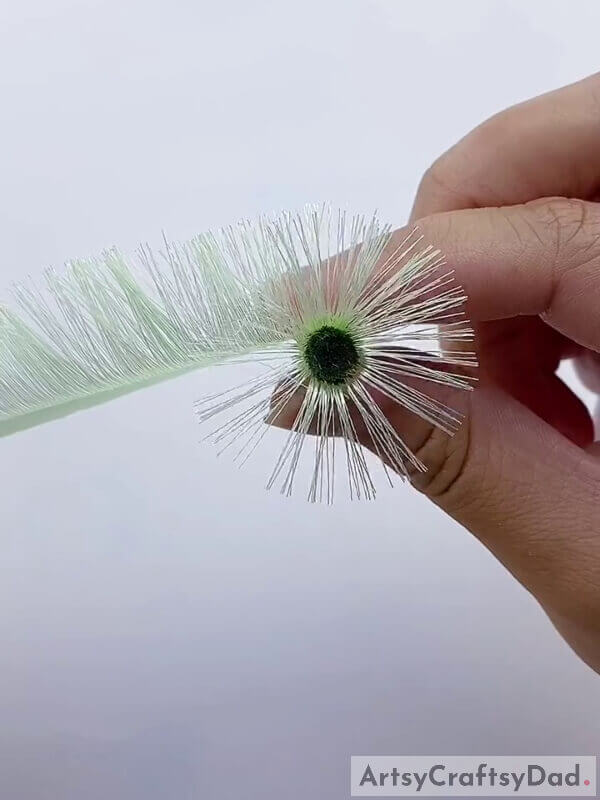
Wrap the line of strips around the stick.
Step #15: Wrap Properly
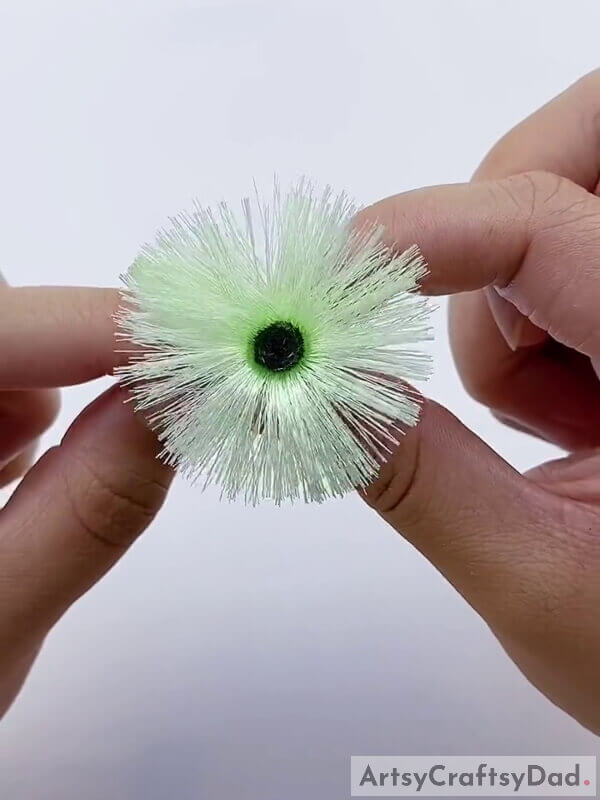
Wrap it till its end. Make sure it is wrapped tightly. Secure it using the hot glue gun.
Step #16: Cut The Construction Paper
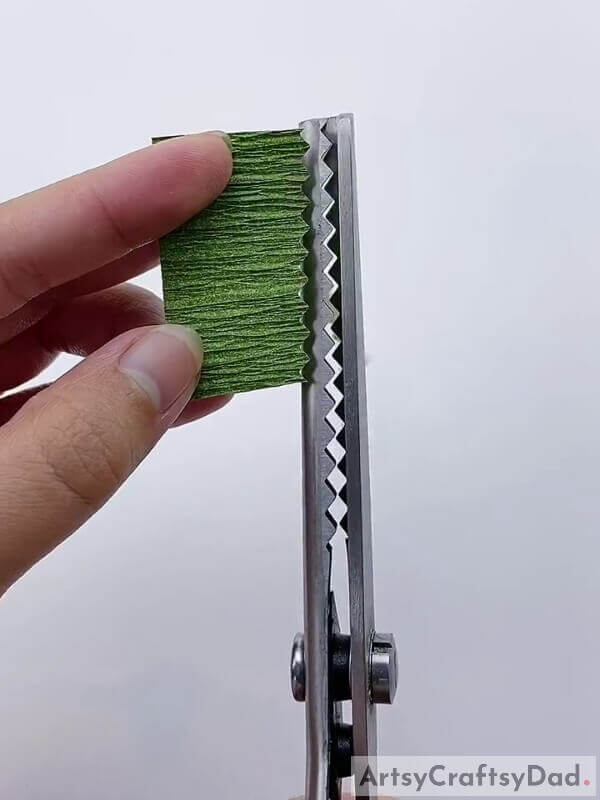
Now, cut green construction paper using the zig-zag scissors.
Step #17: Leaves

Cut the construction into two leaves using a normal pair of scissors.
Step #18: Cut A Strip
Cut a strip out of the construction paper using the zig-zag scissors. And, pate it.
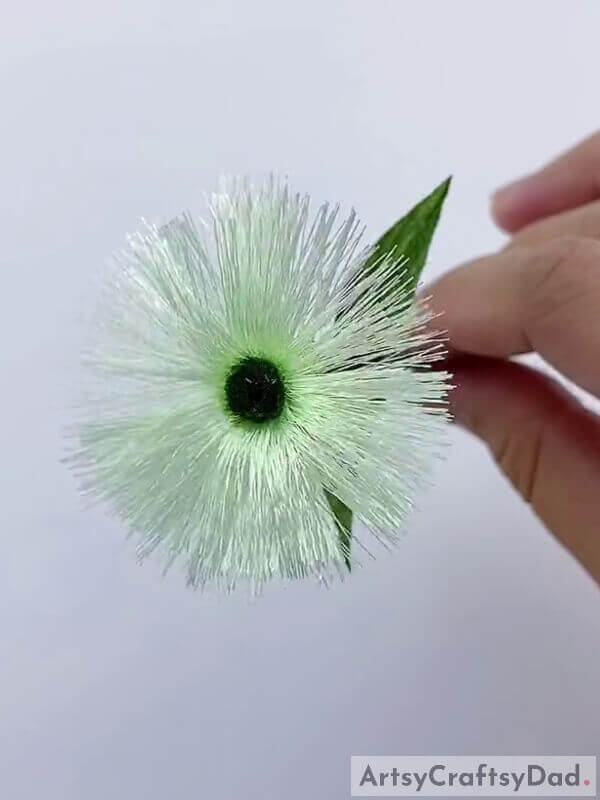
Step #19: Paste The Leaves

Now, paste the leaves on the stick.
Step #20: Wrap The Stick
At last, wrap the stick using a dark green ribbon.
Ribbon Blooming Flower Craft Tutorial For Kids – For Kids
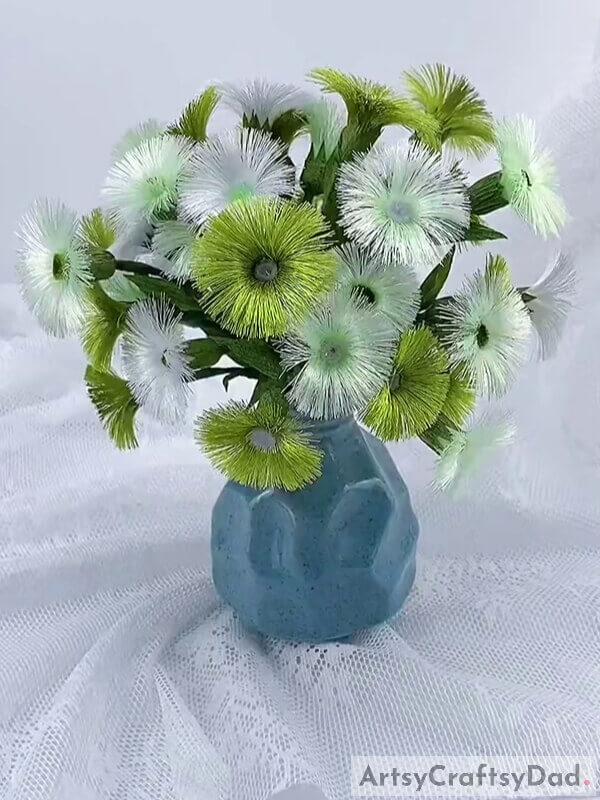
With this, you have come to the end of the ribbon-blooming flower craft tutorial. This was a good learning experience for kids as they learned about wrapping ribbons. Making a flower by using ribbons must be fascinating for kids 9-14 years of age. This flower looks very vibrant and adorable. Some more flowers could be crafted to put in a vase or for a bouquet. Kids have learned about a new mechanism from this tutorial, they have also learned about wrapping.
Hope you liked this ribbon blooming flower craft step-by-step tutorial. Don’t forget to share your comments and inform us about your experience. Make sure to revisit our website!
Thanks for visiting our website.
You May Also Like
- Red Poppy Flower Drawing Tutorial For Kids
- Recycled Flower Basket: Fruit Foam Net & Plastic Bottle Craft Tutorial
- Orange-Yellow Flower Climber Clay Craft Tutorial
- 3D Paper Roses: Flower Pot Craft Tutorial
- White Cherry Blossom Flower Vase Art Craft Tutorial


