This tutorial will help you to make white cherry blossoms in flower vase artwork effortlessly, which is suitable for beginners.
Welcome to this white cherry blossom flower vase artwork tutorial! In this tutorial, we are going to teach you how to make white cherry blossom flower vase artwork using craft papers and acrylic paint. This artwork is a super easy one to make, which is suitable for kids, adults, and beginners. Let’s get started!
Adorable White Cherry Blossom Vase Artwork Ideas For Kids
Must Read: Easy flower vase craft using pom pom
Supplies & Tools
- Craft Papers (Blue, White, and Yellow)
- Scissors
- Glue
- Black Pen
- Acrylic Paint
- Earbuds
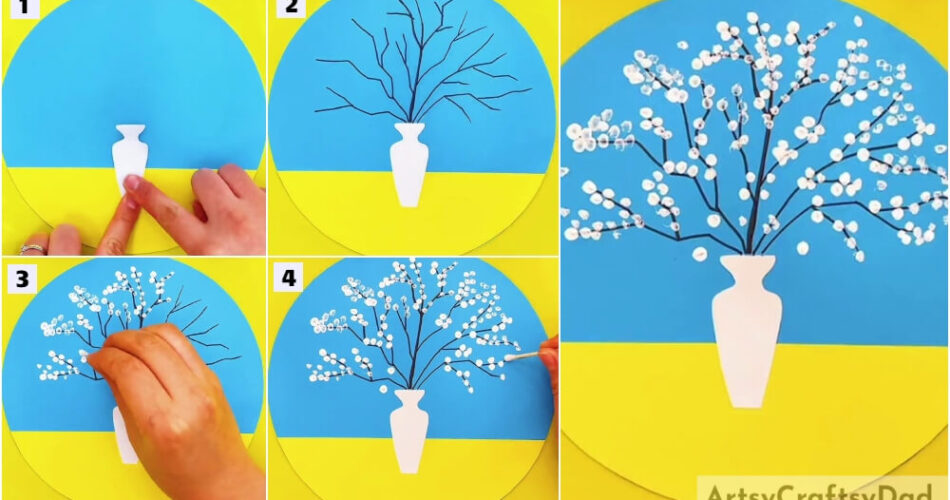
Cherry Blossom Flower Vase Instructions
Step #1: Cutting Blue And Yellow Color Craft Papers
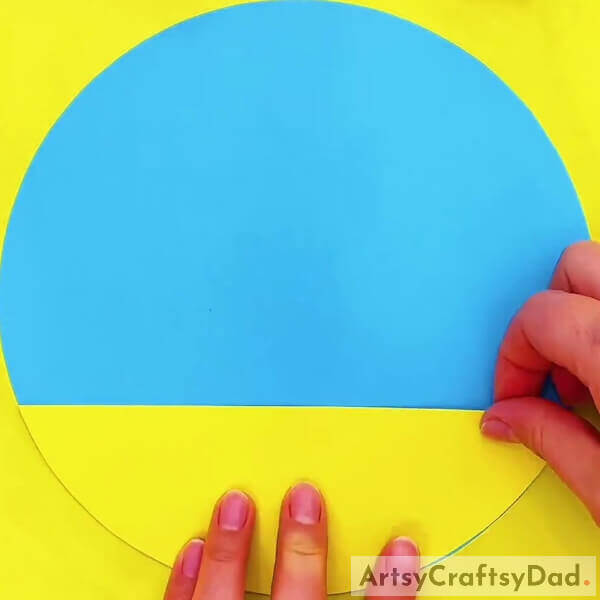
Grab your scissors, then cut your blue and yellow color craft papers into a circle shape. Cut 1/4th of circle-shaped yellow craft paper and paste it at the bottom of your circle-shaped blue color craft paper using glue.
Step #2: Creating And Pasting Vase
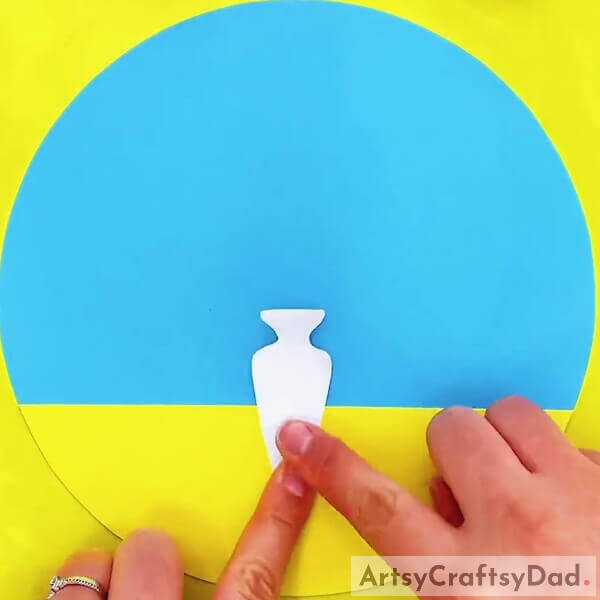
Draw a small flower vase outline on white-colored craft paper and cut it out. Then, paste that piece of paper in the middle area of blue and yellow craft paper as shown in the image.
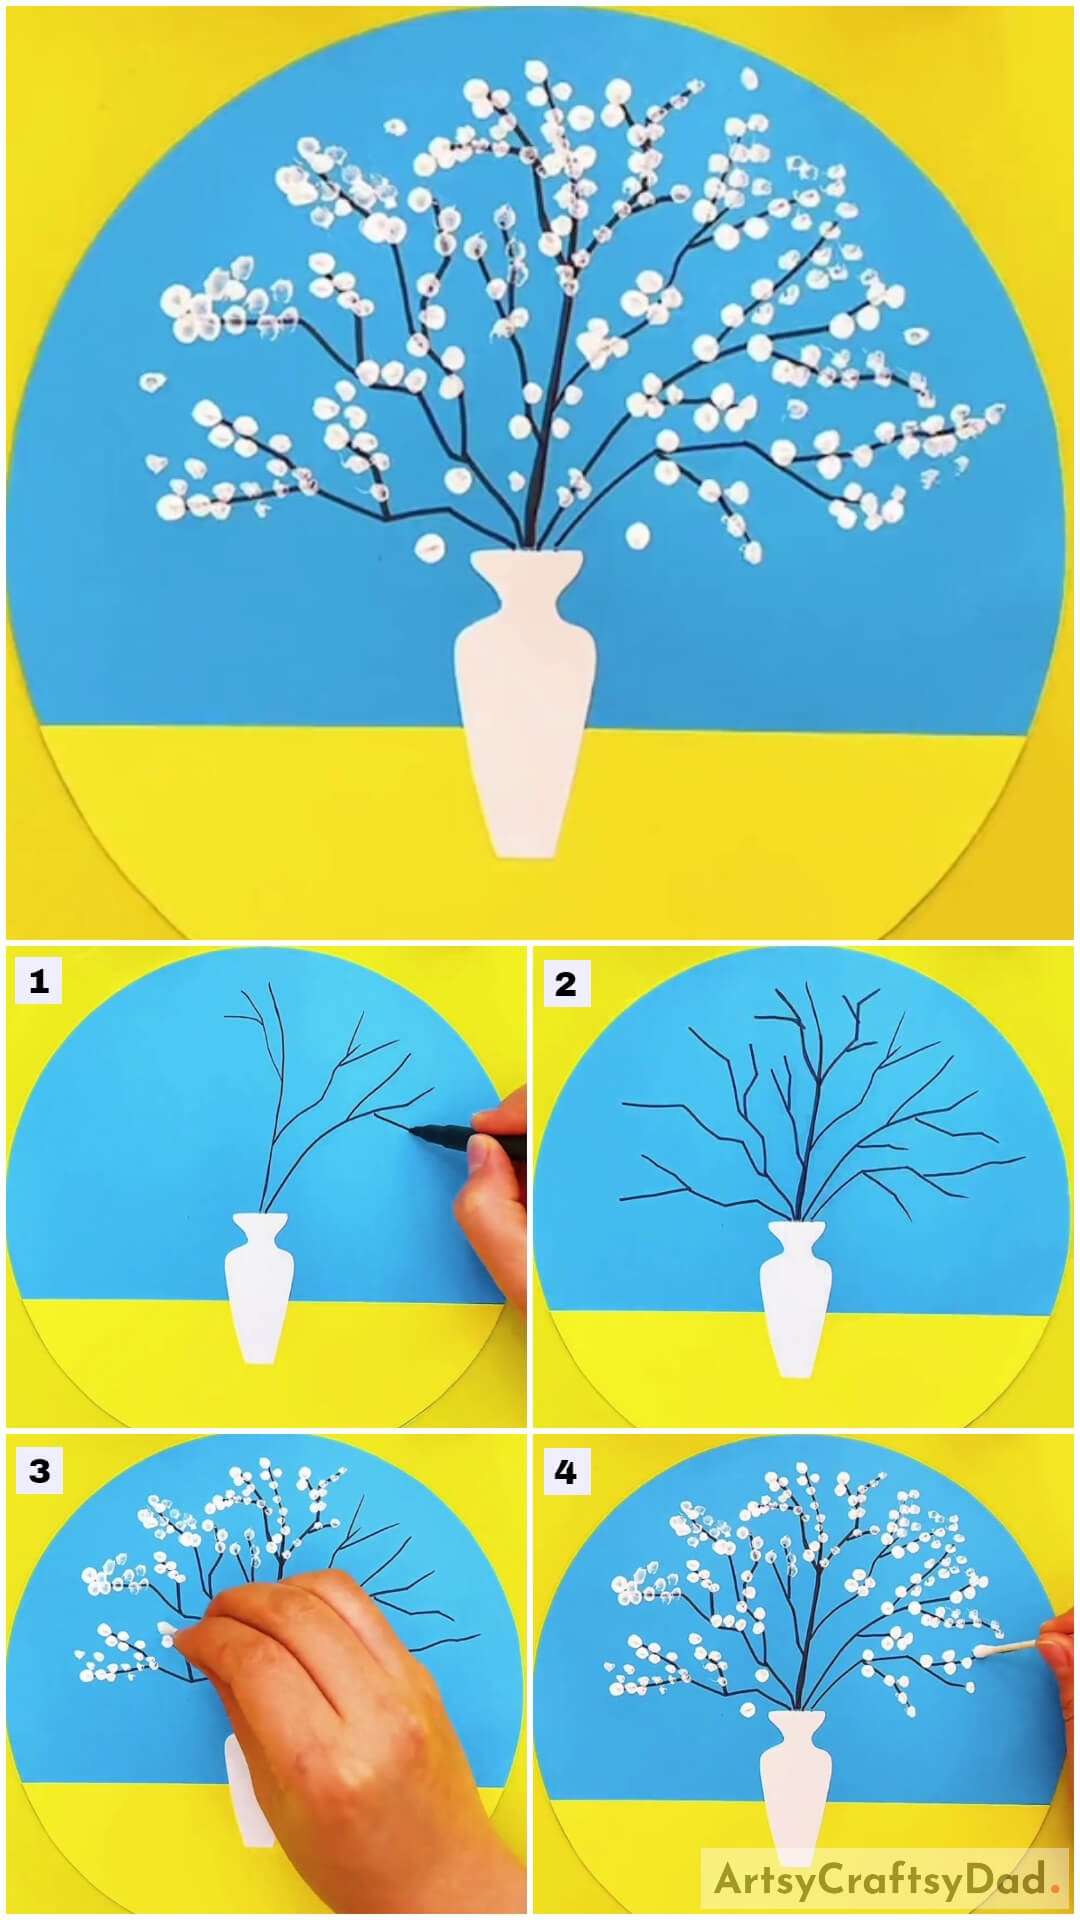
Step #3: Drawing Cherry Tree Branches Using Black Pen
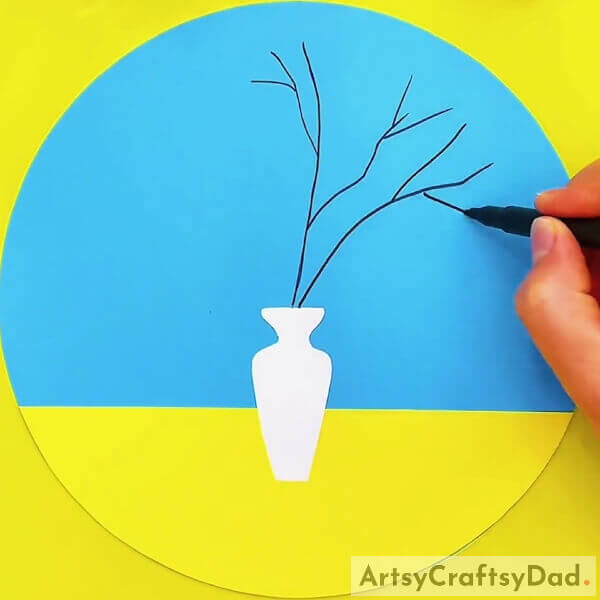
With the help of a black pen, draw a lengthy curvy line from the middle of the vase and one more curvy line at the right side of the vase, also draw a few small lines from those two lines for branches.
Step #4: Drawing More Branches
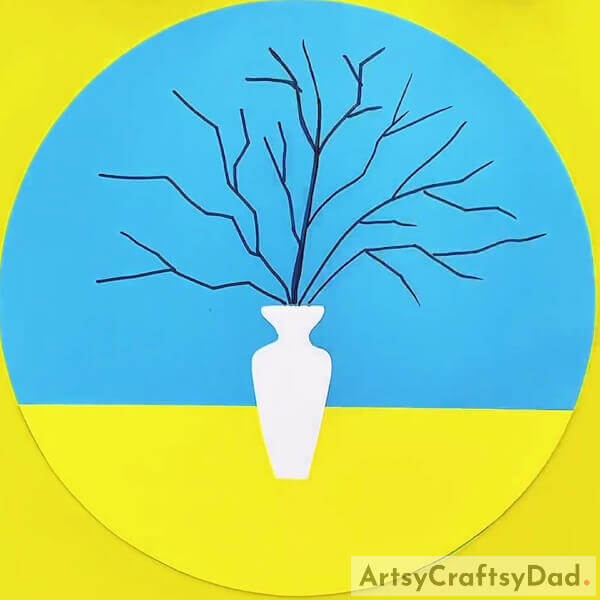
Now, draw two to three branches at the left side of your flower vase as shown.
Step #5: Putting White Dots Using Earbuds
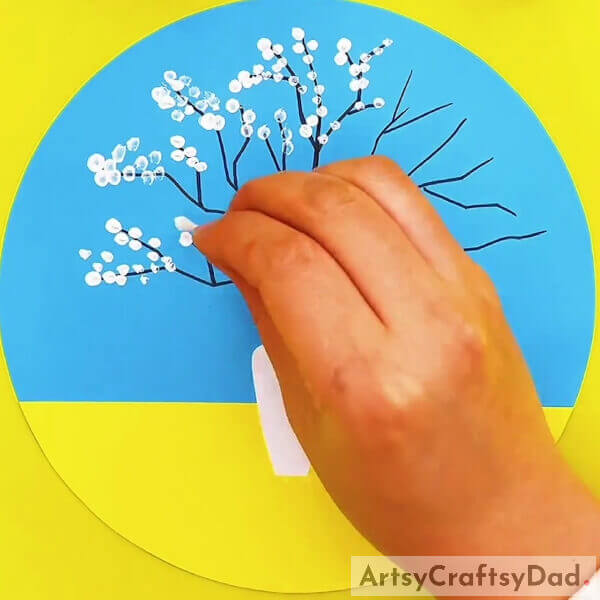
Grab a piece of earbud and dip it in white color paint, then put some dots on cherry tree branches at the left side of the vase to create a blossom.
Step #6: Creating Cherry Blossom At Right Side Branches
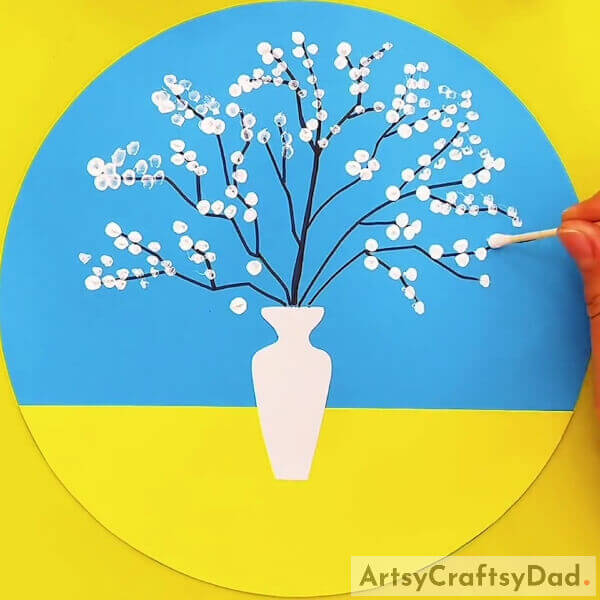
Then, put white dots on the right side cherry tree branches as well. Put dots all over the branches.
White Cherry Blossom Flower Vase Artwork Is Done!
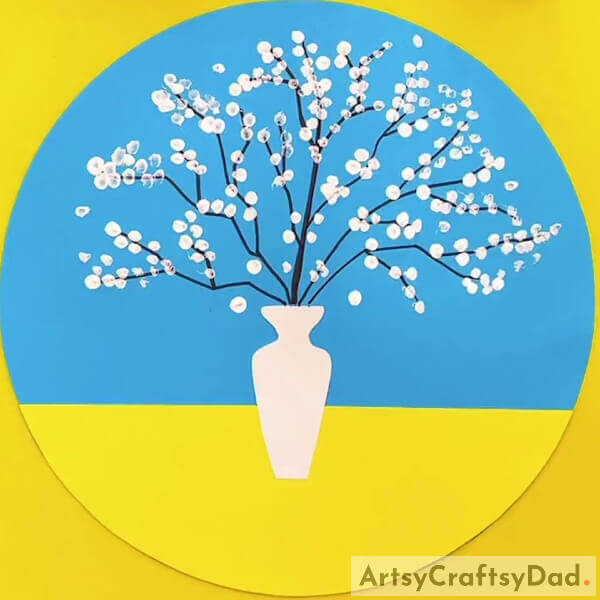
This easy white cherry blossom artwork is very simple to create using very few steps. You can frame this beautiful artwork and hang it on your living room wall for decoration.
We hope you like this white cherry blossom flower vase artwork tutorial. Share your thoughts about this tutorial in the comment section. For more art and craft projects, visit our website.
Thank you for visiting our website.
You May Also Like
- Beautiful White Cherry Blossom Painting Art Tutorial
- How to Make Cherry Blossom Flower from Satin Ribbon
- How to Make a Paper Flower Vase – Paper Craft Tutorial
- How to Make Paper Flower Vase – Tutorial
- Japanese cherry blossom tree from embroidery


