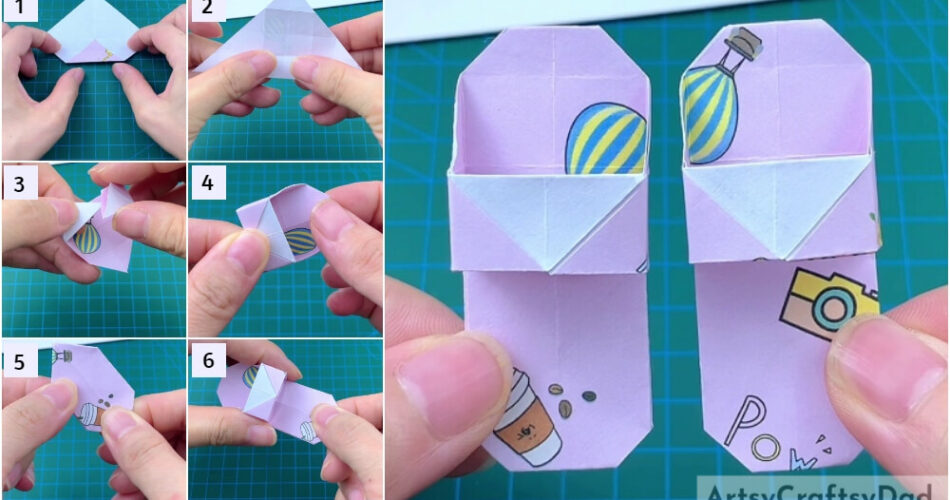
Want to make cool slippers for your dolls? This step-by-step tutorial will guide you to make origami paper flip flops miniature craft!
Add some cool flip-flops to your origami collection! Origami is the best way to keep yourself busy in a fun activity as well as training your mind! This step-by-step tutorial will guide you in making tiny flip-flops of paper through origami. With just some easy turns and folds of paper, you will make these flip-flops! This origami is even suitable for beginners too, so if you want to make something up for the first time through origami, these are perfect! Let’s begin!
Cute Flip Flops Origami Craft For Kids
Must Read: DIY Origami Paper Designer Frock Craft Tutorial
Tools & Supplies
- 4 Diamond-Shaped Printed Paper Sheet With Plain White Side
Flip Flops Origami Instructions
Step #1: Making A Vertical Crease On Paper
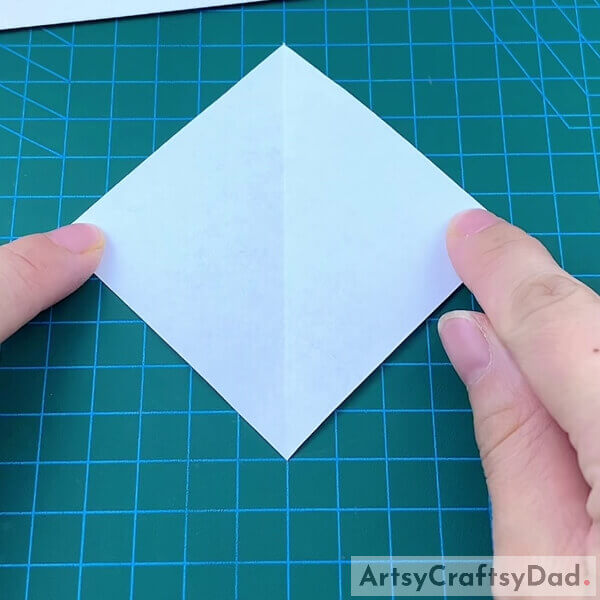
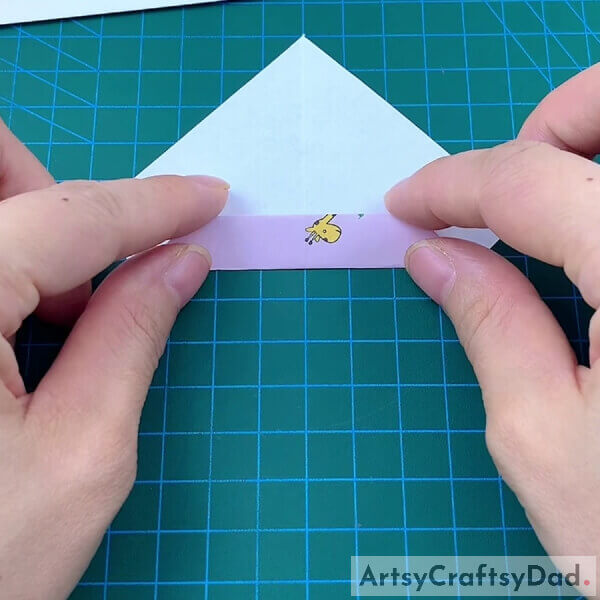
Begin this craft by taking a small diamond-shaped paper sheet with a pink printed side and a white plain side. Place the paper viewing the white plain side of it. Fold the paper in half from the side edges over each other, make a crease, and unfold again. You will see a vertical crease on the paper.
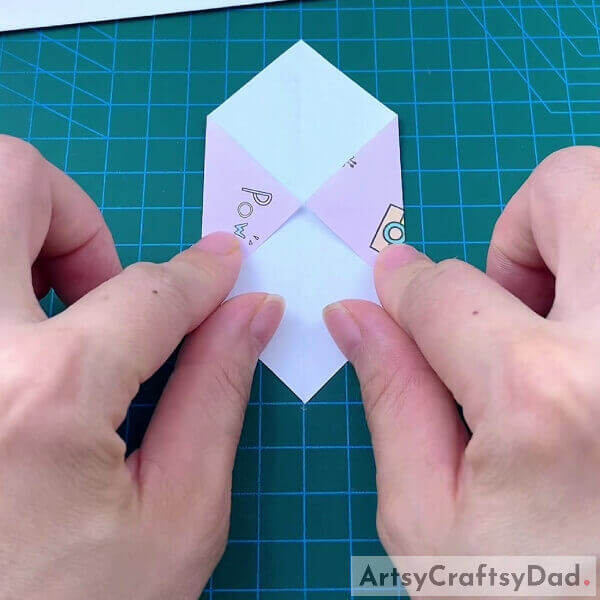
Step #2: Folding Edges To The Center
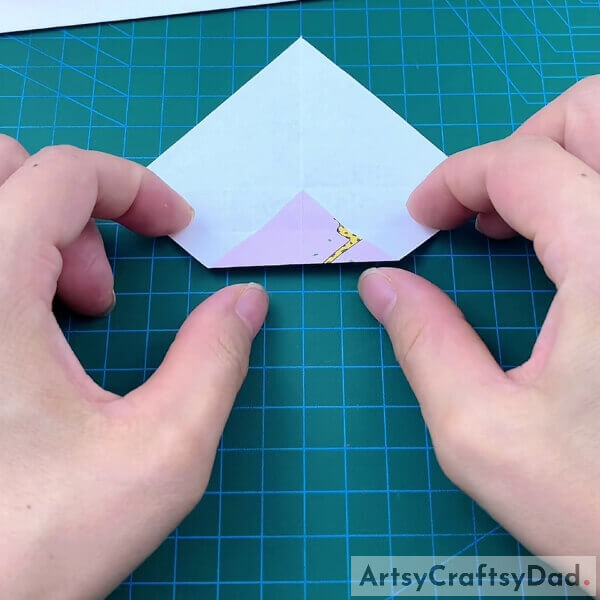
Fold the diamond paper from the top and bottom edges to form a horizontal crease too and you will see the intersection of both the creases which will be the center of the paper.
Now, fold the bottom edge to the center, and make a 1/2th crease.
Step #3: Folding The Folded Side
Fold the folded side to the horizontal crease to form a 1/4th crease, and unfold again. You will see 3 creases in total below the horizontal crease i.e. upper 1/4th crease, 1/2th crease, and below 1/4th crease.
Step #4: Making Check Creases
As you made 3 creases below the horizontal crease, make 3 above the horizontal crease. Turn the paper to see the vertical crease as the horizontal crease and vice versa for the horizontal crease. Now, in the same way, make the 3 creases above and below this horizontal crease. You will form check creases over the paper.
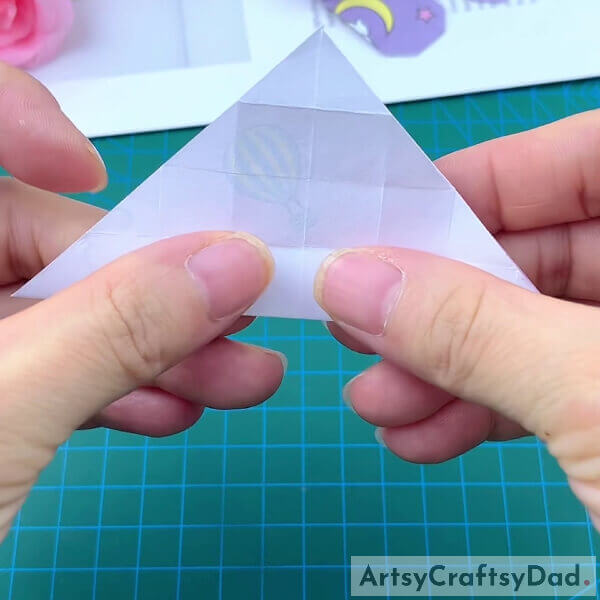
Now, flip the paper to the pink printed paper side and fold it in half from the horizontal crease.
Step #5: Unfold Along The 1/4th Crease

Unfold the paper from the front upper 1/4th crease to see a smaller diamond shape of the printed paper and small white triangles on the sides.
Step #6: Folding Along The Previous Fold
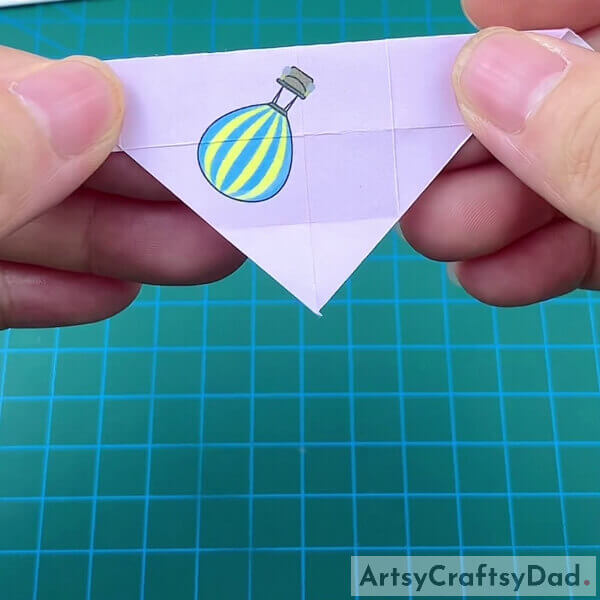
Fold the other side of the paper to the back side along the same previous fold i.e. upper 1/4th crease. You will see a big triangle of printed paper and 2 small white triangles on the sides.
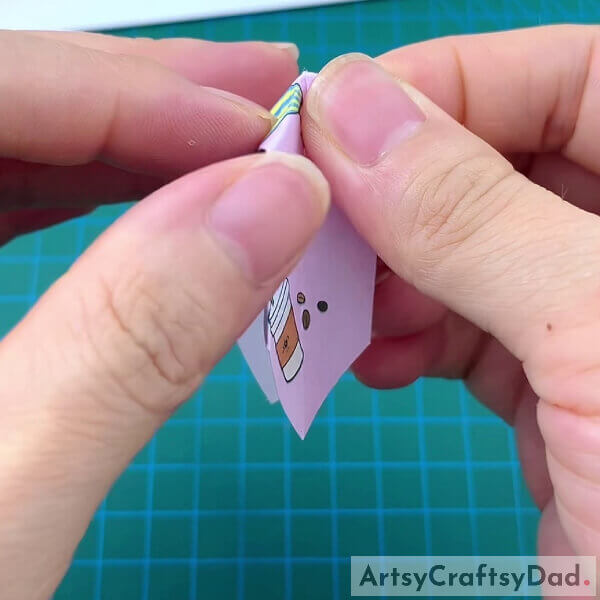
Step #7: Inserting One Small Triangle Into Another
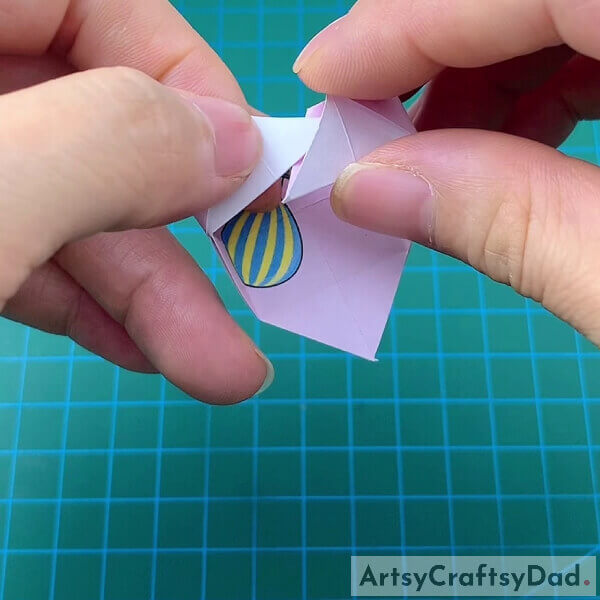
Flip the figure to the other side and along both the creases, just next to the vertical crease, and fold the figure to insert one small white triangle into the other from the top opening. You will form a strap of the slipper.
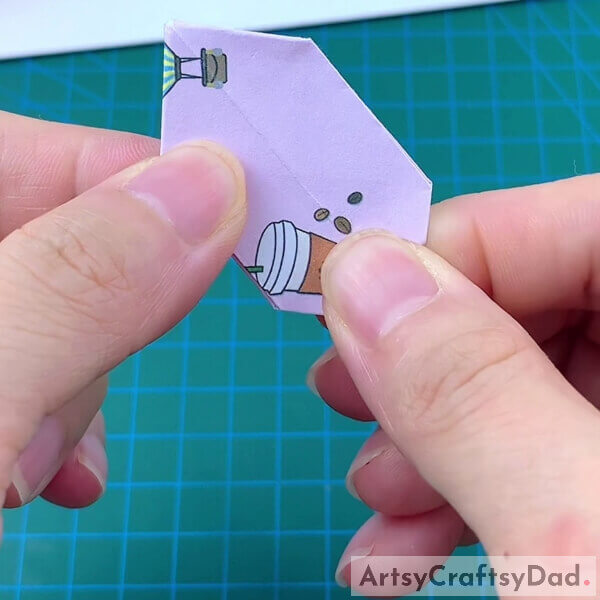
Step #8: Folding The Pointed Part
Put the small triangle into the other in a way that they over one another. Fold the pointed part of the figure at the opposite side of the strap back side of it along the crease on the very end. This will be the upper part of your slipper.
Step #9: Folding Side Edges Of Another Paper
Take another diamond-shaped paper sheet, one side printed and the other side plain white. Fold it in halves from the opposite edges to form the vertical and horizontal crease intersecting in the center.
Fold the side edges of the diamond to the center and form creases.
Step #10: Folding The Folded Sides
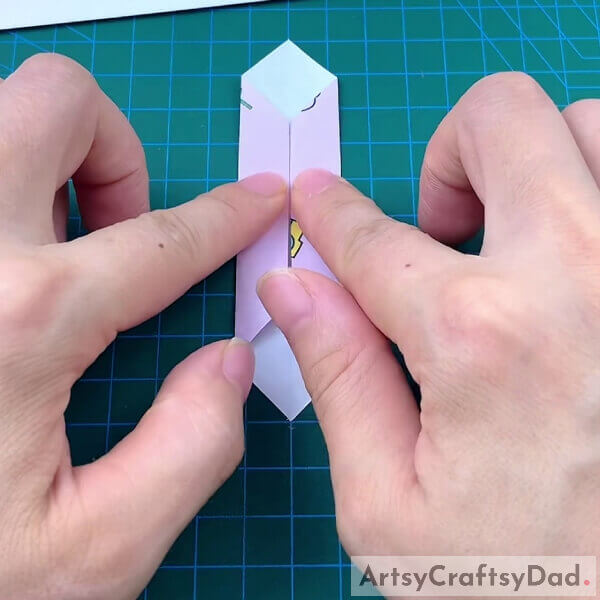
Fold the folded sides of the paper to the vertical crease.
Step #11: Folding The Figure In Half
Fold this figure in half from the longer side or, fold the top corner to the bottom corner.
Step #12: Folding The Folded Side’s Edges To The Crease
Fold the edges of the folded side to the middle vertical crease, make creases, and unfold again. Now, along these creases fold the edges into the folded side to give a pointed shape by opening the left and right sides of the figure and pushing in the edges along the creases.
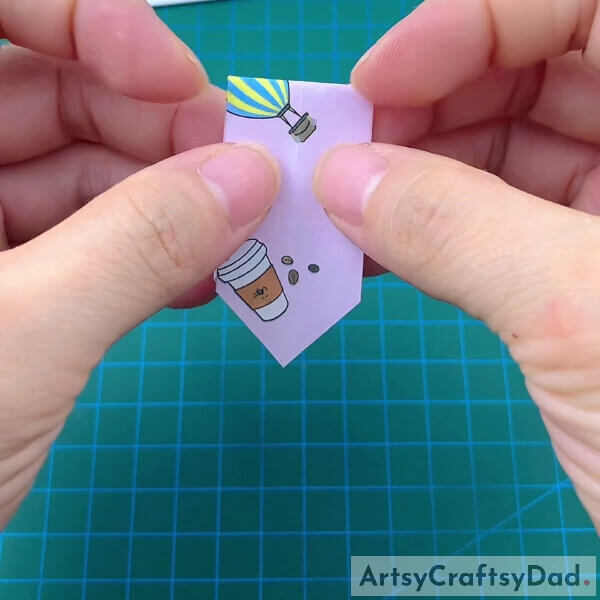
Step #13: Folding The Open-end Side Of The Figure
Fold the back side i.e. open-end side of the figure to the opposite side. This will be the back part of your slipper.
Step #14: Joining The Parts
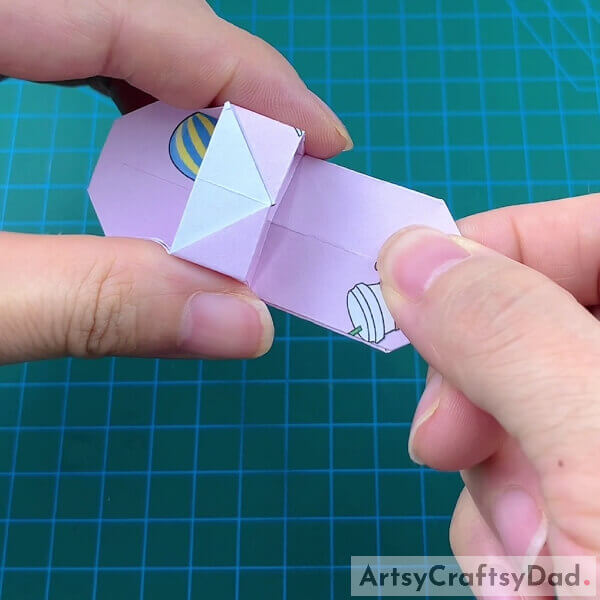
Insert the upper part of the slipper into the back one from the pointed side.
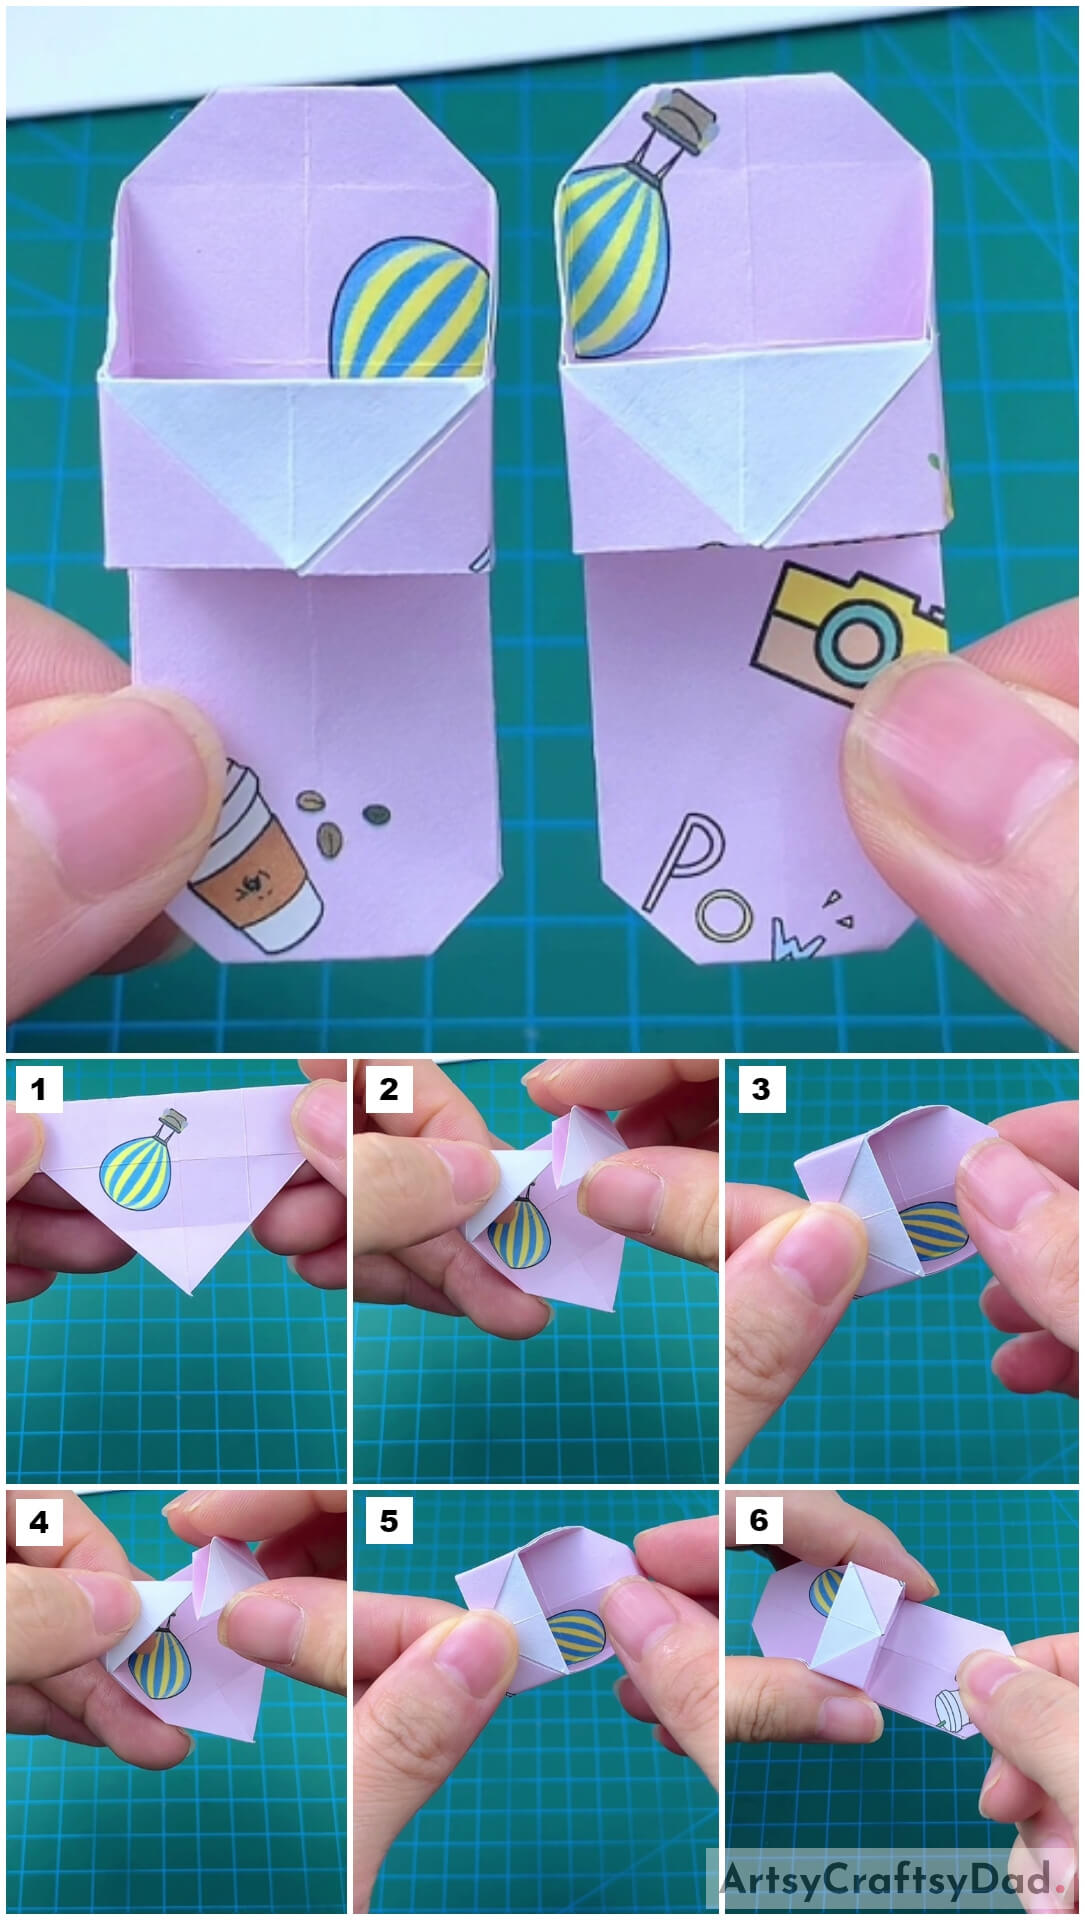
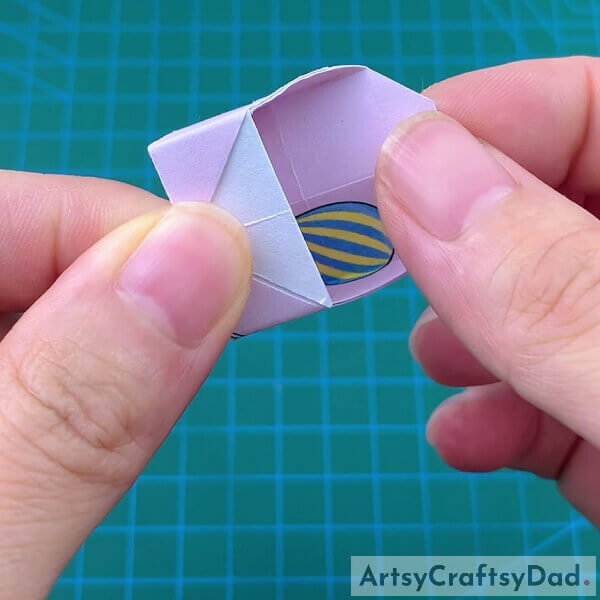
This Is The Final Look Of Your Paper Flip Flops!
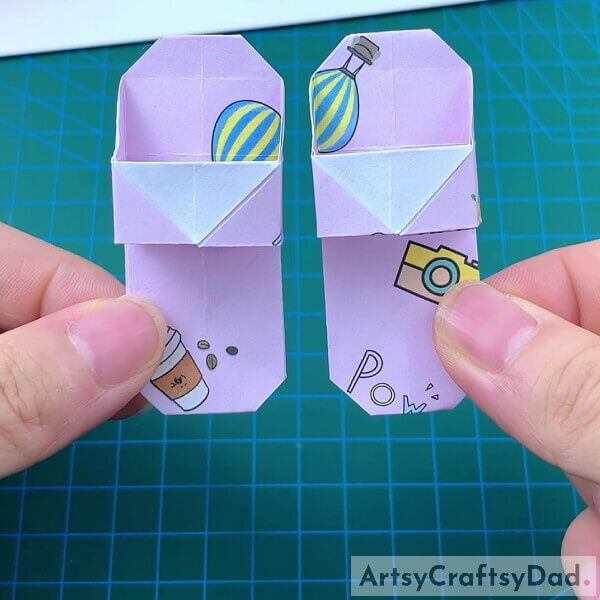
For the last step, make another slipper in the same way you made the previous one.
Tada! You have finally completed making your miniature flip-flops!
They are now ready to be wrong by your little dolls! How cool is that?! I feel like I’m a fashion designer creating something to wear even if it is for the dolls! You can even decorate the flip-flops to make them match your doll’s outfit! You can create these flip-flops of any other colored or patterned paper, or decorate them using the craft pearls, beads, or anything! Your imagination and creativity are the limit!
Hope you had fun making this craft! Share it with our buddies, also, tell us your feedback in the comments section below! We would love to hear from you!
You May Also Like
- How to transform your flip flops with Mod Podge and jewellery
- Cute flip flops from ribbon
- Paper Pinwheel Flower Craft Tutorial For Kids
- Colorful Hedgehog Paper Craft Tutorial For Kids
- Paper Cutting Cute Tigers Craft Tutorial For Kids

