Explore a wonderful idea of making a DIY origami paper designer frock step-by-step tutorial for kids. These ideas await creative minds like you.
Simple Paper Designer Frock Craft Tutorial
Supplies & Tools
- 15×15 Printed Origami Paper
- Double-sided tape
Frock Craft Instructions
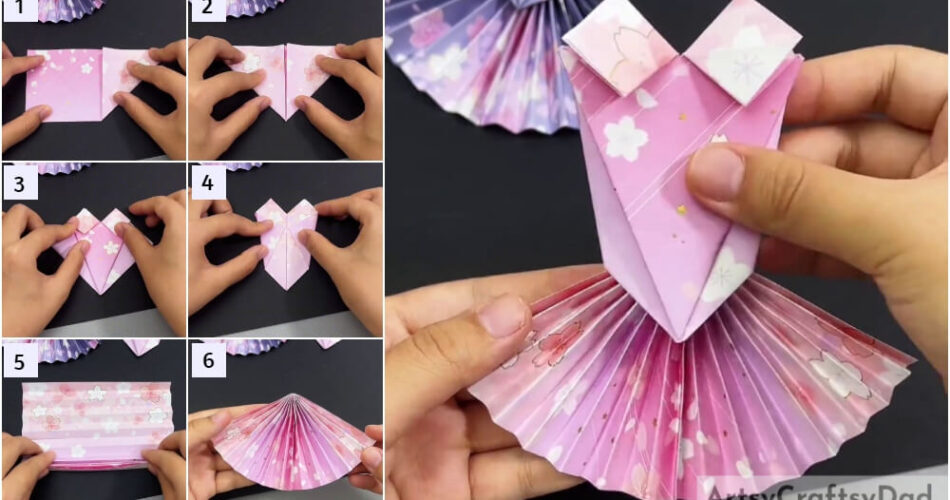
Step #1: Folding The Right Bottom Corner

Begin this craft by taking a 15×15 cm printed sheet paper and folding it in half to overlap the top and bottom sides, you will get a rectangle. Place it in a way that the folded side is upwards and the opened side is at the bottom. Fold the right bottom side of the rectangle to the upper side. See the image for reference.
Step #2: Folding The Left Bottom Corner
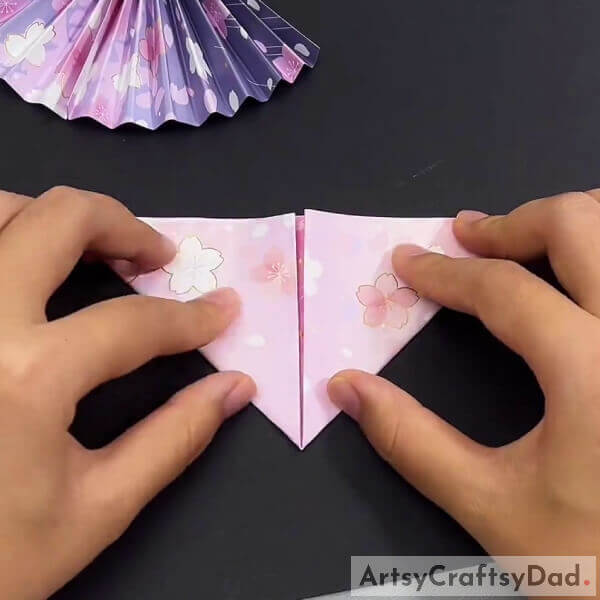
Now, fold the rectangle from the left bottom corner up to the same upper side of it. Crease these folds. You will get slanting triangle creases.
Step #3: Forming A Diamond Shape With A Partition
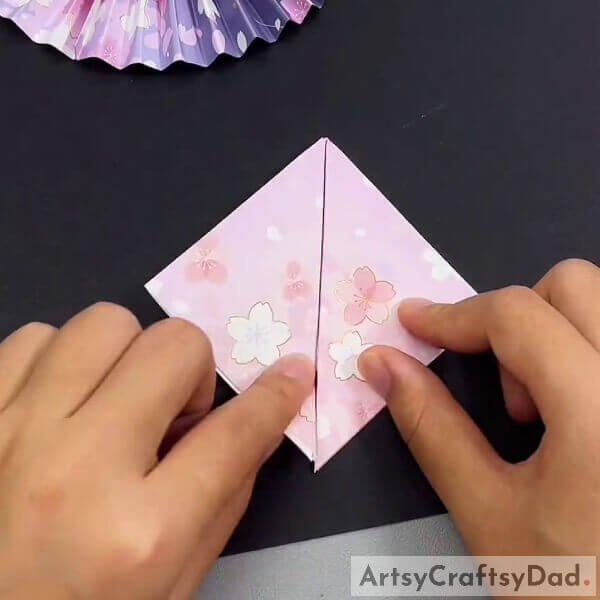
Open the slanting triangle folds and from the right side of the rectangle fold the paper diagonally over the left slanting crease and from the bottom tip of the right slanting crease, and crease this fold. Fold this folded side along the slanting crease which you will see as the vertical crease, outside on the right. You will get a small triangle on the right.
Do the same, from the left side of the rectangle i.e. fold the side to the right corner of the triangle formed, make a crease, and then fold this fold along the vertical crease over it outside, on the right to form another small triangle on the left.
Together these triangles will form a diamond shape with a partition as shown in the image.
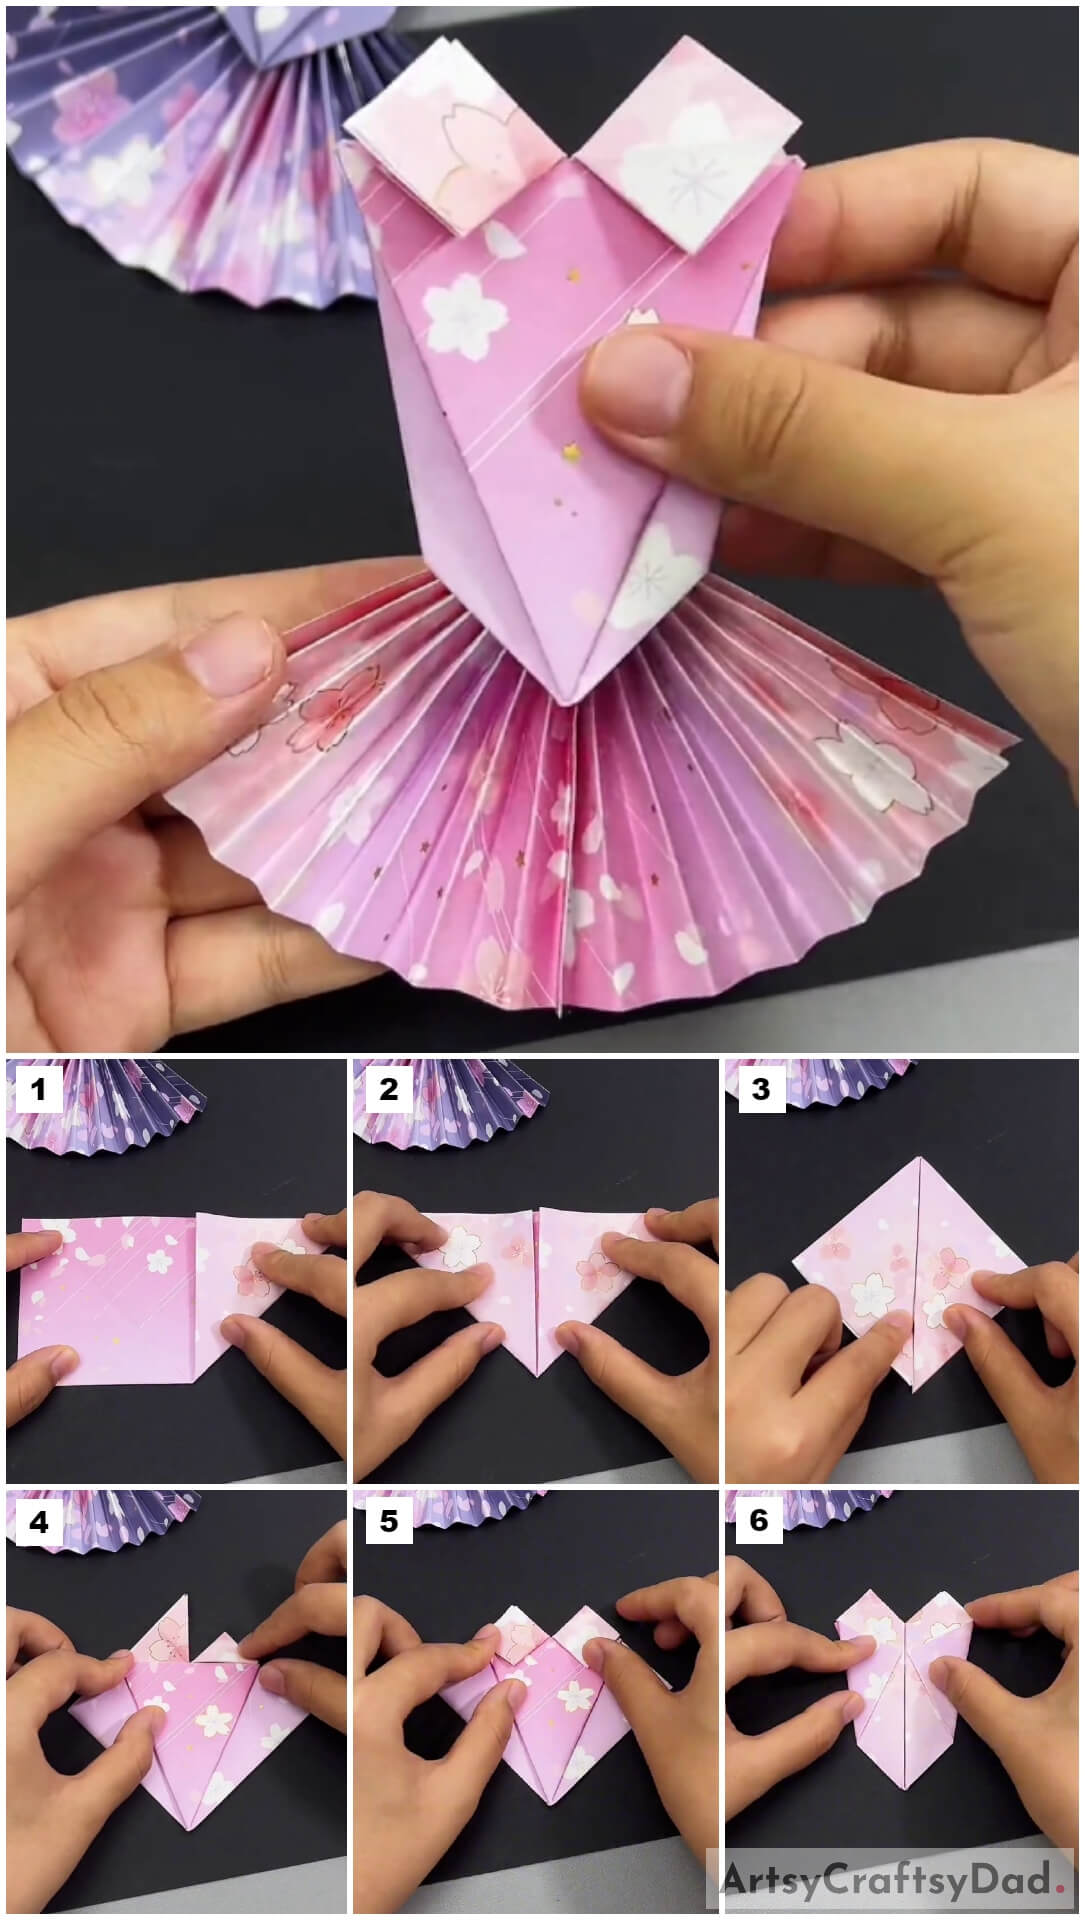
Step #4: Flipping And Folding The Right Top End

Flip the diamond shape to the other side and fold the right top end over the boundary of the middle triangle seen on the diamond shape and make the crease.
Step #5: Unfolding The Fold And Folding Over The Triangle
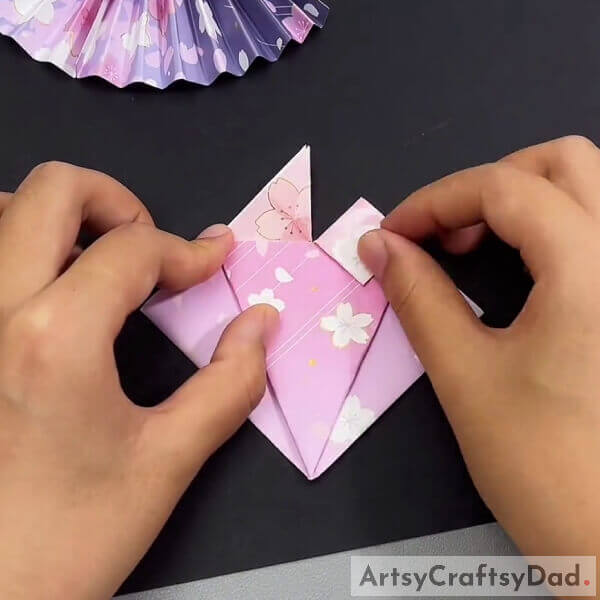
Unfold this previous fold and fold only the one layer of the right top along the crease you made previously and then again fold it over the big triangle on the diamond shape. Now, fold the other layer of the right top along the crease. You will get a tiny diamond shape, half over the big triangle. This will be the one-side collar of the shirt you made.
Step #6: Making The Other Side Collar
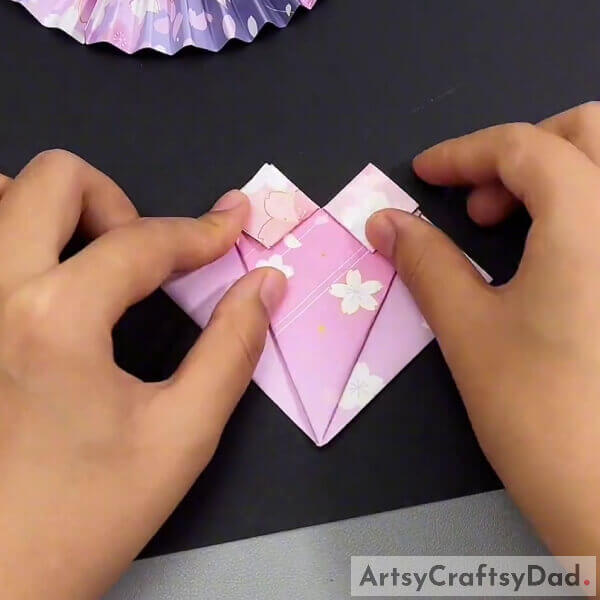
Repeat the previous 2 steps on the left top of the figure to make the left-side collar of the shirt.
Step #7: Flipping And Folding The Side Corners
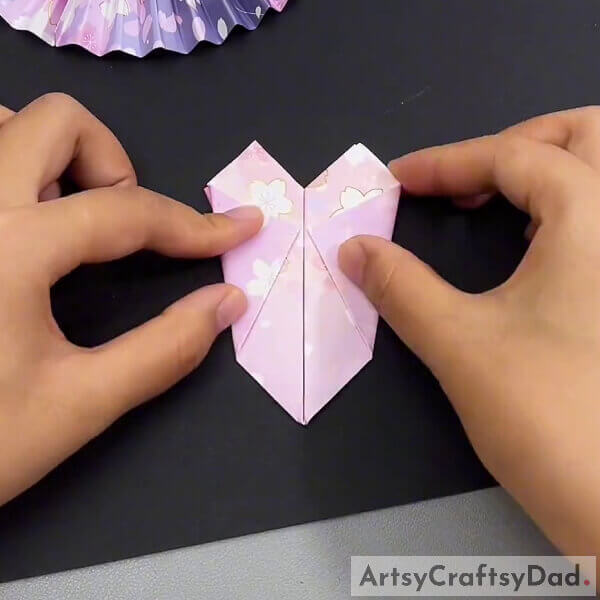
Flip your shirt and fold the side corners (i.e. left and right) of the diamond shape and fold it to the middle partition. See the image for reference. This completes your shirt.
Step #8: Making The Skirt
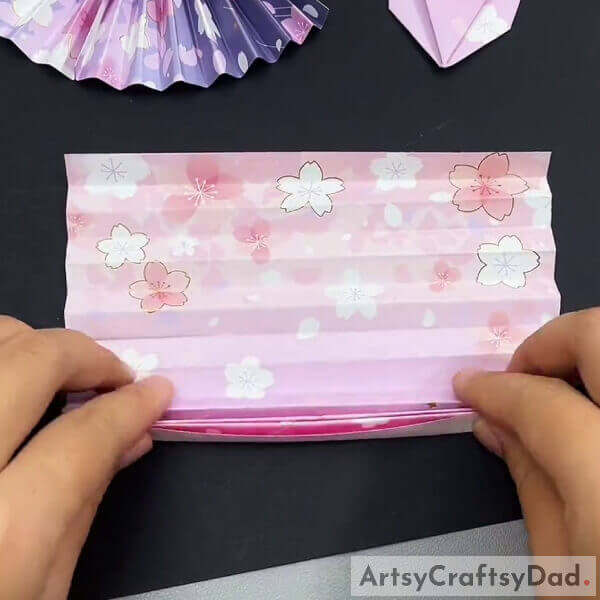
Take another printed origami sheet and fold the bottom side of it in a zig-zag strip to the top.
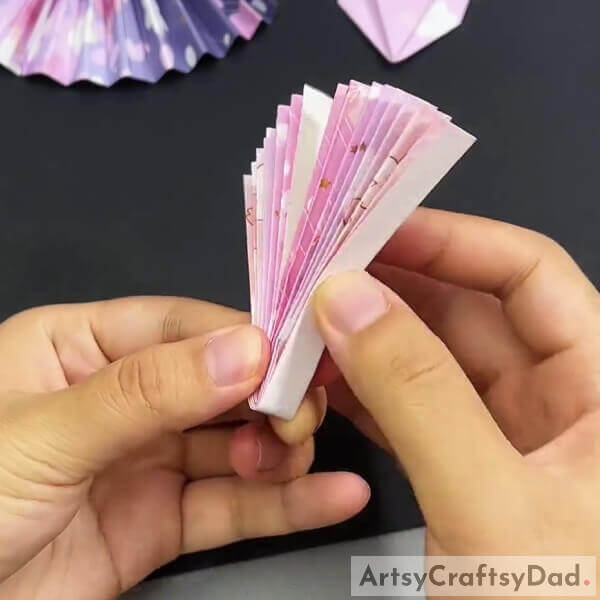
Step #9: Gathering The Folds
Gather the folds of the paper along the zig-zag creases to get a single strip as shown in the image.
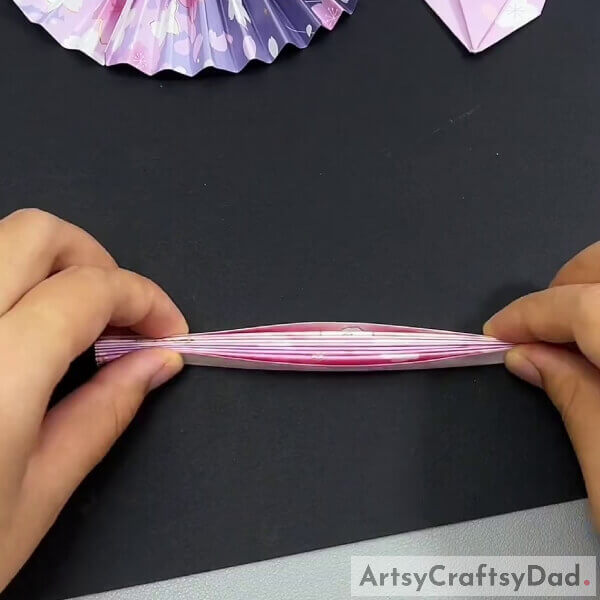
Step #10: Applying Double-Sided Tape
Take a double-sided tape and apply it over the side of the zig-zag collected strips and remove the peel.
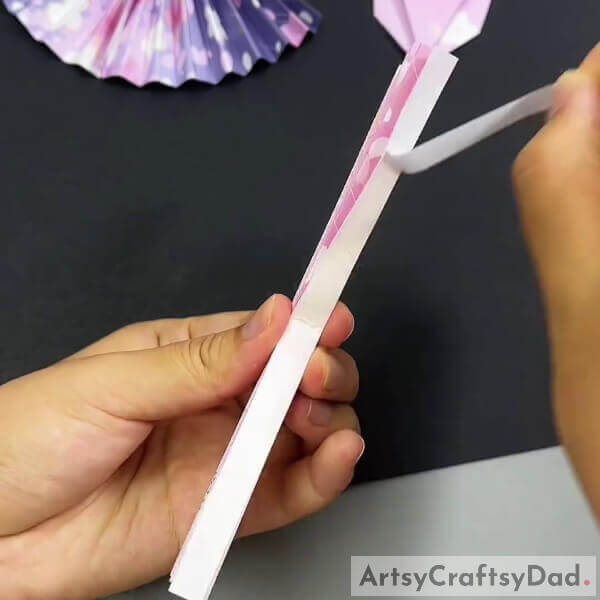
Step #11: Folding And Sticking The Strip
Fold the collected strips in half and stick them over the applied tape.
Step #12: Completing The Skirt
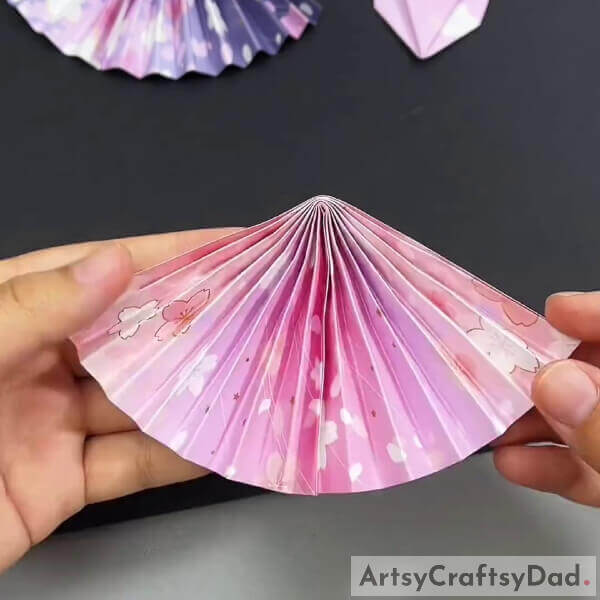
Stretch the folded zig-zag strips and see your skirt completed.
This Is The Final Look Of Your Origami Designer Frock
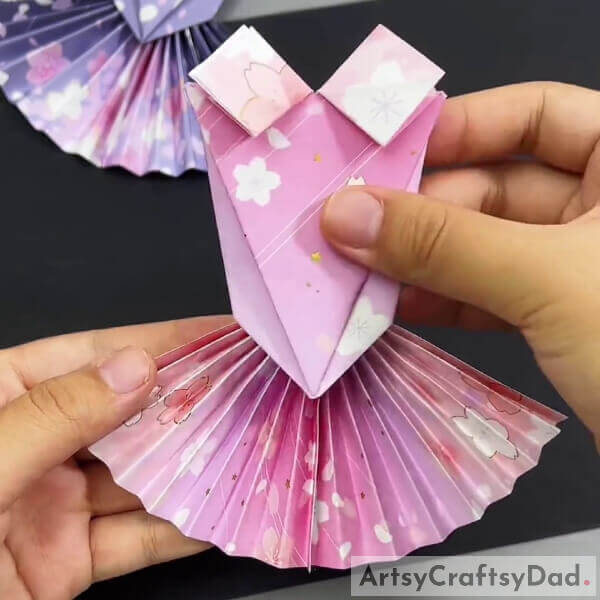
Paste the shirt you made over the skirt top using the double-sided tape.
And your craft is ready! A DIY origami paper designer frock was an easy and exciting craft idea for kids to make. The printing origami sheets have beautiful patterns that look visually appealing and are ideal for making paper frocks. Children would have definitely enjoyed it. Adults can also do this activity to have some fun. Here, if wanted, children can show more creativity by making other printed origami sheets having different patterns. Anyone, irrespective of their age can be engaged in this activity. Overall, it was a fun and exciting activity to be done.
Hope you like this DIY origami paper designer frock step-by-step tutorial and it was fun making this. Do share your comments and let us know about your experience. Visit again!
Thanks for visiting our website.
You May Also Like
- Handmade Origami Cock/Hen Tutorial
- Homemade Baby frock design – Step by step tutorial
- Simple Paper Tearing Flowers Craft Tutorial
- Clay Snails On Leaves Craft Tutorial For Kids
- How to make a Paper Flower Vase – Paper Craft Tutorial


