Tigers can be cute too! C’mon, we will show you through this tutorial article! You will be able to make cute tigers through paper cutting!
We are glad you came by! So, let us hurry to make these cute paper-cutting tigers! This step-by-step tutorial will guide you on each and every step of this craft-making! The results will definitely leave you in awe and the craft will turn out flawless, just like made by a pro! We agree that tigers are ferocious animals which seem dangerous as well, but when you see the result of this craft you will definitely change your belief! Grab the listed materials and let’s begin to make it!
Adorable Paper Tigers Tutorial For Kids
Must Read: Clay Chicks In Garden Craft Tutorial
Supplies & Tools
- Colored Paper Sheets (Blue And Orange)
- Black Marker
- Colored Clay (White, Yellow, And Orange)
- Glue
- Scissors
Paper Tigers Instructions
Step #1: Pasting A Tiger’s Body
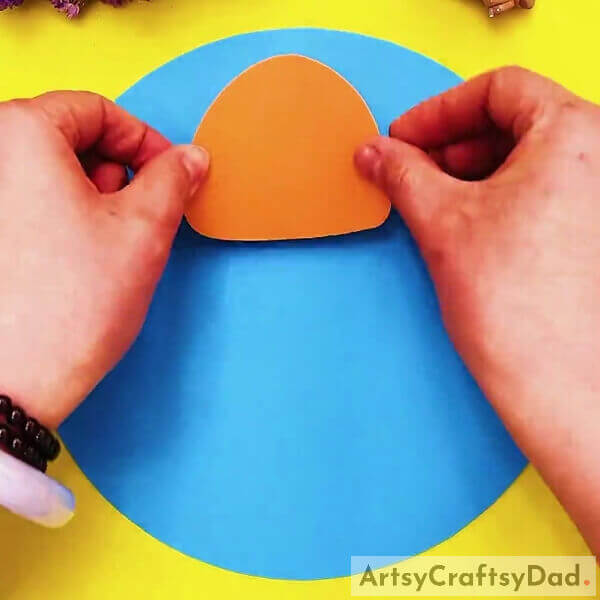
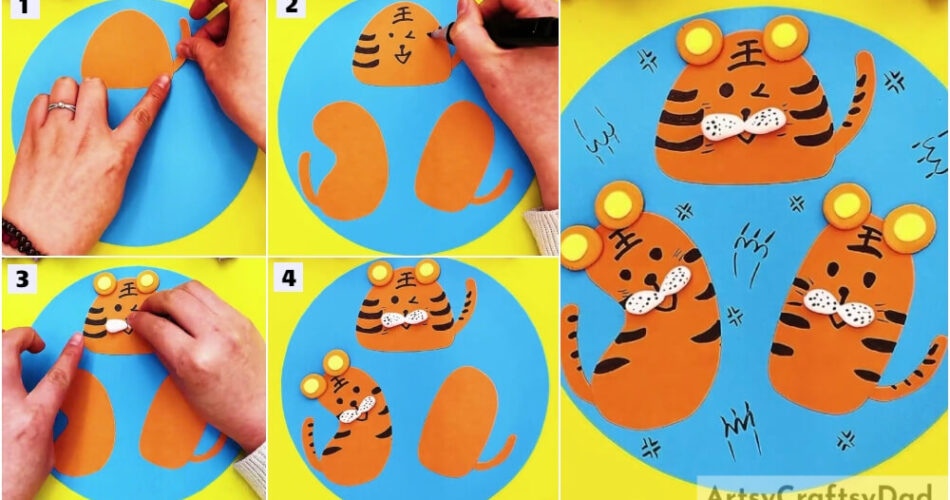
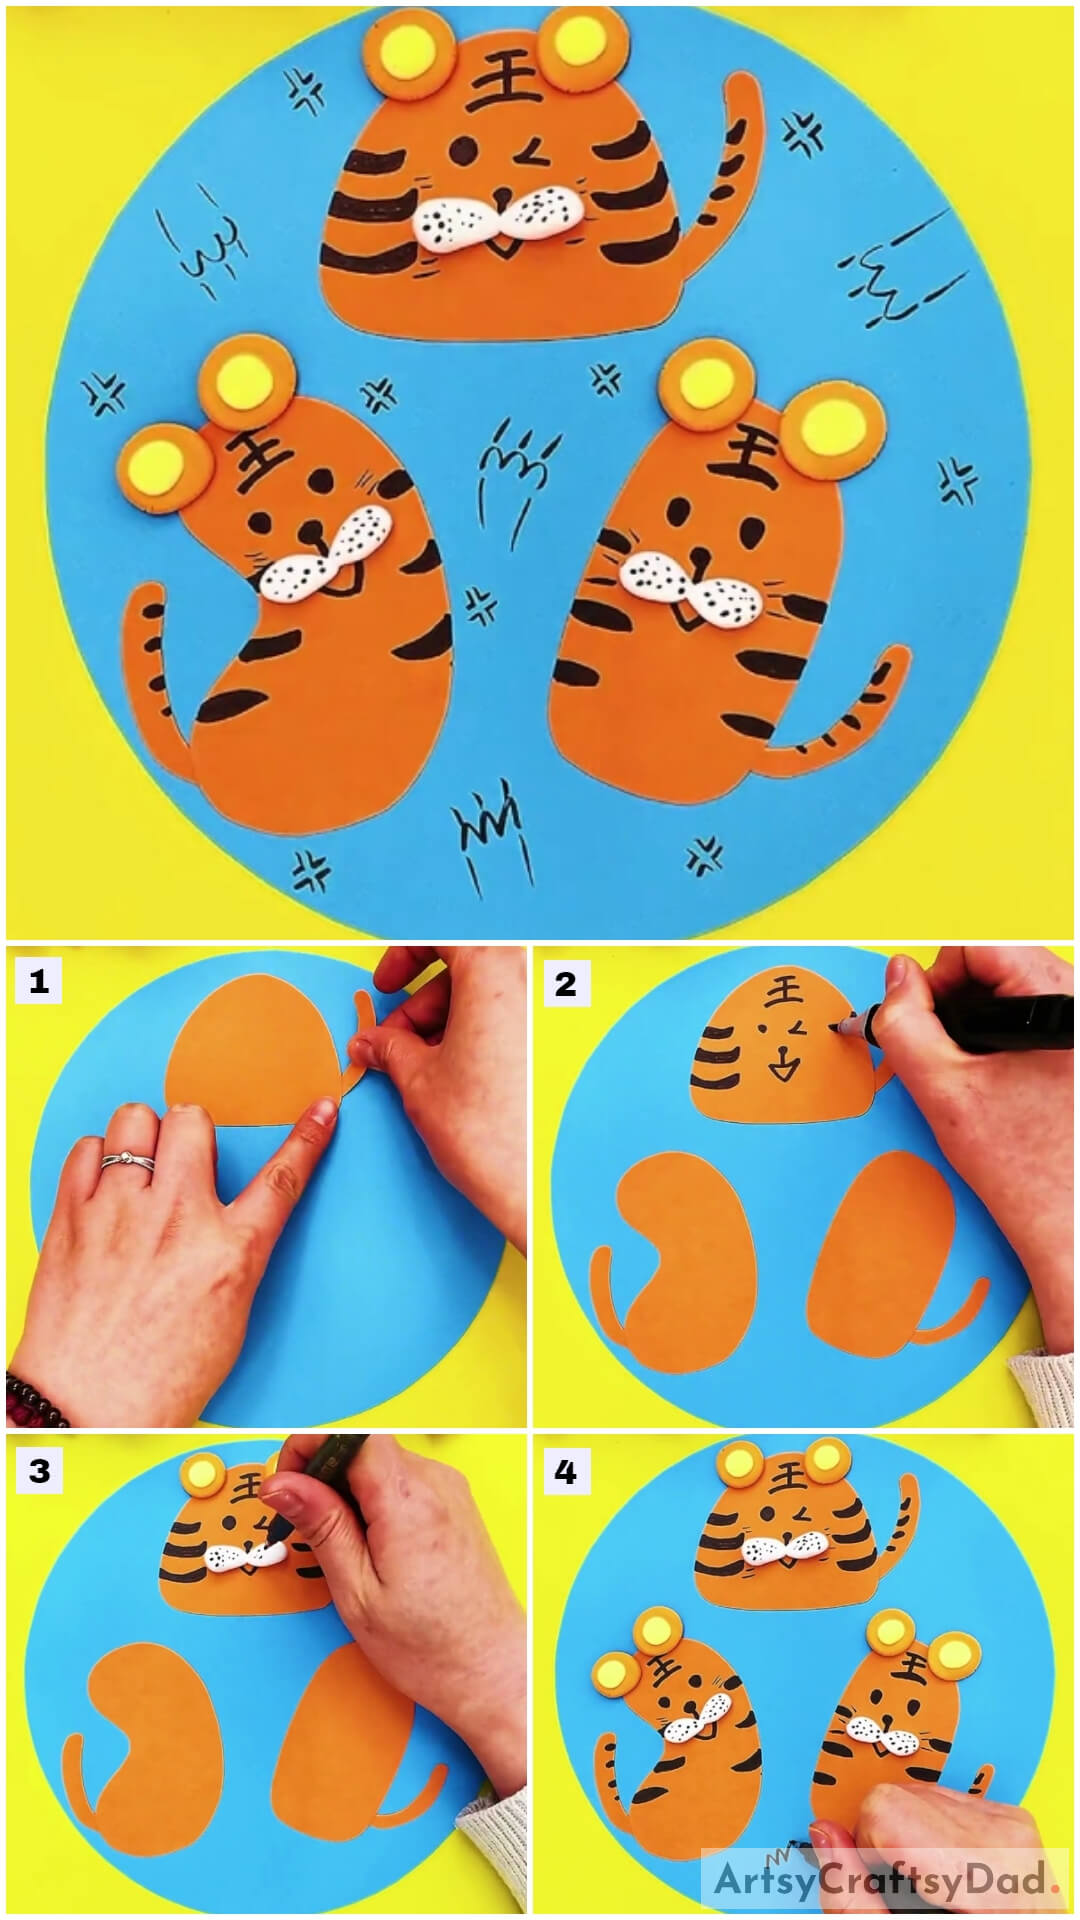
Begin this craft by taking a blue paper sheet, an orange paper sheet, and a pair of scissors. Using the scissors, cut down the paper sheet into a circle to form the base for the craft and cut out the tiger’s body from the orange paper sheet as shown in the image. Paste the body on the mid-top of the base using glue.
Step #2: Pasting A Tail To The Body
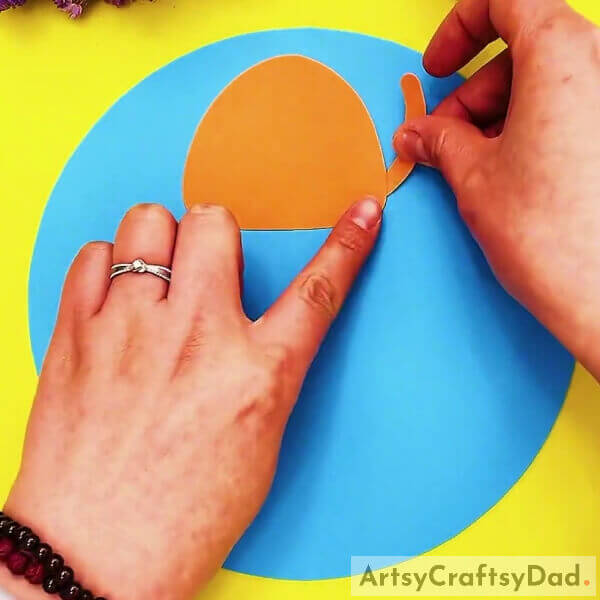
Using scissors, cut out a thin curvy tail from the orange paper sheet and stick it the the right side of the tiger’s body using glue. See the image for reference.
Step #3: Detailing The Tiger
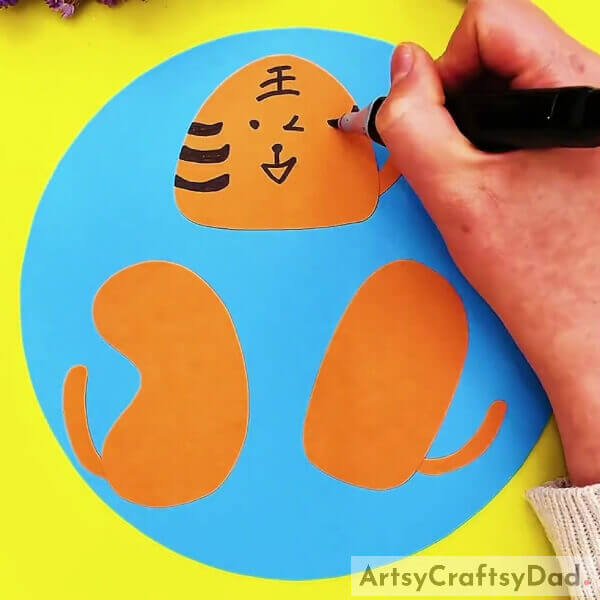
Using a black marker, make the winking eyes of the tiger, a dotted nose below and between the eyes, and a triangular mouth attached to the nose with a vertical small line. Also, make the curvy tiger pattern, thick on the sides, and thin on the head. See the image for reference.
Also, cut out 2 more tiger’s bodies from the orange paper and their tails too, and stick them over the base below the already pasted one, side by side as shown in the image.
Step #4: Making The Ears Of Tiger
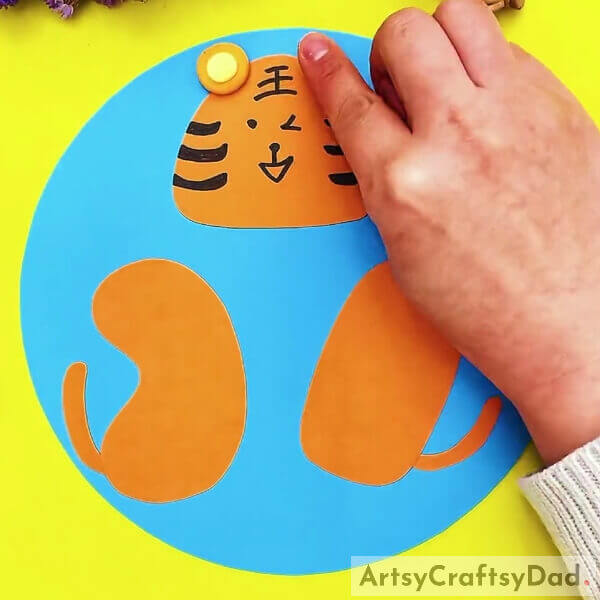
Dough orange clay into 2 clay balls and dough 2 relatively small clay balls from yellow clay. Place the orange clay balls over the top boundary of the tiger on both sides, keeping half of them in the tiger and half outside the tiger, on the base. Place the yellow balls over the orange ones and press to flatten those 2 balls over each other to form 2 ears of the tiger.
Step #5: Completing The Mouth Of The Tiger
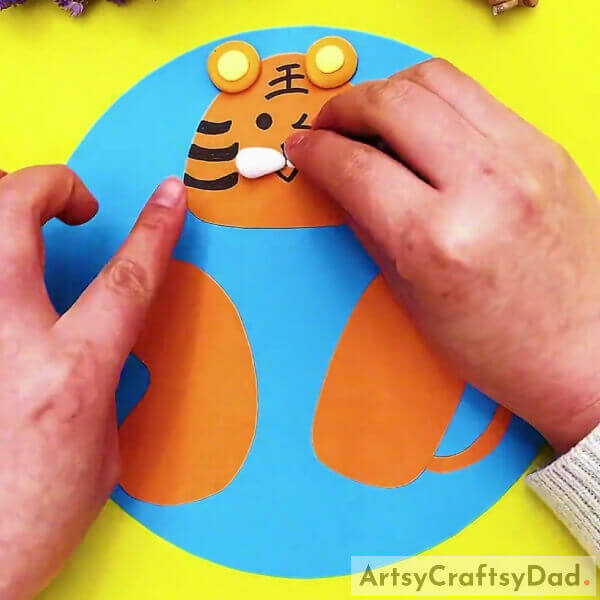
Using the white clay, dough two tiny ovals and stick them above the tiger’s drawn mouth side by side as shown in the image to complete the mouth of the tiger.
Step #6: Making Whiskers Detailing Of The Tiger
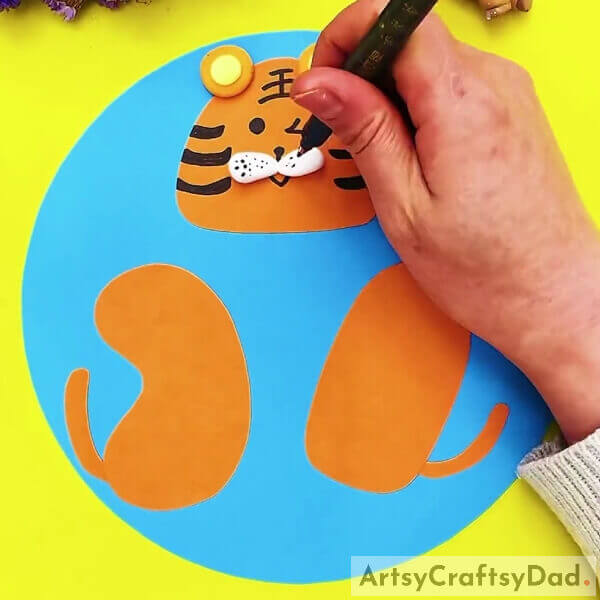
Using the marker, draw dots over the clay mouth of the tiger randomly to detail the whiskers of the tiger.
Step #7: Completing All The Tigers
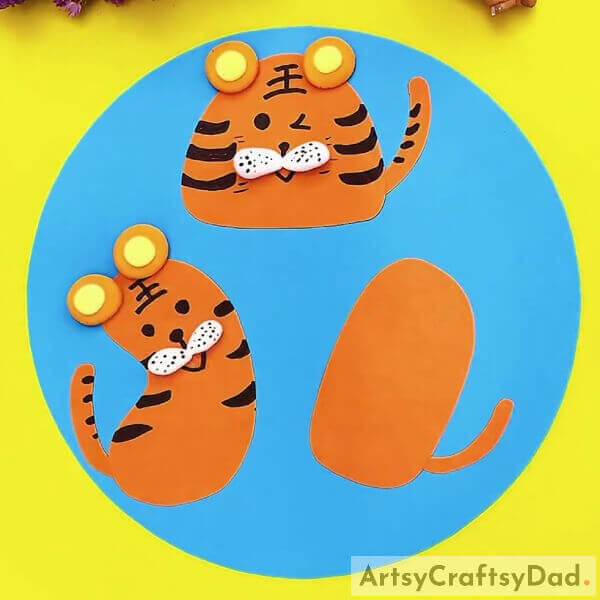
Using the marker, make the tiger pattern over the tail of the tiger too. Now, following all the steps, complete all the tigers also.
Step #8: Detailing The Background

Using the marker, detail the background/base of the craftwork as shown in the next image.
This Is The Final Look Of Your Cute Tigers Paper Craft!
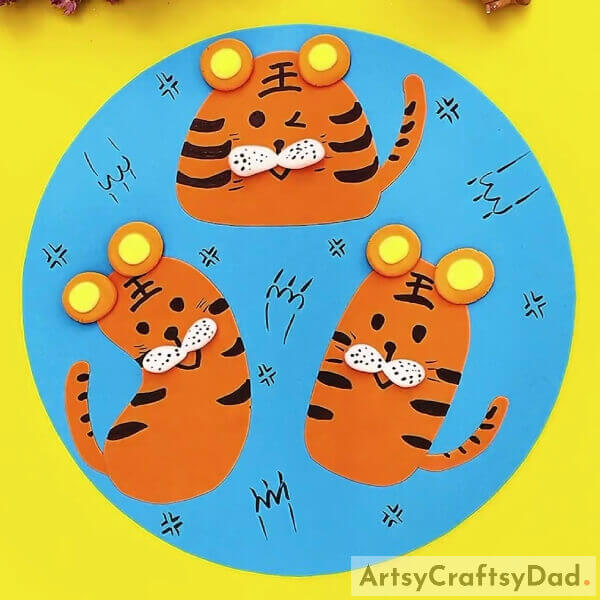
Yes, you did it! You have finally made your amazing and adorable tigers!
This craft turned out just like we promised! That’s the power of a craft, it can change anything up to your imagination, even nature’s creation! You can also customize this craft any way you like, You can also add up more animals like a cute lion! Your imagination and creativity are the limits to creating a fabulous craft! You can also use this craft as your school craft project on ‘Your favorite animal’! I’m sure it will thrive there and you will become your teacher’s favorite!
Hope you liked the article! Share your feedback and craft journey in the comments section below! We would love to hear from you!
You May Also Like
- Clay Snails On Leaves Craft Tutorial For Kids
- Clay-Paper Sunflower Garden Craft Tutorial
- Simple Paper Tearing Flowers Craft Tutorial
- How to Make Easy Paper Cutting Designs
- Clay Heart Leaf Tree Craft Tutorial For Kids


