Can’t decide the background of an artwork, day or night? Make both in one artwork! This tutorial brought a tree scenery for you in the same!
We are glad you came by! Today, we have brought you a drawing that will definitely blow your mind! This is the scenery of a tree in the middle of both time frames i.e. day and night! This step-by-step tutorial will guide you through each and every step of this drawing and you will get flawless results! All you need are the basic drawing supplies and an unleashing artistic spirit in you to make this stunning drawing! Grab them and let’s begin with us!
Easy Night And Day Tree Scenery Drawing
Must Read: Easy Palm Outline Happy Tree Drawing Tutorial
Supplies & Tools
- White Circular Paper Sheet
- Sketch Pens
- Yellow Glitter Pen
Tree Scenery Drawing Instructions
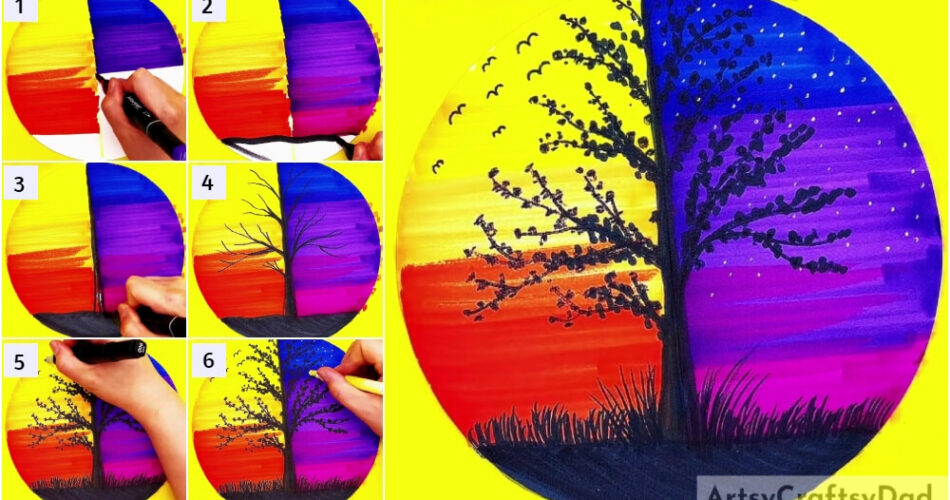
Step #1: Making The Day Background
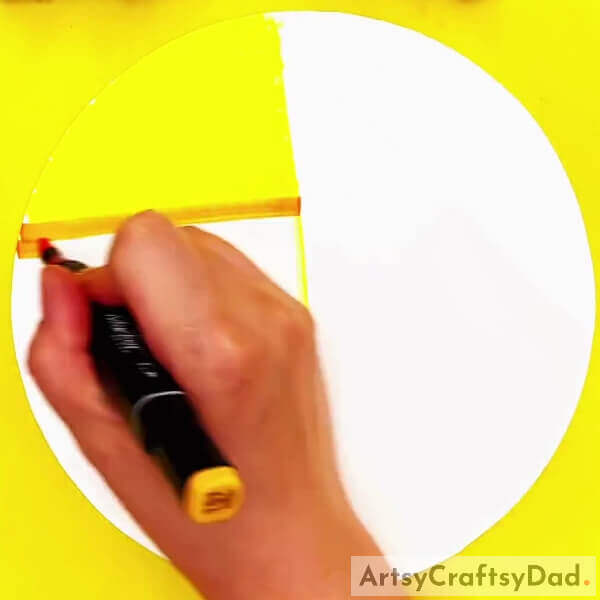
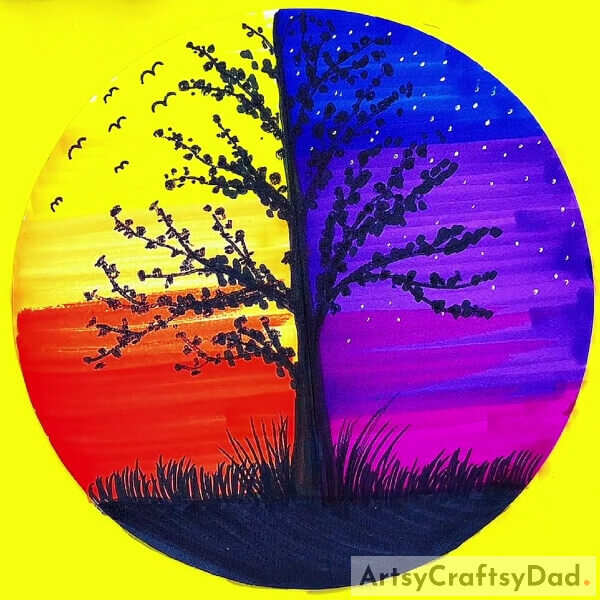
Begin this artwork by taking a white circular paper sheet as the base for this drawing and a yellow sketch pen. Using the yellow sketch pen, make a vertical line over the base to separate it in half. Then, start to color the left half of the base using the sketch pen from the top and color it to 1/3 of the part of it. See the image for reference.
Grab an orange sketch pen, then start to color the below the yellow colored area of the half base and make some horizontal strokes at the bottom of the yellow colored area to shade it with orange color. Color the half orange till the other 1/3 part of the half base. Then, using a red sketch pen, color the half base below th orange one and similarly make strokes over the orange area to shade it with red. Color the red sketch pen till the bottom of the half base, leaving a little gap at the end. This will be the day background of your drawing.
Step #2: Making The Night Background
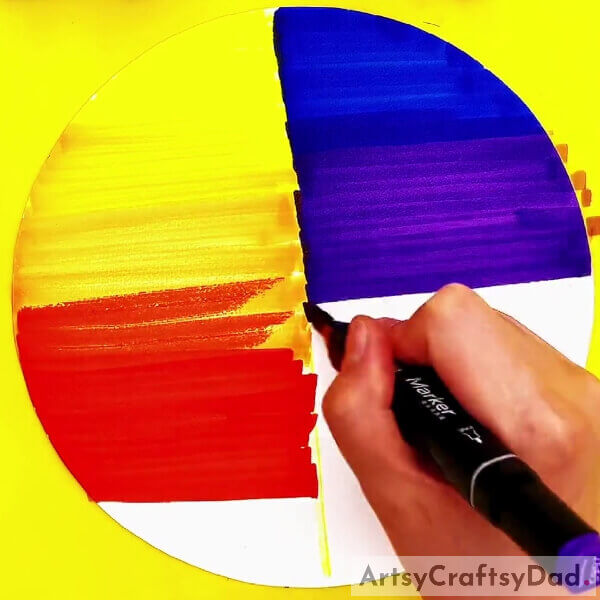
As you made the day background by shading, make the night background in the same way. Use sketch pens colored dark blue, purple, and pink respectively one by one.
Step #3: Making The Ground
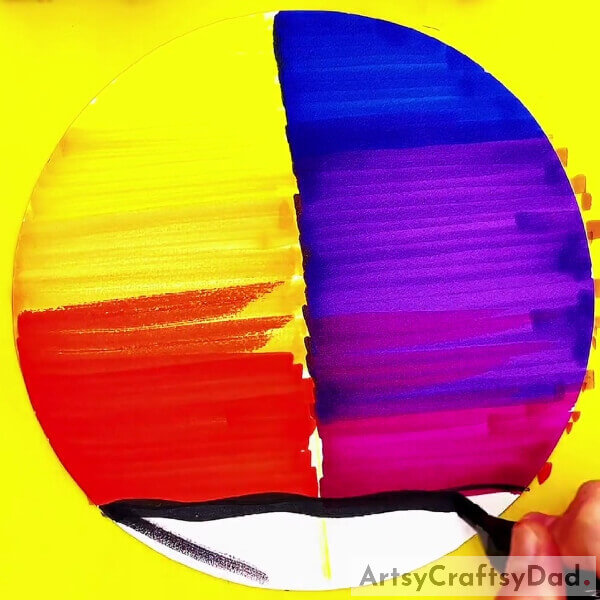
Using a black sketch pen, make the wavy ground at the bottom of the base, where you left the coloring. Make a wavy horizontal line at the end of the color part and then color out the part using the black sketch pen to make the ground.
Step #4: Making A Tree Trunk
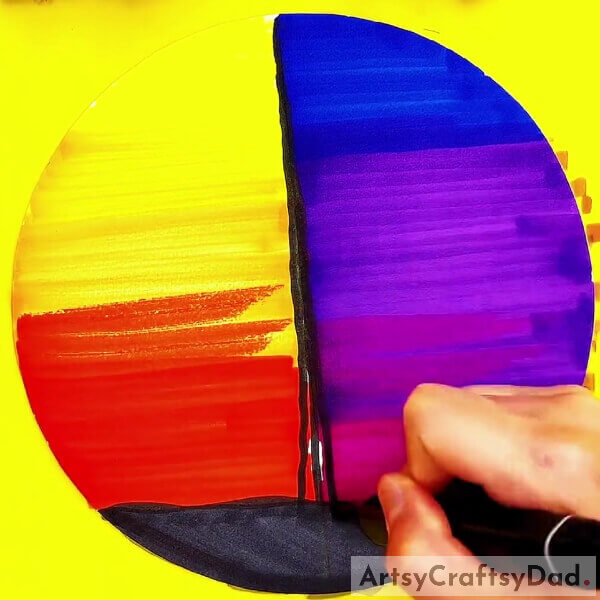
In the middle separation of the day and night background, make a long vertical tree trunk using the black sketch pen, Make the tree trunk thin from the top and a little thick from the bottom irregularly.
Step #5: Making Tree Branches
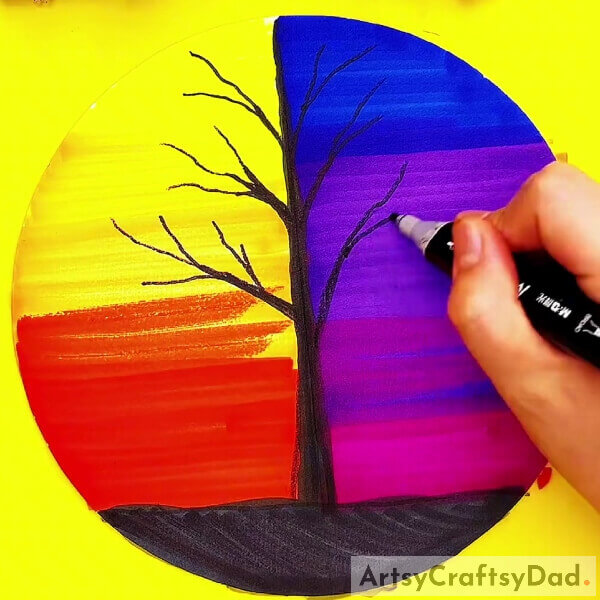
Using the black sketch pen, make the thin irregular branches of the tree on both sides of its trunk. See the image for reference.
Step #6: Completing Making The Branches
Make the branches wide spread as shown in the image.
Step #7: Making Leaves To The Branches
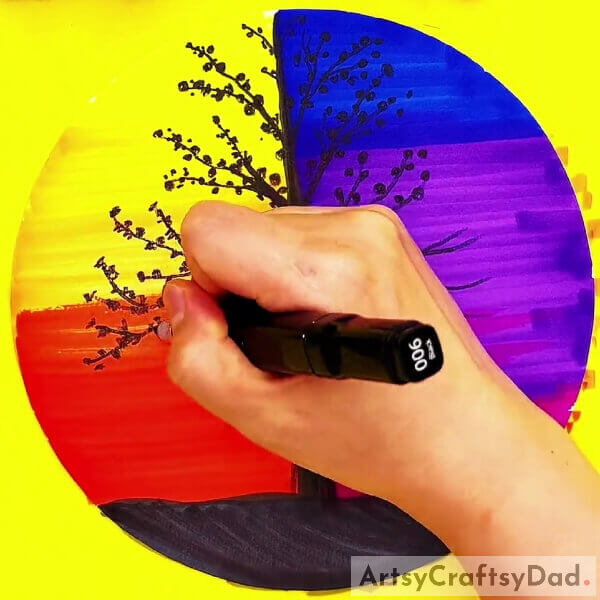
Using the black sketch pen, make the leaves to the branches of the tree. Make the leaves like in a scribble pattern as shown in the image.
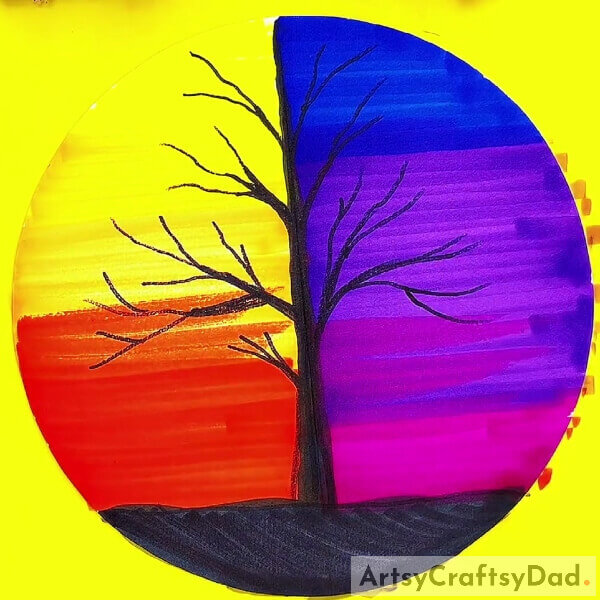
Step #8: Making Grass
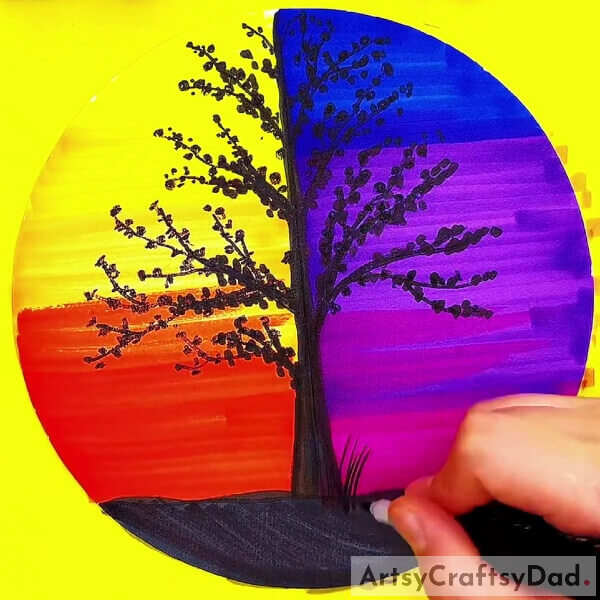
Using the sketch pen, make random curvy strokes above the ground to make the grass over the ground.
Step #9: Making Birds In The Day Sky
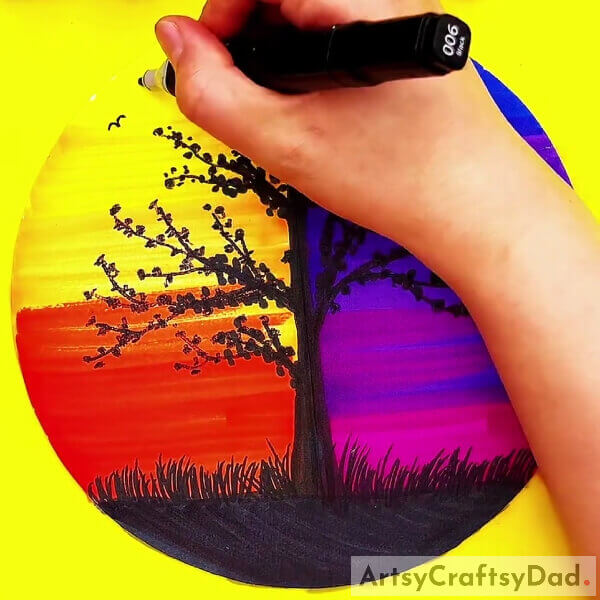
Over the day background, make the classic curvy fling birds above at the upper side of it as shown in the image using the black sketch pen.
Step #10: Making Stars In The Night Sky
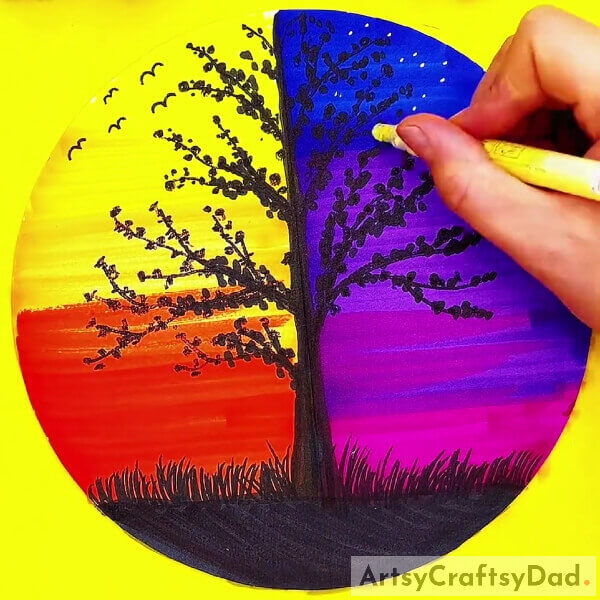
Using a yellow glitter pen, make dots in the night sky to make them look like shiny stars. See the image for reference.
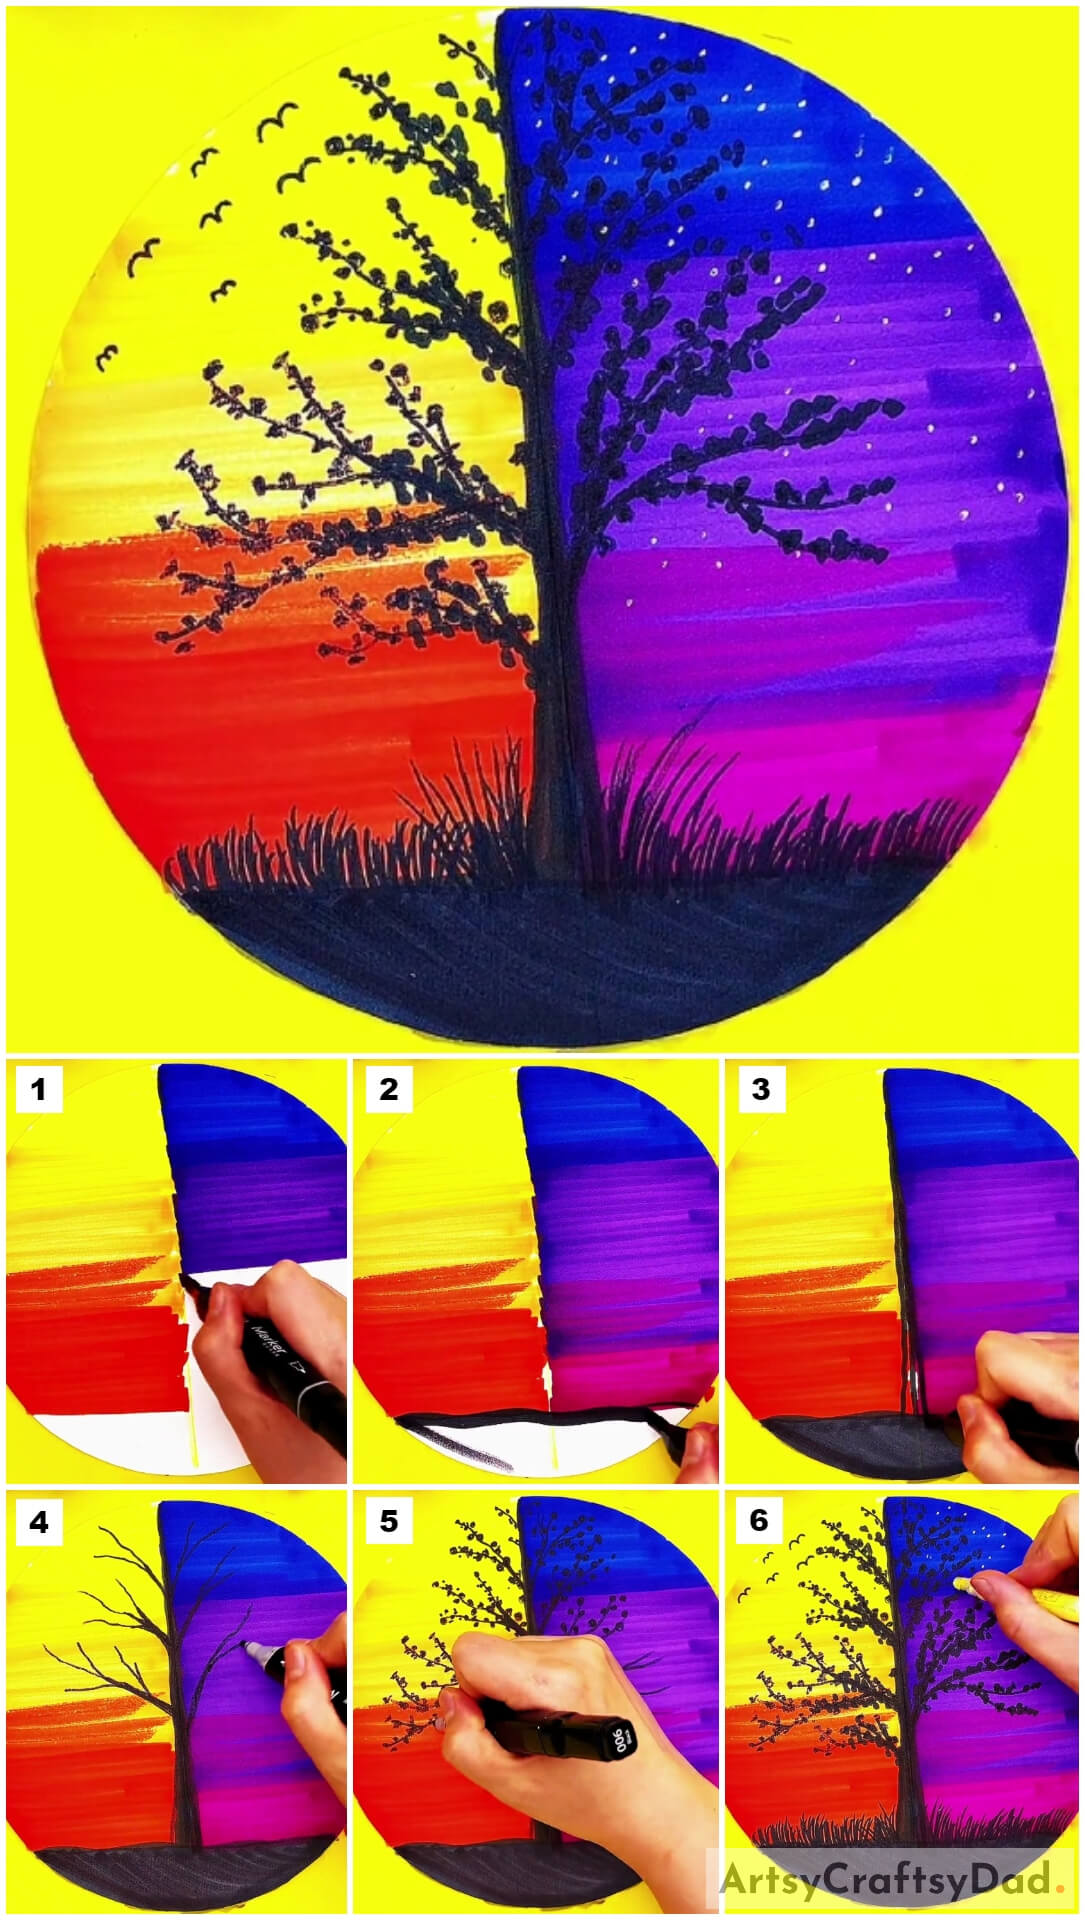
This Is The Final Look Of Your Night And Day Tree Scenery!
Tada! Your tree night and day scenery drawing is ready to be displayed!
You can now decorate this artwork in your room to have the feels of day as well as night in one artwork only! This artwork will surely be admired by everyone in your house! You can also use this drawing as your school drawing project! I’m sure your teacher would love it and everyone will envy you being the teacher’s favorite! It will thrive anywhere! Make it as unique as you are!
Hope you liked this article and the drawing idea! Share it as much as you can to motivate us to keep bringing such artwork for you! Also, give your feedback in the comments section below!
You May Also Like
- Clay Crabs Underwater Scenery Craft Tutorial
- Easy Town Landscape Drawing Tutorial For Kids
- Leaf Frogs In Pond Scenery Craft Tutorial For Kids
- Girl & Boy In Rain: Cute Drawing Tutorial
- Paper And Clay Tree Craft Tutorial For Beginners


