Cope up with the trendy artworks to make with us! This step-by-step tutorial will guide you to make a shrub painting by spilling the paint!
Hello artist! This tutorial will guide you in making a painting suit the recent trends! All you will need is some basic art supplies and you will finish this painting in just the blink of an eye! Spill the paint and blow the paint using a straw to make ravishing artwork just like the artists! It will be an amazing artwork for you and you can make it in the boring afternoon hours to have a fun time spilling and blowing! We already know you love to get messy so we brought you this to fulfill your wish with your parents’ acceptance!
Adorable Spill Shrub Plant Painting Idea For Young Ones
Must Read: How To Paint Walls With Colour – Wall painting & Interior design
Supplies & Tools:
- White Circular Paper Sheet
- Palette
- Water
- Paint Colors (Green, Black, And Red)
- Plastic Straw
- Cotton Earbud
- Matchstick
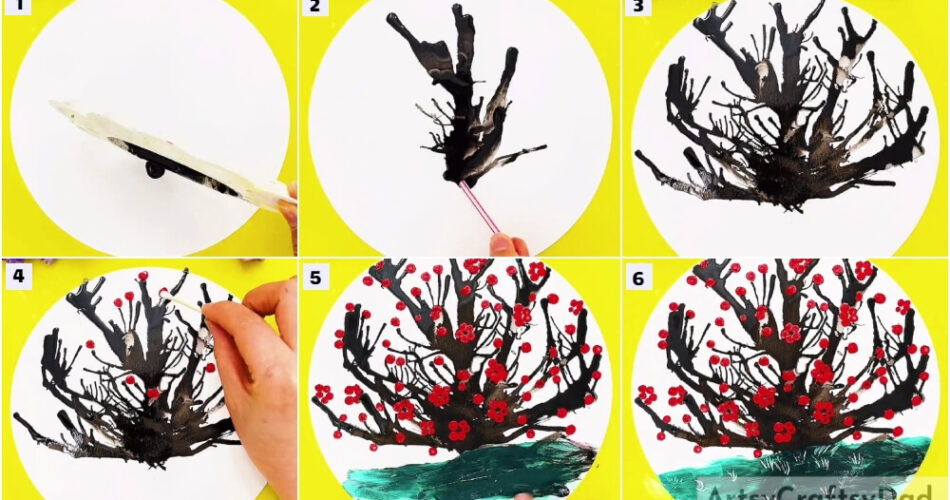
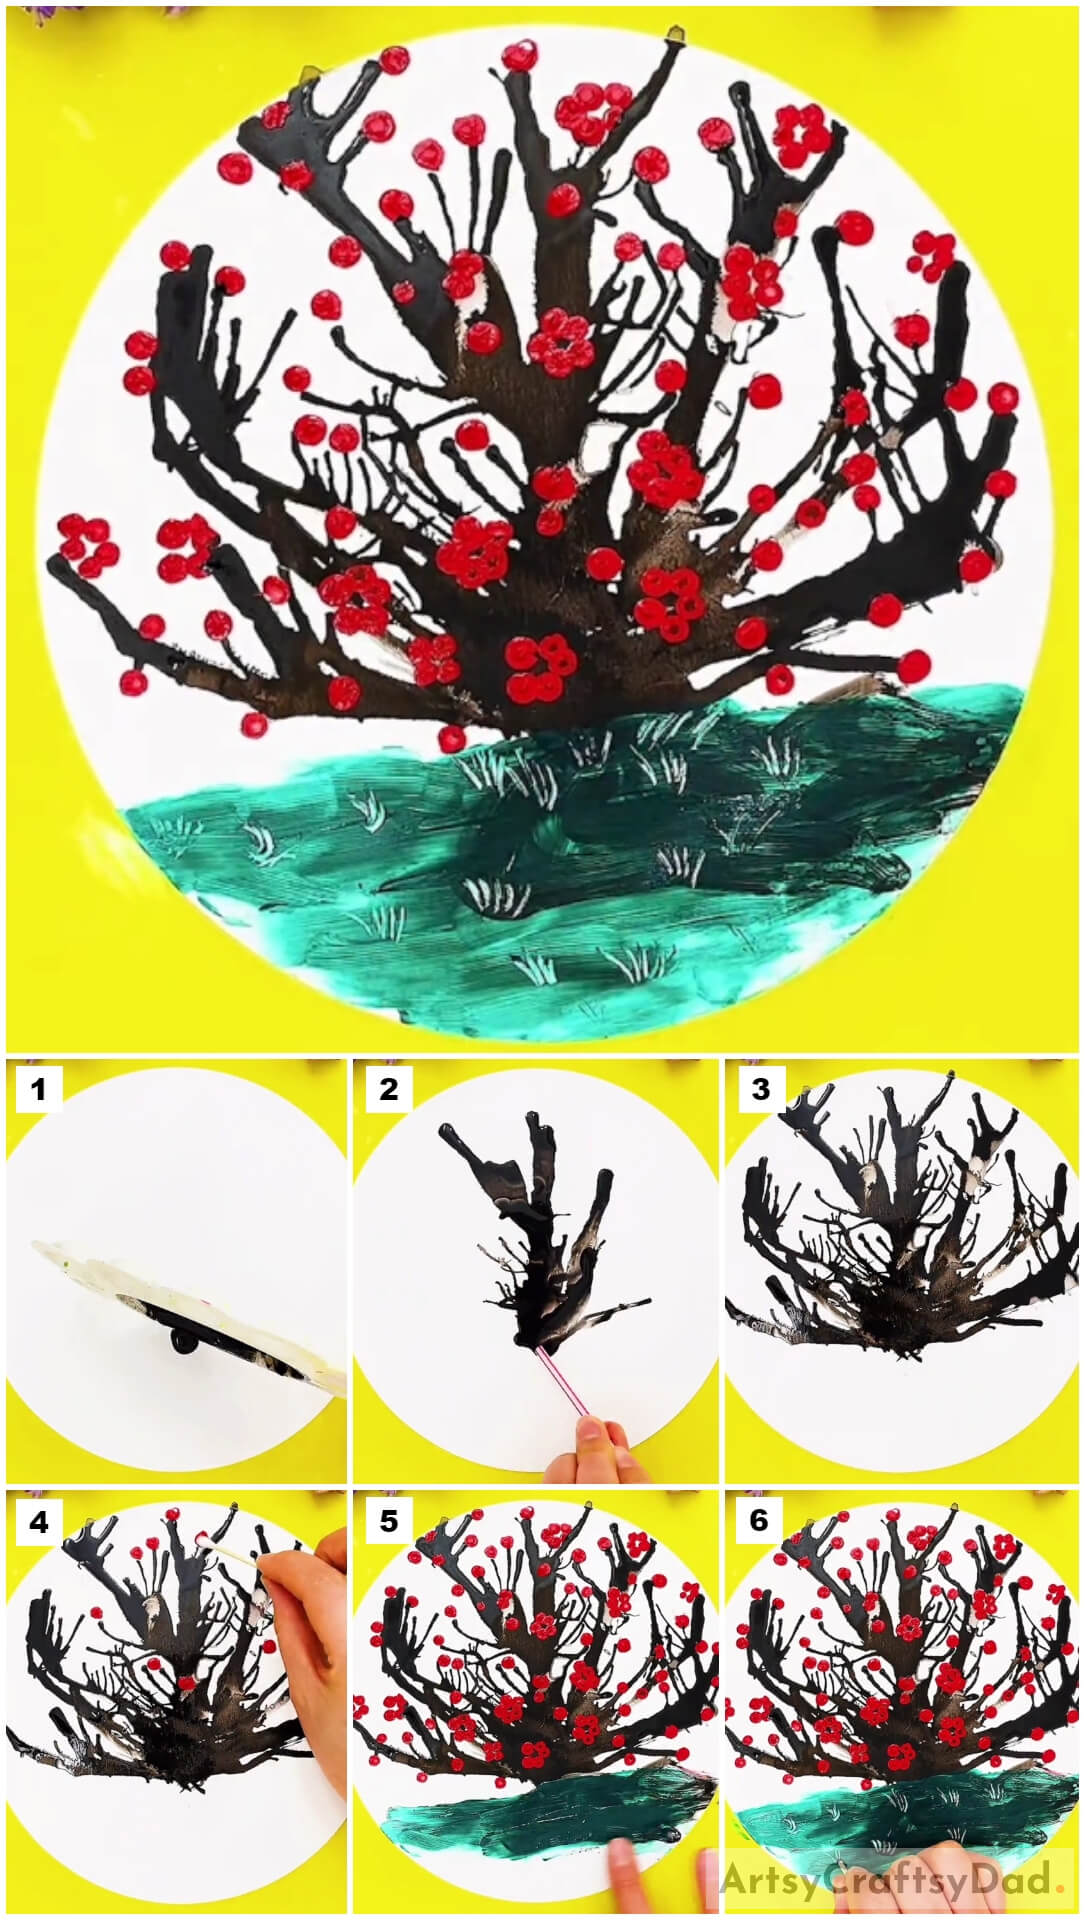
Paint Spill Shrub Plant Instructions
Step #1: Spilling Black Paint
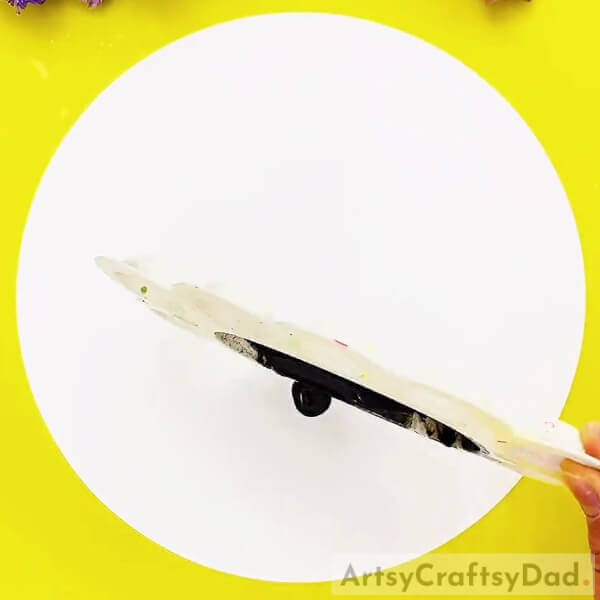
Begin this craft by taking a white circular paper sheet as the base of the artwork and some black paint. Add some water drops in the paint in a palette to make it thin and spill it over the base in the mid bottom.
Step #2: Blowing The Paint
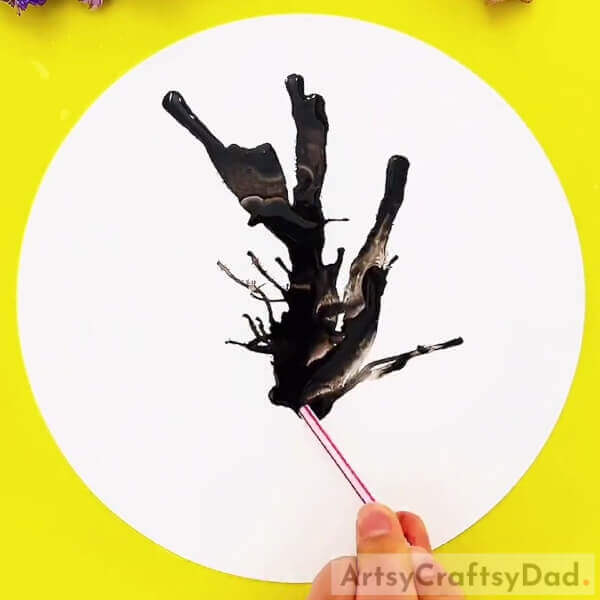
Take a piece of plastic straw and using it, blow over the spilled paint, make sure to blow from below the paint drop to make it spread to the top.
Step #3: Completing Blowing The Paint

Completely blow the paint to the top and sides to cover the whole base as shown in the image. This will be your shrub plant.
Step #4: Making Flowers On The Plant

Dip a cotton earbud into red paint and dab it over the shrub plant to make it look like a flower. Make single-dot flowers and some in a bunch of 5 dots randomly to cover the whole plant.
Step #5: Making The Ground
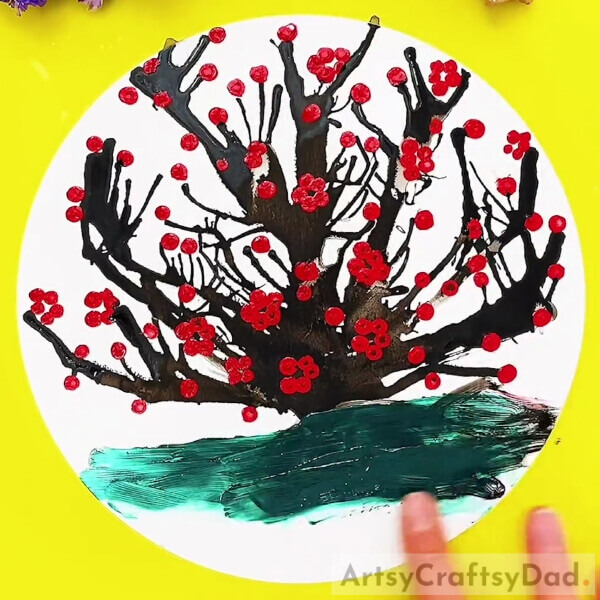
Spill some green paint drop beneath the plant and using your finger, spread it to make the ground beneath the plant.
Step #6: Completing Making The Ground
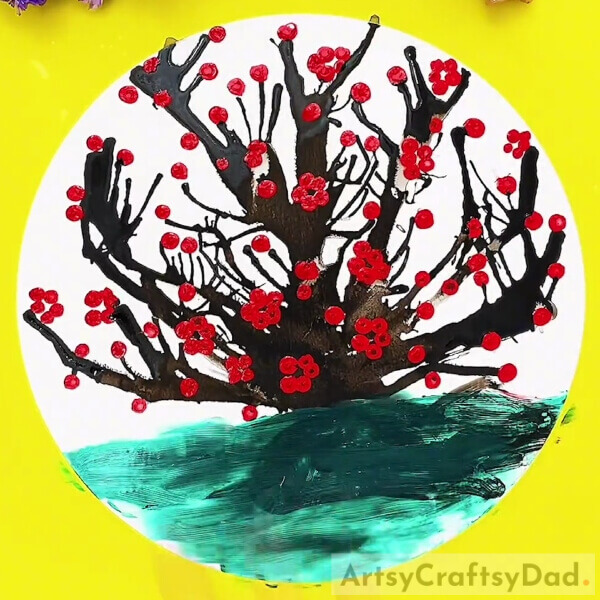
Spread the green paint completely to the end of the base as shown in the image.
Step #7: Making Grass On The Ground
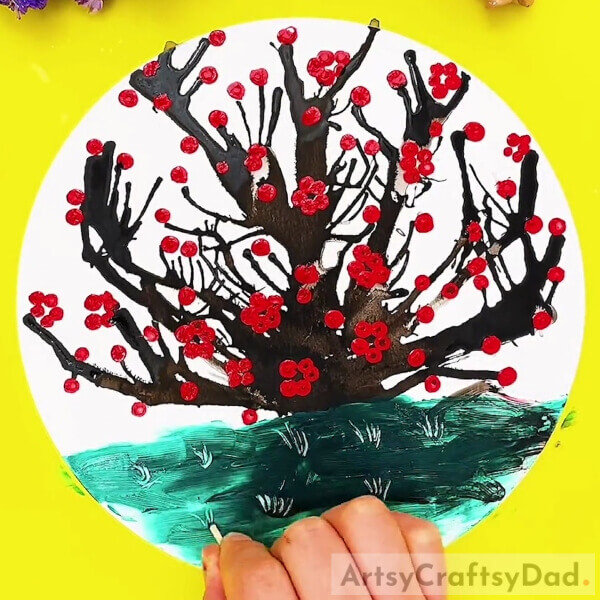
Using a matchstick, make 2-3-stroked grass over the ground to remove the paint from the base and carve the grass.
Finally, This Is The Final Look Of Your Shrub Plant Painting!
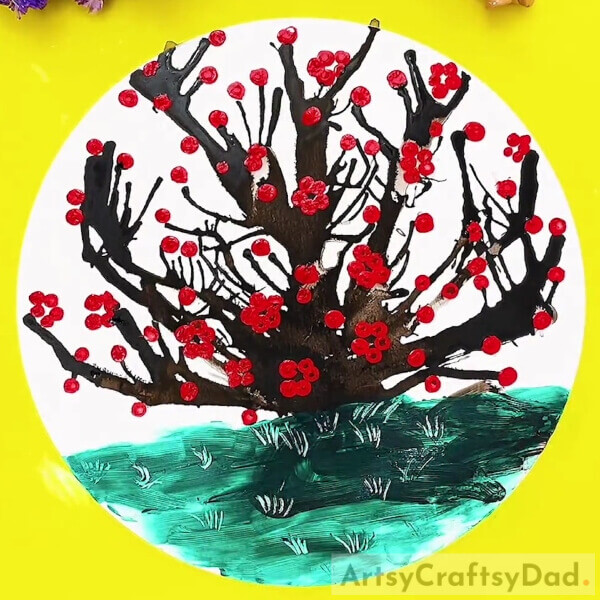
Wow! What a fantastic creation with all that messiness! You wouldn’t have imagined that you would get these amazing results, right?!
Show off your creation and let your friends and family admire your skills! Who knows, this might be the first step for your artistic career. Stay motivated in yourself! You can now decorate this artwork in your room so that you can watch it anytime you want! This craft can also be your school art project with a touch of uniqueness! I’m sure everybody will be stunned by your creation and will be envious of you being your teacher’s favorite!
Hope you loved the article and share it with your friends to see who can make the prettiest one! Are yo up for the fun challenge? Share the results of your challenge with us in the comment section!
You May Also Like:
- Pig Plant Pot from Plastic Bottle Tutorial
- How to make an outdoor plant pot
- Balloon Stamping Painting Ideas
- RED / Abstract Painting Demonstration / Easy in Acrylics
- Painting a vase with stained-glass paints


