Learn how to create a beautiful flower pot using clay. This fun and easy craft project is perfect for beginners and can be customized with your favorite stamp designs.
Follow along to create your own unique stamped flower pot to display your favorite plants in style.
Hey, Are you looking for a fun clay craft project to try? This tutorial will guide you through the steps of creating beautiful and unique flower pots using clay and stamps. Whether you’re an experienced crafter or a beginner looking to try something new, this tutorial is perfect for you. Not only will you end up with a stunning flower pot, but you’ll also have a great time getting your hands dirty and unleashing your creativity. To make this clay craft you just need clay, paper & watercolors. So let’s get started on this exciting craft project.
Attractive Stamp Flower Pot Clay Craft Tutorial
Must Read: Clay Flower Garden With Bees Craft Tutorial
Supplies & Tools
- Clay (Red, Yellow)
- Twigs
- Acrylic Blue Color
- Black Marker Or Sketch
- Scissors
- White Craft Paper
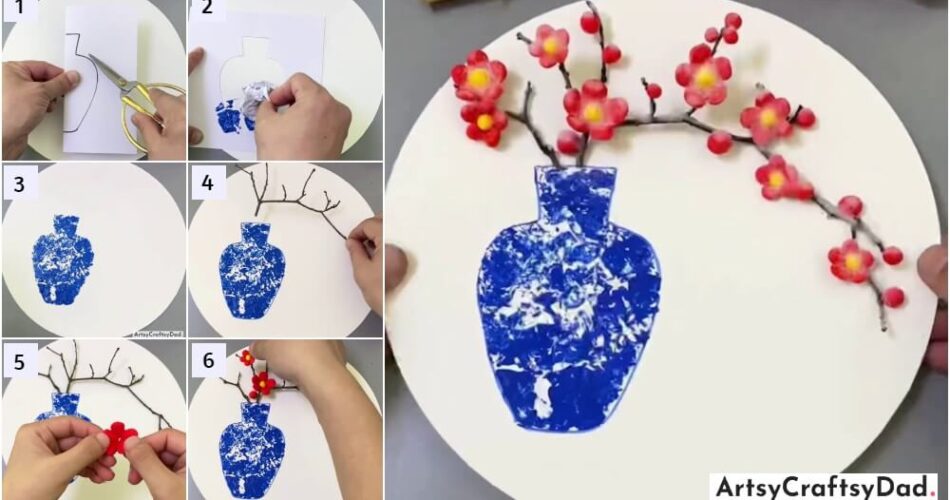
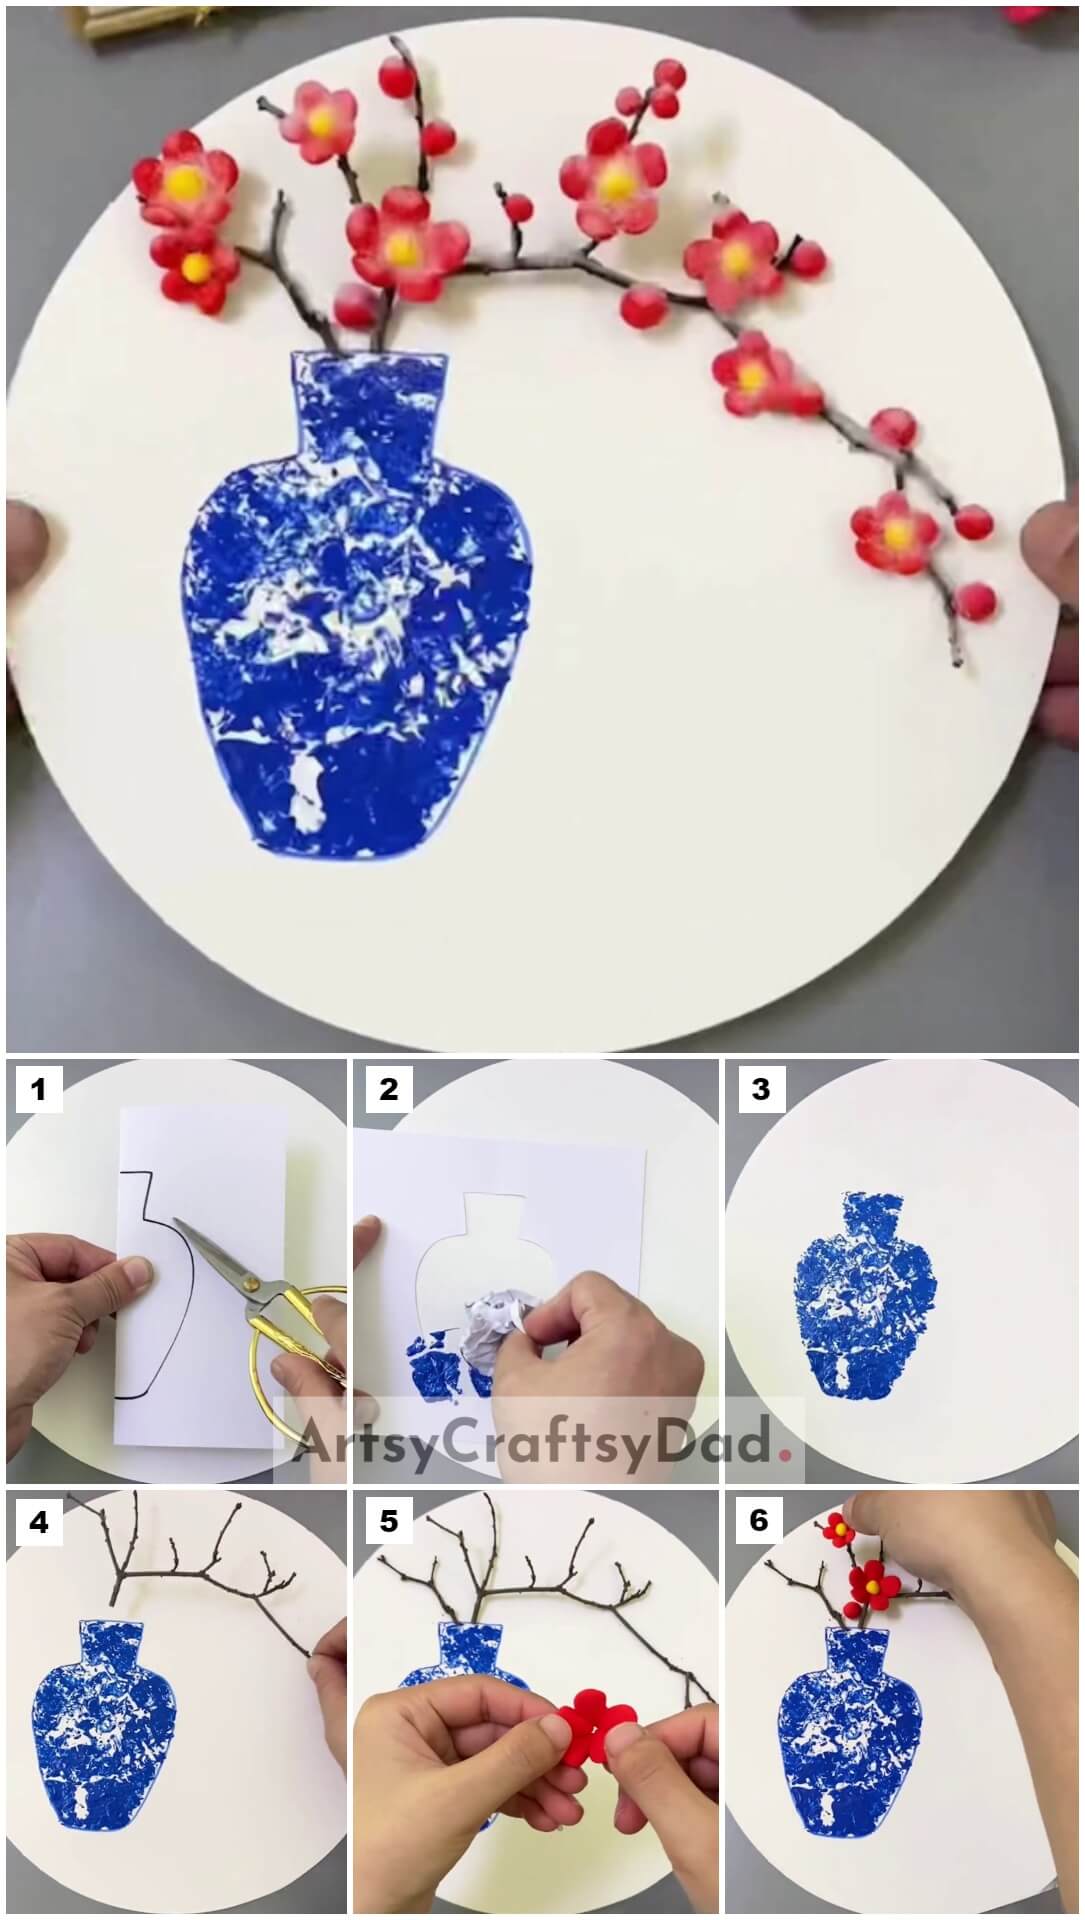
Stamp Flower Pot Procedure
Step #1: Taking A Plane White Drawing Sheet
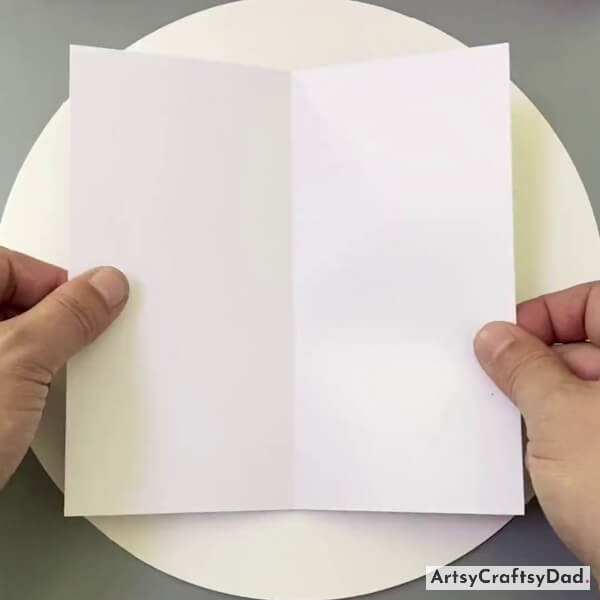
Take a white craft paper & cut it into a circle by using scissors. Now, again take a white paper & cut it into a square shape & fold it vertically half from the middle to make creases.
Step #2: Drawing Flower Pot On Sheet
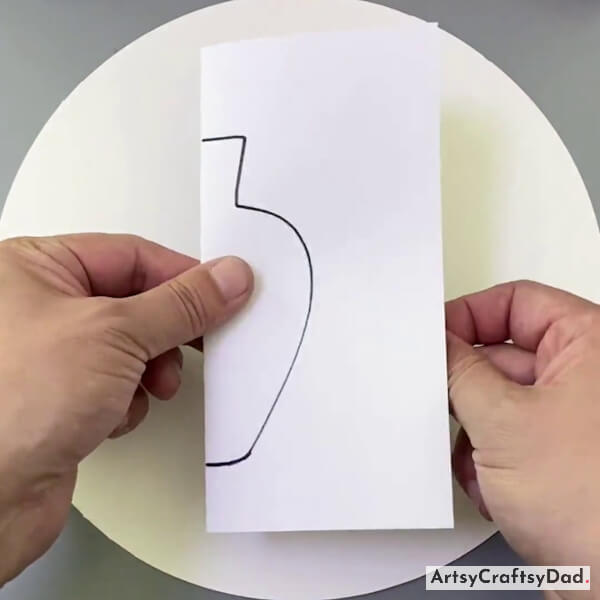
Take a black color sketch or marker & draw a pot shape in the same way as in the above image.
Step #3: Cutting Out Flower Pot Outline
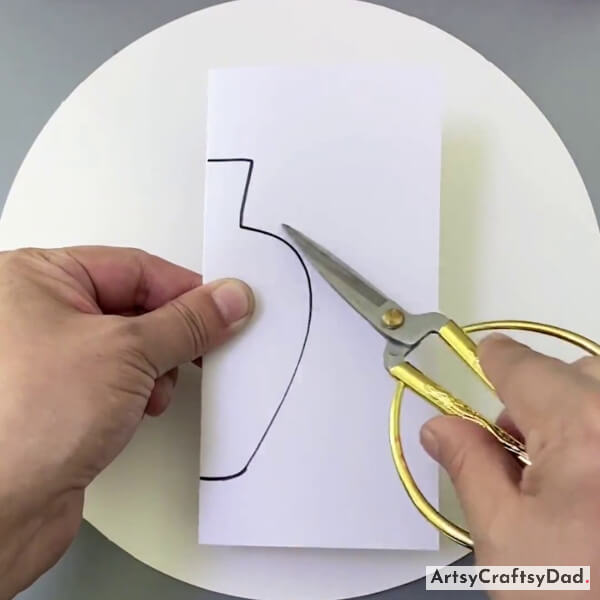
Now, cut the flower pot outline that we drew on paper.
Step #4: Cutting To Be Done Properly
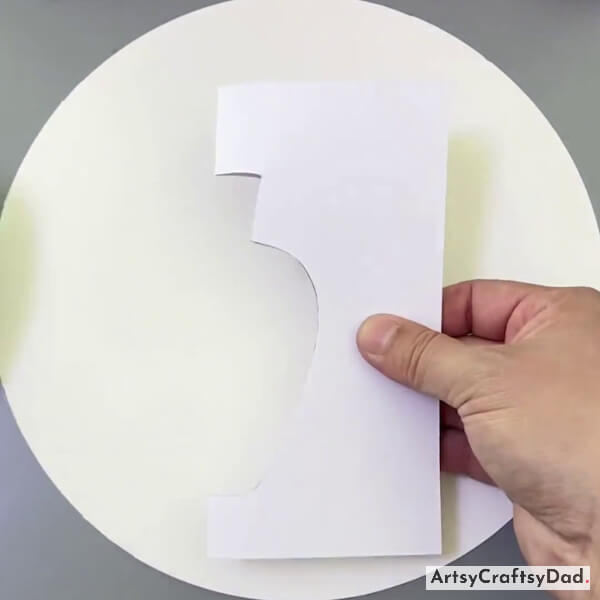
Put that paper from which we cut the outline of the flower pot.
Step #5: Opening The Folded Sheet
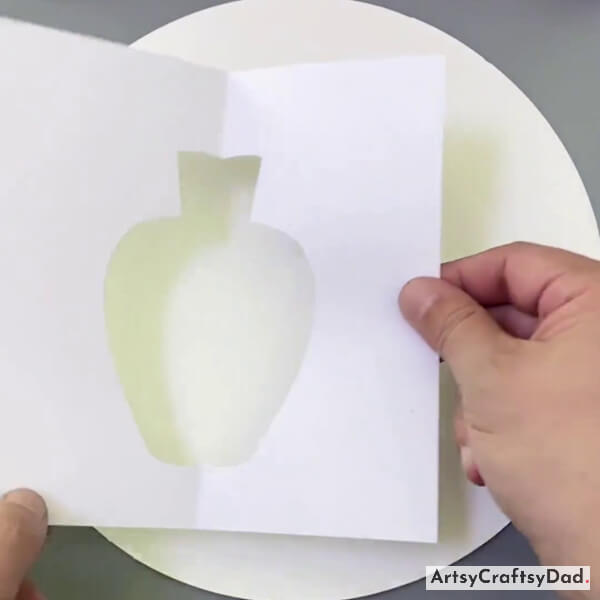
Now, open the folded paper.
Step #6: Stamping Flower Pot
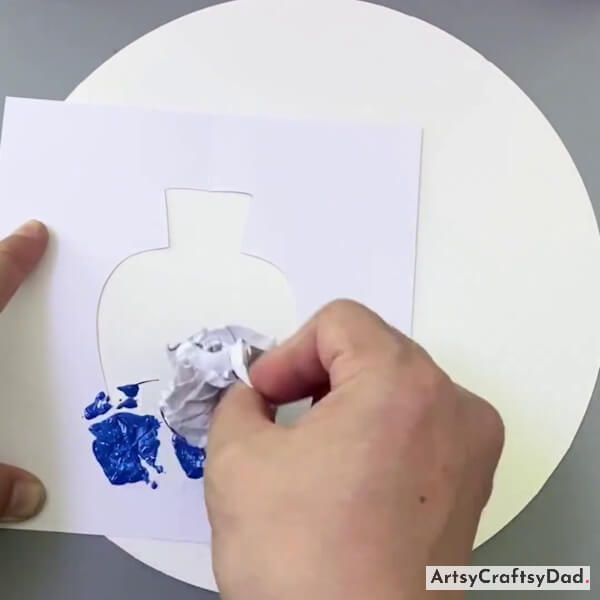
Take blue color paint & a piece of paper. Make a lump from it & dip it into the blue paint & then dap it on the flower pot cut shape area.
Step #7: Letting Dry
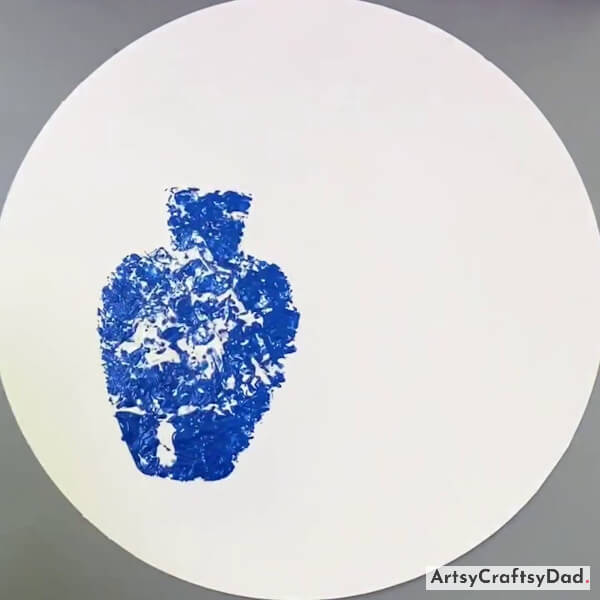
Here, we completed the flower pot painting & let it dry.
Step #8: Pasting Twig
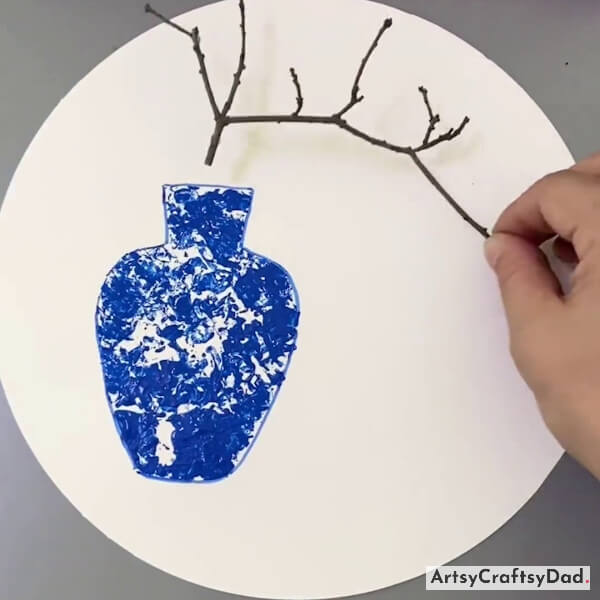
Take a twig of tree & paste it on the top flower pot by using glue.
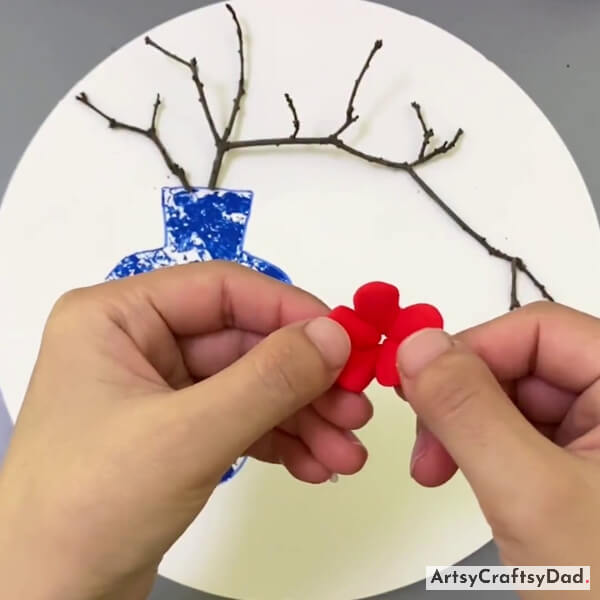
Step #9: Making Flower Petals With Clay
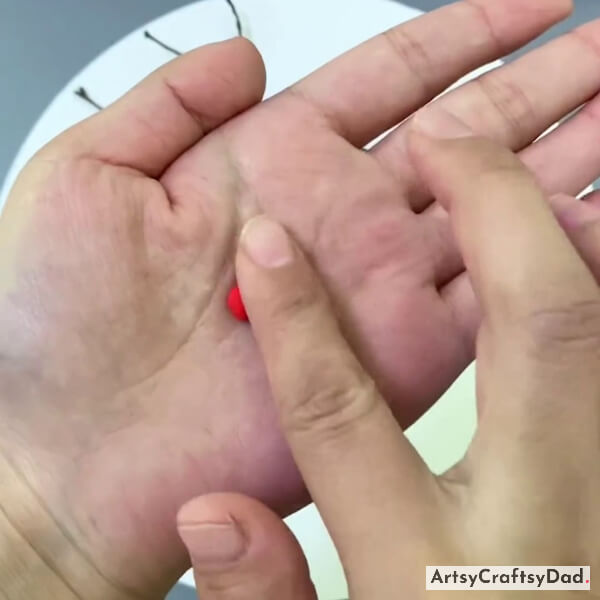
Take a red clay & make a petal shape for the flower.
Step #10: Joining More Flower Petals
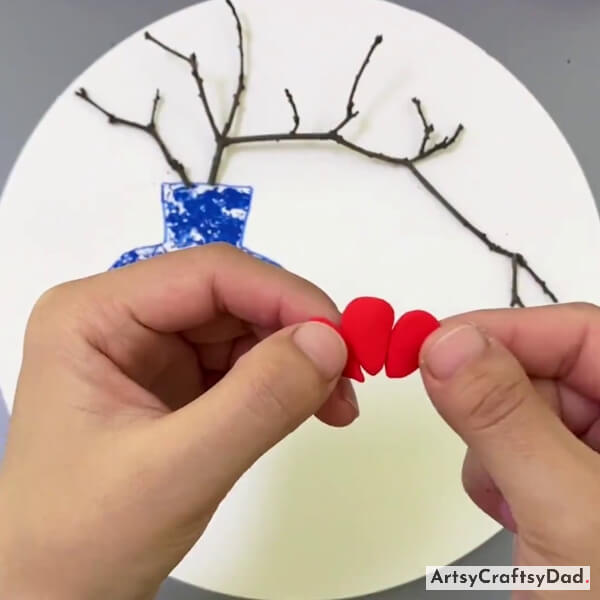
Make two more petals as we made in the above step & join them with each other.
Step #11: Completing Flower With Adding More Petals
Add some more petals & attach them all to make a complete flower in the same manner.
Step #12: Pasting Yellow Clay At The Center Of Flower
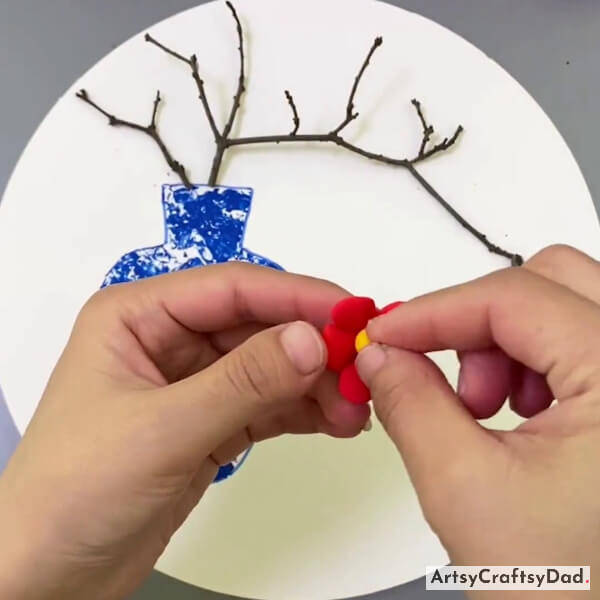
Take a yellow clay & make a little circle & paste it on the center of the flower.
Step #13: Pasting Flower On Twig
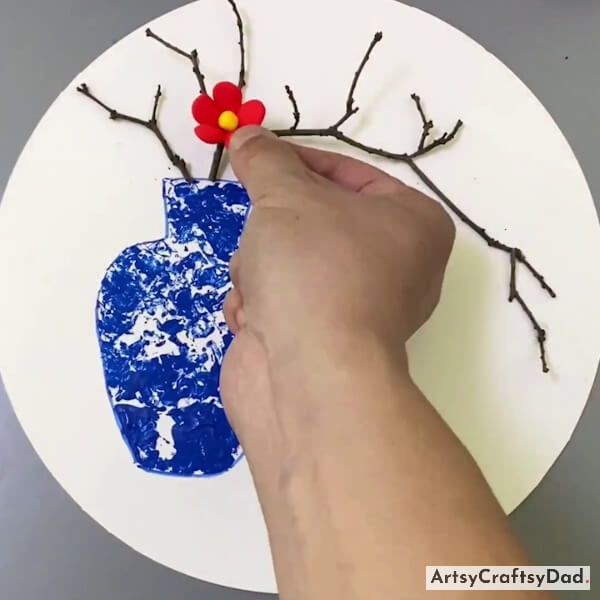
Now, paste the flower on the twig.
Step #14: Pasting More Flowers
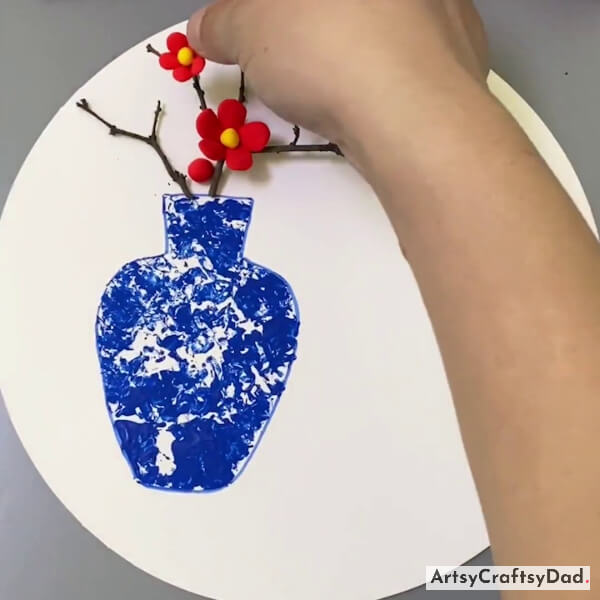
Take red clay & make a bud & paste it near the flower around the twig. Make one more flower by following the same procedure & paste it on the twig’s upper side.
Step #15: Taking Glue
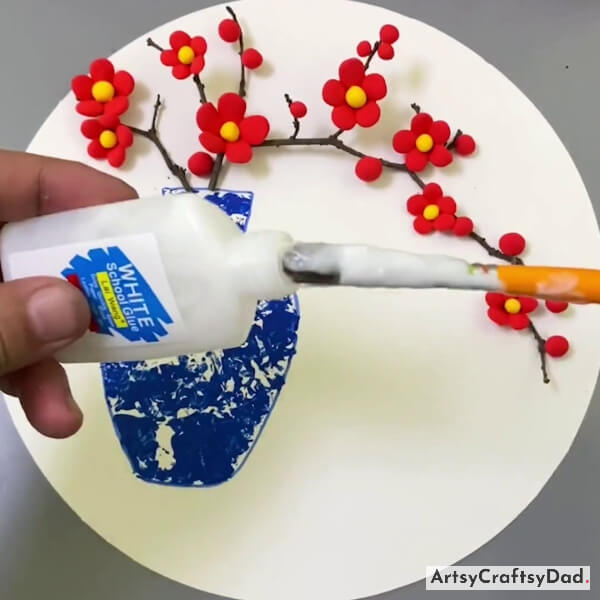
Make some more flowers & buds by following the same process & paste all of them one by one on the twig. Take a paintbrush & dip it into the glue.
Step #16: Applying Glue On Flower
Now, apply the glue to the flower in a way that it looks like a water droplet.
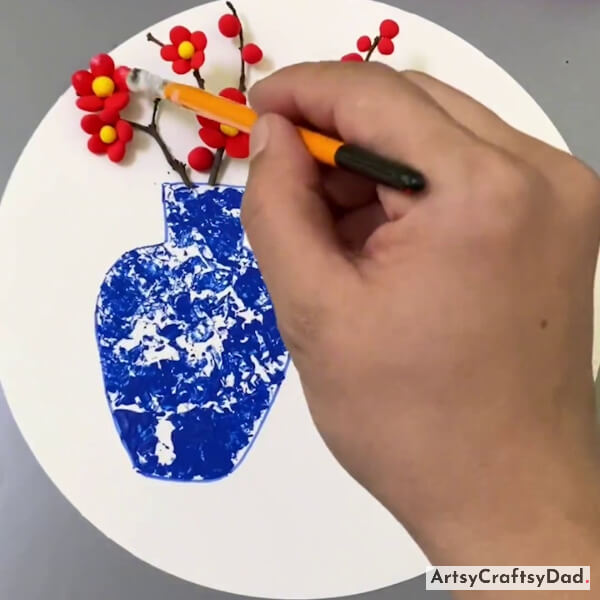
Step #17: Applying Glue On All The Flowers
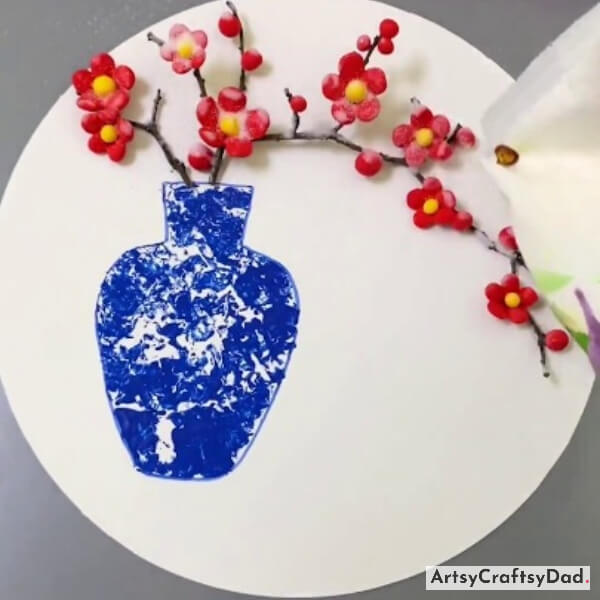
Apply glue on all the flowers & twigs.
Our Stamp Flower Pot Craft Is Ready Now!
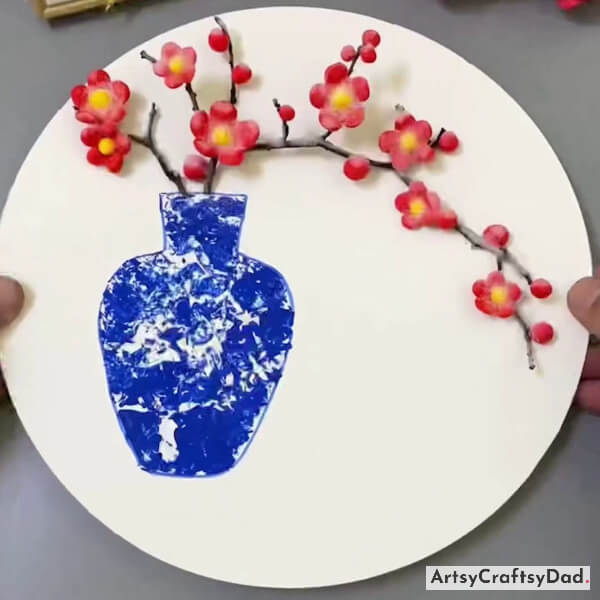
Our flower pot craft is ready now & you can decorate your room with this masterpiece.
We have finished making the stamp flower pot craft. Creating a stamp flower pot craft using clay is a fun and creative way to enhance your home decor or give it a thoughtful gift. The process of molding and stamping the clay allows for personal expression and customization, resulting in a unique and eye-catching final product. So, don’t forget to share your thoughts in the comment section. Keep visiting in the future for more crafts ideas.
Thanks for visiting our website! Have a nice day!
You Might Also Like
- Beautiful Clay Flower Vase Craft Tutorial For Beginners
- Clay Flower Pot Model Craft Tutorial For Kids
- Clay Flower Vase Model Craft Tutorial For Kids
- Chrysanthemum Flower Garden: Clay & Pistachio Shells Craft Tutorial
- Orange-Yellow Flower Climber Clay Craft Tutorial


