
Learn to make a clay flower garden with your kids using our easy and fun craft tutorial. A fun and colorful nature craft activity for kids, this craft is creative and will put the kids to work. Flower gardens are calming and beautiful to look at, so why not use our creativity to make something beautiful as well? All you need for this craft is clay and some basic craft materials.
Follow this step-by-step tutorial to help you make your clay craft, with easy and detailed steps guiding you through the process and making your experience enjoyable. So grab your materials and let’s get started on this craft!!!
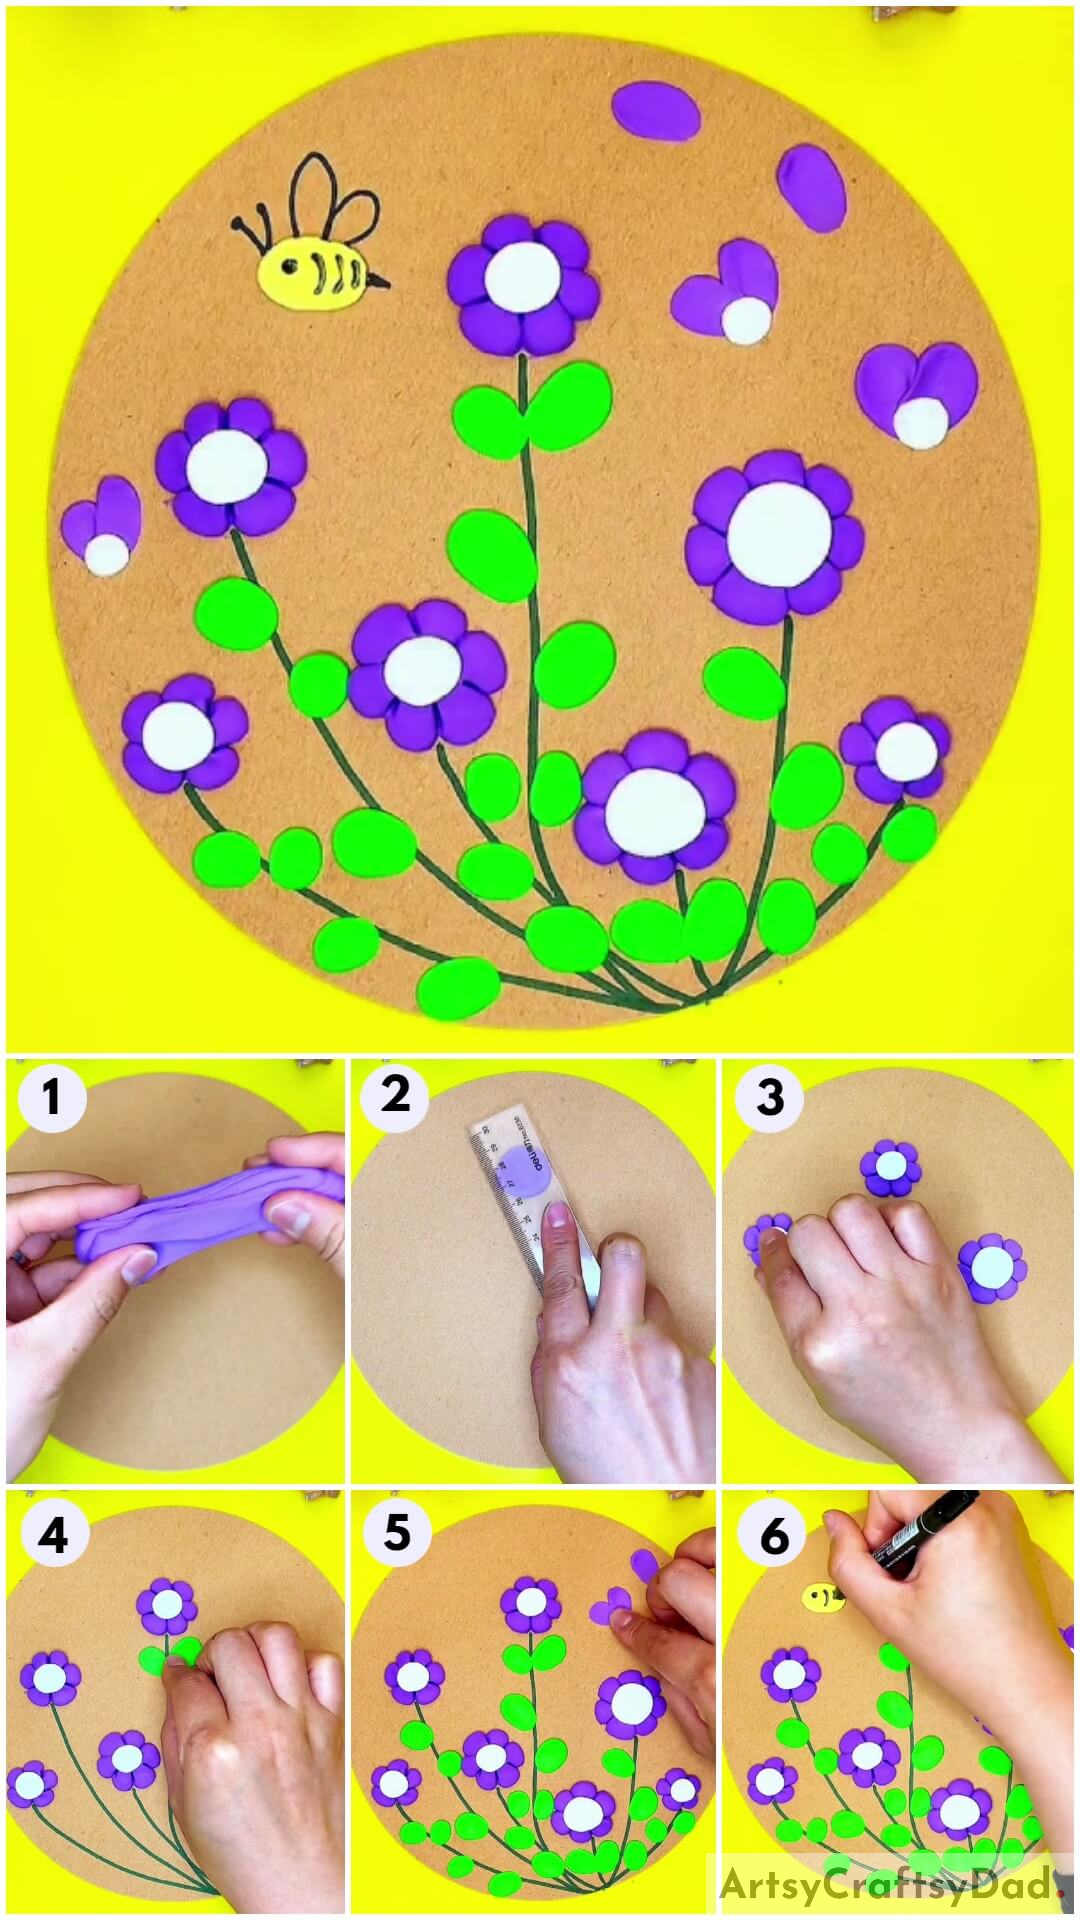
Clay Flower Garden With Bees Craft Tutorial For Kids
Must Read: Clay-Paper Sunflower Garden Craft Tutorial
Supplies & Tools:
- Purple, white, yellow, and green clay
- Cardboard sheet
- Clay tool
- Scale
- Black marker
Clay Flower Bees Instructions
Step #1: Tearing And Moulding The First Piece Of Clay
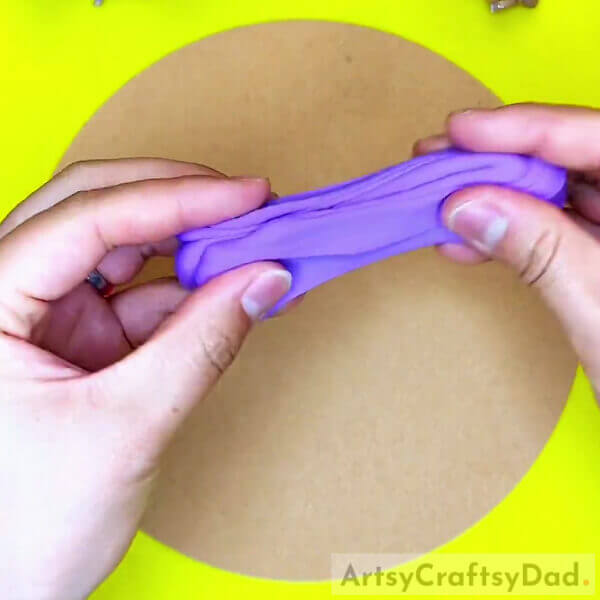
Grab your cardboard sheet and make a big circle on it. Cut out this circle and place it in front of yourself. This will be the base for your craft. You will now take some purple clay and knead it to loosen it up. From this piece of clay, tear out pieces of clay not too small and not too big.
Step #2: Placing The First Clay Piece On The Cardboard Base
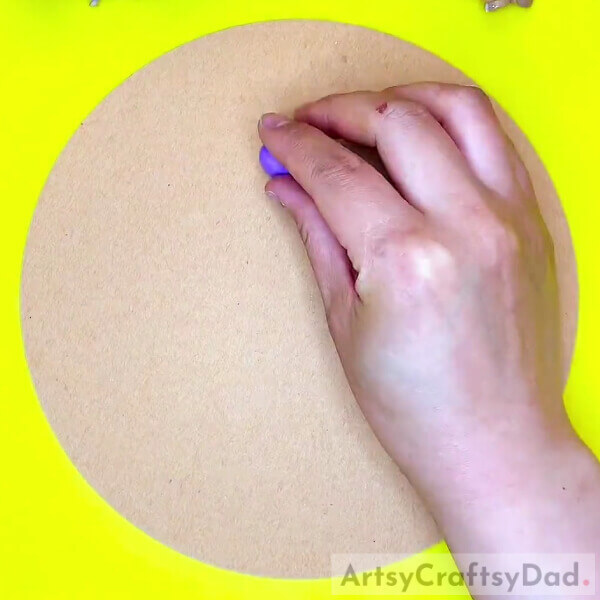
Roll your piece of clay into a ball. Place this clay ball onto the top of the cardboard circle at your desired spacing. Make sure the clay ball is placed accurately.
Step #3: Pressing Down On The Clay Ball Using A Scale
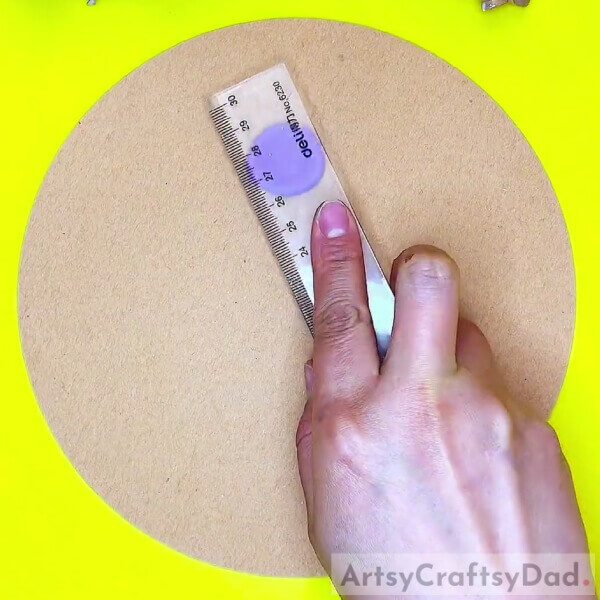
Grab your scale and using its flat surface, press down on the clay ball. Press down such that you spread out the clay into a flat circle onto the cardboard. Flatten the clay using the scale. Make sure you don’t flatten it too much so as to not make the clay thin.
Step #4: Carving The Petals Onto The Clay
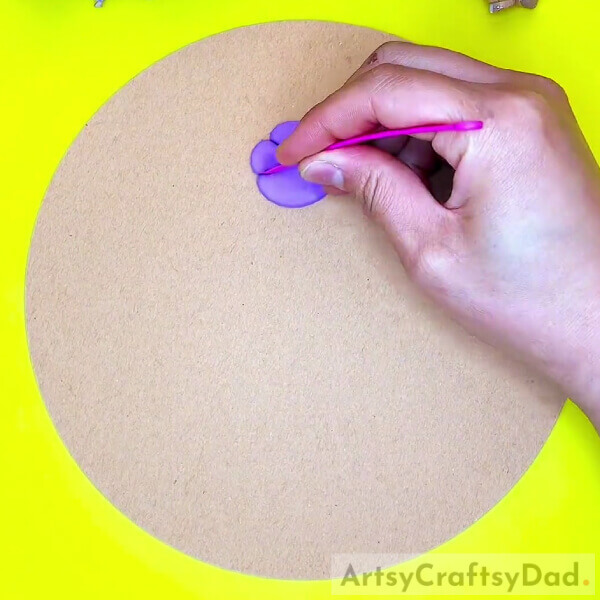
Once your clay is on the cardboard, take your clay carving tool. Using your carving tool, carve petals onto the clay piece. Drag the tool in straight lines inwards to make petals on the clay.
Step #5: Using White Clay To Make The Centre Of The Flower
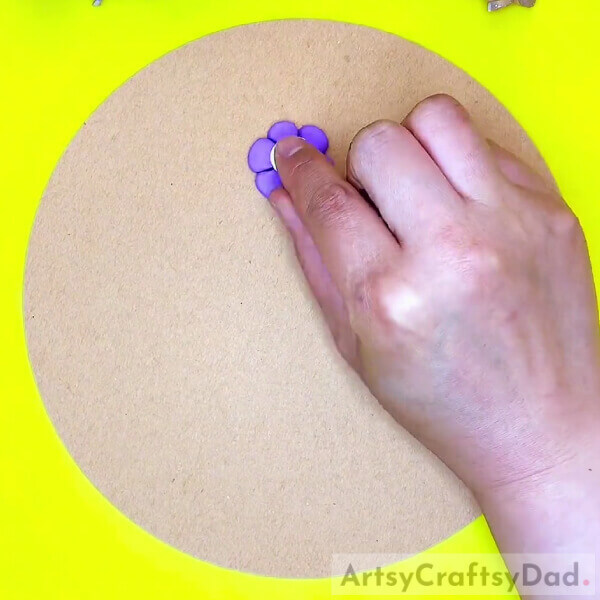
You will now take some white clay and roll it into a small ball. Press down this ball onto the center of the purple clay petals. This will be the middle of your flower.
Step #6: Repeating The Steps To Make The Other Flowers
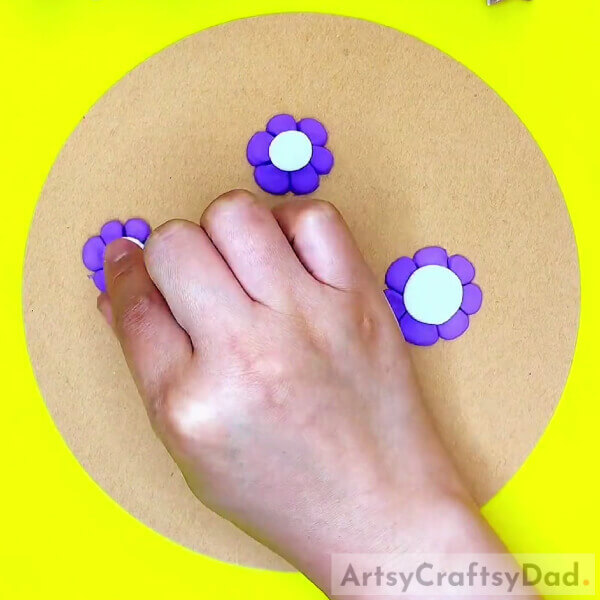
Now all you have to do is repeat the previous steps to make more flowers for your flower garden. Make six such flowers on the cardboard circle and you can also change the sizes a little. Space the flowers out well.
Step #7: Drawing The Stems Of The Flowers
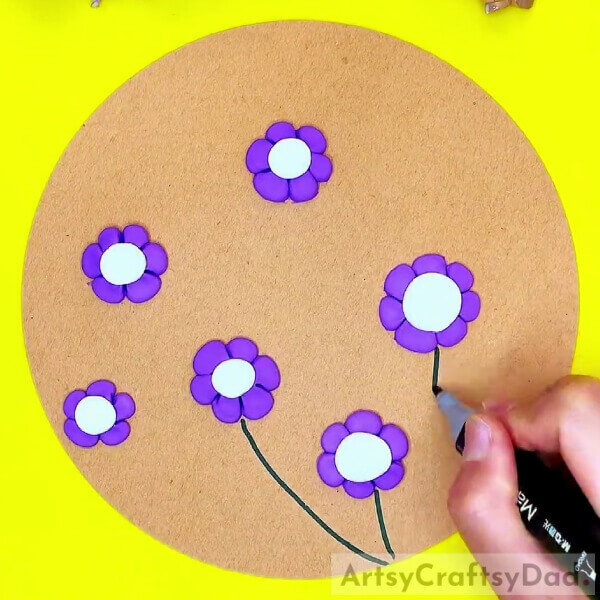
Take your black marker and draw flowy stems for each flower. Draw long curvy stems from each flower to the bottom of your cardboard circle. You can connect the ends of the stems at the bottom as shown in the image.
Step #8: Making The Leaves Of The Flowers With Green Clay
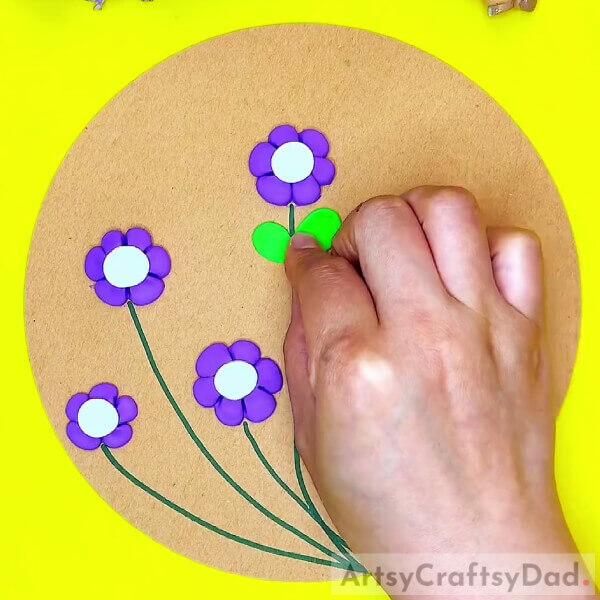
Moving on to the leaves of the flowers, you will take some green clay and make leaves using this. Tear out small circles from the green clay and press them down onto the stems of the flowers. Press and drag to make a leaf-like shape. Space the leaves out, please.
Step #9: Adding Flying Flower Details
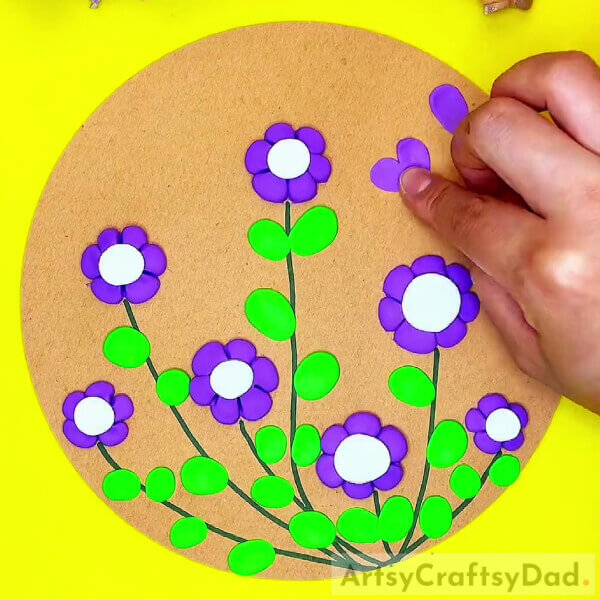
To make the flower garden look more realistic, take some purple and white clay and make stray flower petals to give the effect of petals flying away due to wind. Refer to the image for a better idea!
Step #10: Adding The Yellow Bee
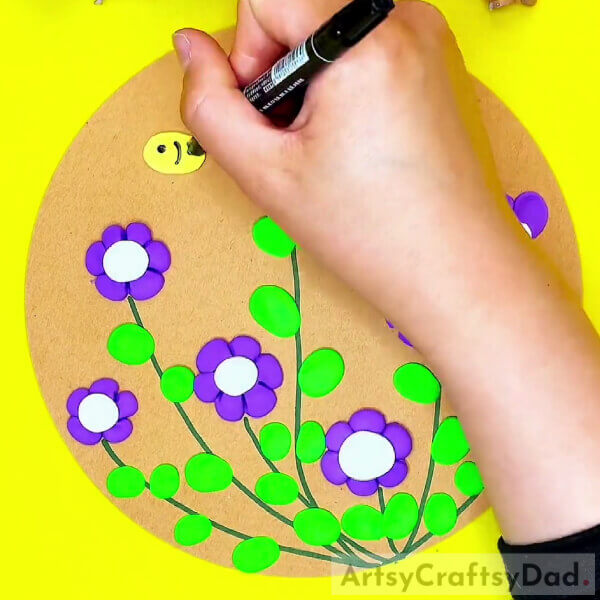
Your final step would be to add the bee to the flower garden. With yellow clay make an oval bee body above the flowers. Draw the eyes, stripes on its body, the wings, and the sting with your black marker. Your bee is ready!
Ta-da! Your Clay Flower Garden With Bees Craft Is Ready!
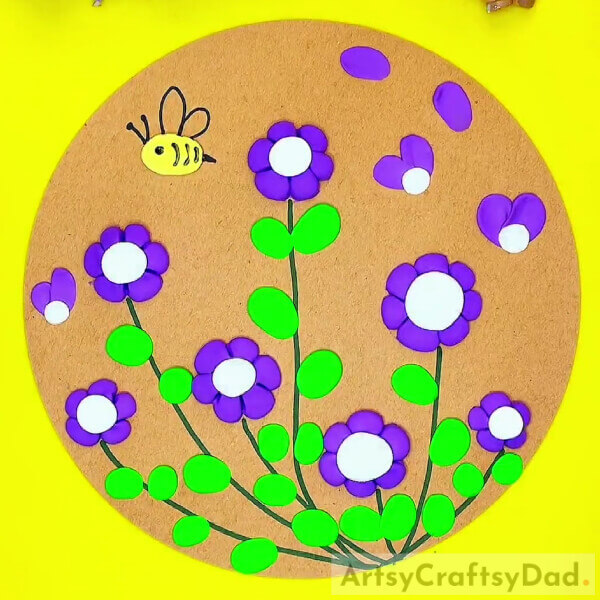
Ta-da! Your Clay Flower Garden With Bees Craft is all ready and done for you to show the world!!!
This craft is simple and fun and teaches kids new things to make with clay. Using your creativity and concentration this craft is an easy task. Kids will enjoy this craft and it will help them boost their motor skills and creative spark. This craft is perfect for decorations and craft projects. The use of clay will keep kids on their toes and interested in making and moulding. Perfect for kids and adults alike, this craft is engaging, creative and fun. So follow this tutorial and engage yourselves and your kids in making this Clay Flower Garden with Bees craft!
We hope you liked this step-by-step tutorial and that you learned something new. We would love to hear your thoughts in the comment section below and be sure to visit other articles for more ideas!
Thank You for visiting our website! Visit again soon!!!
You May Also Like:
- Clay Chicks In Garden Craft Tutorial
- Clay Heart Leaf Tree Craft Tutorial For Kids
- Butterfly-Inspired Garden Decorations To Upgrade In Your Garden
- Harry Potter Polymer Clay DIYs for Kids
- How to Make Marigold Flower from Beads


