Learn how to create a stunning clay craft featuring a beautiful duck in a serene pond setting. This step-by-step tutorial will guide you through the process of sculpting and painting your lifelike duck, as well as creating a realistic pond backdrop. Discover the secrets to achieving intricate details and vibrant colors in this mesmerizing DIY project.
If you’re looking for a fun and creative craft project, then look no further than the beautiful duck clay craft tutorial in Pond. This tutorial will guide you through the step-by-step process of creating a stunning duck figurine out of clay, complete with a realistic pond setting. Whether you’re a seasoned clay artist or a beginner looking to explore your artistic side, this tutorial is perfect for you. Not only will you learn how to sculpt a lifelike duck, but you’ll also discover techniques for creating water effects that will make your artwork truly stand out. So grab your clay and get ready to dive into this exciting craft project!
Gorgeous Duck In Pond Clay Craft
Must Read: DIY Frog & Tadpole Clay Craft Tutorial In Pond
Supplies & Tools
- White Drawing Sheet
- Colored Clay (Green, Yellow, Light Green)
- Marker(Black, Blue, Green, Light Green, Red)
- Scissors
Duck Clay Instructions
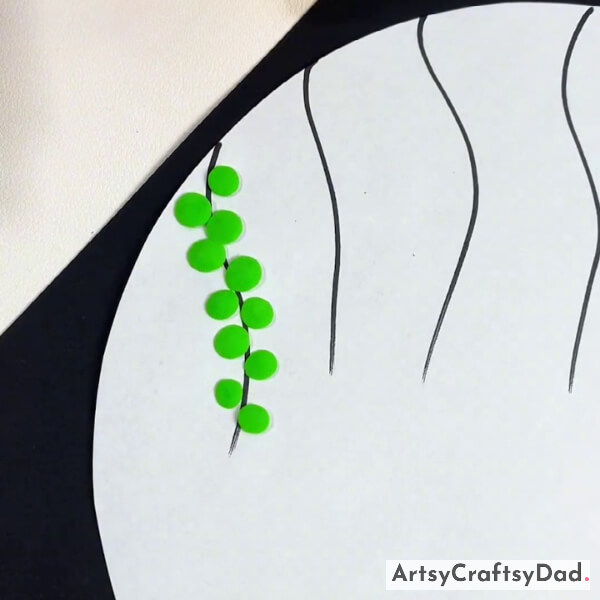
Step #1: Drawing Stem
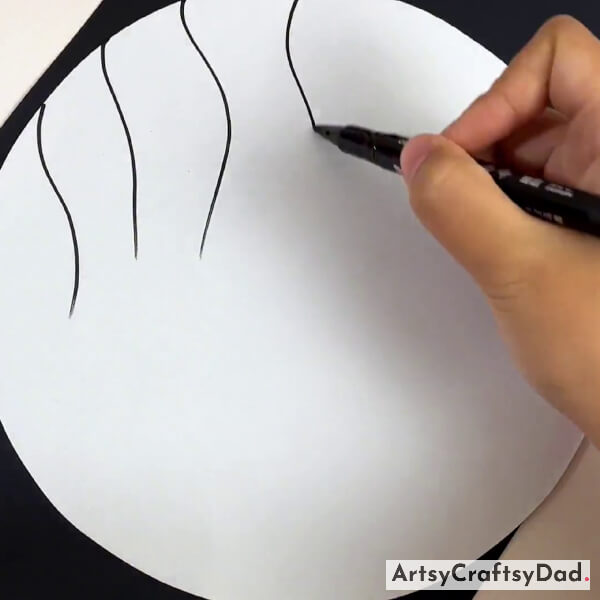
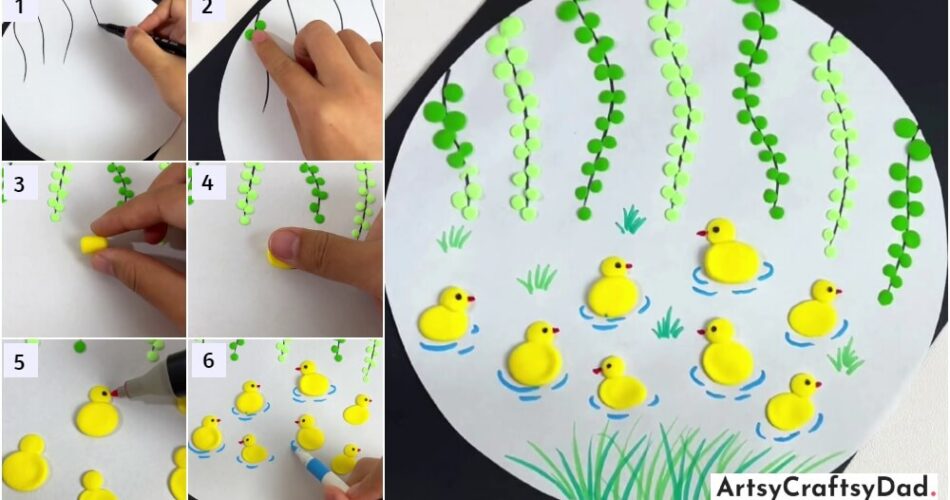
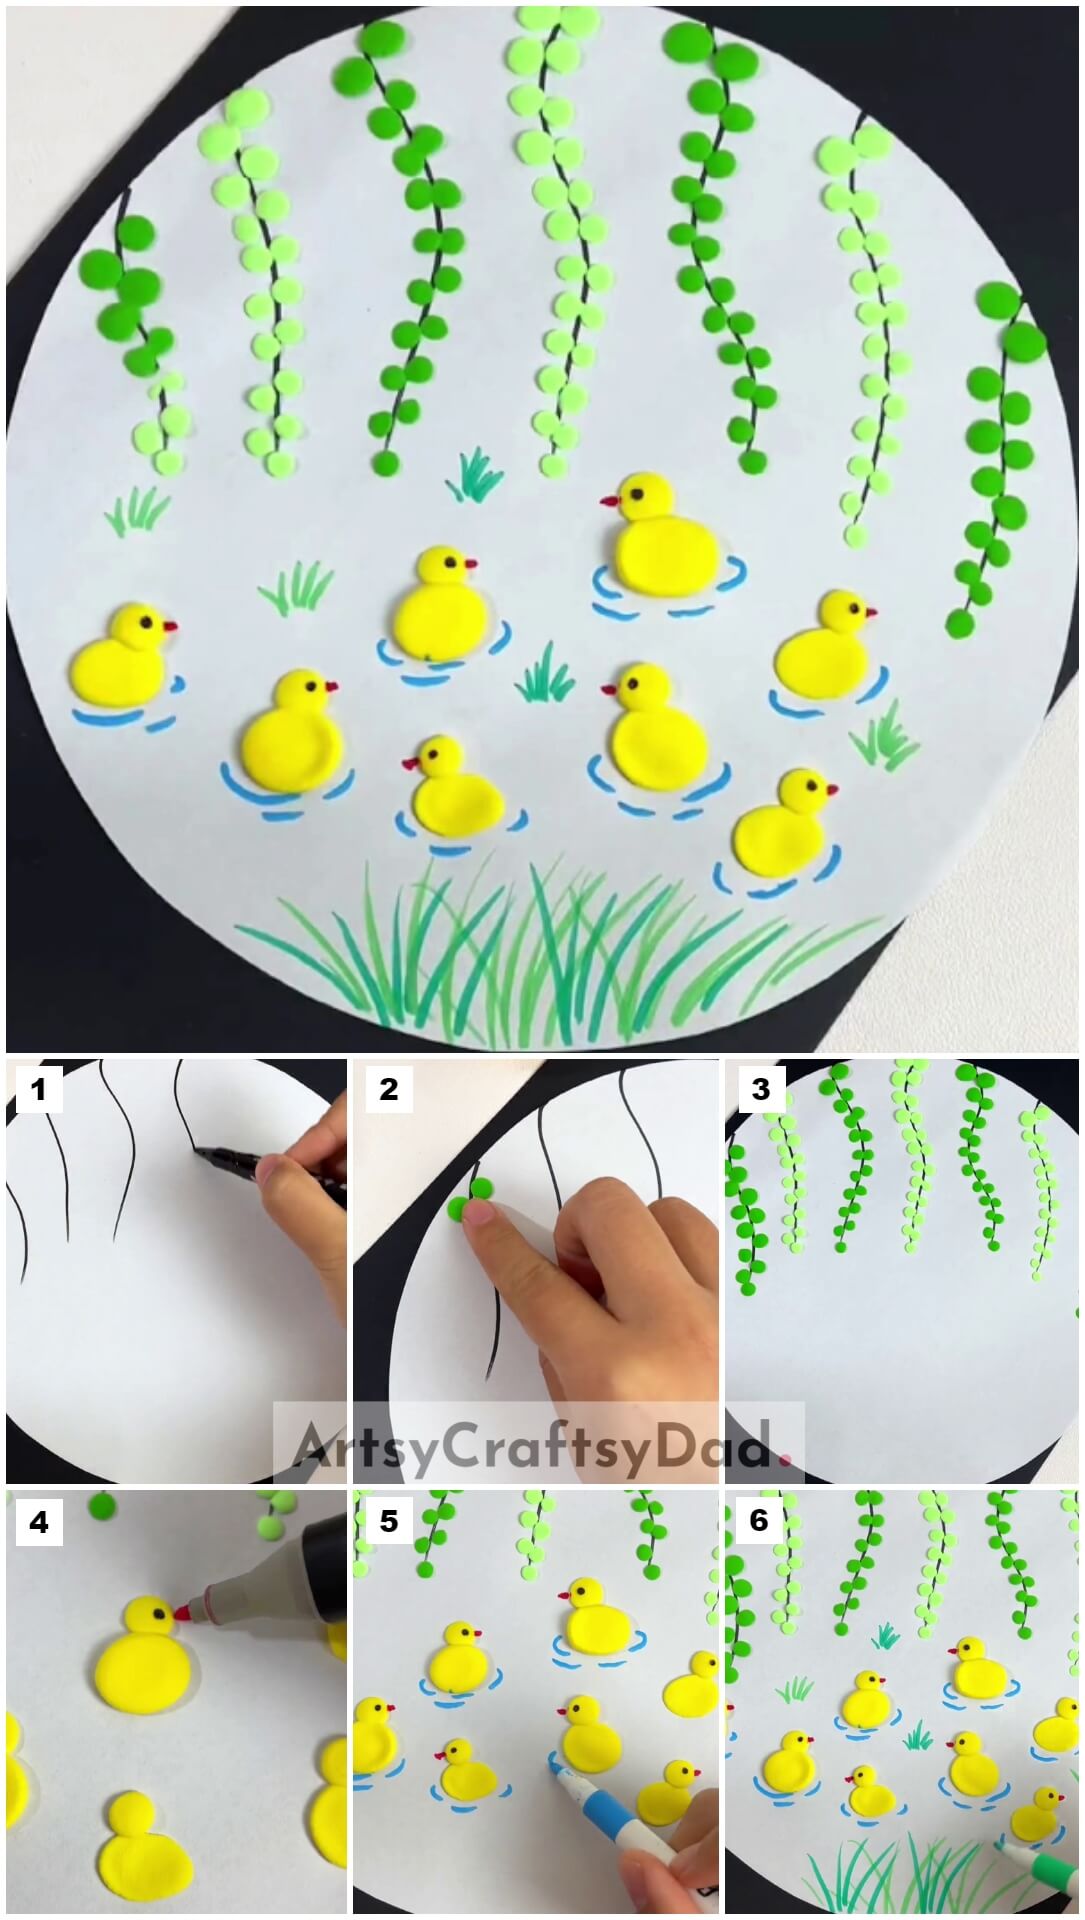
Create a big circle on a white sheet of paper and then carefully cut it out to use as the base for our project. Pick a black maker and start creating the stems from the top of the base.
Step #2: Making Leaves
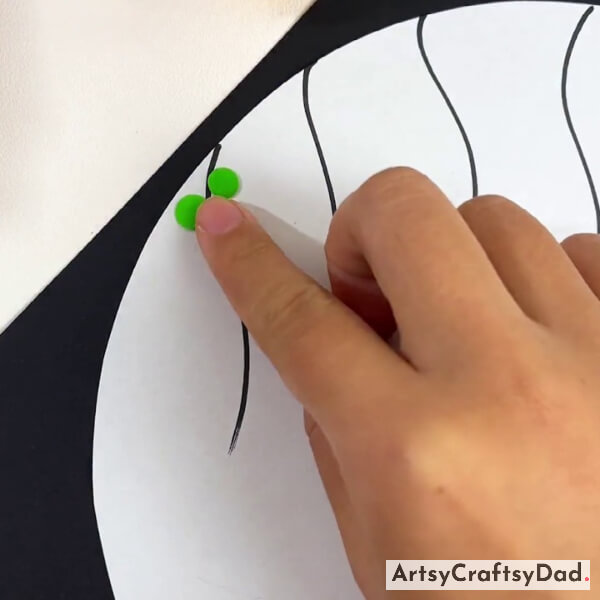
Take green clay, make two small balls from it, and start putting them as leaves on the left side of the stem & then press them with your index finger.
Step #3: Pasting Leaves On Complete Stem
Make more clay balls and paste them on the complete stem.
Step #4: Pasting Leaves On Remaining Stems
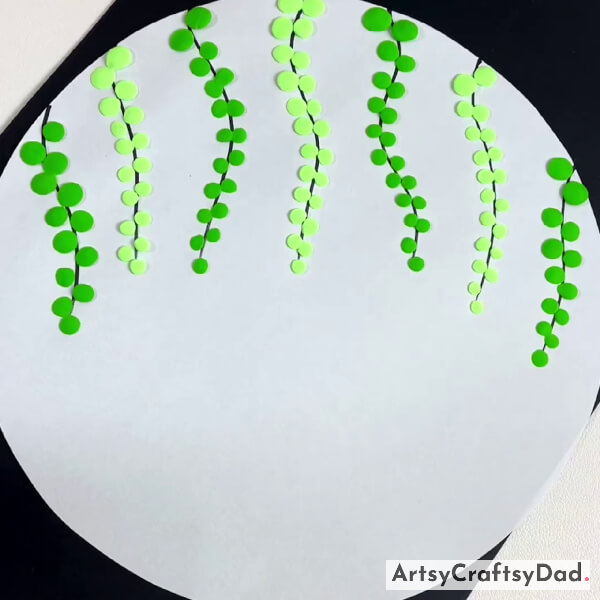
Take light green clay & make little balls from it & put them along the left second stem in the same manner as we did above. On the first left stem, we use dark green leaves & on the next stem light green leaves & the same pattern is repeated for the rest of the stems. Now, follow the same process & make leaves for the rest of the stems.
Step #5: Working With Clay
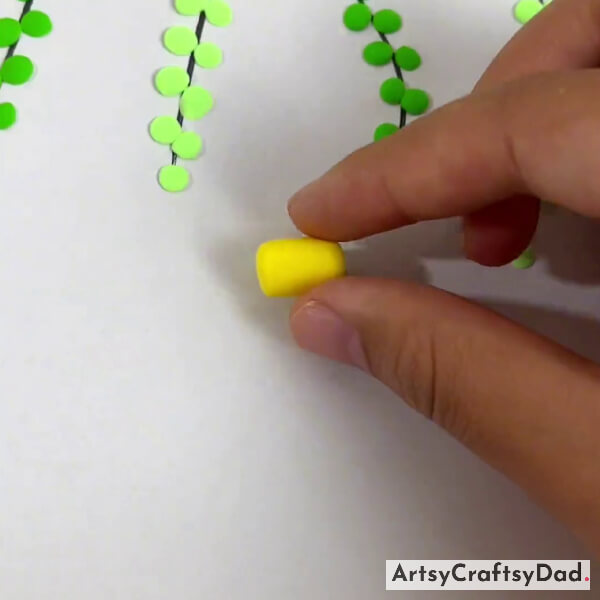
Take yellow clay & roll it to make a little rounded rectangle.
Step #6: Making Duck Body With Clay
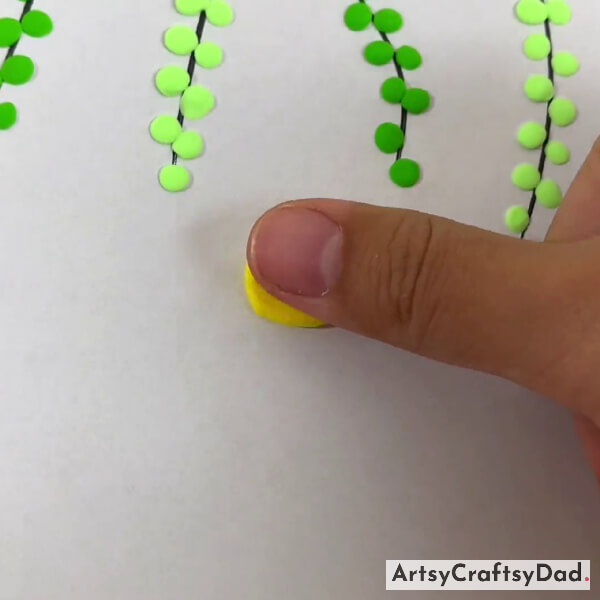
Now, put that little rounded rectangle on the craft base & press this with the help of your thumb.
Step #7: Drawing Duck Beak And Face
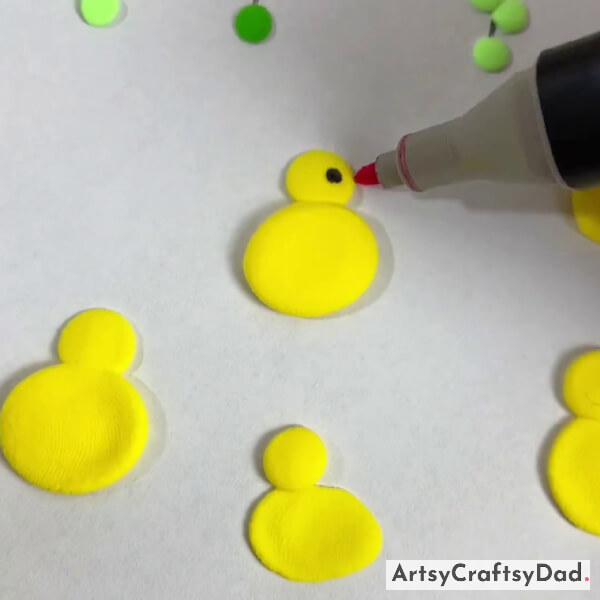
After that take a piece of yellow clay & make a little ball for the duck face then put it over the duck body as shown above. Draw the eye on the face & beak on the duck face using black & red markers respectively. Follow the same process & make more duck bodies in the same manner.
Step #8: Drawing Water Wave Around Ducks
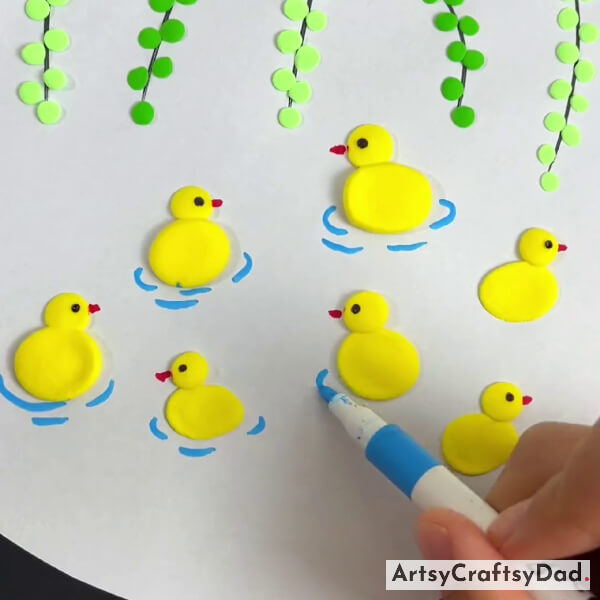
Draw eyes & beaks for all the ducks. Take a blue marker & draw some curvy lines around all the ducks as water waves one by one.
Step #9: Drawing Small Grasses
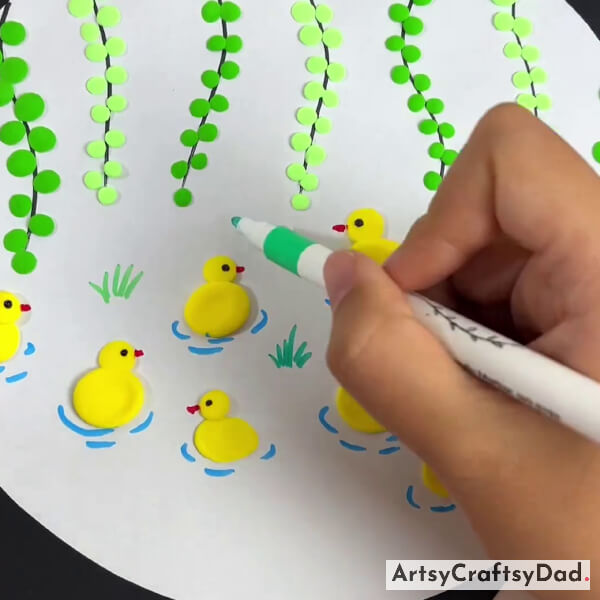
Take a dark green & light green marker & draw small grass between the ducks on the craft base.
Step #10: Drawing Grass Bush
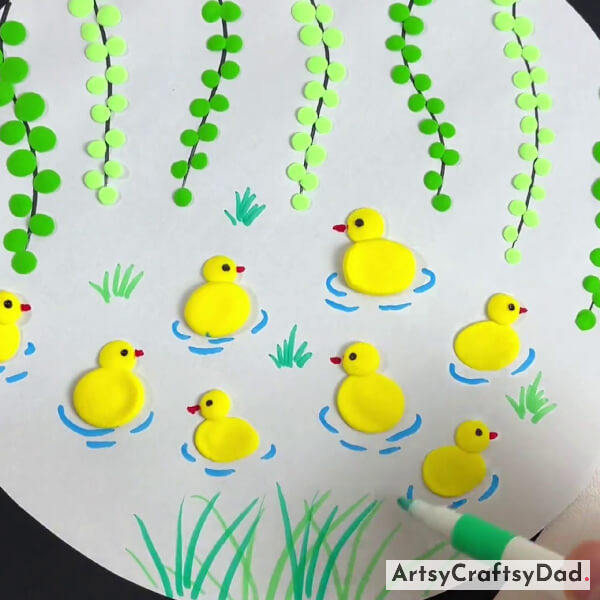
Now, draw some curvy lines on the lower side of the craft base using dark & light green markers to make a grass bush.
Our Beautiful Duck Clay Craft Tutorial In Pond Is Ready!
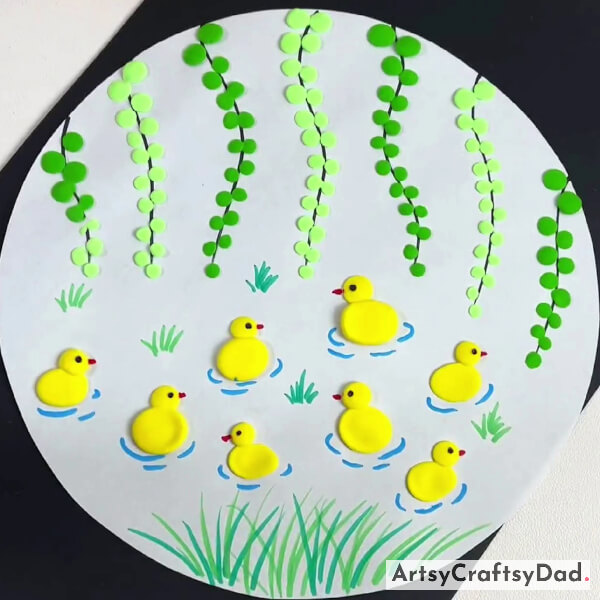
Our cute duck clay craft in the pond is ready.
We have completed our craft here. I know you have enjoyed the craft as I did. You could decorate it by drawing different flowers on the craft that will give a fantastic look to the craft. Please try some more crafts don’t stop here because with little effort we make big. You could surprise your friends by giving it as a gift. Don’t miss to drop your feedback in the comment section.
Thank you for visiting our website! Have a nice day!
You Might Also Like This
- Beautiful Clay Flower Garden Craft Tutorial For Beginners
- Leaf Frogs In Pond Scenery Craft Tutorial For Kids
- Beautiful Peacock: Colorful Clay Craft Tutorial
- Beautiful Clay Peacock Paper Artwork Tutorial
- Clay Flower Pot Model Craft Tutorial For Kids

