Check out this cherry on top painting! Seriously, this article tutorial is about making cherries on a tree branch through stamp painting!
Hello and welcome to the wonderful world of art! In this article tutorial, we will guide you through each and every step to make a stamp painting of cherries on a tree branch! This article tells us to get inspired by everything we have in our surroundings and most importantly, nature! The plumpy red cherries contrasting with the green leaves look so beautiful! This artwork is suitable for kids of all ages and even beginners as the stamp hack will make this artwork much easier!
Beautiful Cherries On Tree Branch Stamp Painting
Must Read: Finger Stamp Trees With A Butterfly Art Tutorial
Supplies & Tools
- White Circular Paper Sheet
- Circle Stamp
- Leaf
- Paintbrush
- Paint Colors (Red, Brown, And Green)
Cherries Painting Instructions
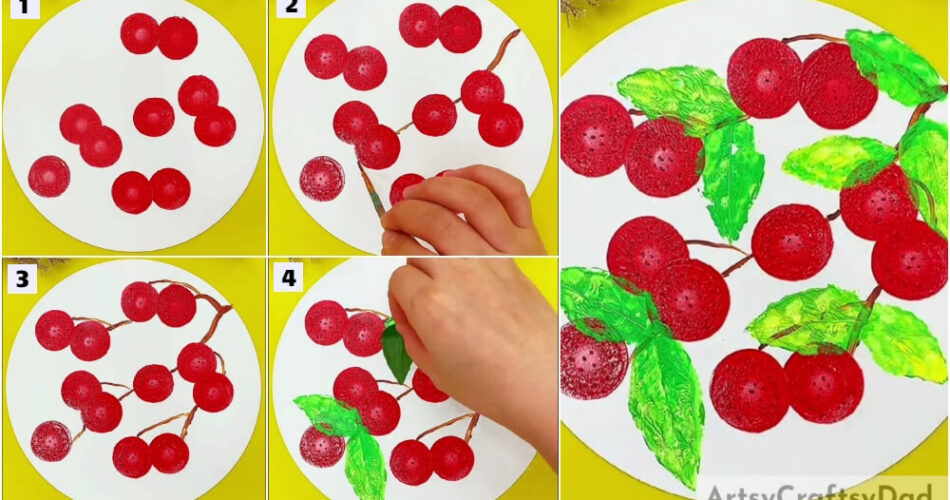
Step #1: Stamping A Red Circle
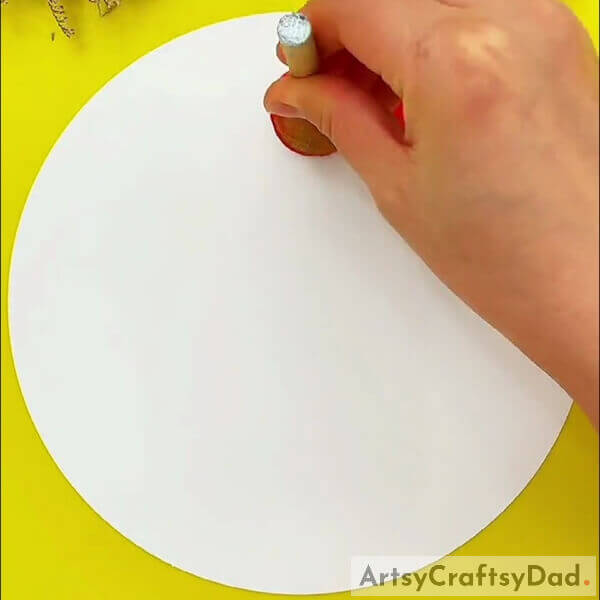
Begithis artwork by taking a white circular paper sheet as the base for the painting and a circle stamp. Dip the circle stamp into red paint and dab it over the base to form a circle. This circle will represent the cherry of yor artwork.
Step #2: Making More Cherries
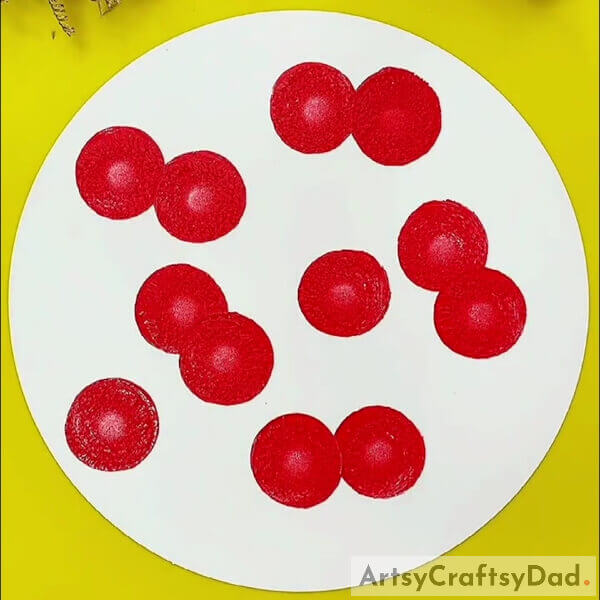
Stamp more red cherries over the base randomly as shown in the image.
Step #3: Making Dots Over The Cherries
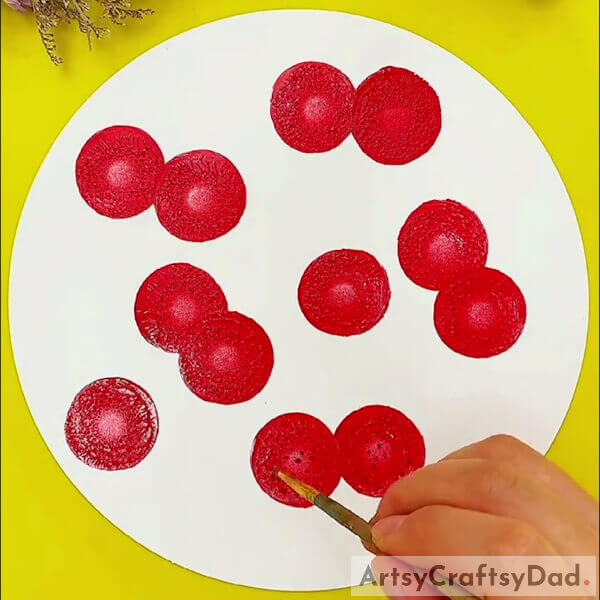
Dip a paintbrush into brown paint and make tiny dots over the cherries.
Step #4: Completing Making Dots
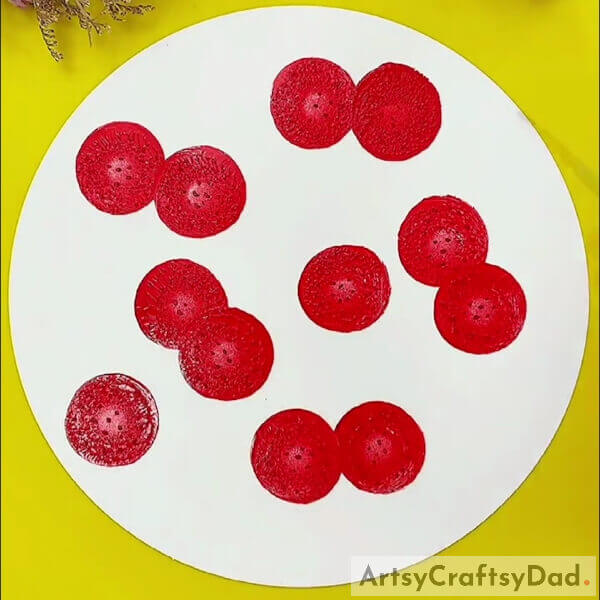
Make the tiny dots over each and every cherry on the base.
Step #5: Making The Tree Branch
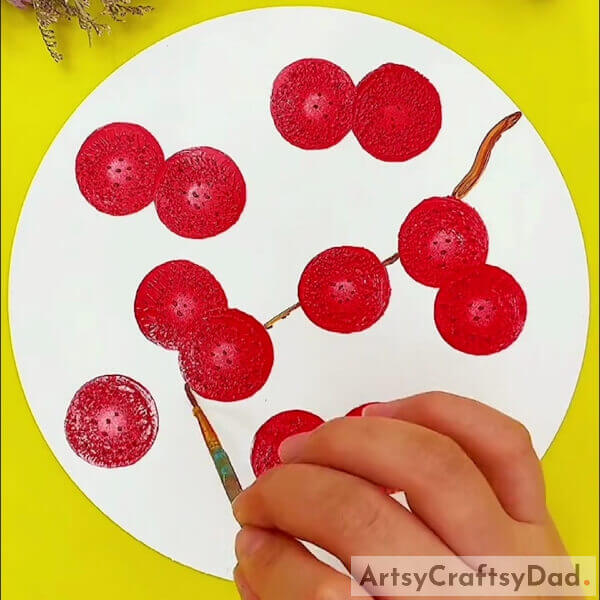
Using the brown-painted paintbrush, make the irregular tree branch over the base coming from the right top.
Step #6: Completing Making The Tree Branch

Make the tree branch irregularly and connect all the cherries on your base. See the image for reference.
Step #7: Making Leaves
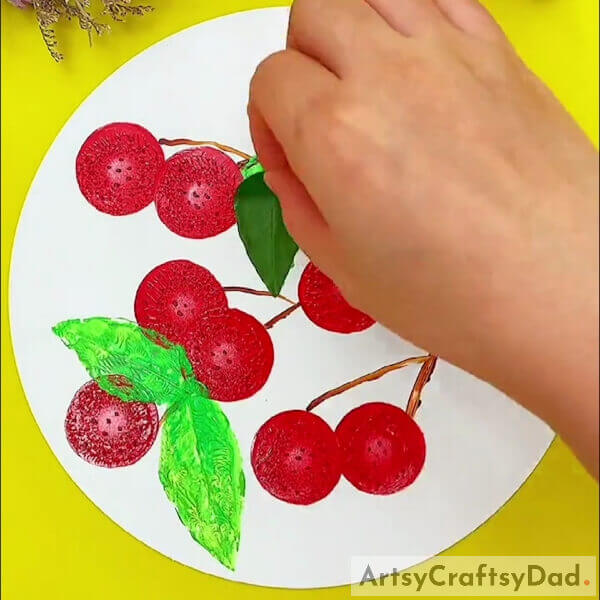
Take a leaf and paint it green using the paintbrush and now use it as a stamp to make the leaves to the tree branch and among the cherries. See the image for reference.
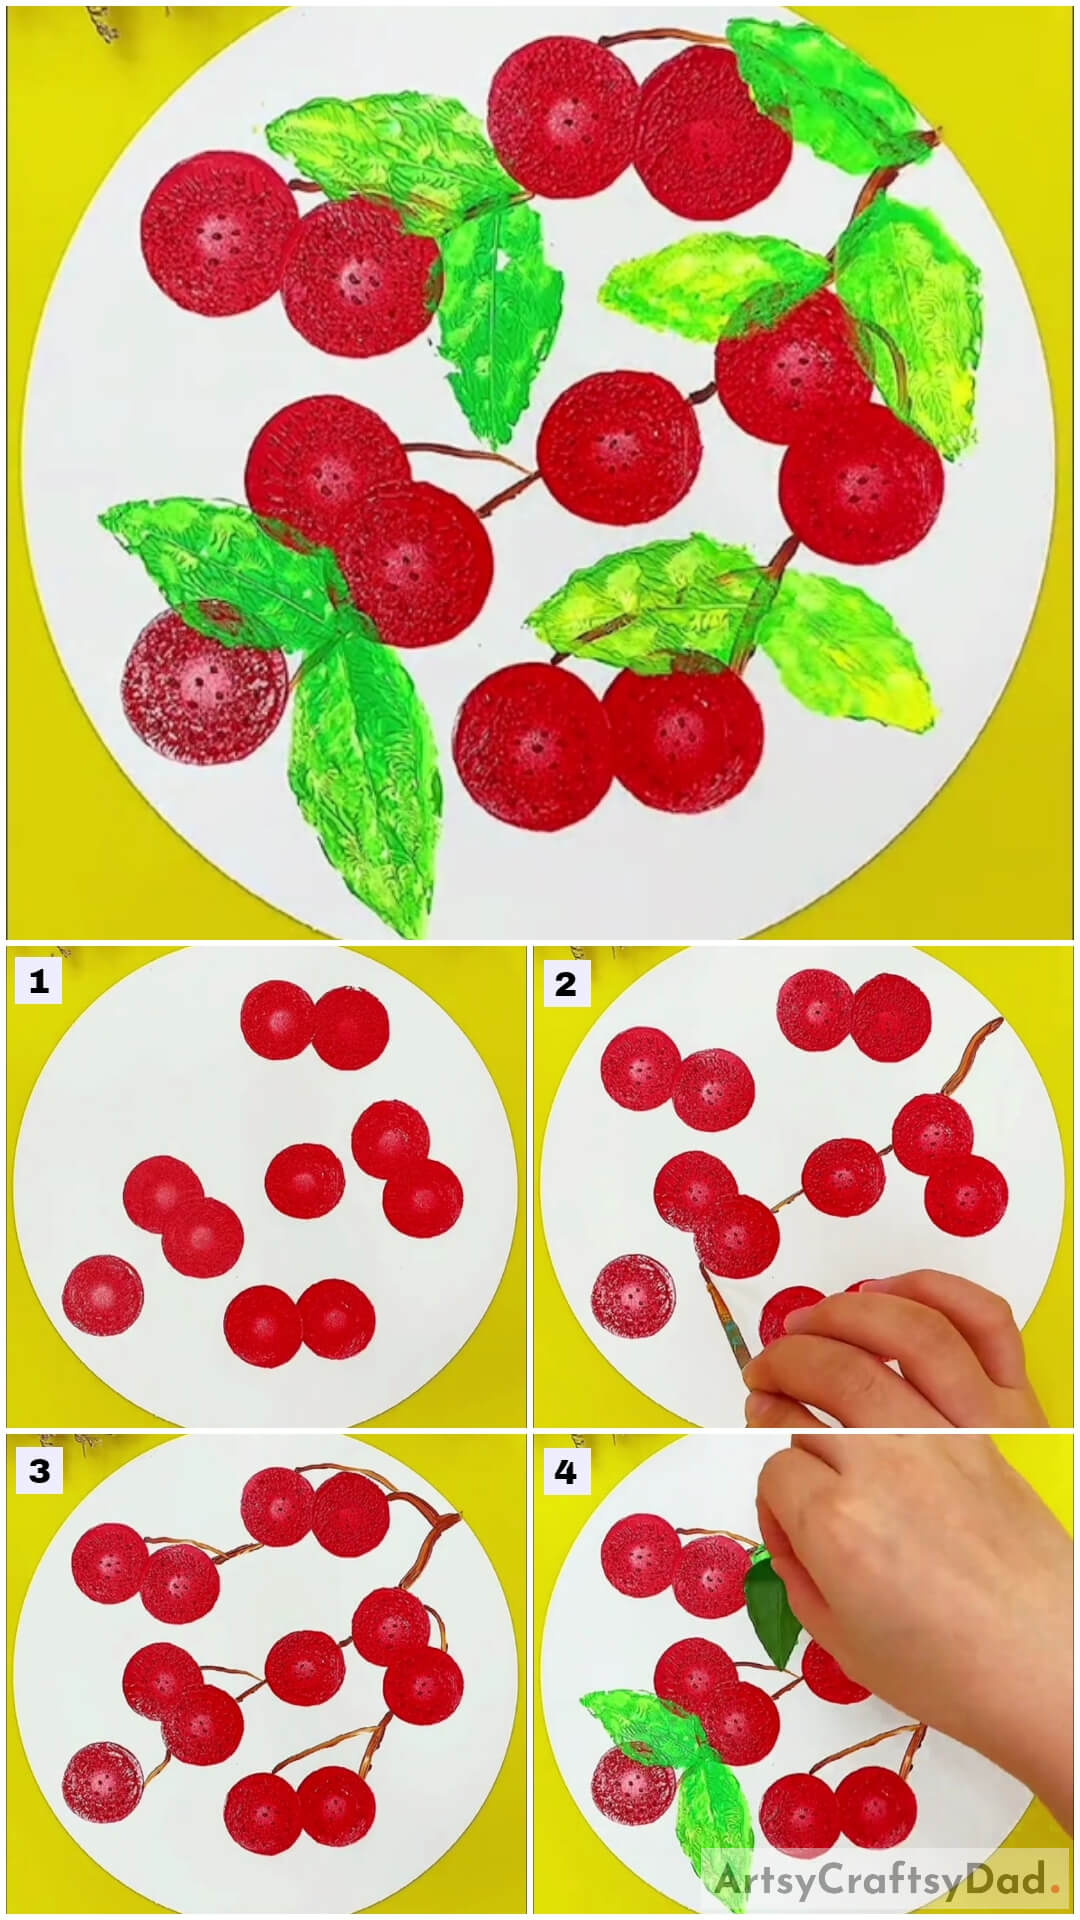
This Is The Final Look Of Your Stamp Cherries On The Tree Branch!
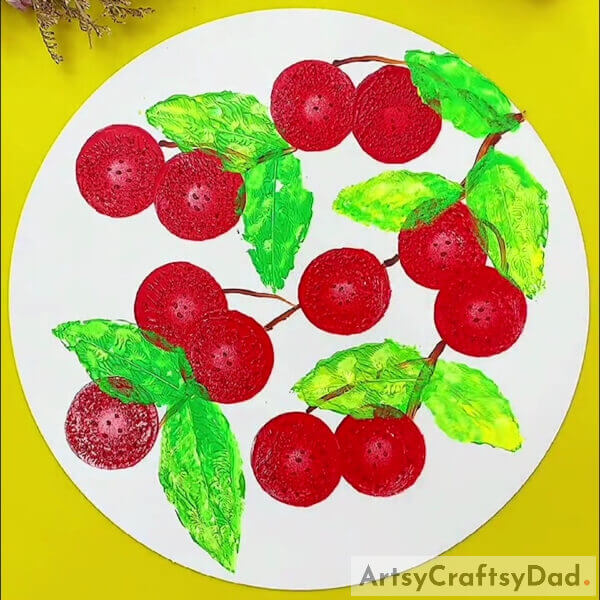
For the last step, complete stamping the leaves to the tree branch as shown in the image.
Woohoo! You have successfully completed making your plumpy red cherries on the tree branch!
Don’t they look tempting? Well, now you can decorate this artwork in your kitchen or even add it to your art collection! These cherries will look realistic and everyone will admire your artistic skills and creation! You can also, make this artwork as your school art project or classroom activity on ‘Your Favorite Fruit’. This artwork will definitely thrive everywhere! You can add some more details to your artwork to make it even more realistic! Your imagination is the limit!
Hope you liked the article and the art idea! Tell us your feedback in the comments section below to keep us motivated to keep bringing such artwork for you!
You May Also Like
- Mushroom Garden: Stamp Painting Tutorial For Kids
- Angelfish Underwater: Paper Stencil & Stamp Painting Tutorial
- Rose Bouquet: Stamp Painting Tutorial For Kids
- Peacock Stamp Painting With Hacks Tutorial
- Red Vector Flowers Stamp Painting Art Tutorial For Kids