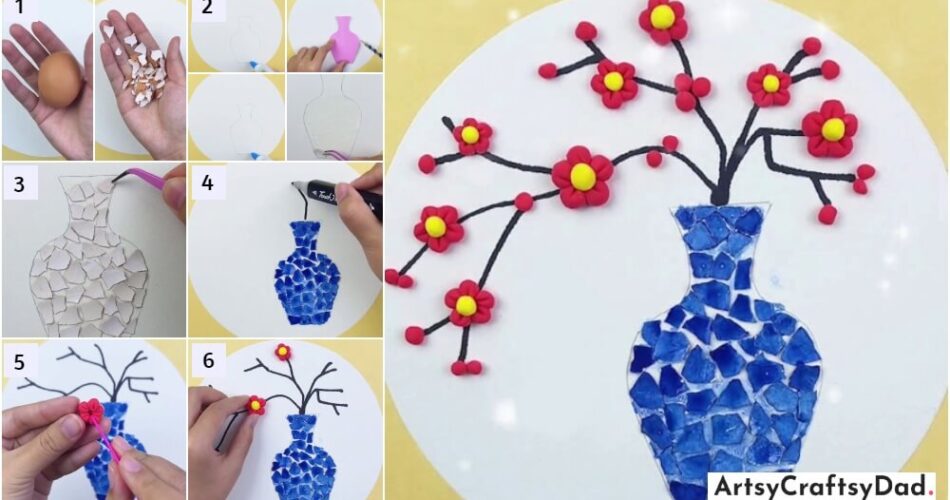
Looking for a fun and educational activity for kids? Check out our waste eggshell and clay flower vase tutorial! This step-by-step guide will teach children how to repurpose egg shells and clay to create their very own flower vase.
In this tutorial, we will show you how to make a beautiful flower vase using waste egg shells and clay. This is a step-by-step tutorial, so you can make flower vases from waste egg shells & clay without any difficulty. Not only is this project a great way to get your children involved in recycling, but it also allows them to explore their artistic side. So gather up those old egg shells and let’s get started on this fun and eco-friendly craft!
Fantastic Flower Vase Using Waste Egg Shell & Clay Tutorial
Must Read: Clay Flower Vase Model Craft Tutorial For Kids
Supplies & Tools
- Egg Shell
- White Construction Paper
- Scissors
- Clay (Red, Yellow)
- Blue Acrylic Paint
- Pink Drawing Sheet
- Black Marker
- Pencil
- Glue
- Paintbrush
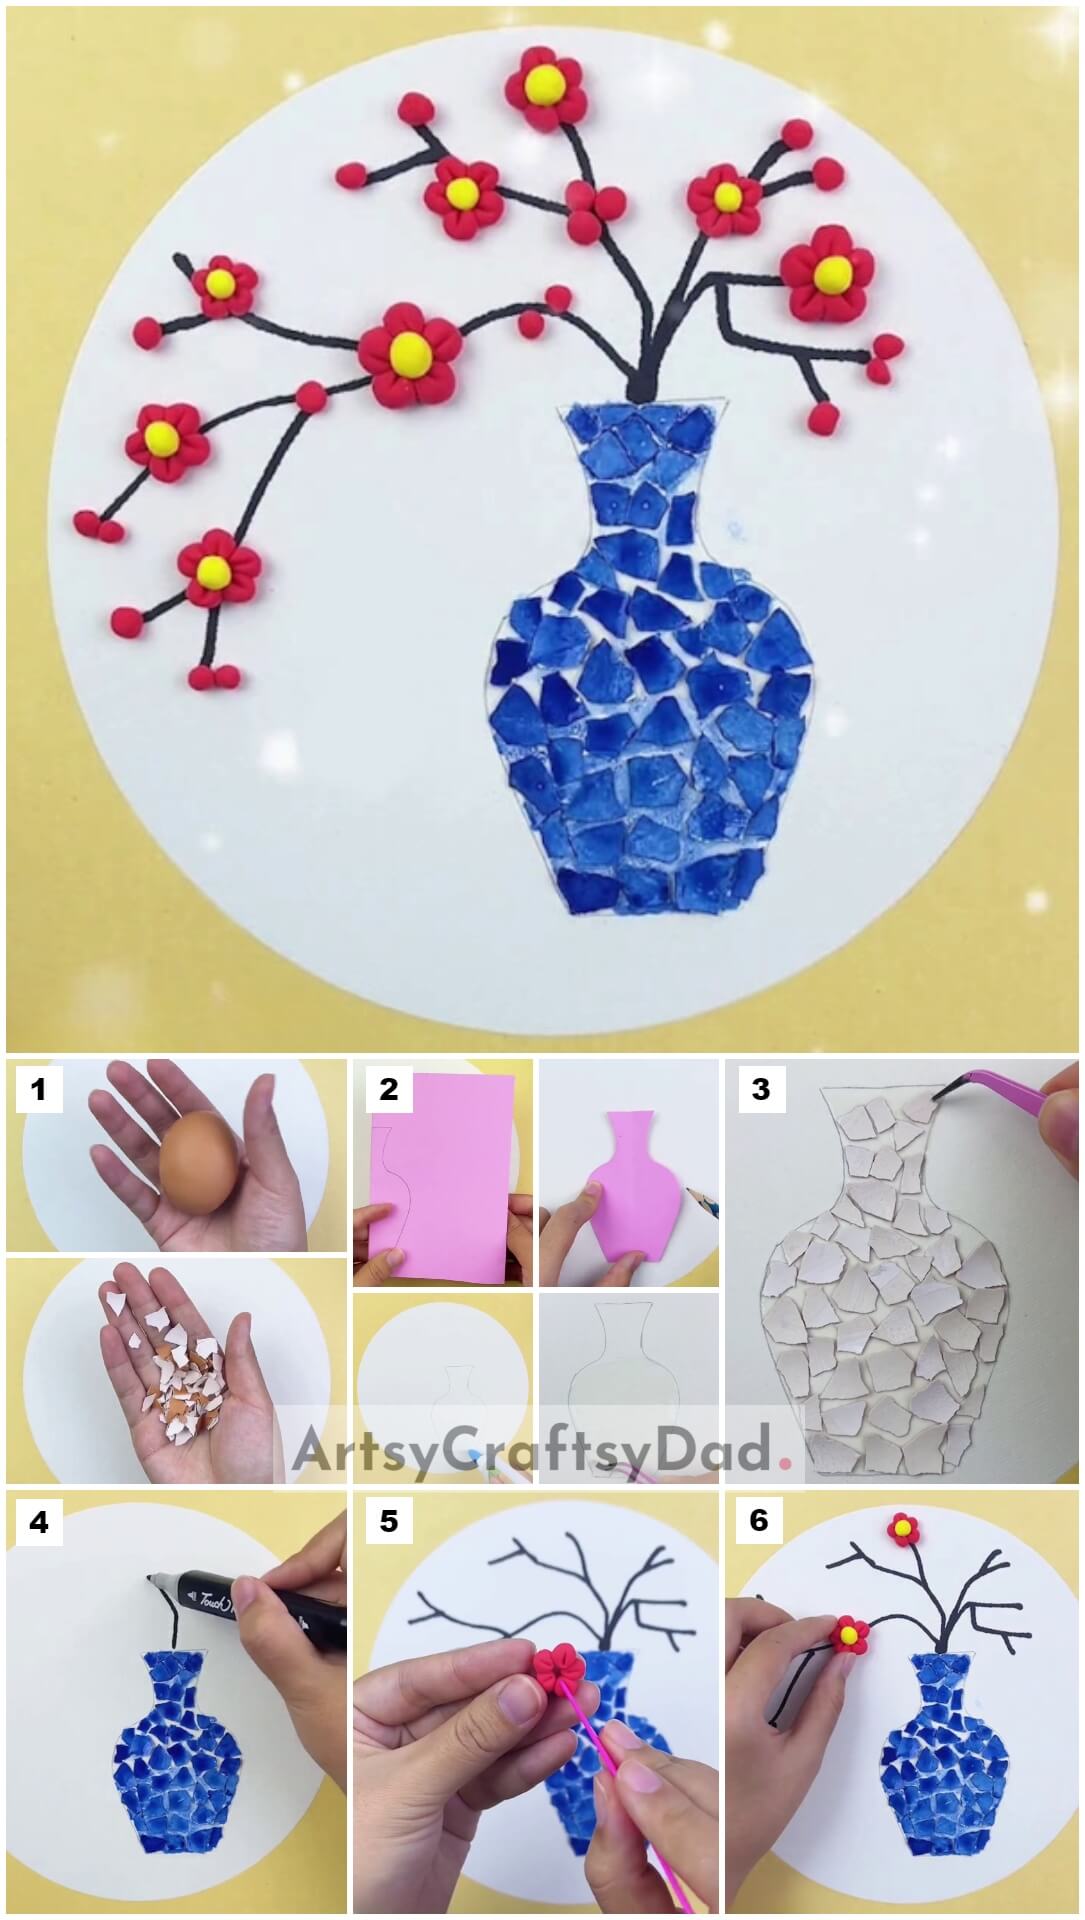
Egg Shell Flower Vase Instructions
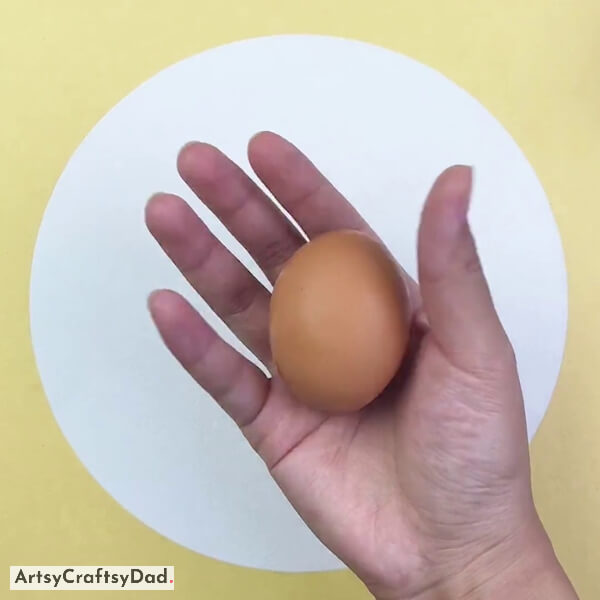
Step #1: Taking An Empty Eggshell
Take a white construction paper, draw a large circle on it, and carefully cut it out with scissors & serves this as the base for our craft.
Firstly, take a waste and empty eggshell.
Step #2: Break The Eggshell Into Small Pieces

Now, break the eggshell into small pieces.
Step #3: Take A New Colored Drawing Sheet
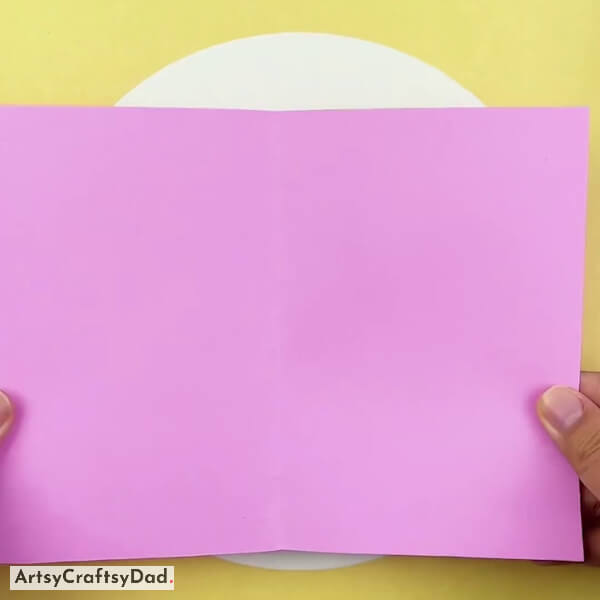
After that, take a fresh pink color drawing paper & cut it into a rectangle shape.
Step #4: Drawing Flower Vase On Paper
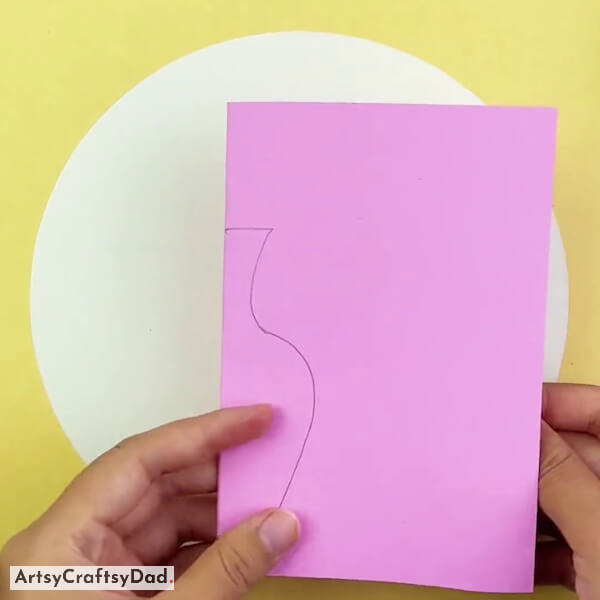
Now, fold the pink paper in half & use a pencil to draw a flower vase on the folded paper.
Step #5: Cutting Outline Of Flower Vase
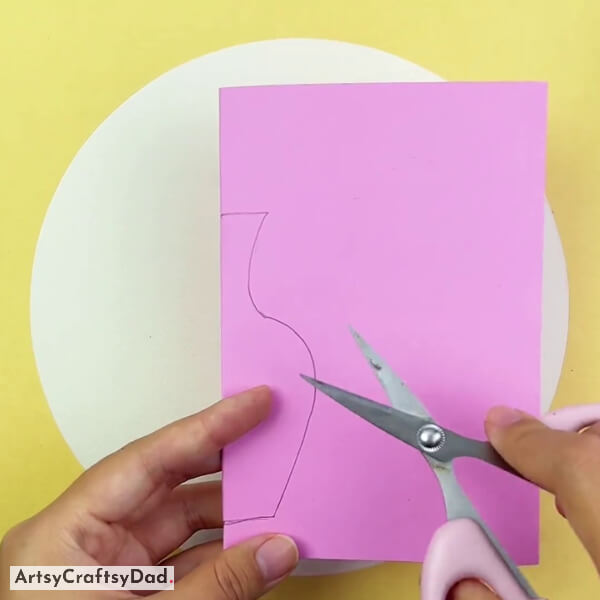
Then, cut out the flower vase outline with the help of scissors.
Step #6: Taking Cut Out Of Flower Vase

Place the cut-out flower vase on the base sheet.
Step #7: Tracing The Outline Of The Cut Flower Vase
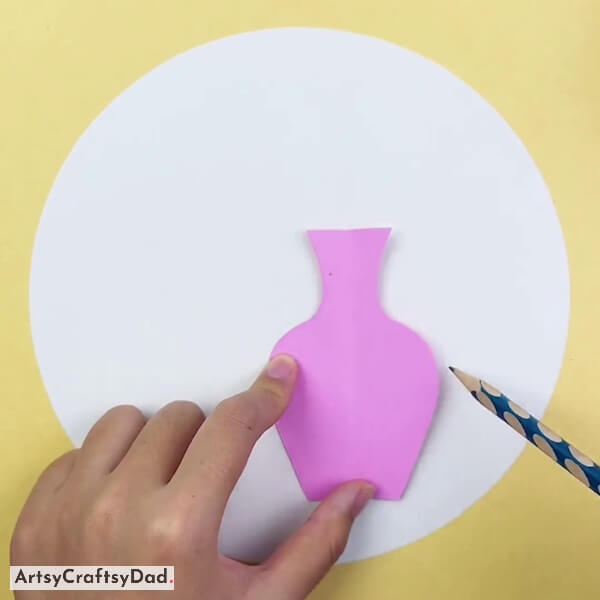
With the help of a pencil, outline the flower vase on the base sheet.
Step #8: Applying Glue On Drawing
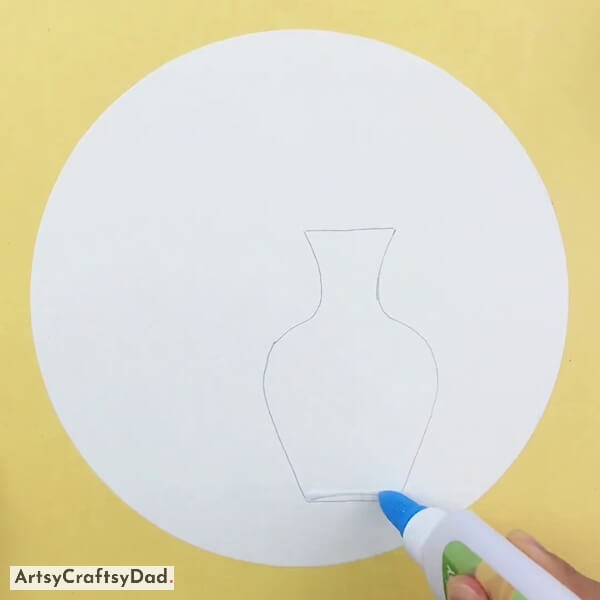
After that, apply glue inside the drawn vase.
Step #9: Pasting Egg Pieces
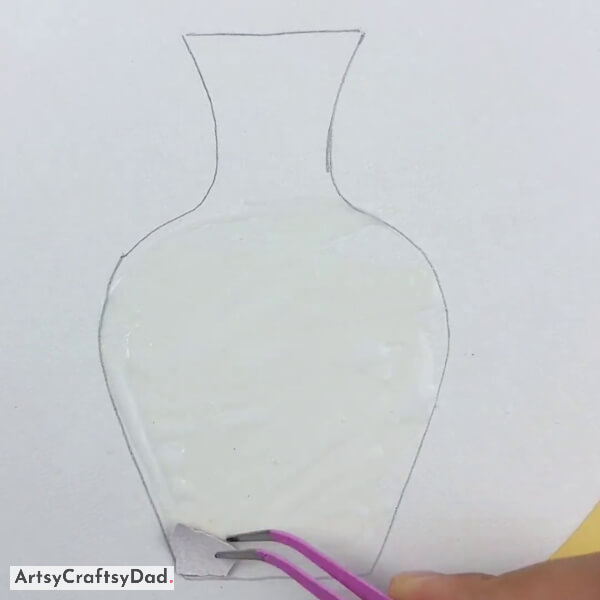
Now, carefully pick up the small pieces of eggshell and paste them inside the vase on the glue.
Step #10: Pasting More Egg Pieces
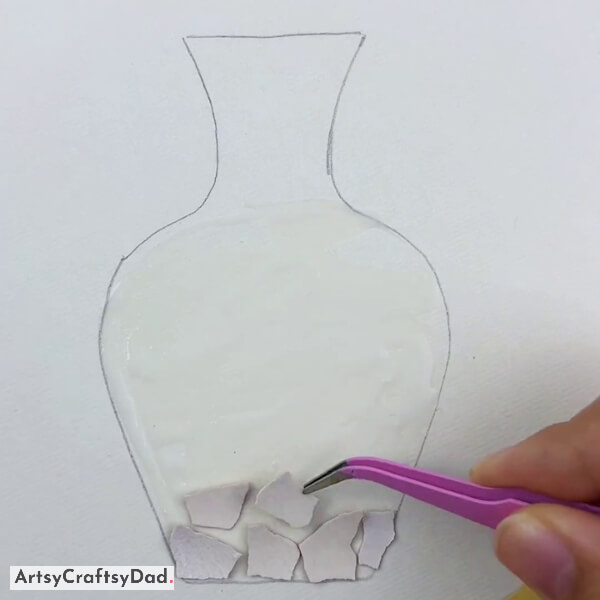
Take more egg pieces and paste them inside the vase as shown in the above image.
Step #11: Filling All The Empty Space With Egg Pieces
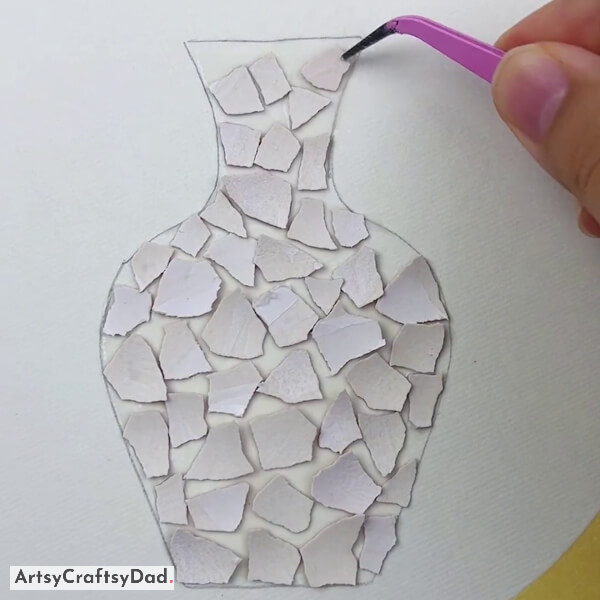
Paste egg pieces on the remaining part of the vase.
Step #12: Coloring The Egg Pieces
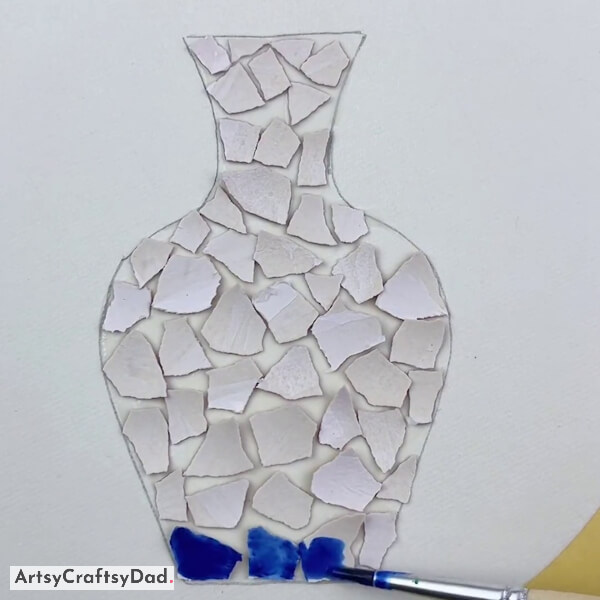
After that, take a paintbrush and blue acrylic paint, and dip the paintbrush in it & apply it to all the egg pieces.
Step #13: Drawing Branches
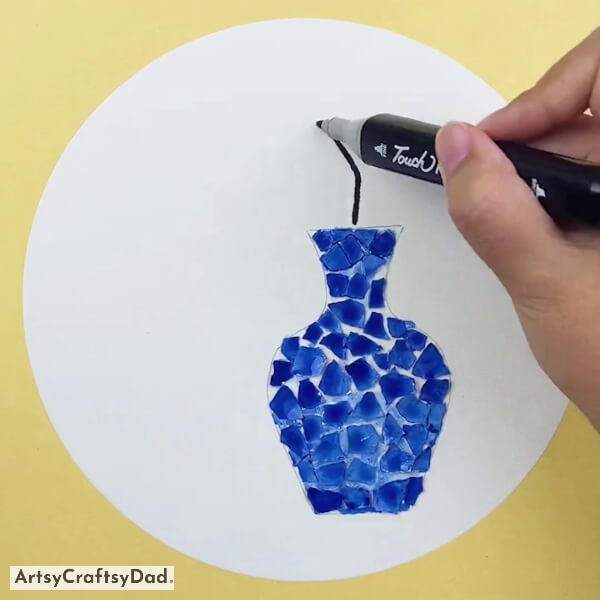
After coloring, take a black marker and start drawing flower branches.
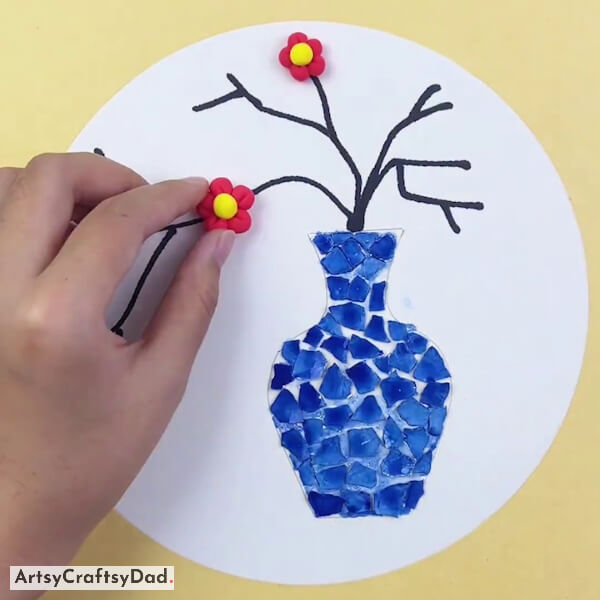
Step #14: Making Flower With Red Clay Balls
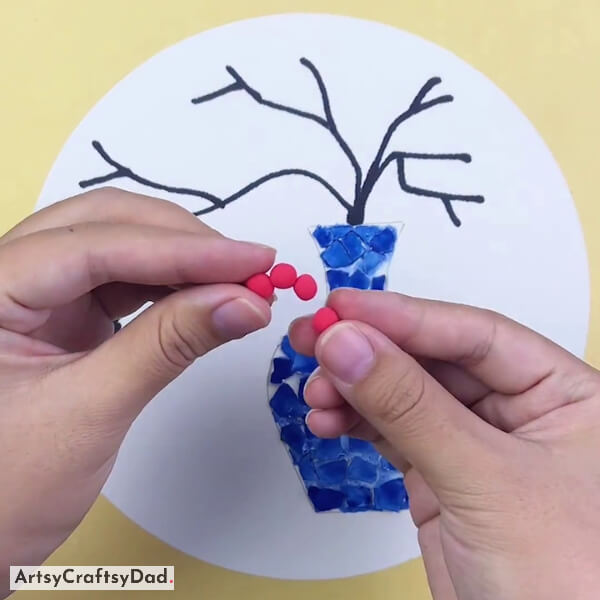
Now, continue the process & draw flower all branches as shown in the above image. Now, take red clay, make some small balls, and use these clay balls to create flowers by joining them together.
Step #15: Working On Flower
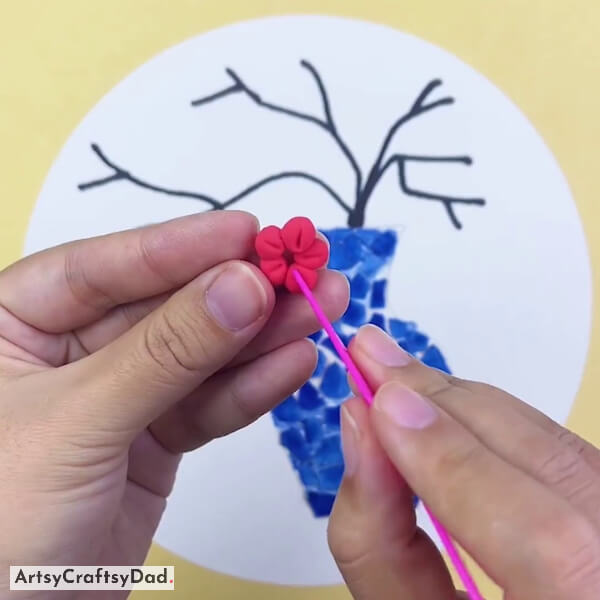
After making the complete flower, give the finishing touch to the flower.
Step #16: Pasting Center Part Of Flower
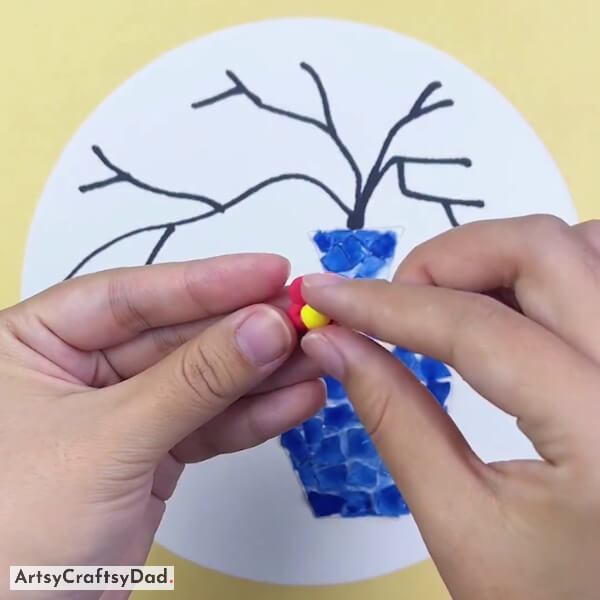
Take yellow color clay & make a ball & paste it at the center of the flower, representing the central part (pistil) of the flower.
Step #17: Pasting Flower
After making the flower, paste it on the tree branch.
Step #18: Pasting More Flowers
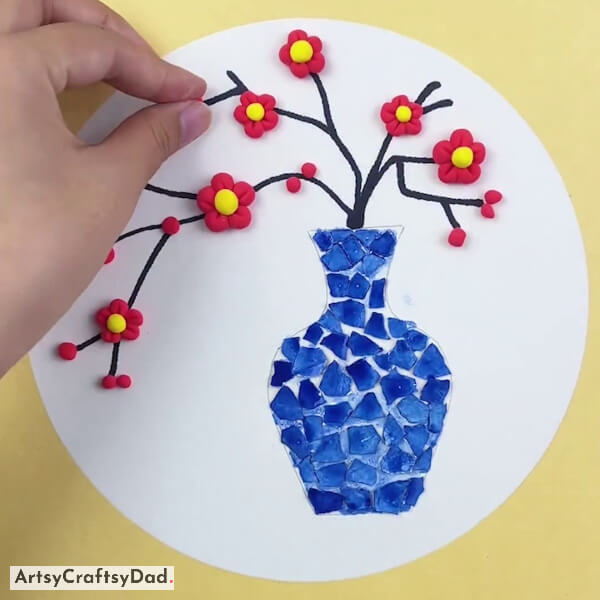
Repeat the process & paste more flowers. Now, make some little balls from red clay as a bud & paste it on the braches as shown in the image.
Step #19: Pasting Small Clay Balls On Branches
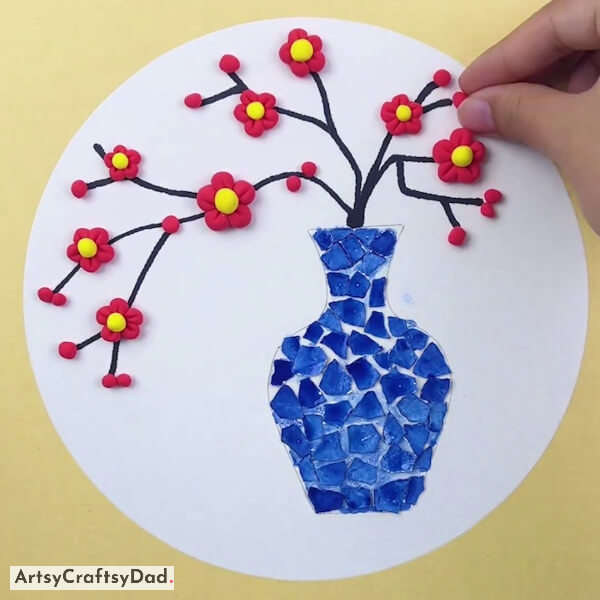
Follow the same process & paste some more little red balls on branches to represent the newly growing flowers.
Our Waste Egg Shell And Clay Flower Vase Are Ready!
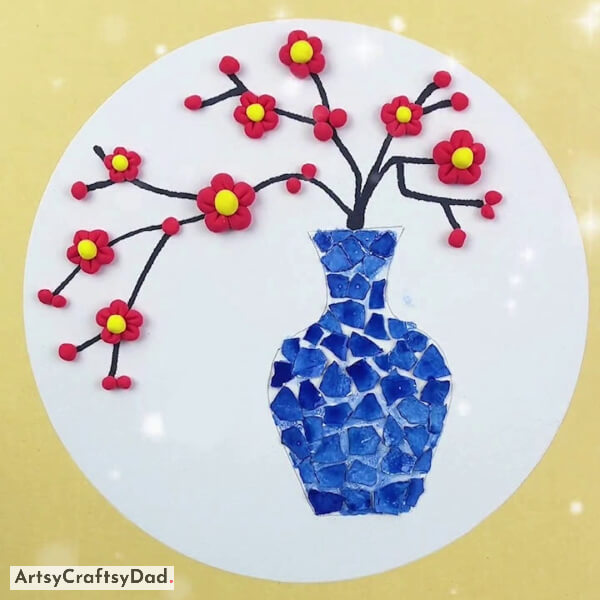
Our colorful clay flower vase is ready.
I hope you have enjoyed the process of making an adorable flower vase. The waste eggshell and clay flower vase tutorial for kids is not only a fun and creative activity, but also a great way to teach children the importance of recycling and reusing materials. By repurposing discarded eggshells and using clay, children can create unique and eco-friendly flower vases that can bring joy and beauty to any space. This tutorial not only encourages artistic expression but also instills valuable lessons about sustainability and the need to protect our environment. Don’t forget to drop your comment in the comment section.
Thanks for visiting us! Have a nice day!
You Might Also Like This
- Beautiful Clay Flower Vase Craft Tutorial For Beginners
- How to make a mini flower vase from waste CDs
- How to Make the Best Out of Waste Flower Vase
- Unique Cardboard Flower Vase Craft Tutorial For Kids
- Clay Flower Pot Model Craft Tutorial For Kids


