Learn how to create a stunning 3D paper cherry craft with our easy-to-follow tutorial. Perfect for beginners, this DIY project will add a touch of creativity to any space. Get step-by-step instructions and handy tips to make your cherry craft truly stand out. Start your crafting journey today!
Are you looking for a DIY 3d paper craft? This craft is not only easy to make but also a great way to add a touch of charm to any space. Whether you want to decorate your home, create a handmade gift, or simply enjoy some crafting time, this tutorial will guide you through the step-by-step process of creating your very own 3D paper cherries. So grab your scissors, paper, and glue, and let’s get started making this beautiful cherry paper craft.
Easy 3D Paper Cherry Craft Tutorial For Kids
Must Read: Sunflower Paper Tearing Craft Tutorial For Beginners
Supplies & Tools
- Colored Craft Paper (Red, Green)
- Scissors
- Black Marker
- White Construction Paper
3D Cherry Craft Procedure
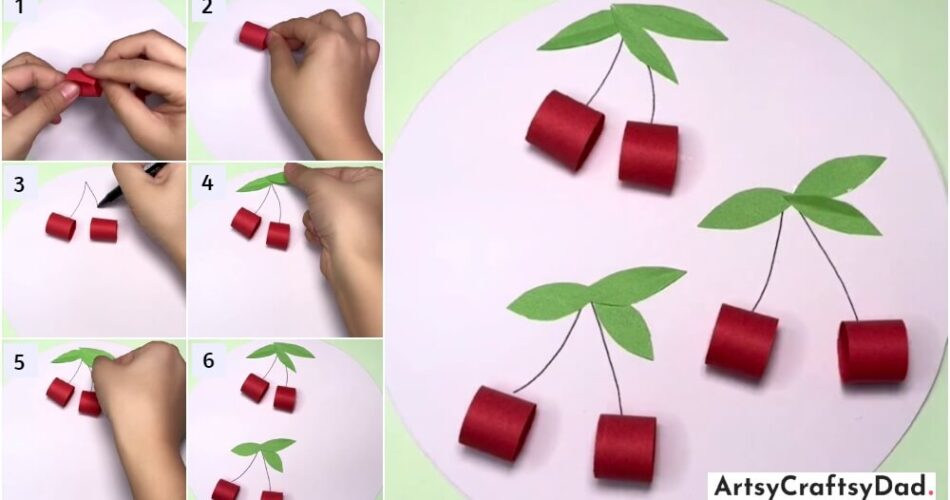
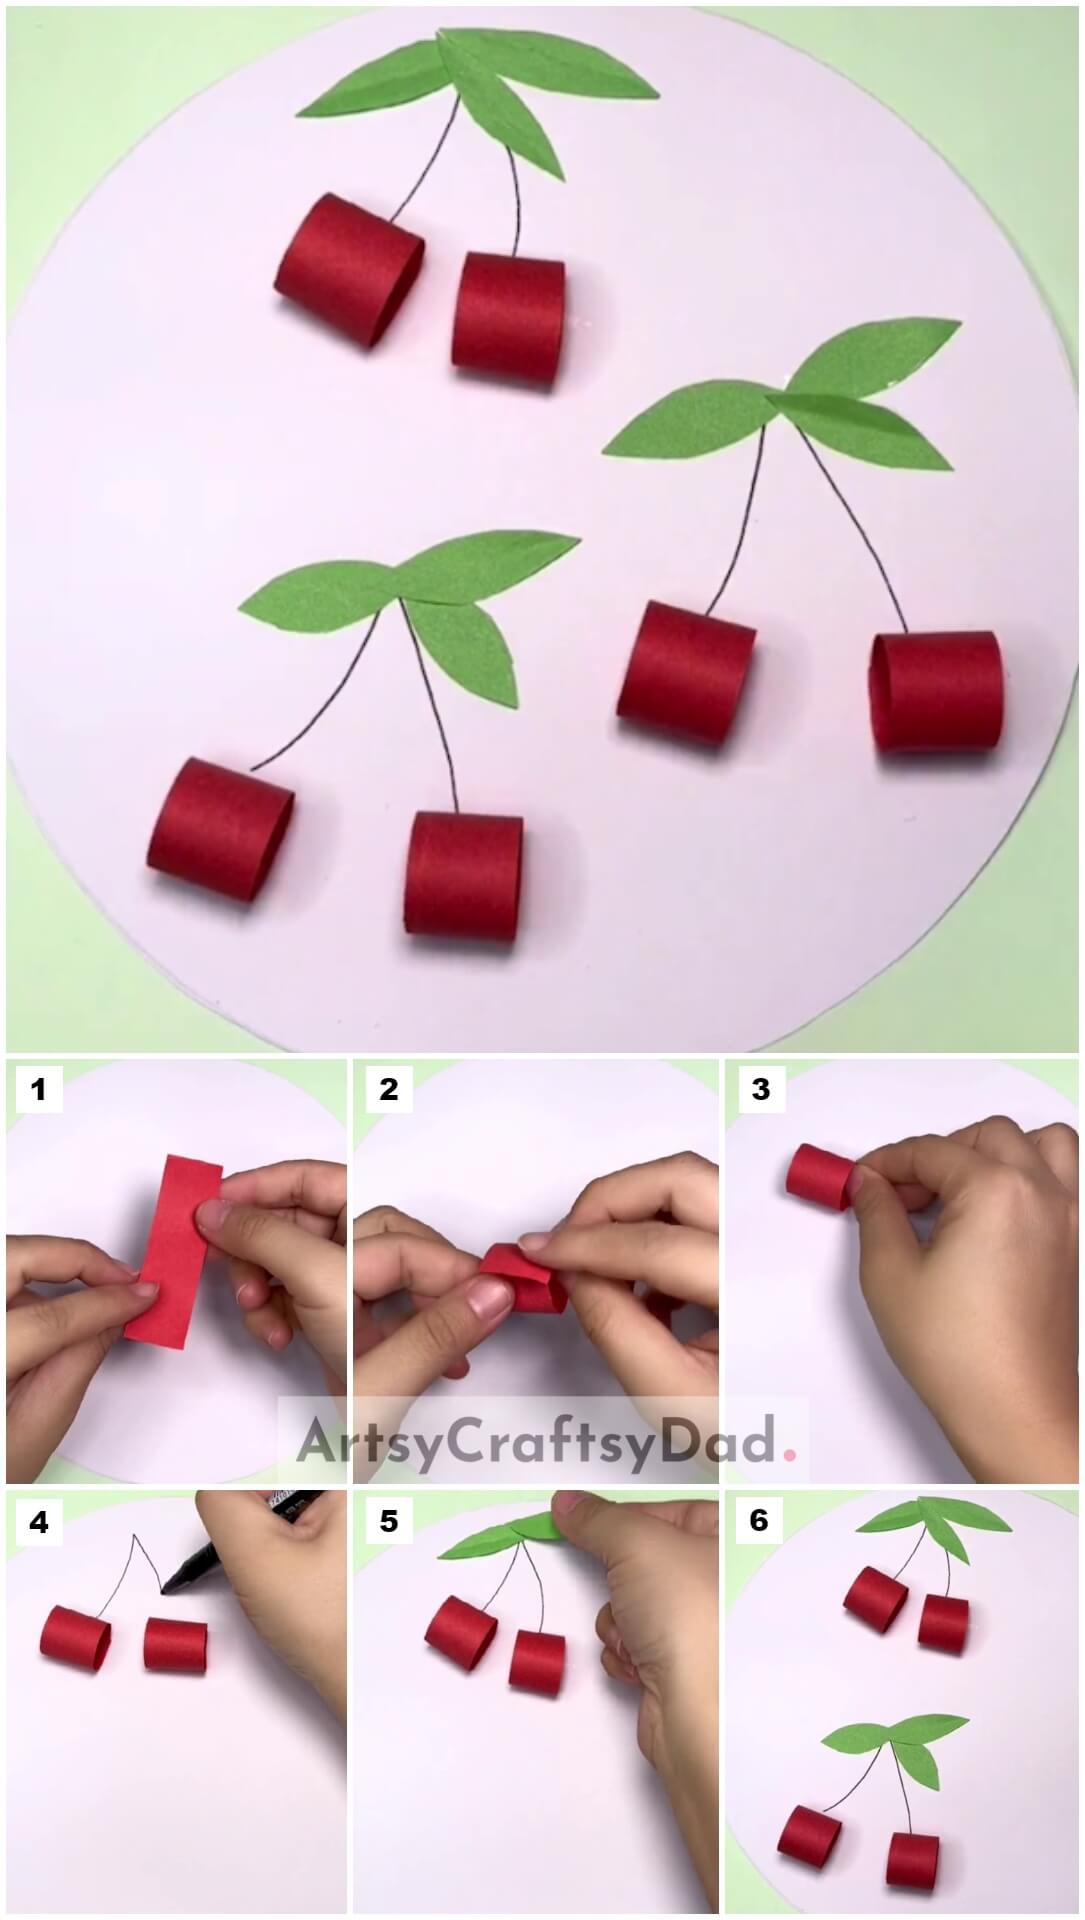
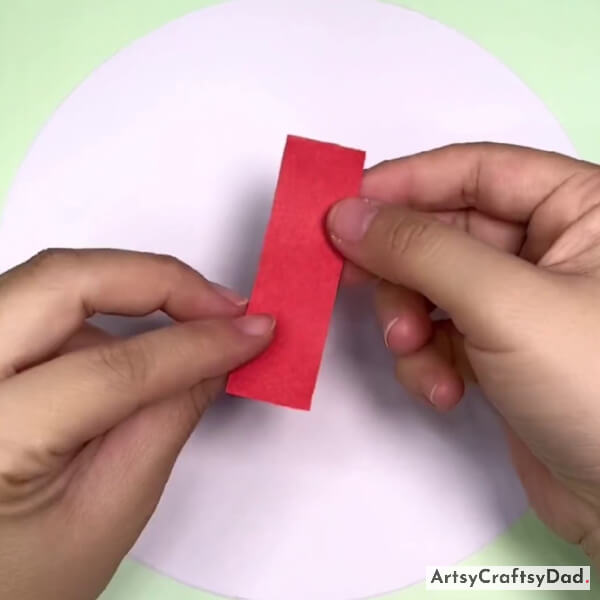
Step #1: Working With Paper Strip
Take a white construction paper & draw a large circle on it, and carefully cut it out with scissors & serve it as the base for our craft.
Take a piece of red-colored craft paper & cut it out into a rectangle shape with scissors.
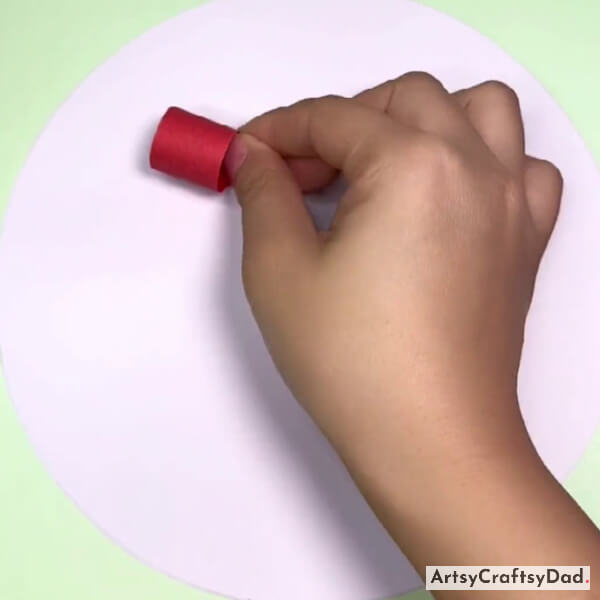
Step #2: Making Cherry With Paper Strip
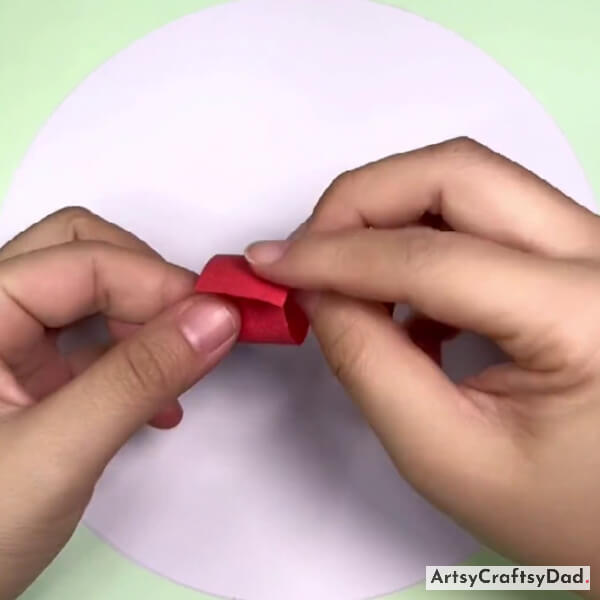
Roundly fold the strip, by joining both ends together to give it a cherry-like shape.
Step #3: Pasting Cherry
After folding, paste the cherry on the top left of the craft base.
Step #4: Pasting More Cherry
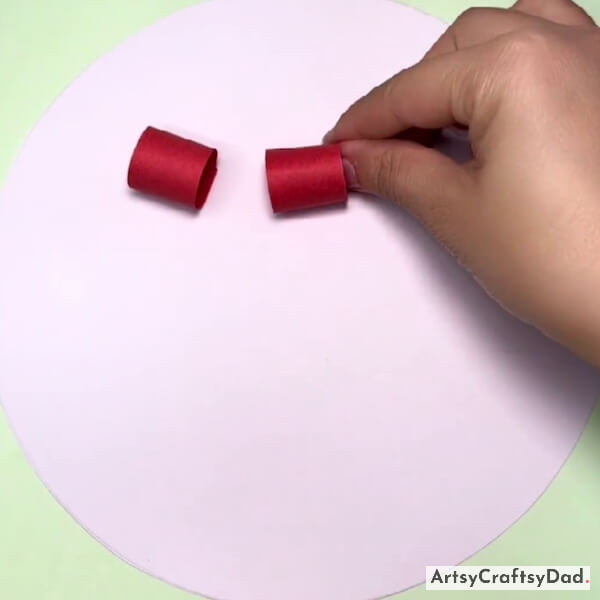
Now, using the same process, create another cherry and paste it near the first one to form a pair of cherries.
Step #5: Drawing Stem Of Cherries
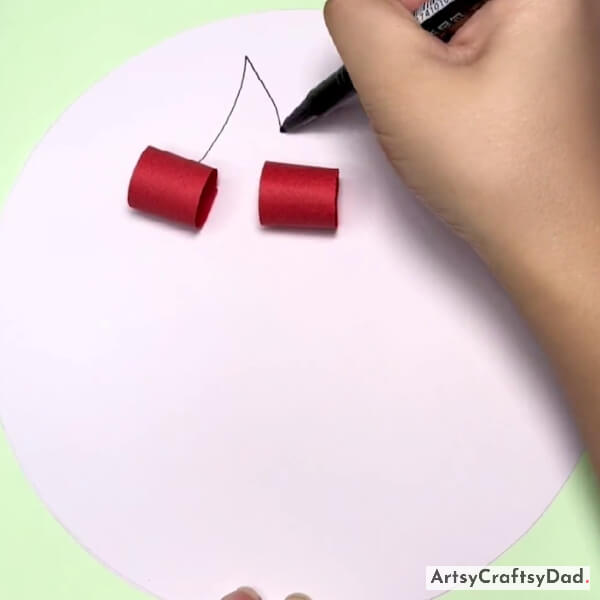
After pasting, take a black color marker or pen and draw the cherry stem.
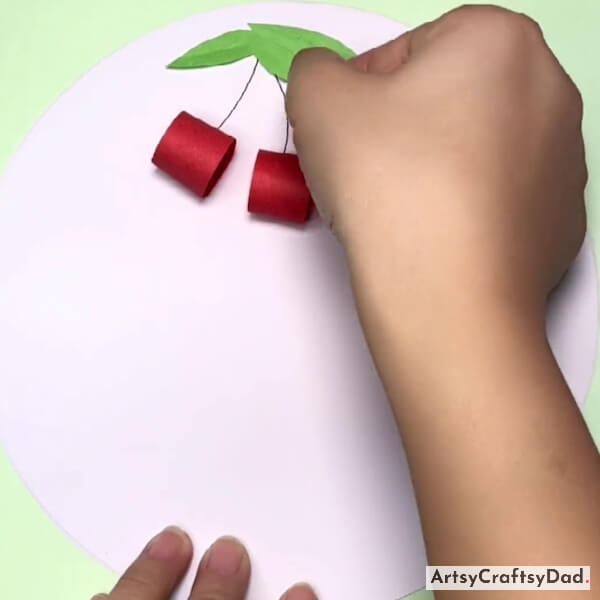
Step #6: Pasting Leaf
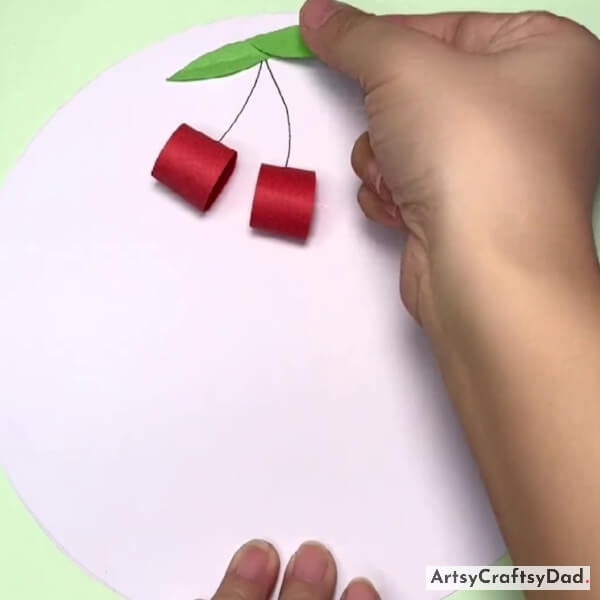
Now, take a green paper craft & cut it out into the leaves shape, and paste them on top of the cherry stems.
Step #7: Pasting More Leaves
Create more leaves and paste them on the stem.
Step #8: Making More Cherries
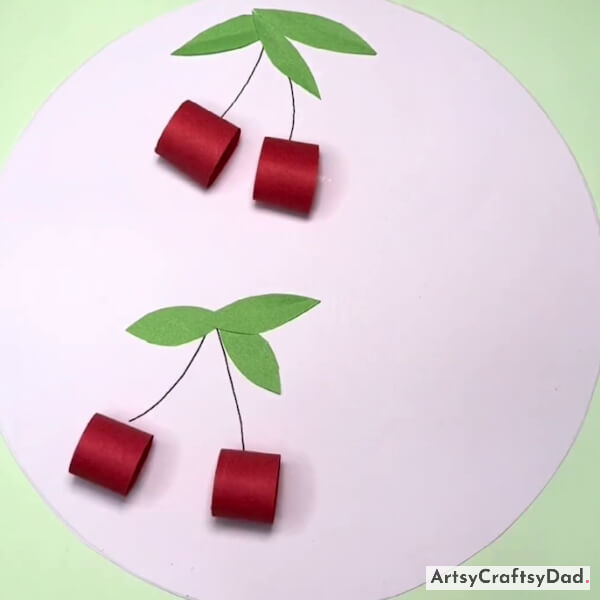
Repeat the same process as above, make more cherries, and paste them below the first one.
Our 3D Paper Cherry Craft Is Completed!
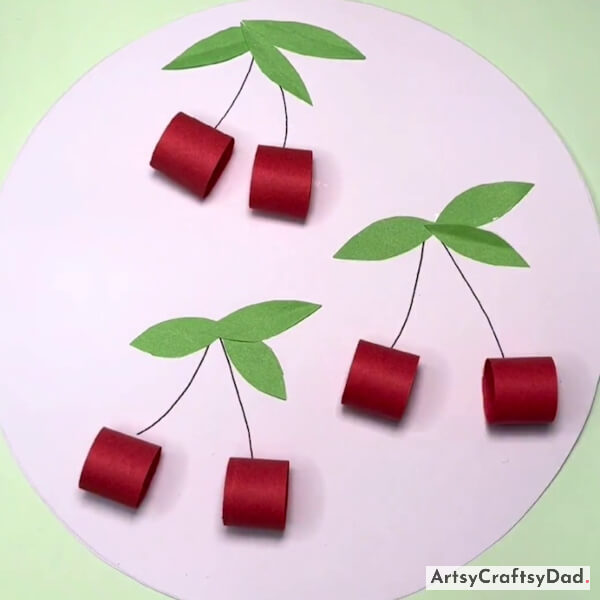
Here is the complete look of our cherry craft.
This diy 3d paper cherry craft tutorial is completed. Whether for personal enjoyment or as a gift for a loved one, this tutorial provides an opportunity to explore creativity and develop new skills. You could decorate your home with this beautiful craft. Please share your feedback in the comment section. If you want to decorate this craft then you could use different colors to decorate it this will make it more attractive & unique. Keep creating & trying new things in your life my little friends.
Thanks for visiting our website!
You Might Also Like this
- Paper Cup And Clay Crowns Craft Tutorial For Beginners
- Paper Origami Chinese Fan Craft Tutorial For Beginners
- Heart-Shaped Honey Bee Paper Craft Tutorial For Beginners
- White Cherry Blossom Flower Vase Art Craft Tutorial
- Winter Cherry Blossom Artwork Craft Tutorial


