Explore a paper bed and pillow origami step-by-step tutorial for kids. This tutorial awaits you to create a bed and pillow origami craft.
Creative Origami Paper Bed & Pillow Craft Tutorial For Kids
Supplies & Tool
- Printed Origami Sheets
- Plain Origami Sheets
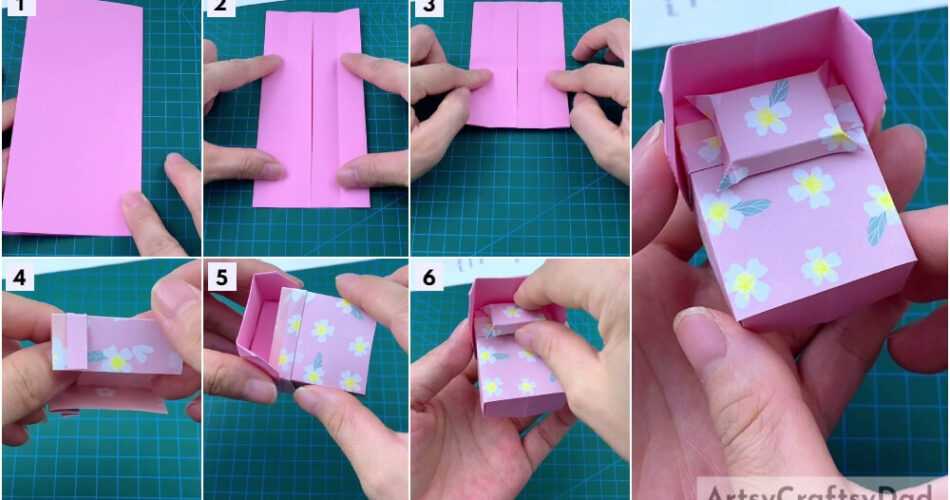
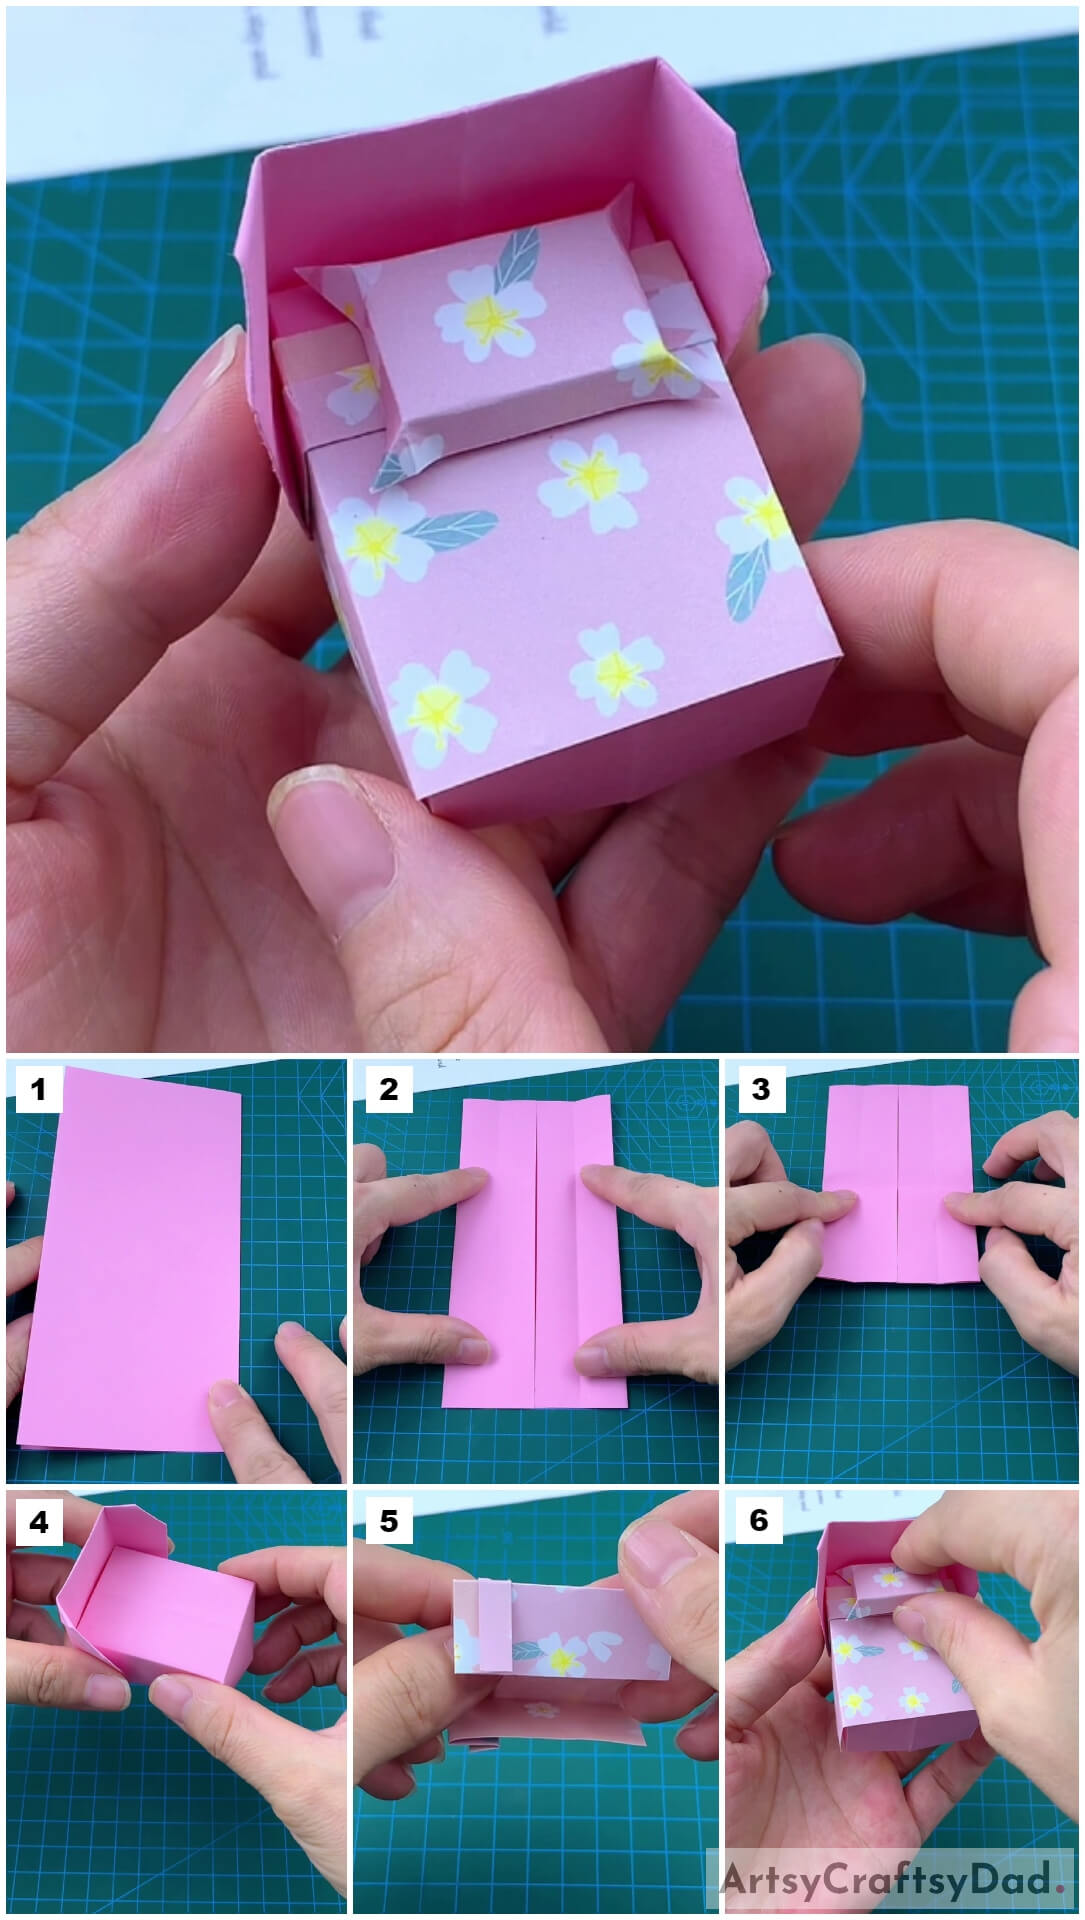
Origami Bed & Pillow Instructions
Step #1: Folding The Origami Sheet
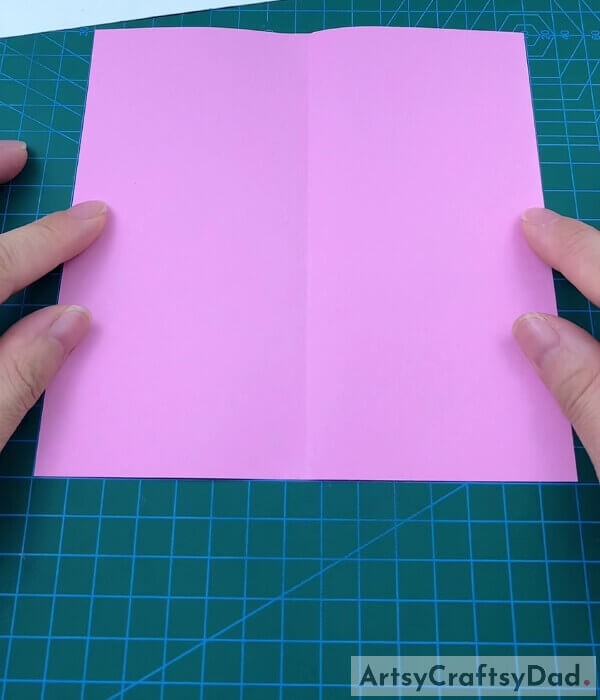
Take a plain origami sheet and fold it in half.
Step #2: Securing the Fold
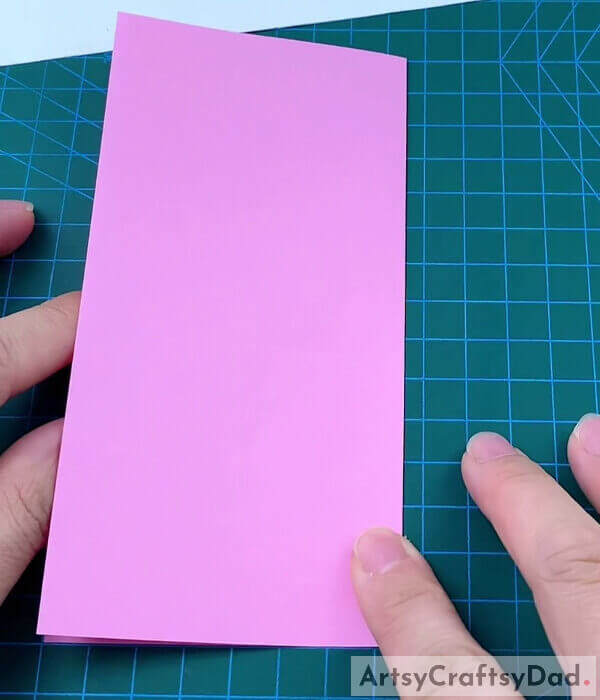
Press the fold firmly to form a crease.
Step #3: Folding up to the Crease
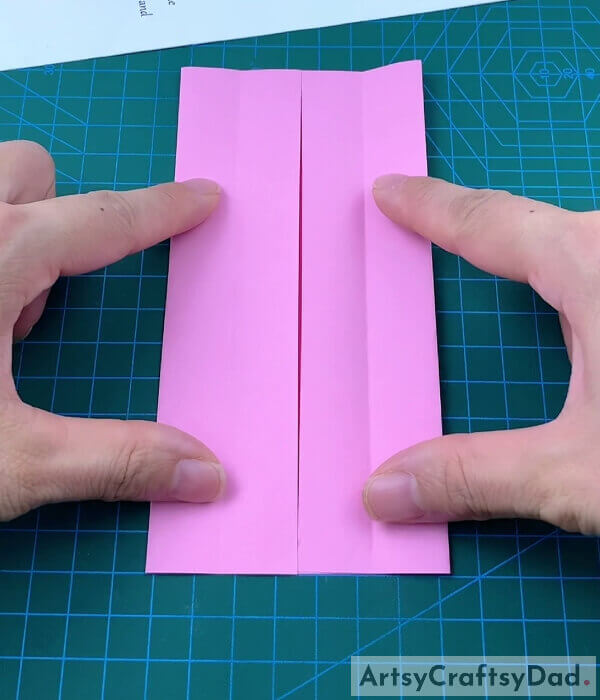
After the crease of the previous fold has formed, open the origami sheet and fold it both end up to the crease as shown in the picture. Make sure the folds are secured.
Step #4: Folding the Ends Twice
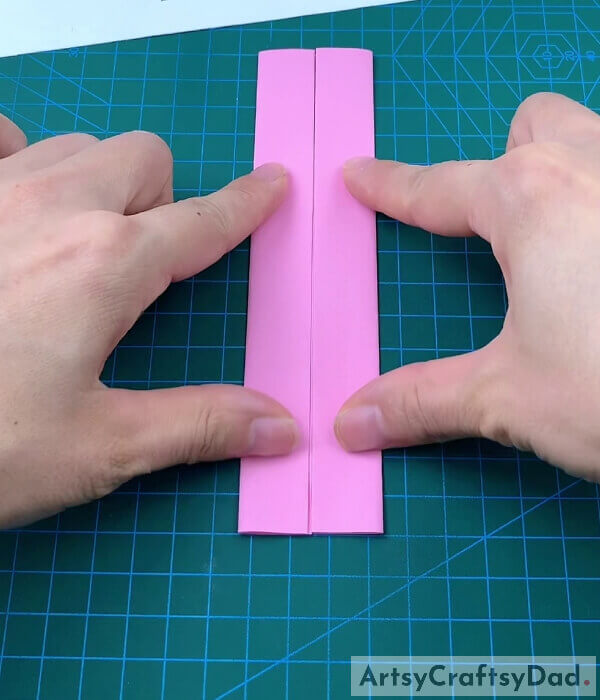
Now, there are two halves of the origami sheet, fold the ends of the origami sheet up to the quarters of the origami sheet. Fold the ends again up to the first crease. Look at the given picture for the reference.
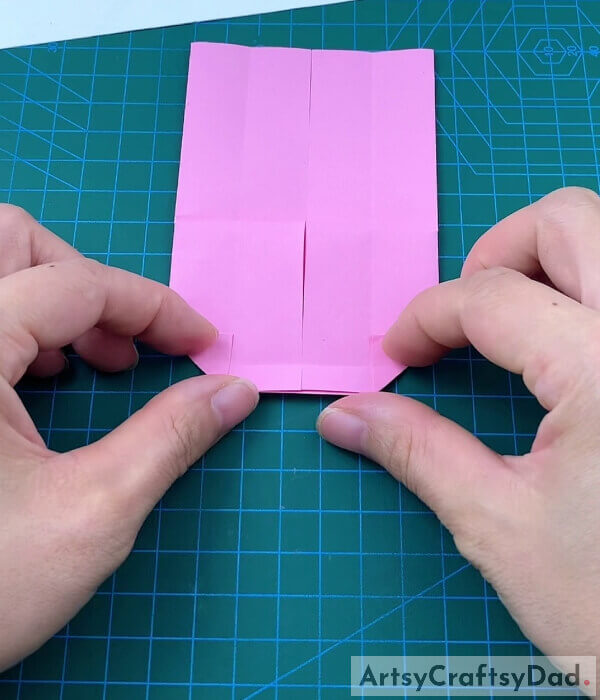
Step #5: Unfolding and Fold Horizontally
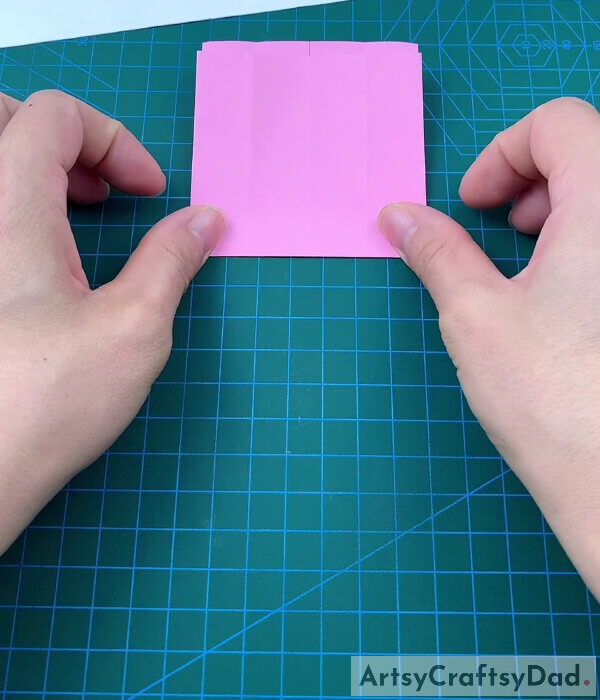
Now, unfold the previous two folds from both sides so that two creases are formed dividing the folded sheet into 4 equal vertical sections. Then, fold the sheet horizontally in half.
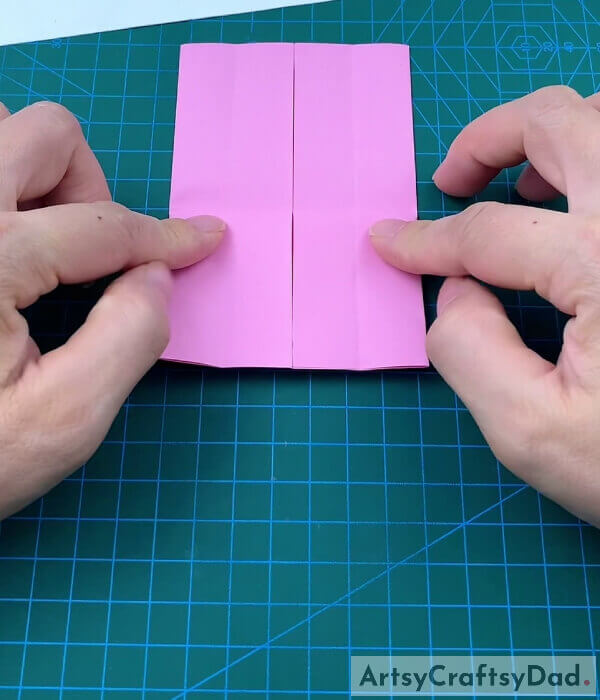
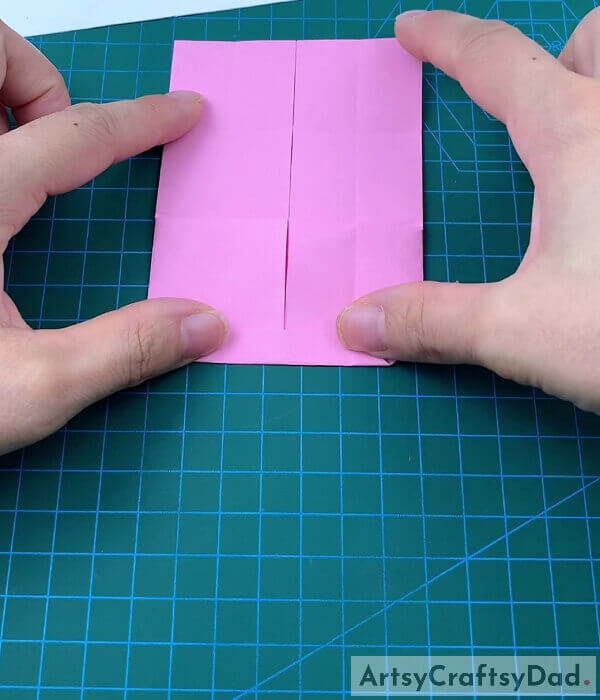
Step #6: From Another Crease and Fold

Fold the bottom edge of the origami up to 2 cm and unfold it so that a crease is formed. Now, fold two bottom corners up to the formed crease.
Step #7: Unfolding the Horizontal Fold
Now, unfold the horizontal fold along with the corner folds.
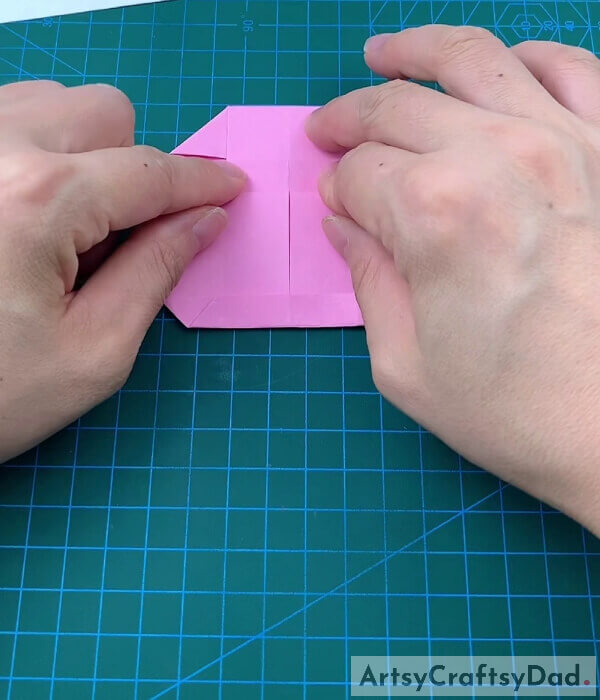
Step #8: Folding the Corners
Fold both the corners at the bottom and further fold the bottom line up to 1 cm.
Step #9: Securing the Fold
Now, secure the fold by firmly pressing the folds.
Step #10: Folding From the Top
Now, from the top, fold the two corners.
Step #11: Securing the Fold
Secure the fold by firmly pressing it.
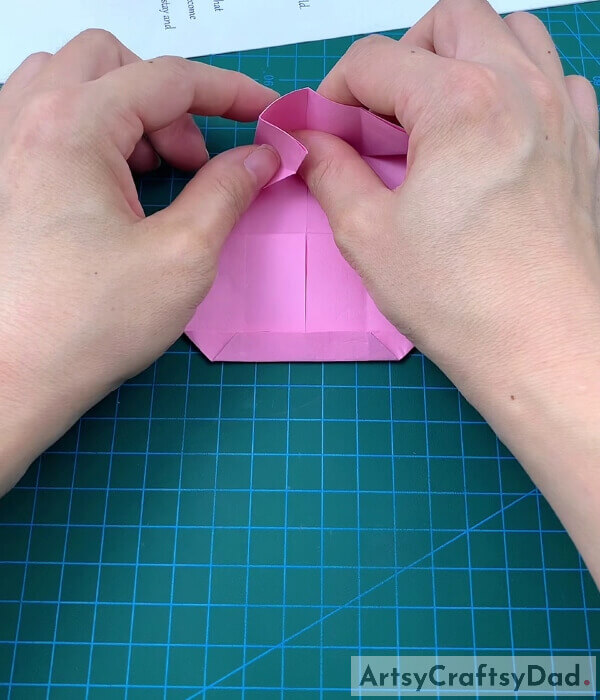
Step #12: Folding the Top Edge
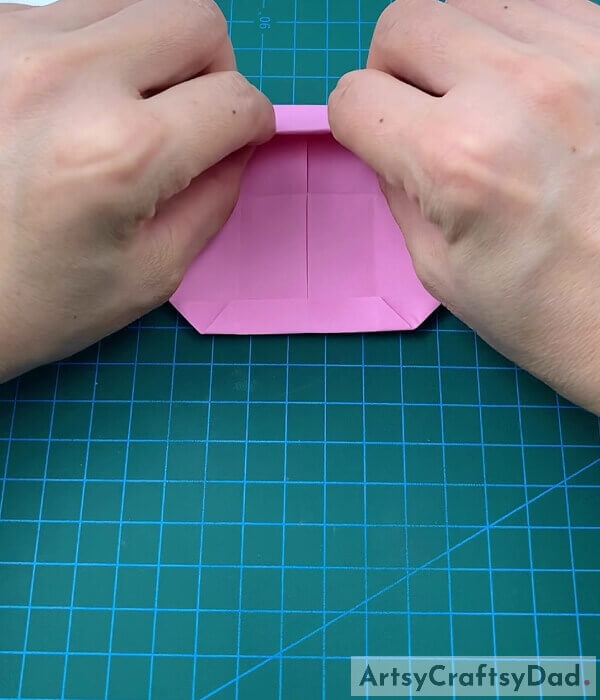
Fold the top edge and lift it to give it the shape of the bed.
Step #13: Shaping Other Sides Too
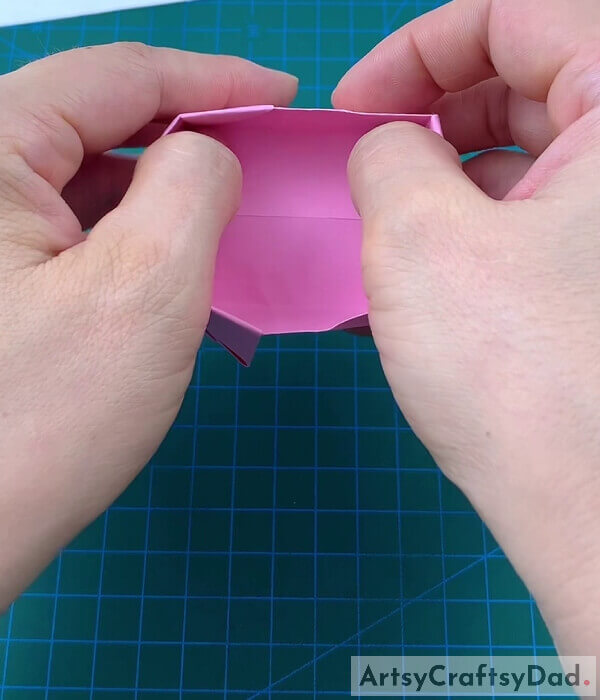
Fold and lift other edges too to give it the shape of the bed.
Step #14: Attaching the Headboard
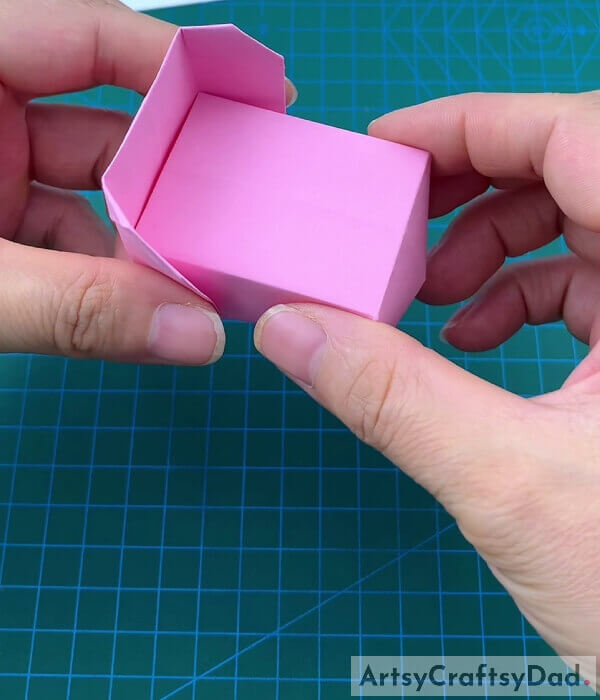
Attach the headboard of the bed with the rest of the bed.
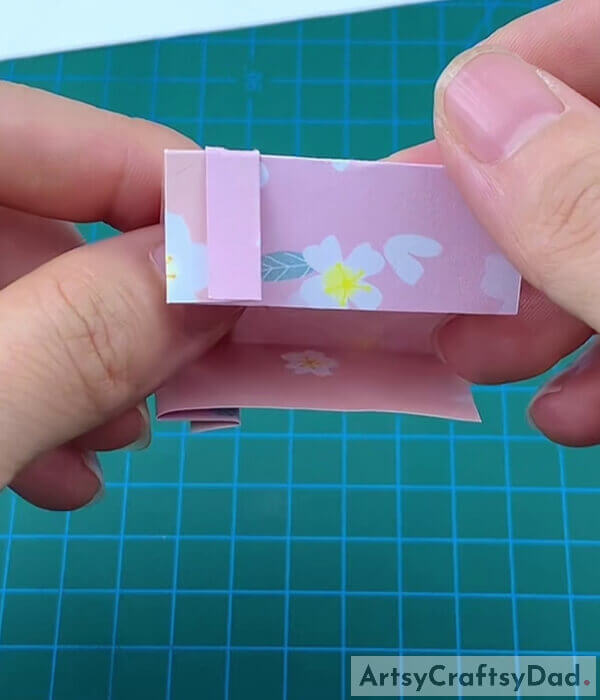
Step #15: Making a Bedsheet
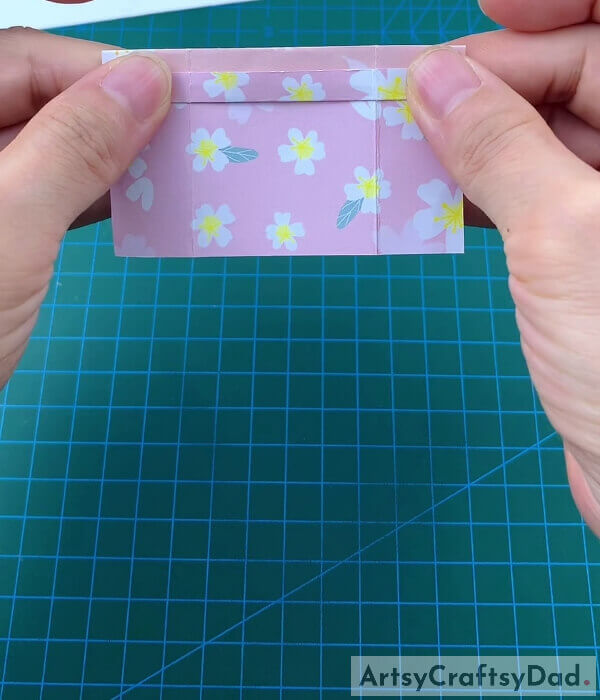
Take a printed rectangular origami sheet. Hold it from its horizontal side and fold it from the right up to 3 cm. The crease is formed, now fold the vertical side inward and then fold the flap upwards. Look at the picture for the reference.
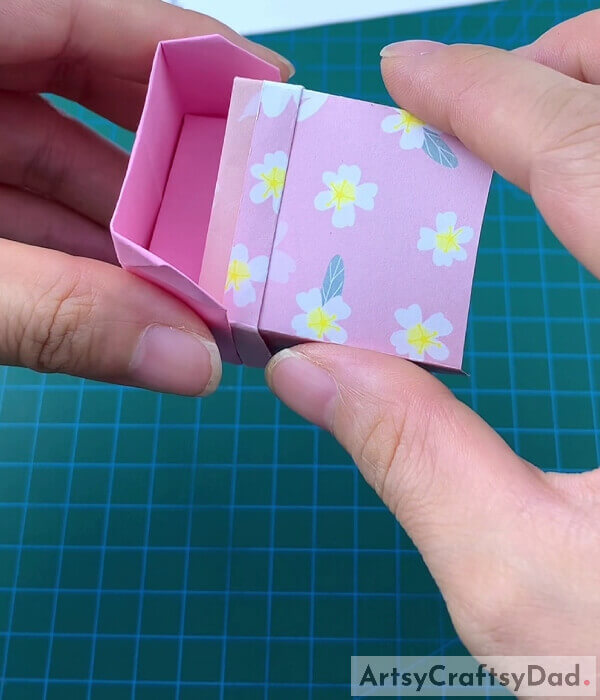
Step #16: Folding from Horizontal Sides
Now, fold it from both the horizontal sides up to 3 cm. This would be the bedsheet.
Step #17: Putting It On The Bed
Put the bedsheet on the bed.
Step #18: Making a Pillow
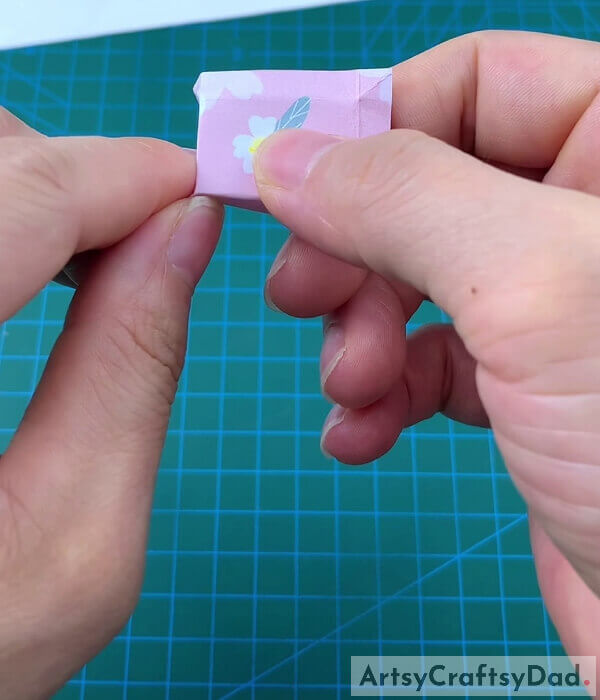
Take a printed origami sheet and fold its edges properly.
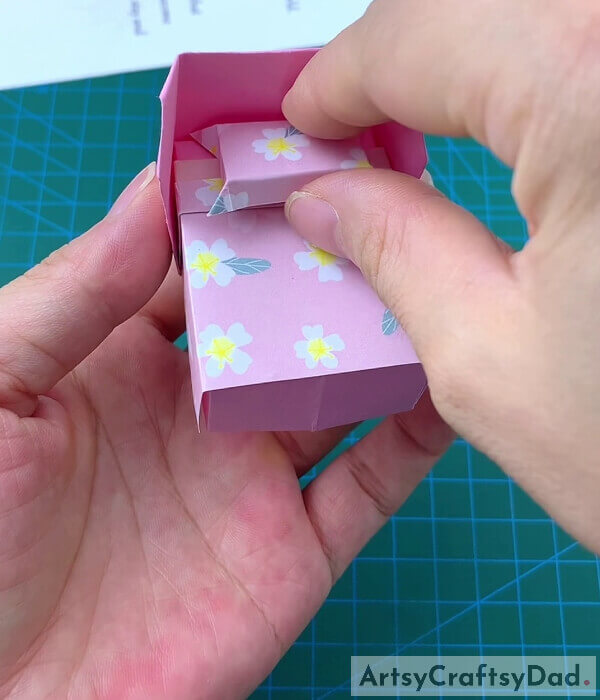
Step #19: Pressing the Corners
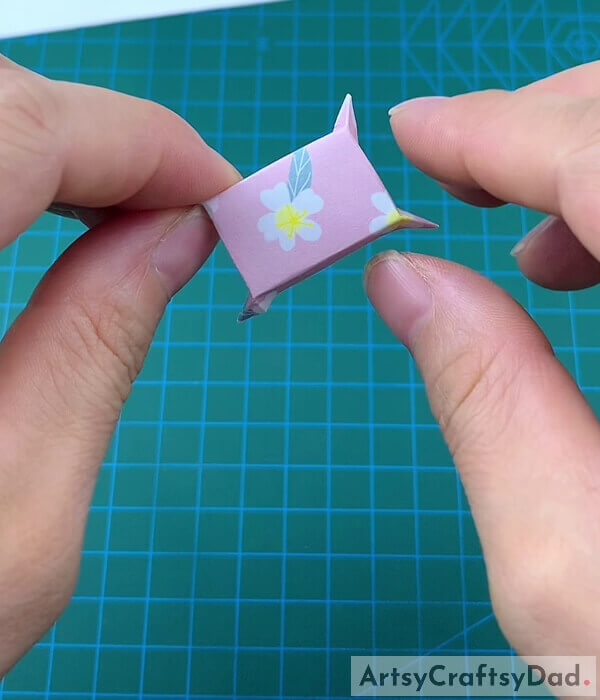
Press the Corners of the pillow firmly so that it doesn’t open up.
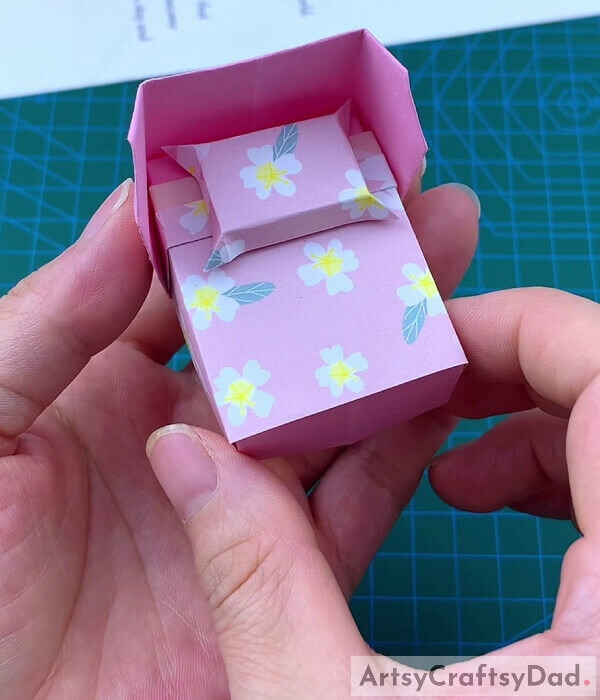
Step #20: Assembling All the Elements
Assemble the bed, the pillow, and the bedsheet.
Finally! Paper Bed And Pillow Origami Step-by-step Tutorial – For Kids
And your craft is ready! A paper bed and pillow origami craft by using origami sheets for kids to make. The origami sheets used here have printed patterns on them which look eye-pleasing. Children would have enjoyed it. Adults can also do this activity to have some fun. Kids can make other objects too by using the printed origami sheets. Anyone irrespective of their age can be engaged in this activity. Overall, it was a fun and exciting activity to be done.
Hope you like this paper bed and pillow origami craft step-by-step tutorial. Do share your comments and let us know about your experience. We hope to see you soon again!
Thanks for visiting our website.
You May Also Like
- Paper Heart Origami Craft Tutorial For Kids
- Paper Origami Chinese Fan Craft Tutorial For Beginners
- Paper Pinwheel Flower Craft Tutorial For Kids
- Colorful Hedgehog Paper Craft Tutorial For Kids
- Paper Cutting Cute Tigers Craft Tutorial For Kids


