
Learn how to create a stunning finger-paint Prickly Pear cactus masterpiece with this easy-to-follow tutorial for beginners. Discover step-by-step instructions and helpful tips to achieve realistic textures and vibrant colors.
Welcome to the Finger Print Prickly Pear Cactus Painting Tutorial for Beginners! If you’re looking for a fun and creative way to explore your artistic side, this tutorial is perfect for you. Whether you’re an experienced painter or a complete beginner, finger painting can be a great way to express your creativity and create beautiful artwork. In this tutorial, we will guide you through the process of creating a stunning prickly pear cactus painting using only your fingers and a few basic materials. So grab your paints and let’s get started creating our masterpiece.
Amazing Finger Print Prickly Pear Cactus Painting Tutorial

Must Read: Hand Impression Cactus Painting Tutorial For Beginners
Supplies & Tools
- Acrylic Paints (Red, Green)
- Black Marker Or Sketch Pen
- Earbuds
- Brown Cardboard Sheet
- White Craft Paper
Cactus Painting Instructions
Step #1: Painting Finger Tips On A Craft Paper
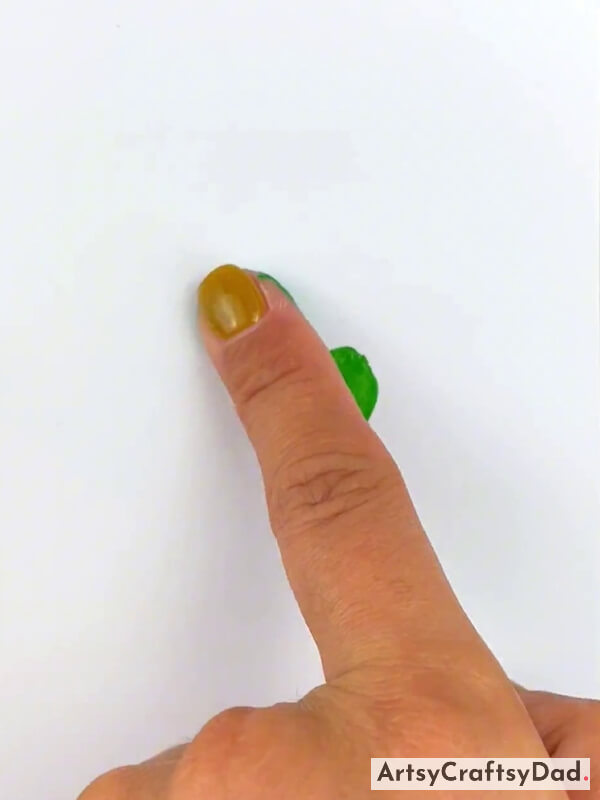
Take a white craft paper. Now, take green acrylic paint & dip your index finger in paint & press your index finger coated in paint firmly on the white craft paper to create a colorful fingerprint that shows cactus pads or cladodes.
Step #2: Making Cactus Fruits With Pink Paint
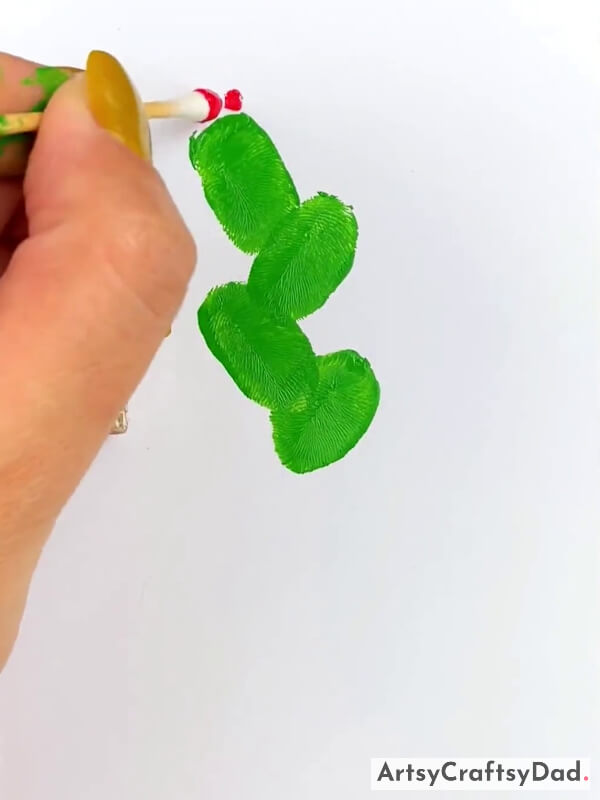
Continue to make some more cactus pads or cladodes in the same manner. Take an earbud & red acrylic paint & dip it into the paint & dap it on the top of the cactus tree in a dot shape that shows cactus flowers.
Step #3: Drawing Spines Of Cactus By Using A Black Marker
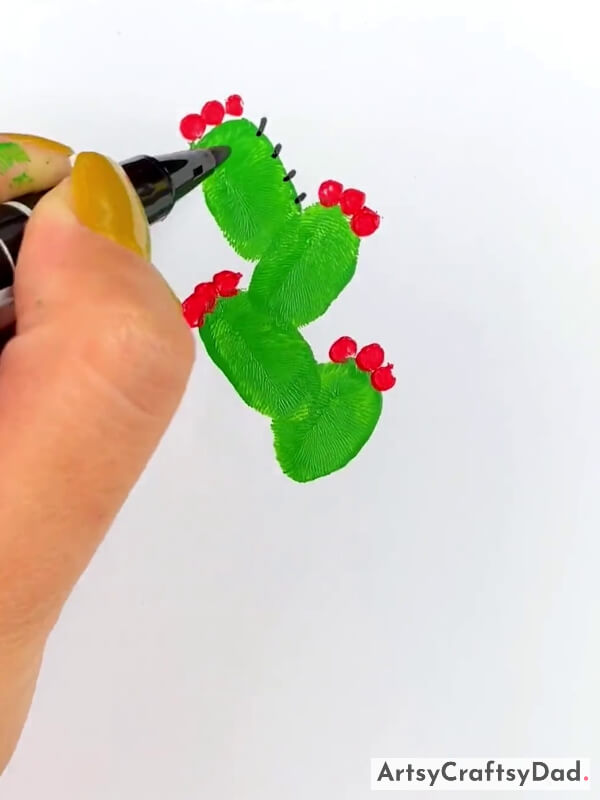
Make some more fruits on other peds in the same manner. Take a black marker or sketch pen then draw spines around the cactus pads or cladodes as shown in the above figure.
Step #4: Completing Drawing Flowers & Spines
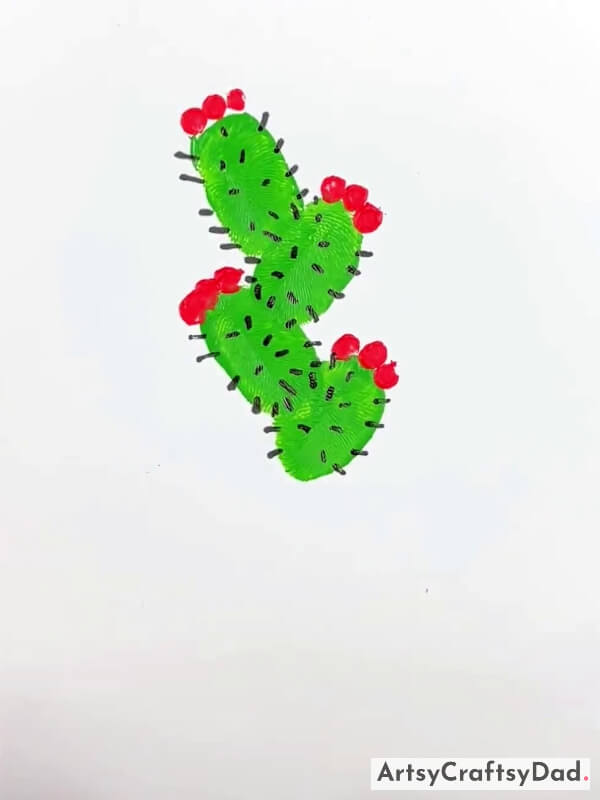
Repeat the process & draw spines on the rest of all the peds.
Step #5: Pasting A Cardboard Cutout For Cactus Pot
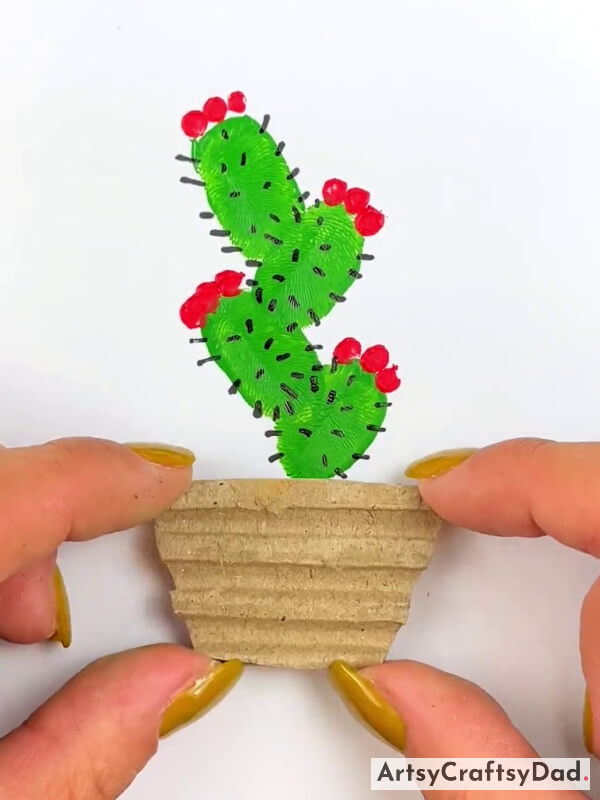
Take a brown cardboard sheet & cut it out into a pot trapezium shape & paste it under the cactus tree using glue.
Step #6: Add Some Detailing On Cactus Pot
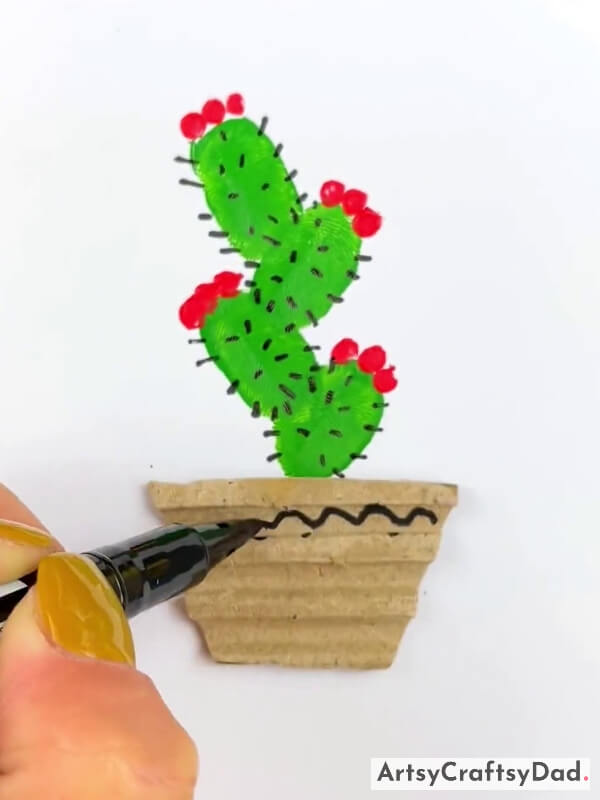
Take a black marker or sketch pen & draw a zig-zag pattern on the cactus pot.
Tadda! Finger Print Cactus Painting Is Ready!
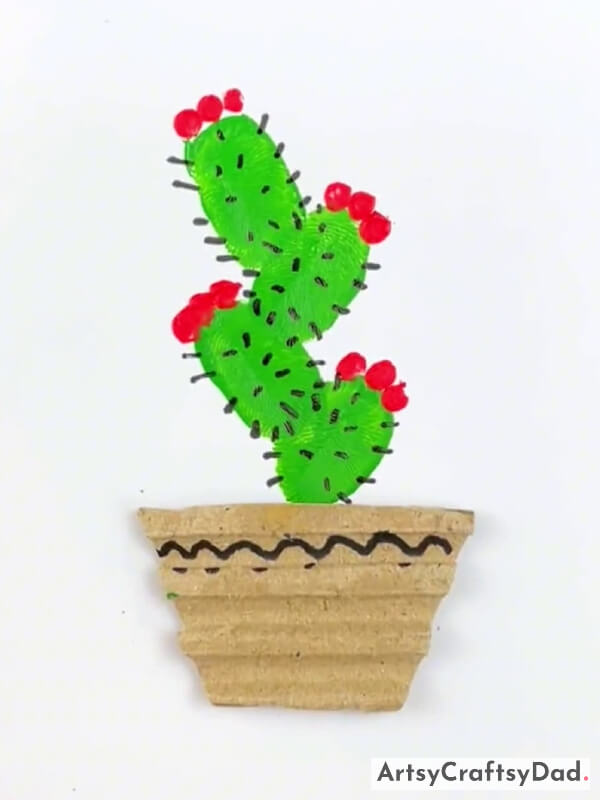
This is our final prickly pear cactus looks amazing and is ready now.
It is the end of this fingerprint painting tutorial. I hope your kids have enjoyed the process of making the fingerprint Prickly Pear cactus. By using simple materials and techniques, individuals can create beautiful and unique Prickly Pear cactus paintings using just their fingertips. Whether it is for personal enjoyment or as a gift for loved ones, this tutorial provides a fulfilling and enjoyable painting experience for all. If you want to paint something different by using your fingertips then don’t stop yourself, this will be a great idea to explore yourself. Don’t forget to drop your comment in the comment section.
Thank you for visiting our website!
You Might Also Like This
- Handprint Crane Painting Tutorial For Beginners
- Crane Bird Realistic Painting Tutorial For Beginners
- Turnip Stamp Painting Tutorial For Beginners
- Circle Stamp Capsicum Painting Tutorial For Beginners
- Polythene Impression Flowers Painting Tutorial For Beginners


