Make a pretty rose bouquet eye-catching drawing with us! This step-by-step tutorial article has instructions on each step of this drawing!
Roses are literally the prettiest flowers and their bouquet is the best gift you can give to a loved one! The bouquets are quite expensive and if you are a kid then it just be very hard for you to buy them! So, this article will guide you to make a drawing of them easily using oil pastels! This drawing will definitely replace the expensive rose bouquets! The best part is unlike the real roses, they don’t die! Well, that makes this drawing a representation of the forever love of you for others! Let’s begin!
Rose Bouquet Drawing Hack Craft Tutorial
Must Read: How to make rose with pot
Supplies & Tools
- Black Circular Paper Sheet
- Oil Pastels (Red, Greens, And Pink)
- Matchstick
Rose Bouquet Drawing Instructions
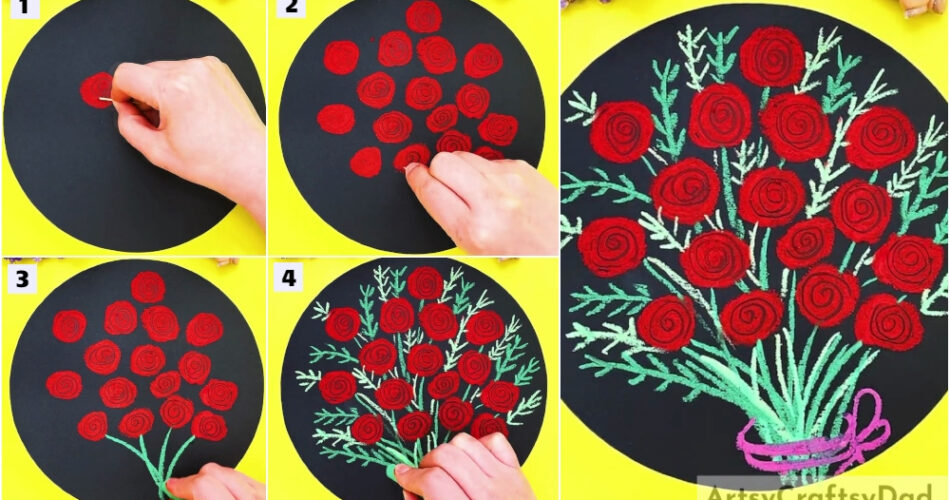
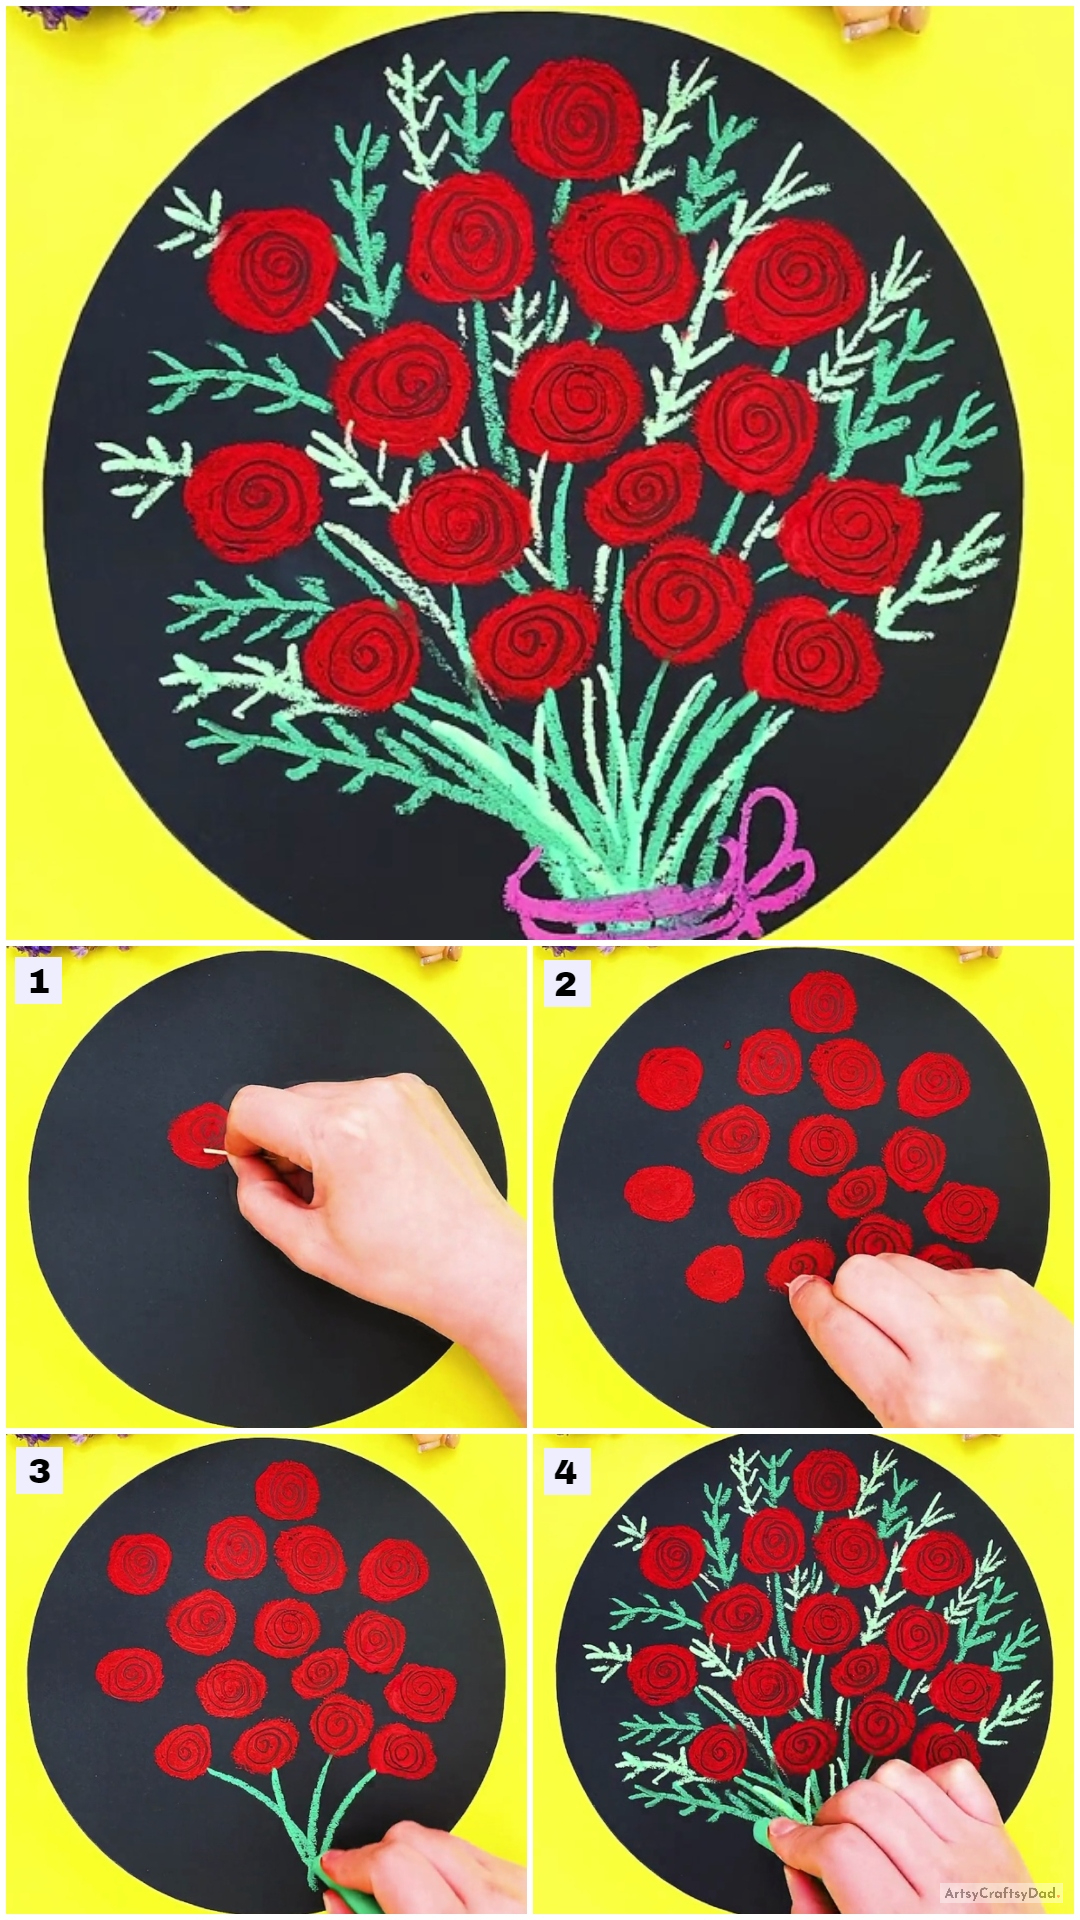
Step #1: Making A Red Circle
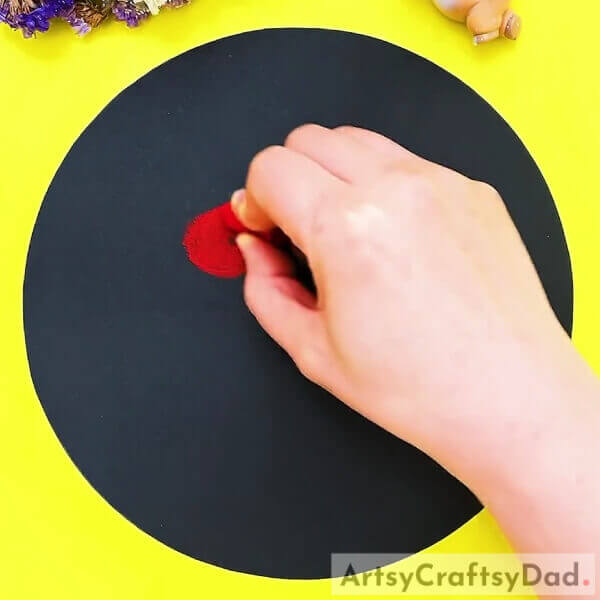
Begin this artwork by taking a black circular paper sheet as the base for the drawing and a red oil pastel. Now, using the oil pastel, make a circle over the base and color it out.
Step #2: Carving A Spiral
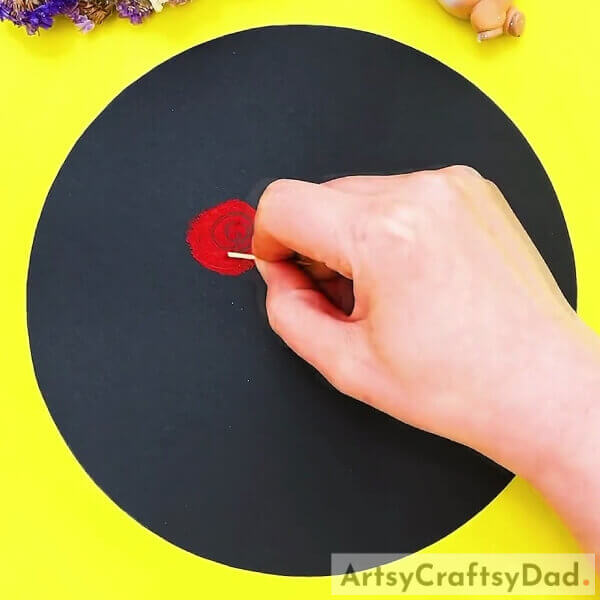
Using a matchstick, carve a spiral on the red circle by scratching the color from the base. This becomes the rose in the drawing.
Step #3: Making More Roses
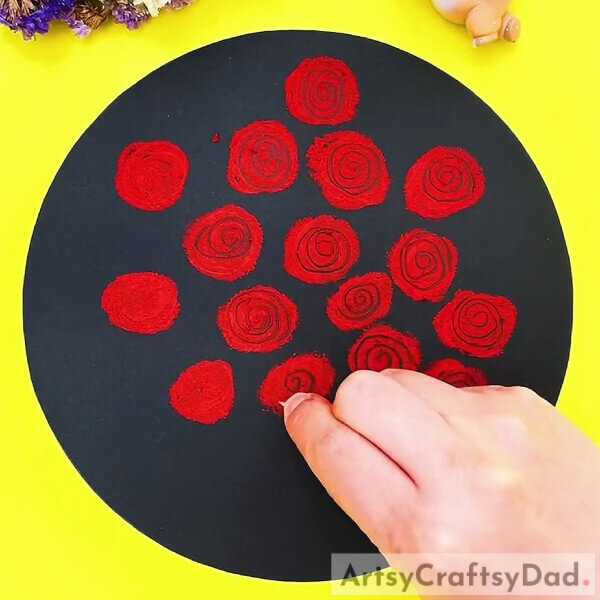
Draw more circles using the red oil pastel and carve the spirals over them to make more and more spirals on the base. Make sure to leave the space on the bottom of the base and not make roses there.
Step #4: Making Stems Of The Roses
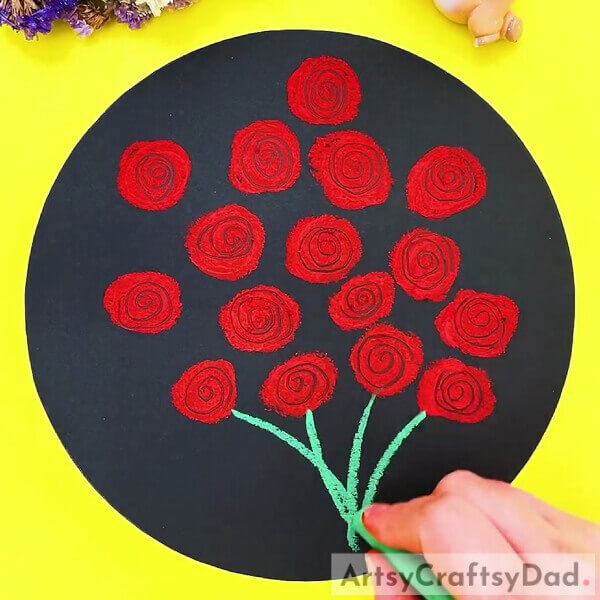
Using a green oil pastel, draw the curvy stems of the roses from below them to the end of the base collectively.
Step #5: Making Leaves In The Bouquet
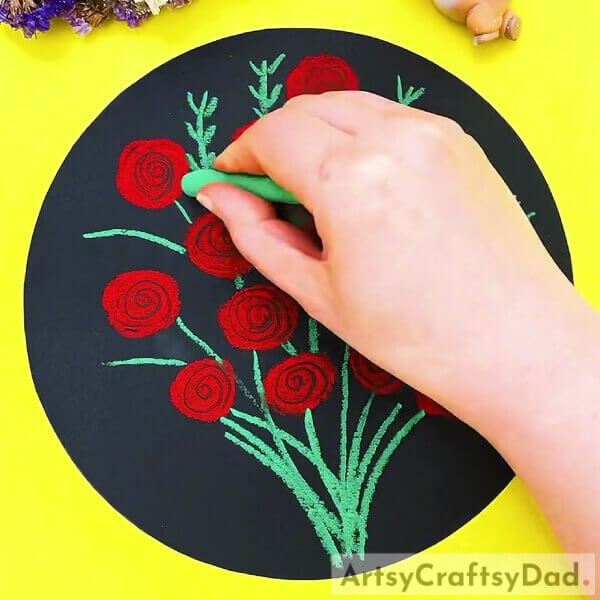
Using the green oil pastel, make the curvy leaf strokes with spike-like stokes on their sides. These will be the leaves in your bouquet. Make these leaves randomly among the roses to make your bouquet look bushy.
Step #6: Making More Leaves
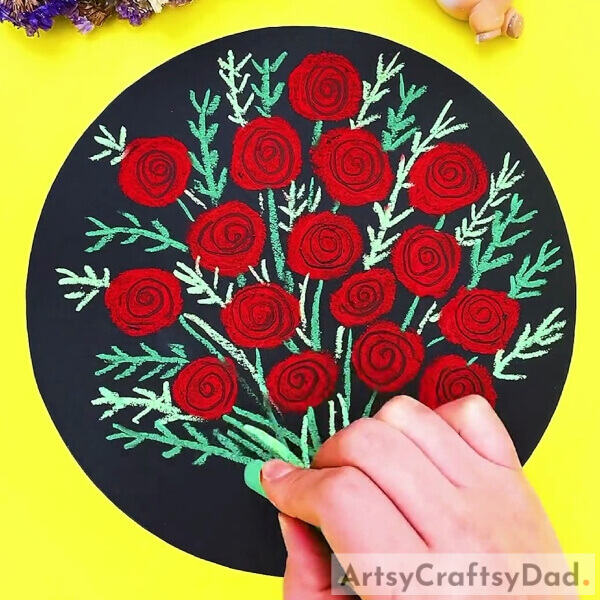
Take another green oil pastel, but this time it should be a little lighter than the previous one. Using the oil pastel, again draw the spiky leaves to make them more bushy. Also, make some curved strokes beneath the roses to make the bouquet healthy.
Step #7: Making A Ribbon Around The Bouquet
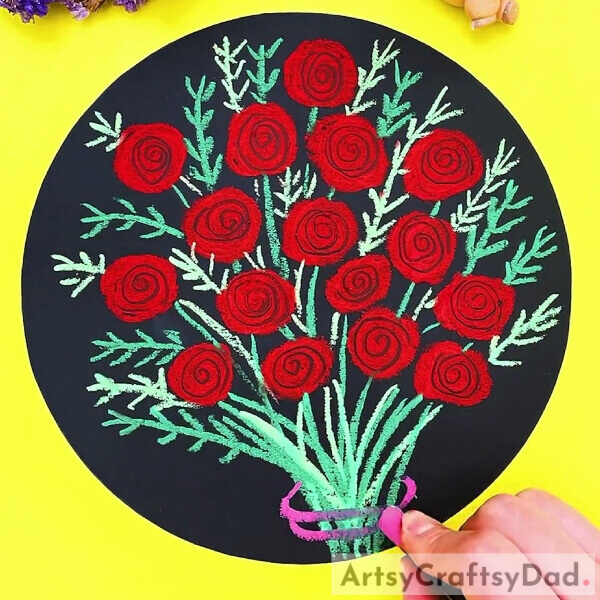
Using a pink, oil pastel, make a ribbon around the stems to make them look tied up with the ribbon. Also, make a bow at the side which will represent the knot of the ribbon.
Your Rose Bouquet Oil Pastel Drawing Is Ready!

Whoa! I’m stunned too! What a mesmerizing result of this rose bouquet oil pastel drawing!
You can now gift this pretty drawing to your loved ones to bring a smile to their faces! This drawing is a budget-friendly alternative to those expensive bouquets and you can gift them with a loving message, ‘Roses that never die for you, as my never dying love for you!’. Well you can customize the message according to you, I just made that up by myself, you can make it even better! I know you are amazing!
Hope you loved the drawing idea! Don’t forget to give it a like and check out the other art and craft articles we have on our website! Also, share your feedback in the comments section below!
You May Also Like
- Create a cascading bouquet of artificial flowers (Tutorial)
- Easy Town Landscape Drawing Tutorial For Kids
- DIY Handmade Satin Rose – Tutorial
- How to make charming bouquet of flowers from felt (Tutorial)
- Clay Snails On Leaves Craft Tutorial For Kids


