Looking for a fun and creative craft tutorial for kids? Check out our step-by-step guide on how to make adorable orange peel chicks! This easy and engaging activity is perfect for little ones to explore their creativity while also learning about recycling.
Are you looking for a fun and creative craft project to do with your kids? Look no further than the Creative Orange Peel Chicks Craft Tutorial! This adorable and easy DIY tutorial will teach your little ones how to transform ordinary orange peels into cute and colorful chicks. Not only will this craft project keep your children entertained, but it will also help them develop their fine motor skills and creativity. So gather up some orange peels, and craft supplies, and get ready for a fun-filled afternoon of crafting with your kids!
Cute Chicks Craft By Using Orange Peel Tutorial
Must Read: Peanut Shell Chicks Craft Tutorial For Kids
Supplies & Tools
- Scissors
- Glue
- Grass
- Green Sketch Pen
- Black Marker Or Sketch
- White Construction Paper
- Orange Peel
- Bottle Cap
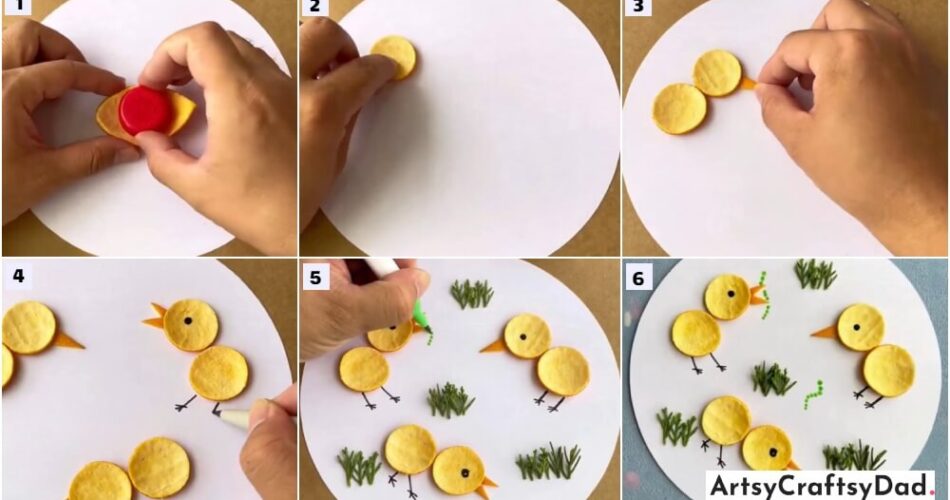
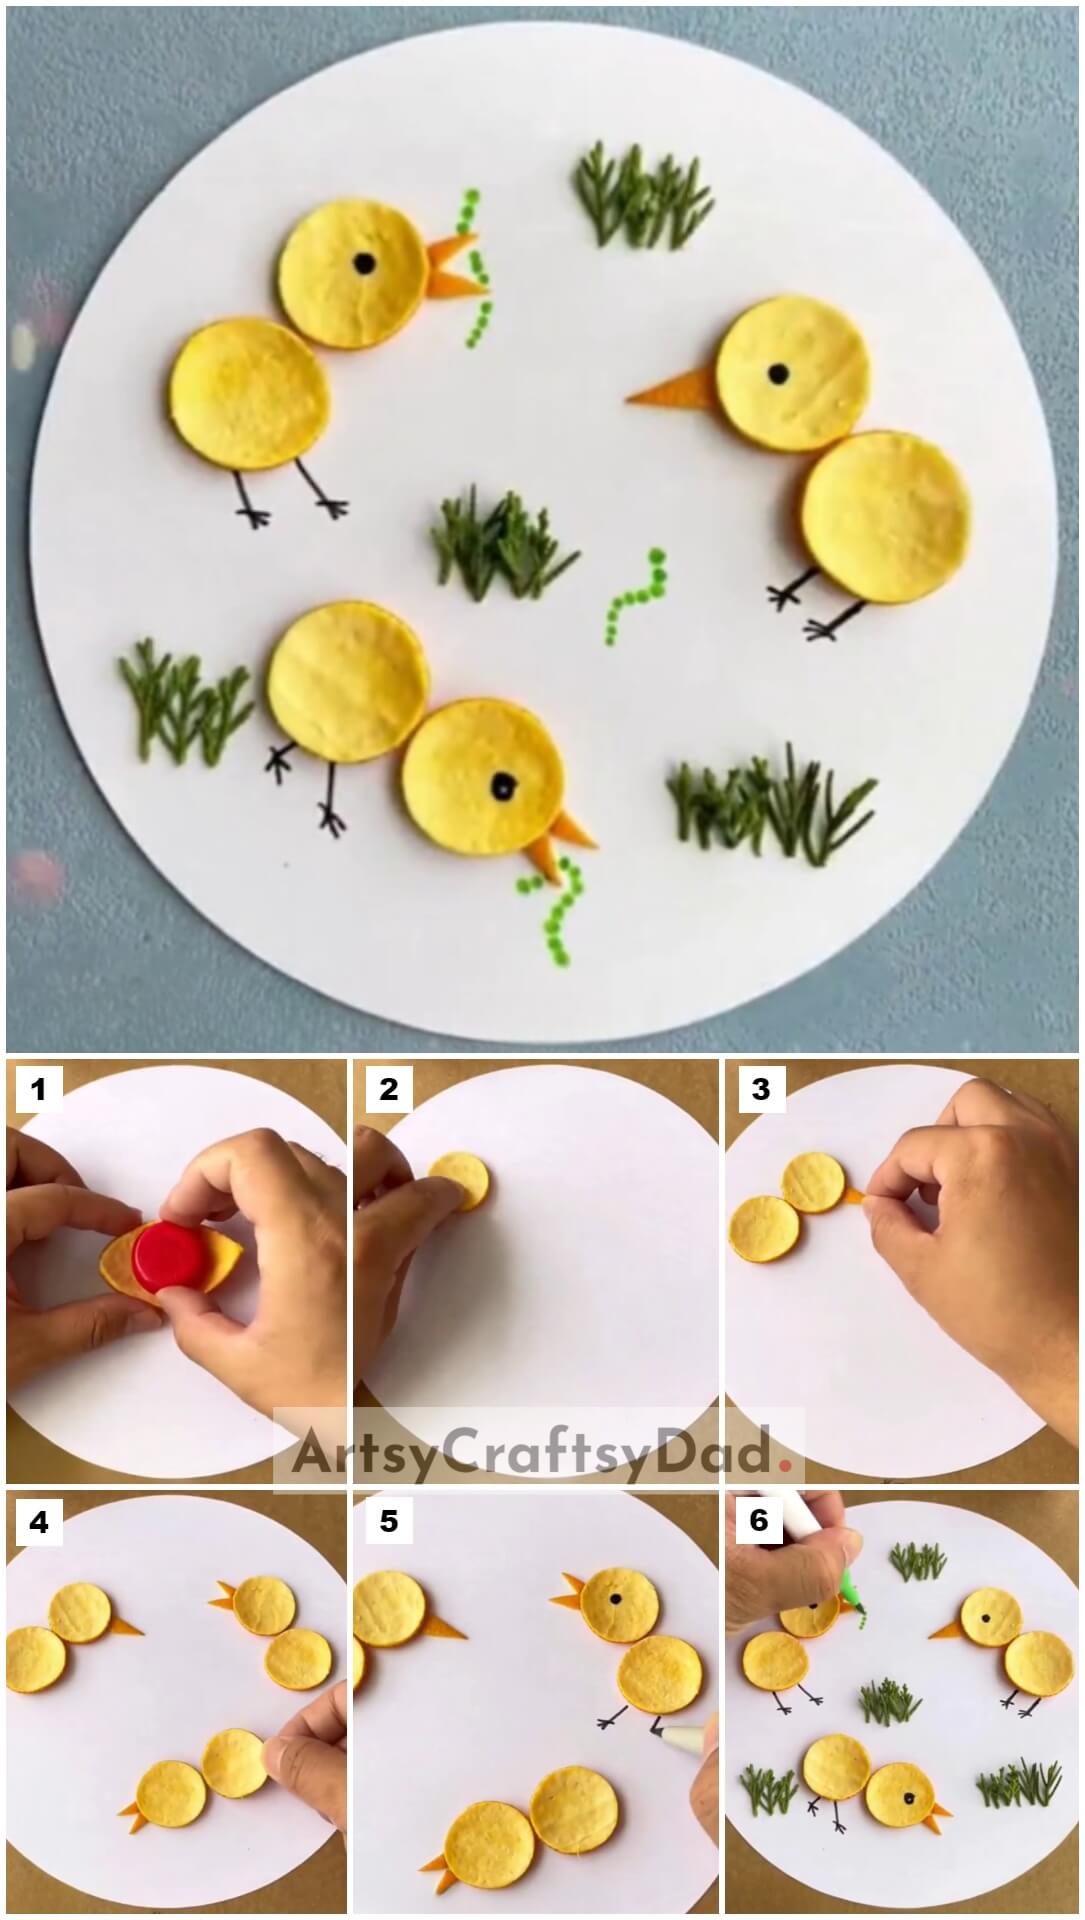
Orange Peel Chicks Procedure
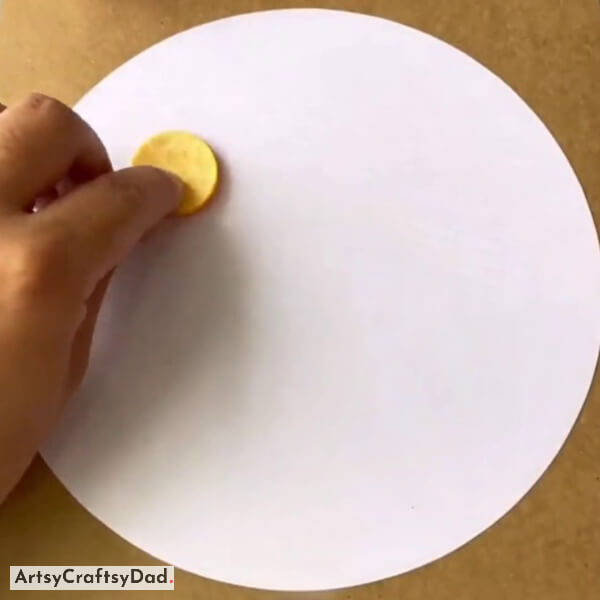
Step #1: Making Circle From Orange Peel
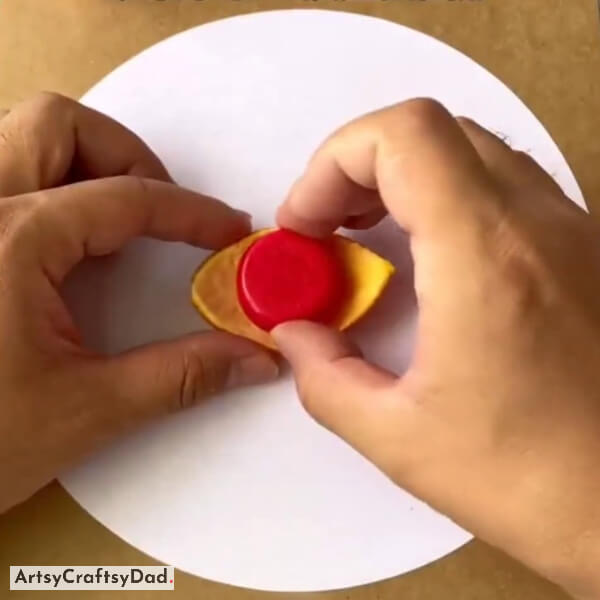
Take a white construction paper & cut it out into a big circle & use it as a craft background. Take an enough big size of the orange peel so that it can fit a bottle cap in it, now put the bottle cap on the peel and push it a little hard with your palm so that a perfect circle can come out from the peel.
Step #2: Taking Out Circle From Orange Peel
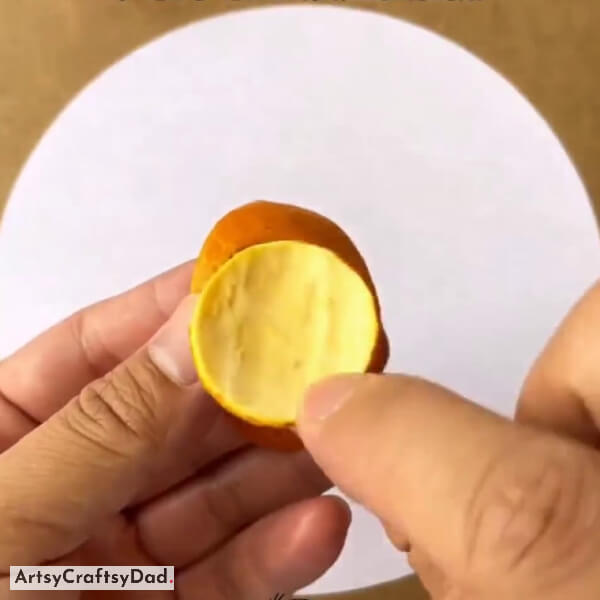
After making a circle on the peel take out the circle from the cap carefully without damaging the circle shape, and make more such circles for further use in the craft.
Step #3: Making Chicks Face
Paste the first Orange circle on the top left side of the white paper background as the face of the chick.
Step #4: Making Chicks Body
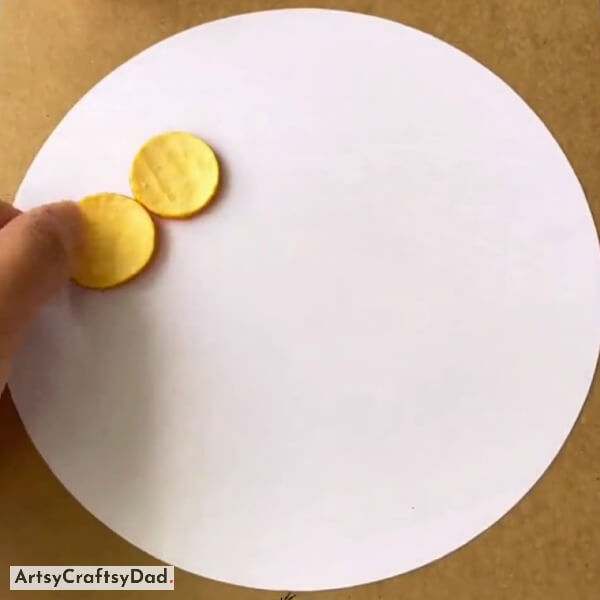
Paste another circle just below the chick’s face for the chick’s body.
Step #5: Pasting Beak
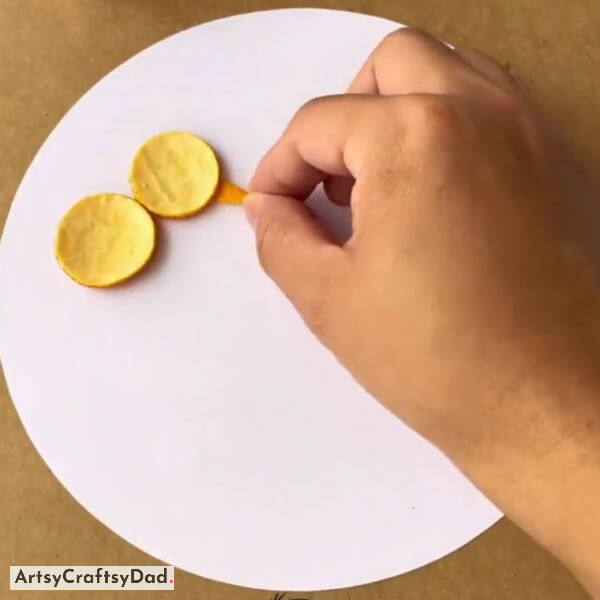
Take a piece of orange peel and cut it into the shape of a beak as shown in the above image & paste it forward to the chick’s face.
Step #6: Making More Chicks
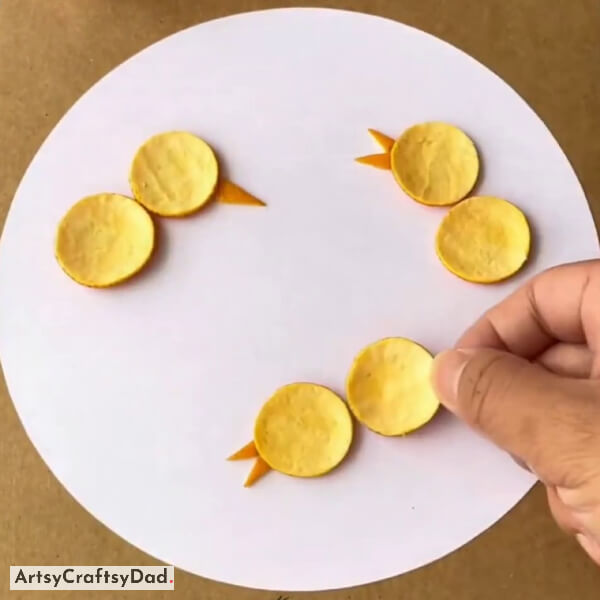
When one complete chick is made, make more such chicks and paste them on the white background in the correct position you can take reference from the above image.
Step #7: Drawing Eyes

Take a black marker & make the eyes of chicks at the center of the face by drawing a dot.
Step #8: Drawing Legs
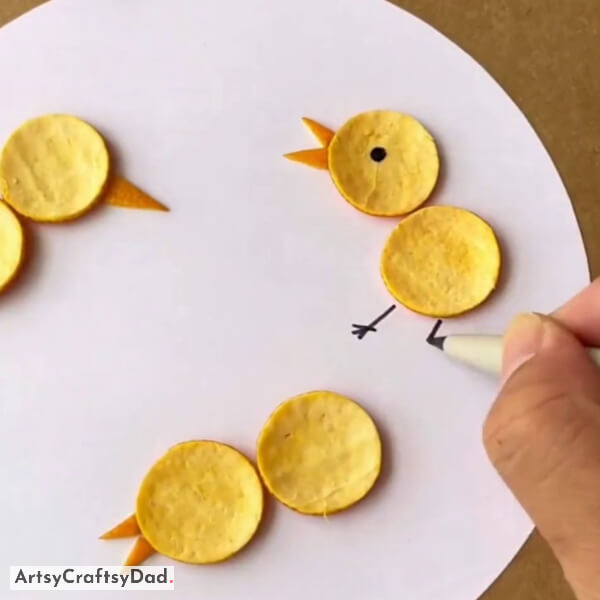
Now, take a black marker & make the legs of the chick under his body in the correct shape and size as shown in the above image.
Step #9: Drawing Insects
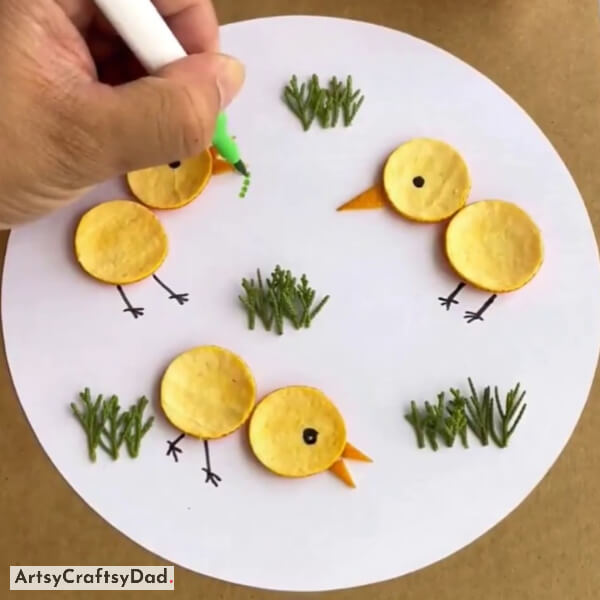
After making chicks, paste the grass on the white background. Take a green color sketch & draw some insects in the chick’s beak.
Our Final Craft Is Achieved Now!
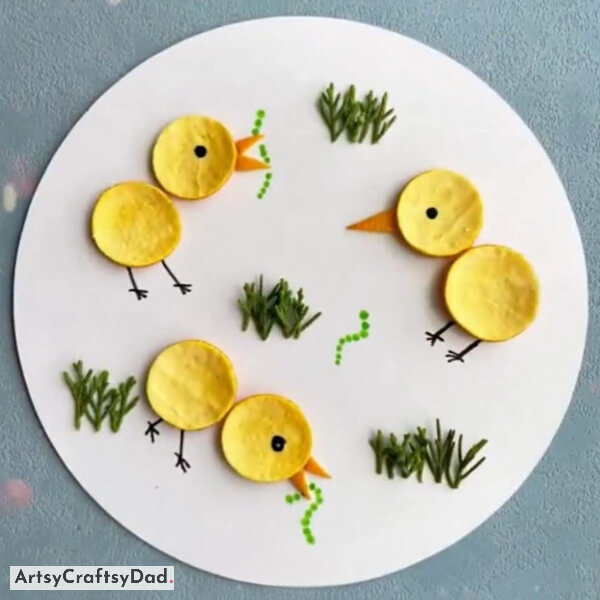
Finally, our cute orange peel chicks craft is ready that they can proudly display or play with.
This craft not only provides entertainment but also promotes fine motor skills, hand-eye coordination, and cognitive development. This craft plays a good role in teaching kids a larger lesson on recycling and repurposing, this tutorial is sure to bring joy and laughter to children of all ages. Don’t forget to drop a comment in the comment section. If you need some more ideas visit our other websites where you will find more craft ideas.
Thanks for visiting us! Have a nice day!
You Might Also Like This
- Orange-Yellow Flower Climber Clay Craft Tutorial
- Clay Chicks In Garden Craft Tutorial
- Yellow Orange Pampas Grass Decor: Ribbon Craft Tutorial
- Hen With Chicks: Artificial Grass & Peanut Shell Craft Tutorial
- DIY Peel-Off Facial Hair Removal Mask


