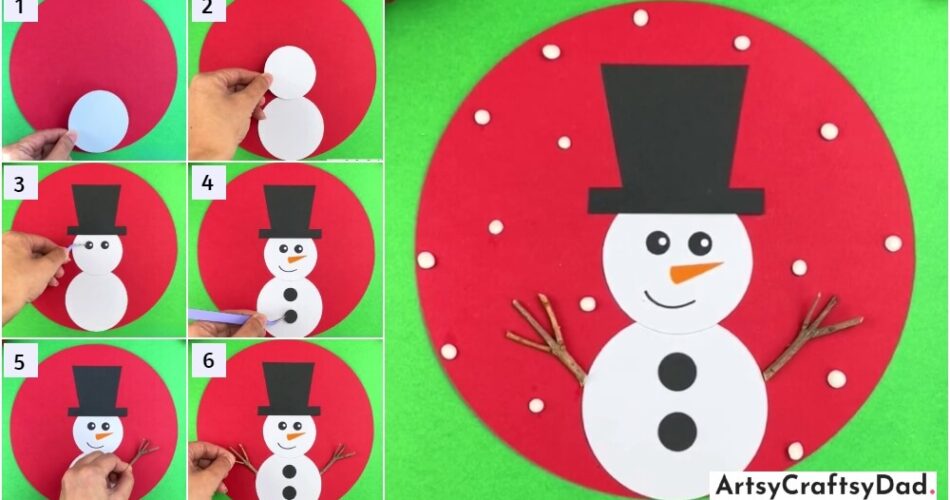
In this tutorial, we will make an attractive but easy paper snowman craft. Check out our simple paper snowman craft tutorial! This step-by-step guide will show you how to create adorable snowmen using just paper and a few basic craft supplies.
Winter is a magical season that brings joy and excitement, especially for children. One of the most beloved winter activities is building a snowman. But what if there’s no snow outside? Don’t worry, because we have a fun and easy solution for you! In this tutorial, we will guide you through a simple paper snowman craft that kids can enjoy all year round. With just a few materials and some creativity, So, let’s get started and let the winter fun begin!
Beautiful Paper Snowman Craft Tutorial
Must Read: Bubble Wrap Snowman Painting Craft Tutorial For Kids
Supplies & Tools
- White Clay
- Construction Paper (Red)
- Craft Paper (White, Black, Orange)
- Scissors
- Glue
- Tree Stem
- Googly Eyes
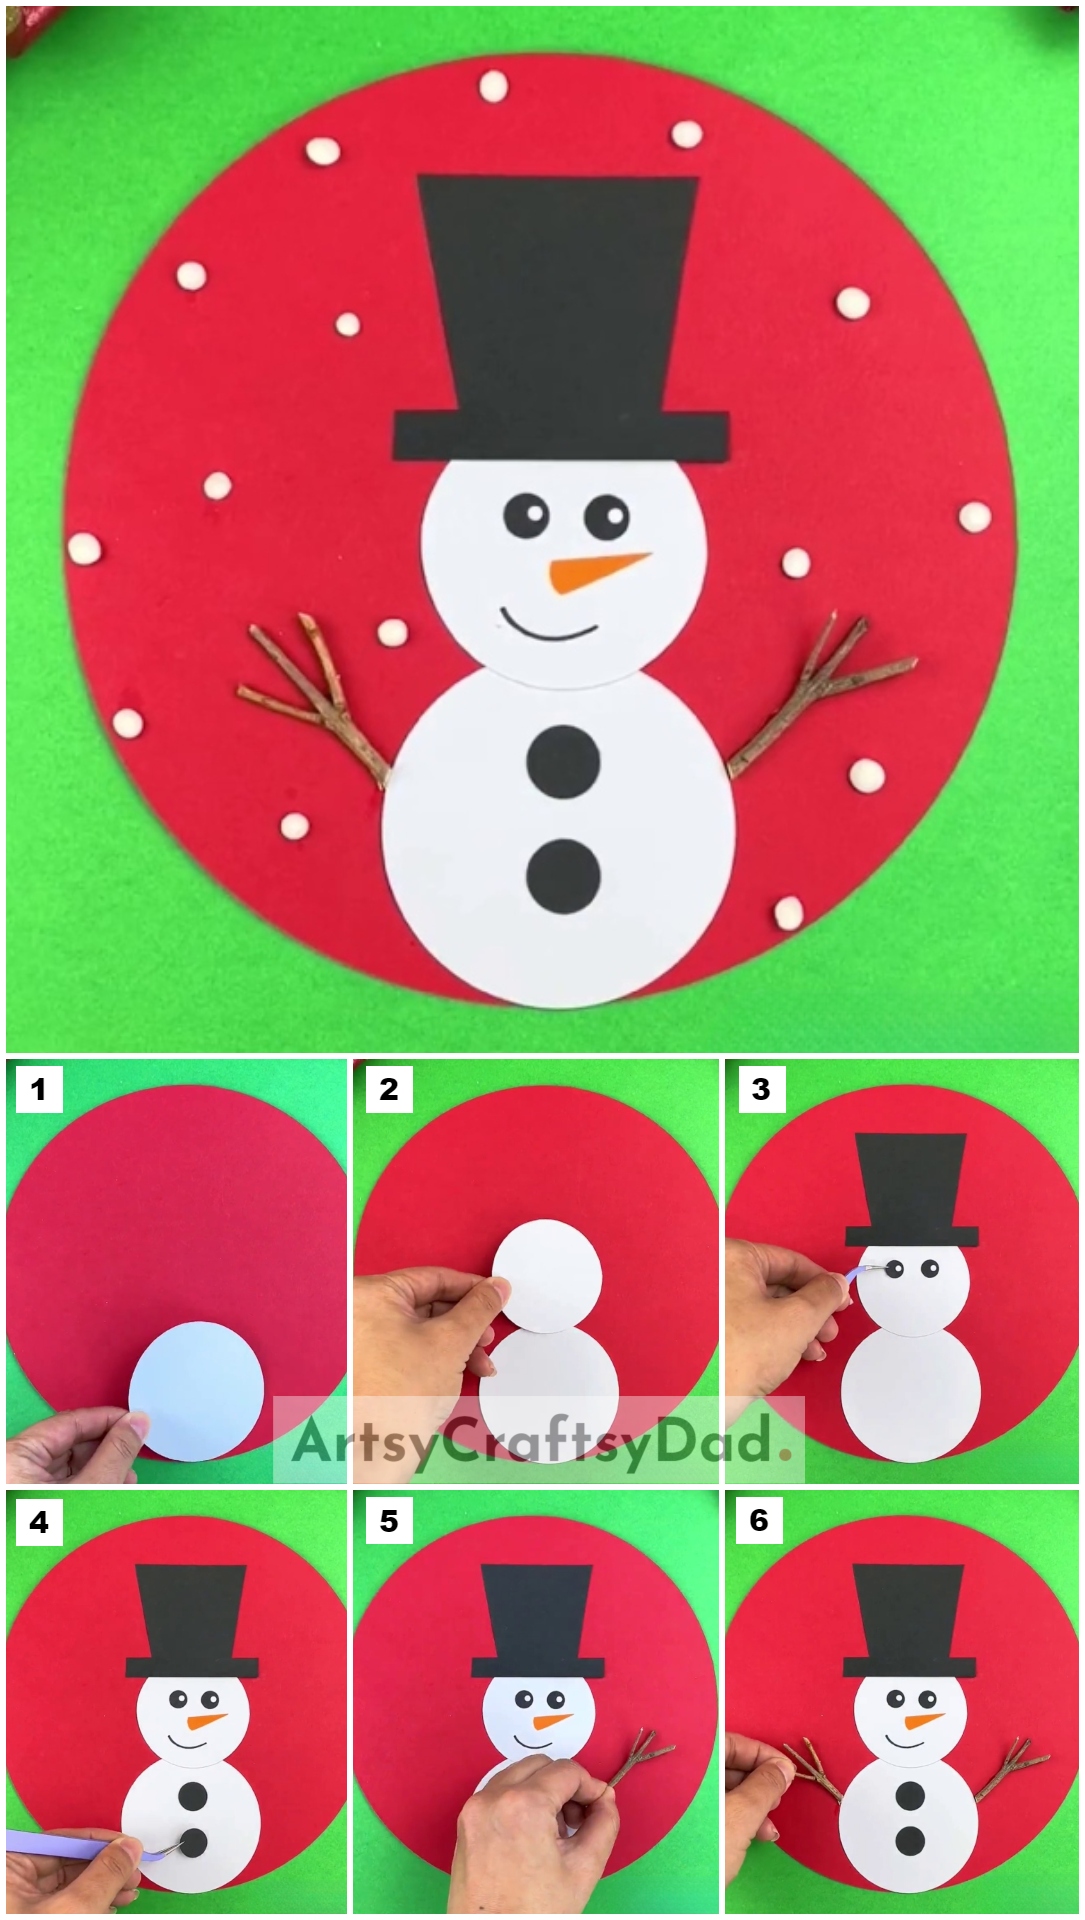
Paper Snowman Procedure
Step #1: Making Big White Circle
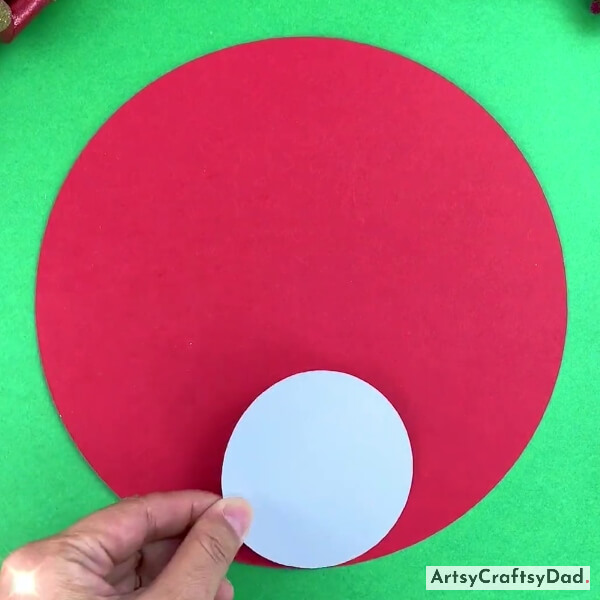
Take a red color construction paper & cut it into a circle by using scissors. Now, use it as a base & take white craft paper & cut it into a big circle for the lower body of the snowman & paste it on the lower side of a red circle by using glue.
Step #2: Pasting Small Circle
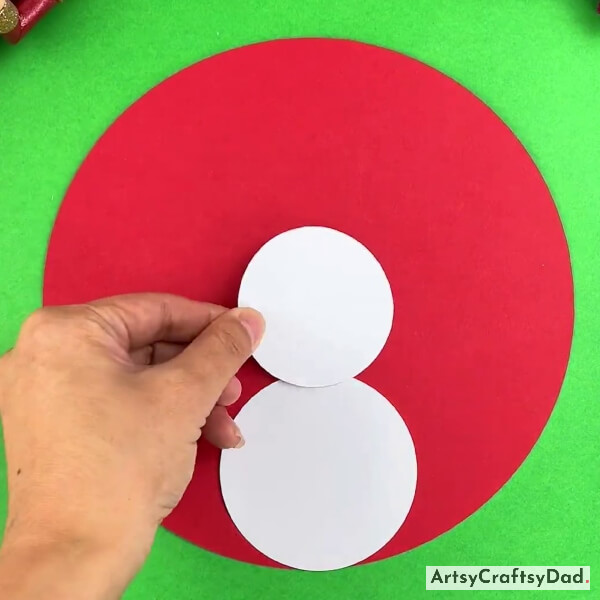
Again take white craft paper & cut it into a smaller circle for the head of the snowman & paste it on his body.
Step #3: Making Hat
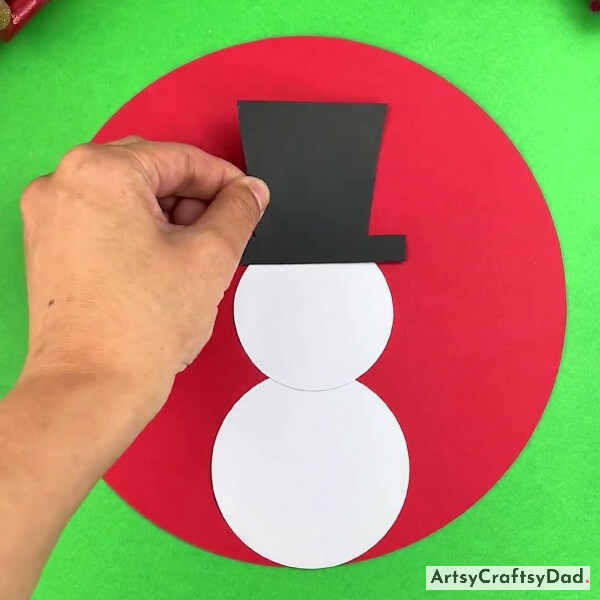
Take a piece of black craft paper, draw a hat on it and then cut it out, and then paste it on the top of the snowman’s head.
Step #4: Pasting Googly Eyes
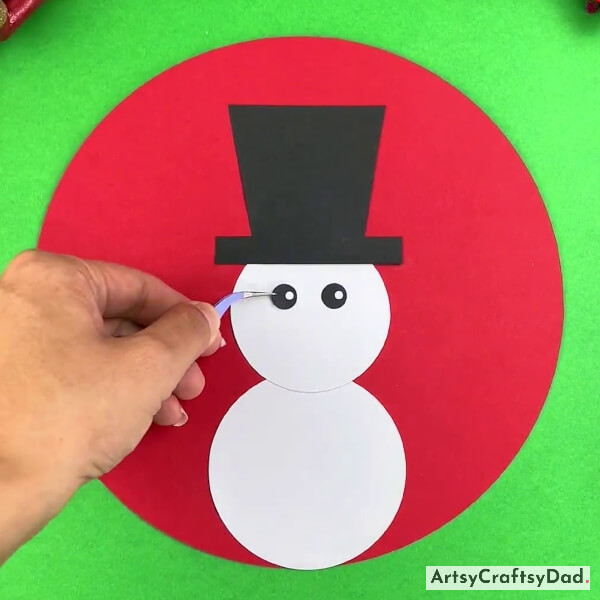
Take two googly eyes & paste them on his face.
Step #5: Making Nose
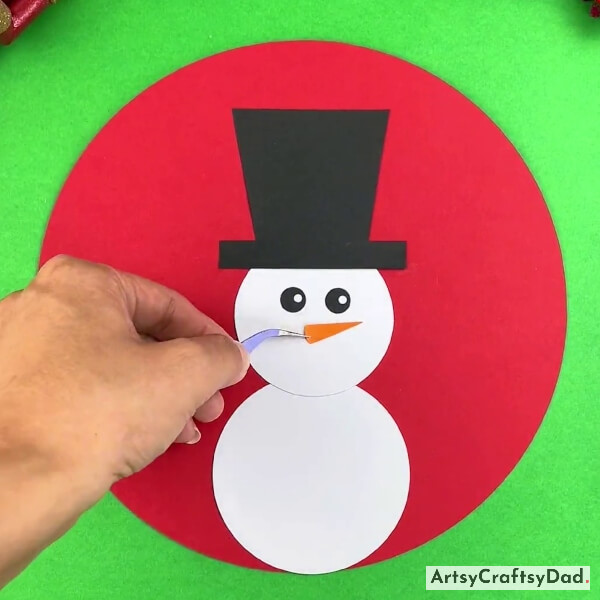
Take another piece of orange color paper, draw a sharp nose on it, and then cut and paste it at the center of the snowman’s face.
Step #6: Adding Buttons On Snowman’s Body

Take a black marker & draw a curvy line for the snowman’s mouth. After that take a black color paper & cut it into two same size circles & paste them on the snowman’s body.
Step #7: Applying Glue On Hand
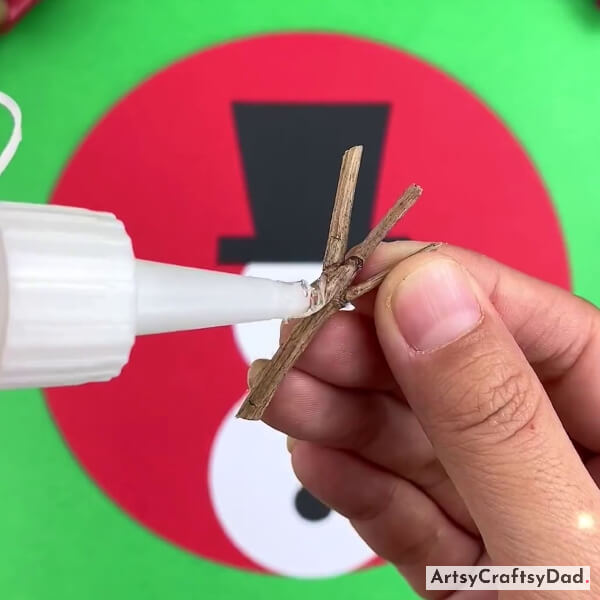
Take a tree stick that must be in the shape of a hand as shown above, and apply glue on it properly.
Step #8: Pasting Hand
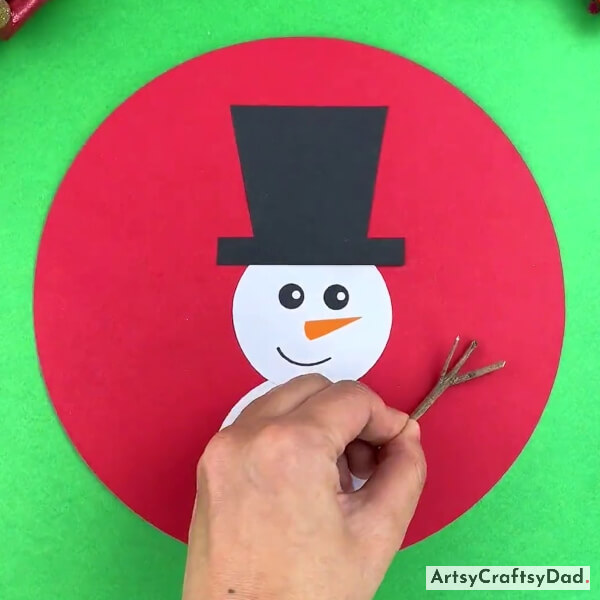
After applying glue paste that hand on the right side of the snowman’s body.
Step #9: Pasting Another Hand
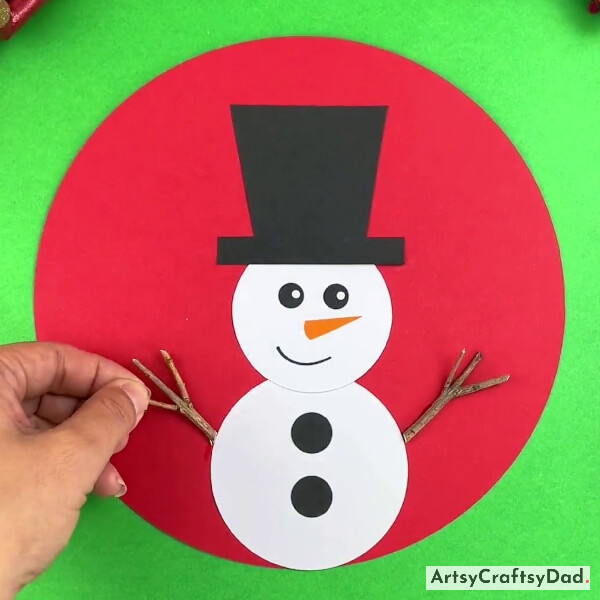
Do the same for another hand and paste it on the left side of the snowman body.
Our Final Look Of Simple Paper Snowman Craft Is Ready Now!

We complete this beautiful craft by adding some detailing on the red circle by using white clay.
Tadda, we have completed the paper snowman craft. You could decorate your home with this adorable snowman craft. Your guests will love it. You could share this with your friends & family. They will feel proud of you by seeing you doing something different & creative from your regular activity. This craft not only provides entertainment but also serves as a wonderful opportunity for kids to learn about shapes, colors, and spatial awareness. If you want to create some more crafts then you can visit our other websites where you find different types of crafts that you will love to try. Don’t miss to drop your feedback in the comment section because we would love to hear your thoughts & ideas for this craft & if you want to share some new ideas for crafts then don’t hesitate just share with us. Have a nice day!
Thanks for choosing us!
You Might Also Like This
- Easy Paper Plate Snowman – Winter Crafts for Kids
- Simple To Make Leaf Sunflower Craft Tutorial For Kids
- Paper Origami Sofa Craft Tutorial For Kids
- Snowflake In Star Shaped – Simple Paper Design Tutorial
- DIY Paper & Paper Cup Hot Air Balloon Craft Tutorial For Kids


