Learn how to make a fun and creative handmade hot ramen bowl craft with this step-by-step tutorial designed for kids. This project is perfect for a rainy day activity or a crafting session with friends.
Let your little ones unleash their creativity and imagination as they create their very own personalized ramen bowl using simple materials and techniques. Dive into the world of DIY crafting with this exciting and engaging tutorial!
Are you looking for a fun and creative activity to do with your kids? In this tutorial, we will show you how to make a handmade hot ramen bowl craft that your kids will love. Ramen bowls are not only delicious to eat, but they can also be a great inspiration for an art project. With just a few simple materials, your kids can create their unique ramen bowl masterpiece. So gather your supplies and get ready to dive into a world of creativity and fun!
Beautiful Hot Ramen Bowl Craft Tutorial
Must Read: Origami Bow Paper Craft Tutorial For Kids
Supplies & Tools
- Colored Craft Papers (Yellow, Red, white, Light Pink, Green)
- Acrylic Blue Paint
- Scissors
- Glue
- Colored Sketch Pens (Blue, Pink)
- Paper Cutter
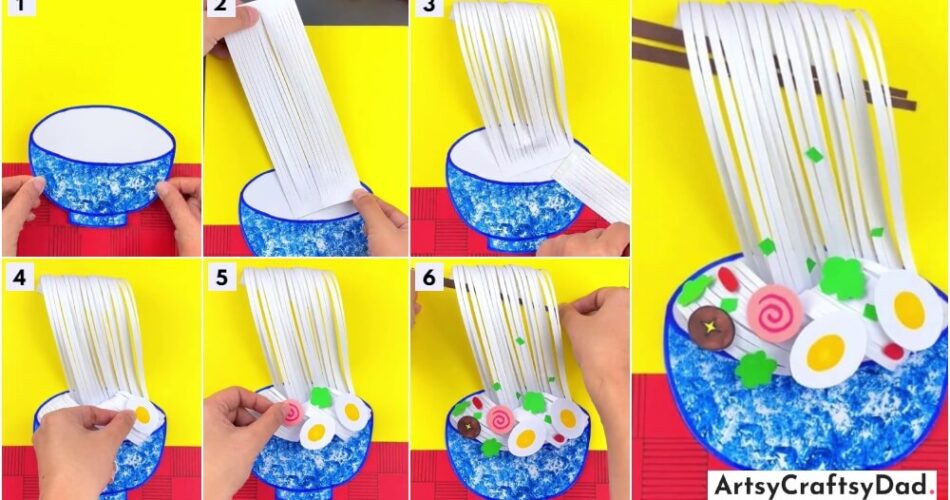
Hot Ramen Bowl Procedure
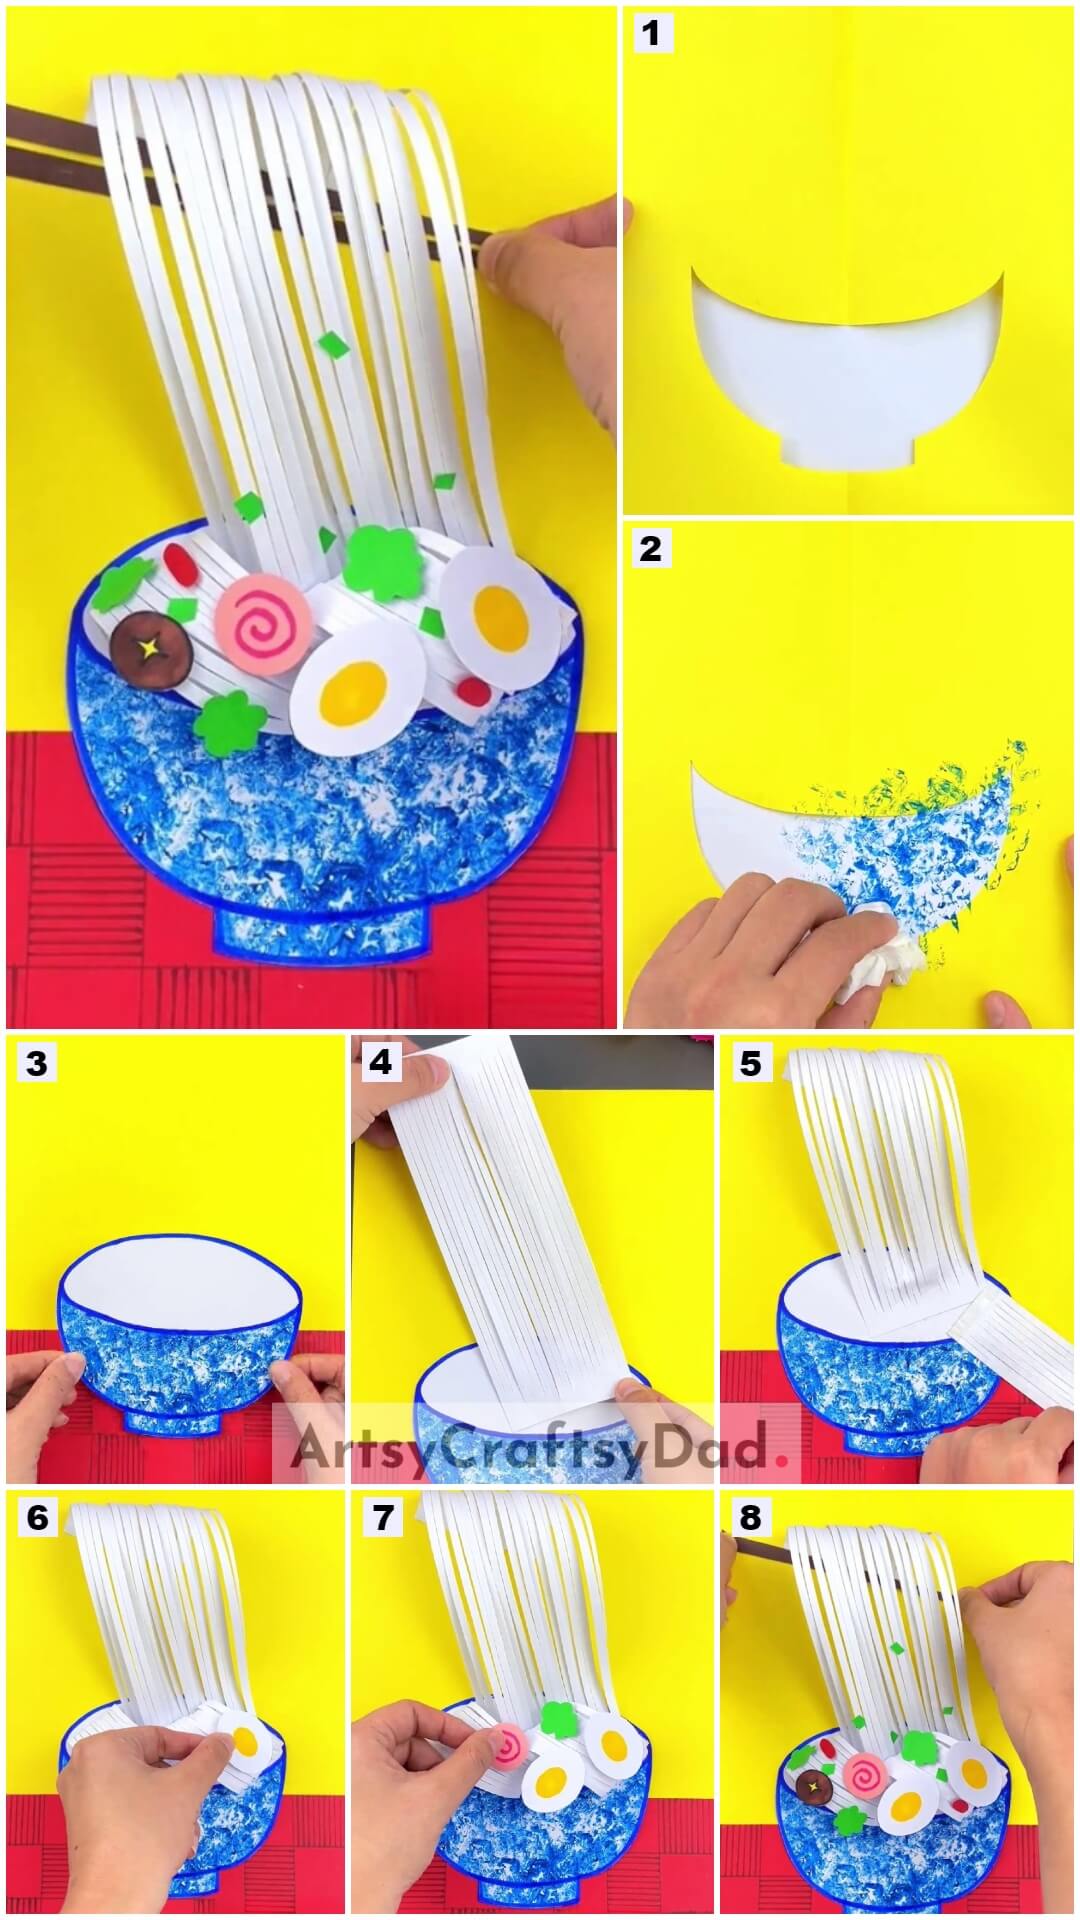
Step #1: Cutting A Bowl Shape From the Yellow Paper
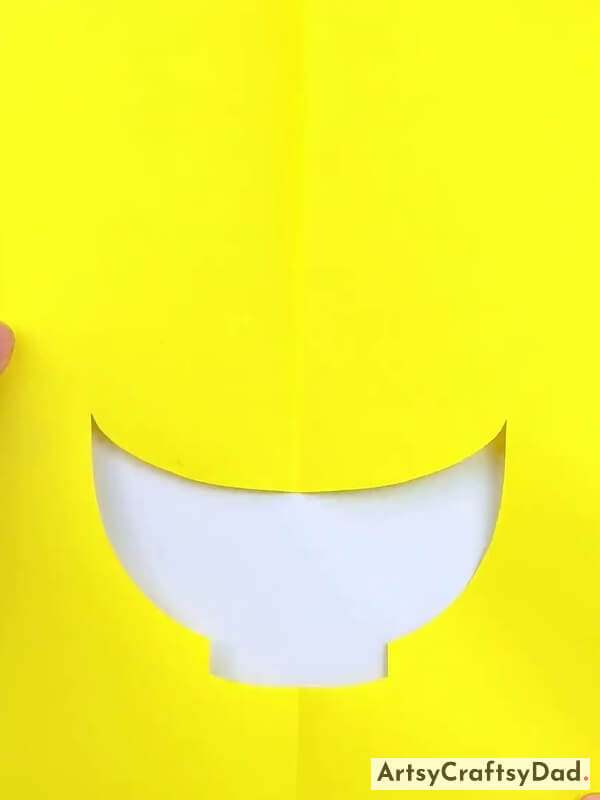
Take white construction paper and a piece of yellow color craft paper & put it over the white paper & cut a bowl outline from the yellow paper at the lower side by using scissors.
Step #2: Scrambling The Tissue Paper
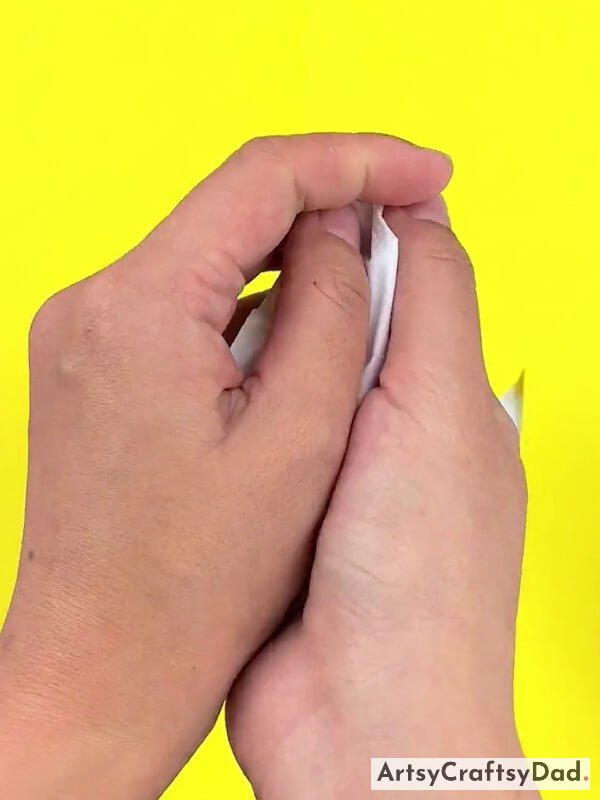
Take a tissue paper & lump it as shown in the above image.
Step #3: Stamping Bowl
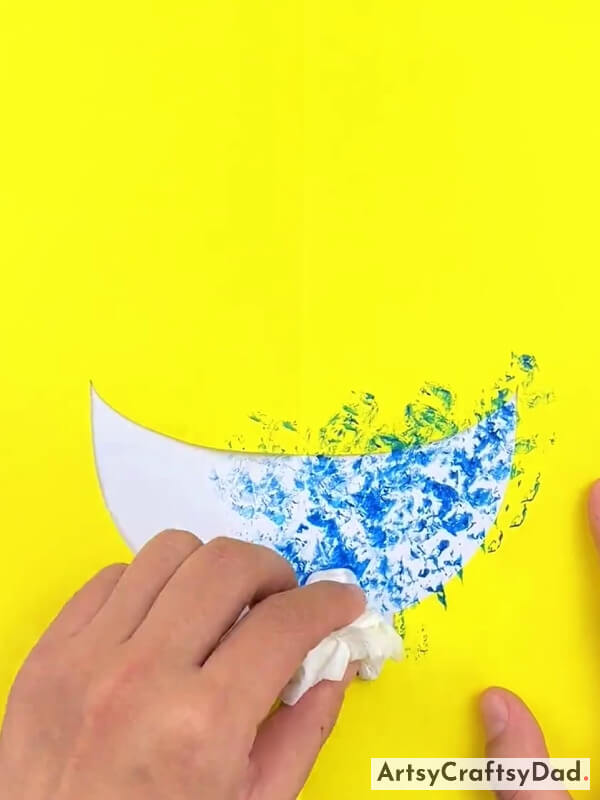
Take blue acrylic paint & dip the lumped paper in the paint & dap it on the bowl-cut shape.
Step #4: Completing The Stamping
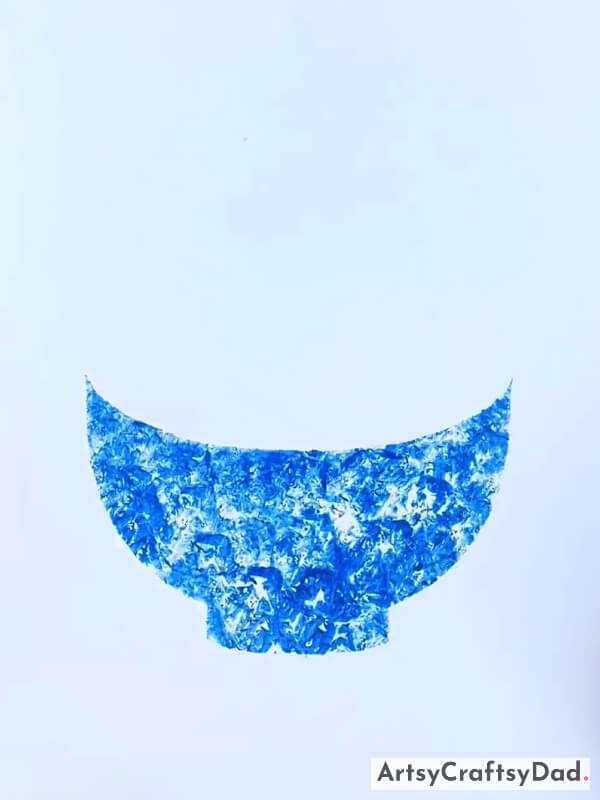
Here, complete the stamping over the bowl shape with blue paint.
Step #5: Drawing Top Bowl Part
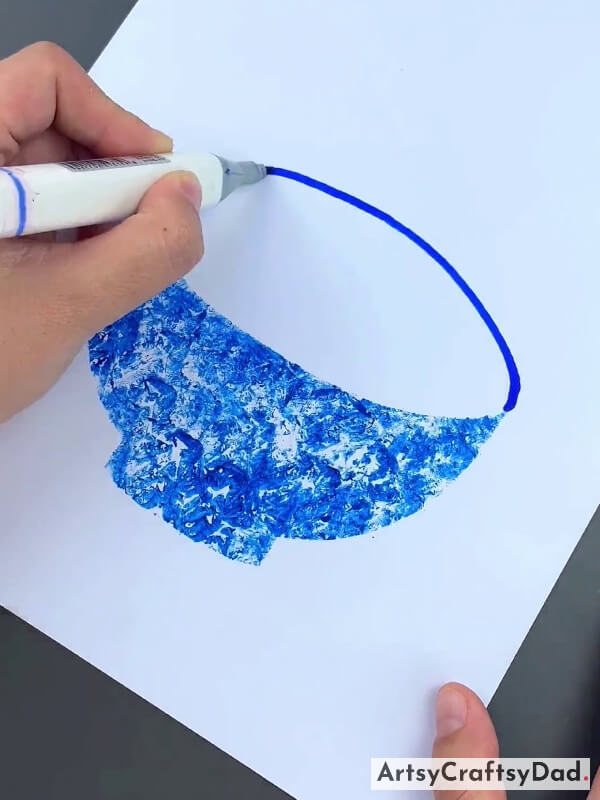
Take a blue sketch pen & draw the top bowl part.
Step #6: Outlining The Bowl Body
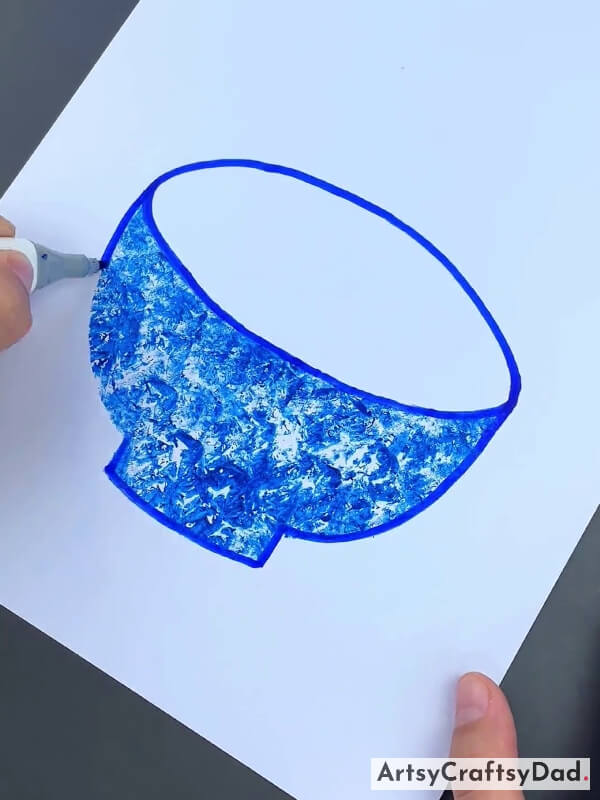
By using a blue sketch pen outline the bowl body.
Step #7: Cutting Bowl Outline
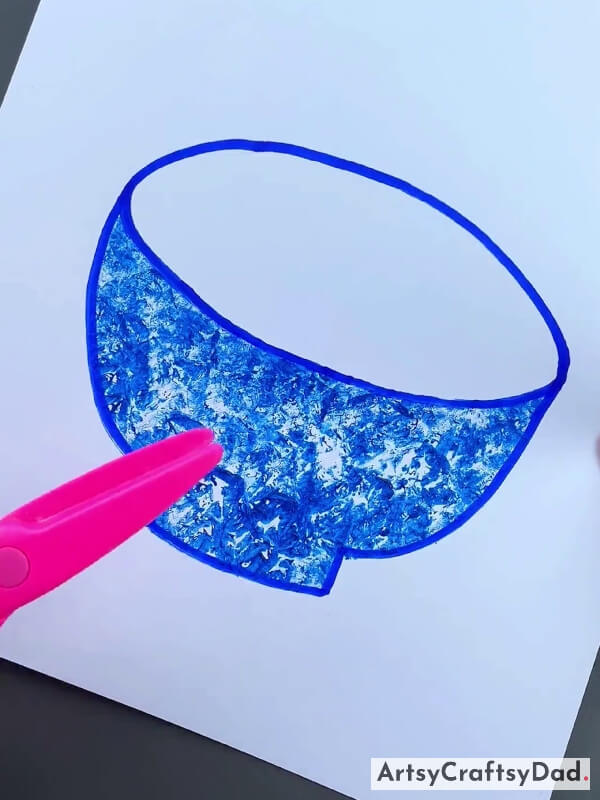
Now, cut the bowl outline off from the white paper that we drew.
Step #8: Pasting Yellow & Printed Red Paper
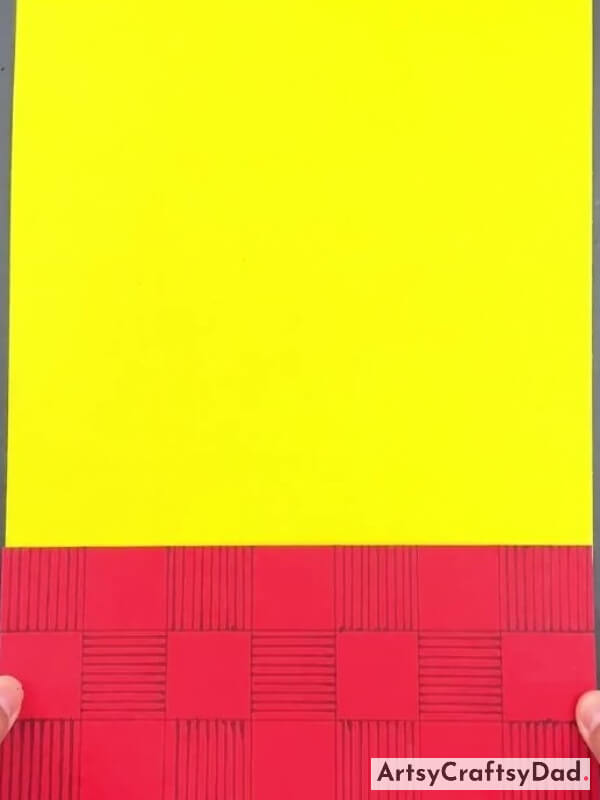
Take a yellow & printed red paper & cut the red printed paper into rectangle shape. Now, first, take yellow paper then paste red printed rectangle-shaped paper over it.
Step #9: Pasting Bowl

Now, paste the bowl shape on the red printed paper a little top side by using glue.
Step #10: Taking White Paper
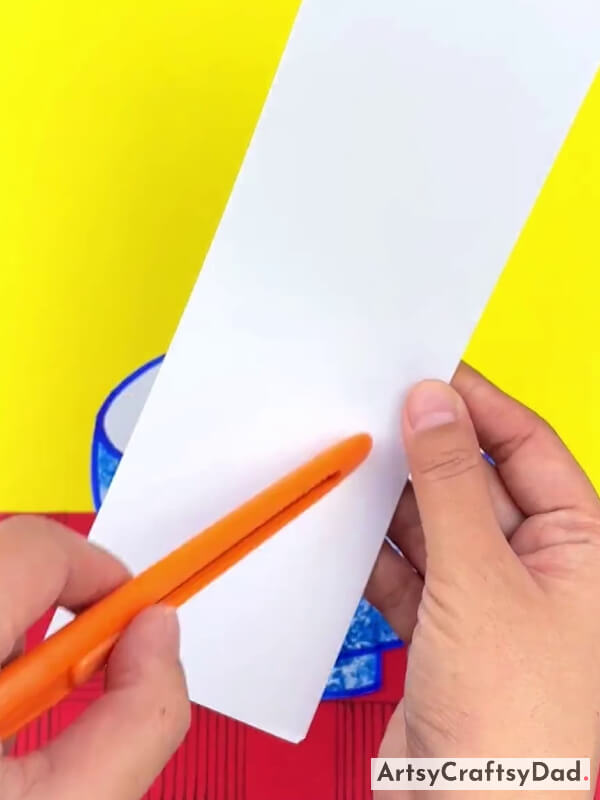
Take a white paper & cut it into a strip.
Step #11: Cutting Paper In Noodle Shape
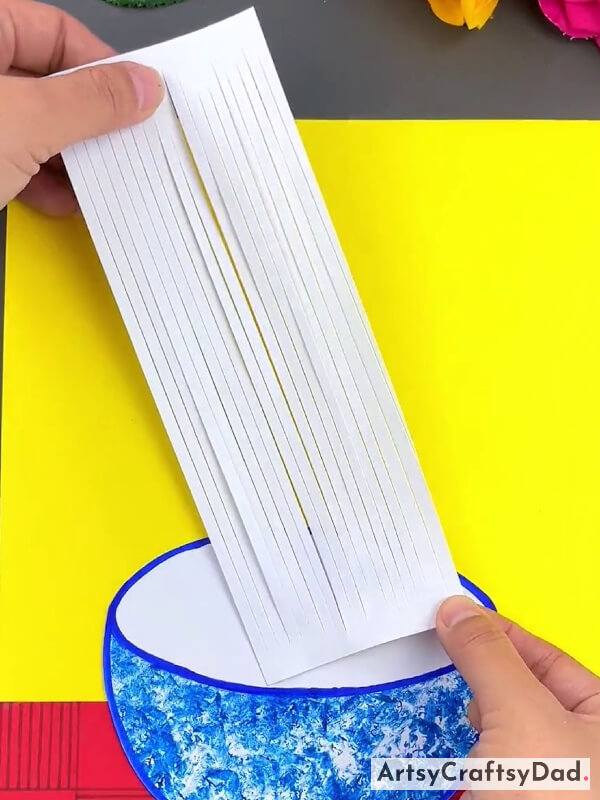
Take a paper cutter & cut the white strip into the noodle shape from the middle of the white strip but not completely.
Step #12: Pasting Noodle Strip
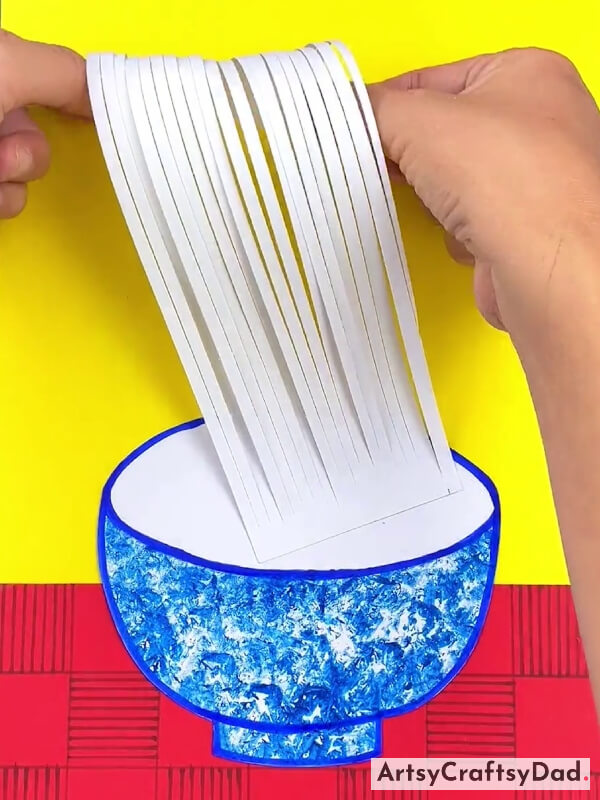
Apply some glue at the top end of the noodle shape strip & paste it on the upper side of the yellow paper & leave it hanging by applying glue at the lower end of the strip on the bowl as you see in the image.
Step #13: Pasting Another Noodle Strip
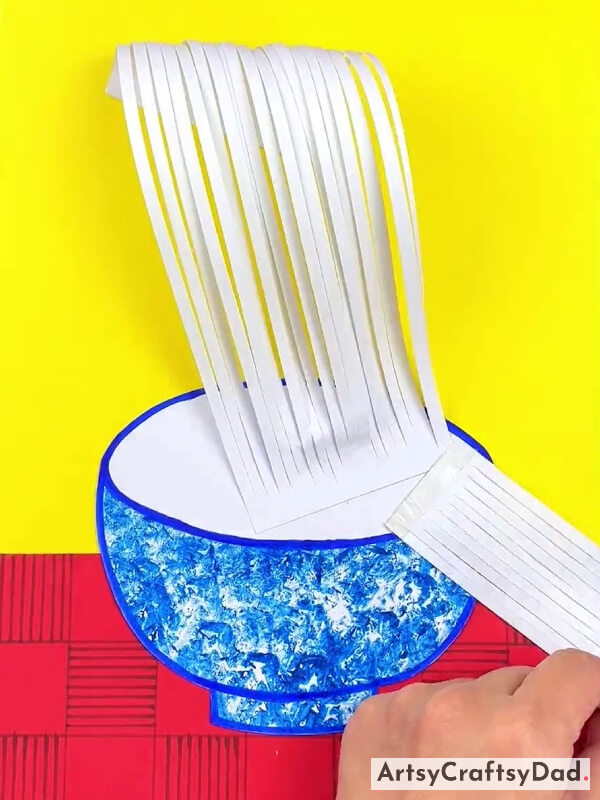
By following the same process make one more noodle strip but smaller in size & paste it on the other strip on the bowl.
Step #14: Folding Noodle Strip In Round Manner
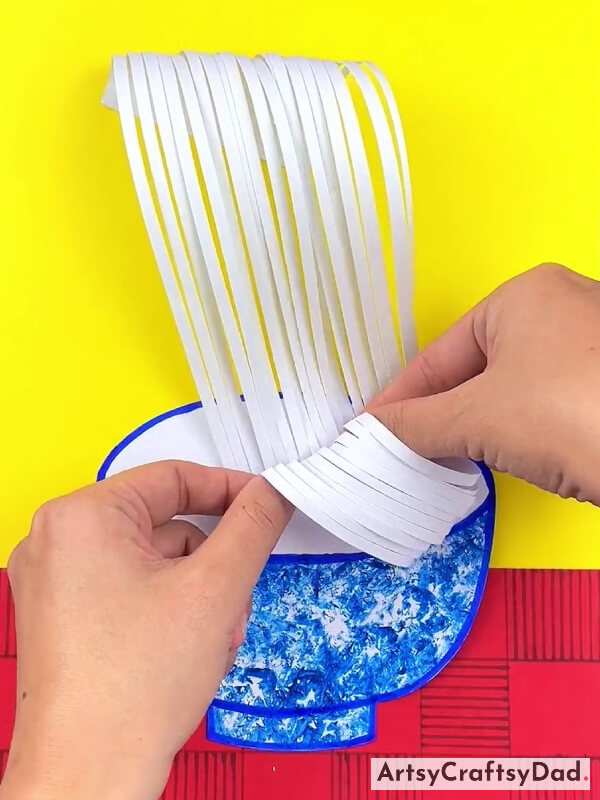
Now, hold the end of a small noodle strip & fold it up in a round manner & after folding apply some glue on the noodle strip & paste it on the bowl.
Step #15: Pasting Egg
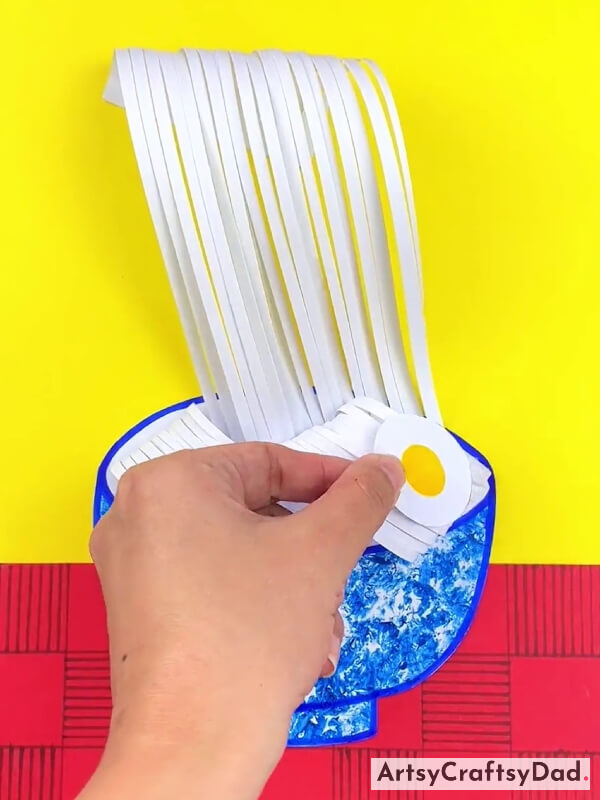
Take a piece of white paper & cut it into the egg shape & draw the egg yolk part on the egg shape with a yellow color sketch. Paste the egg shape on the top bowl near the noodles.
Step #16: Pasting Another Egg
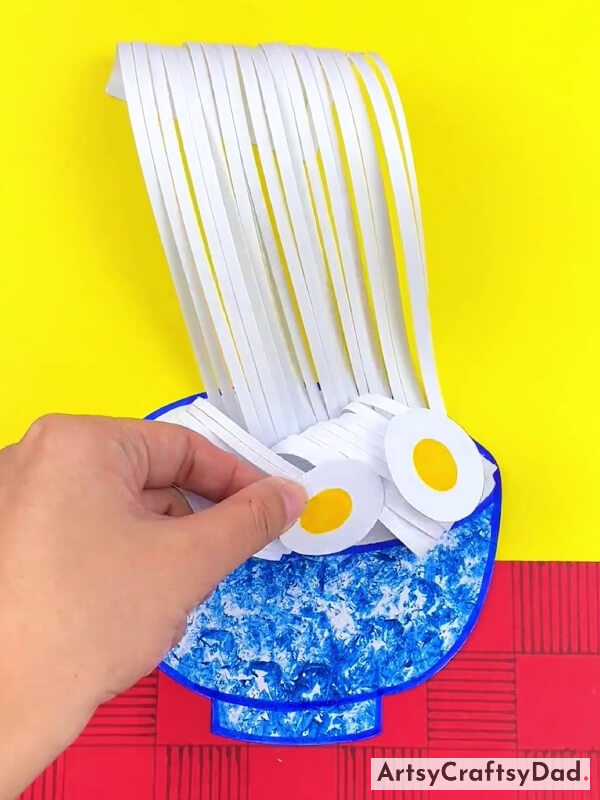
Make one more egg by the same process & paste it near the previous egg.
Step #17: Making More Items
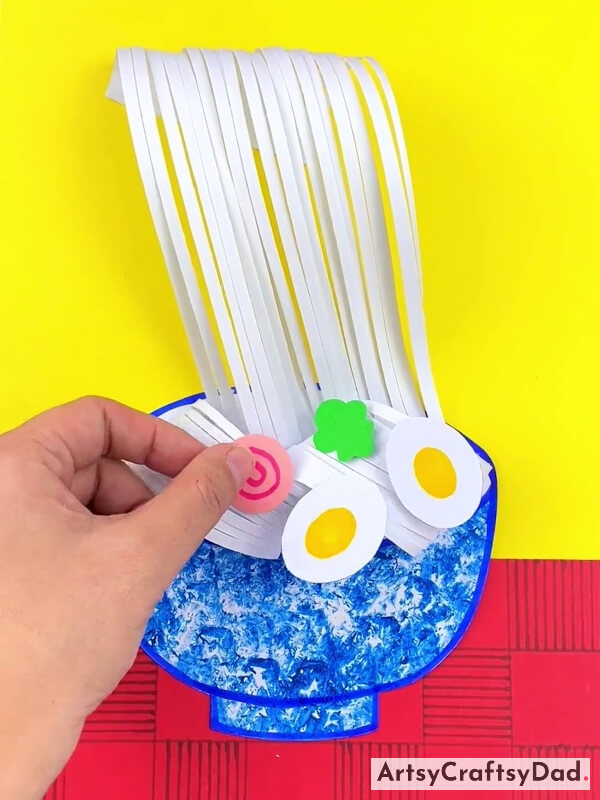
Paste some food items in the bowl.
Step #18: Pasting All Items
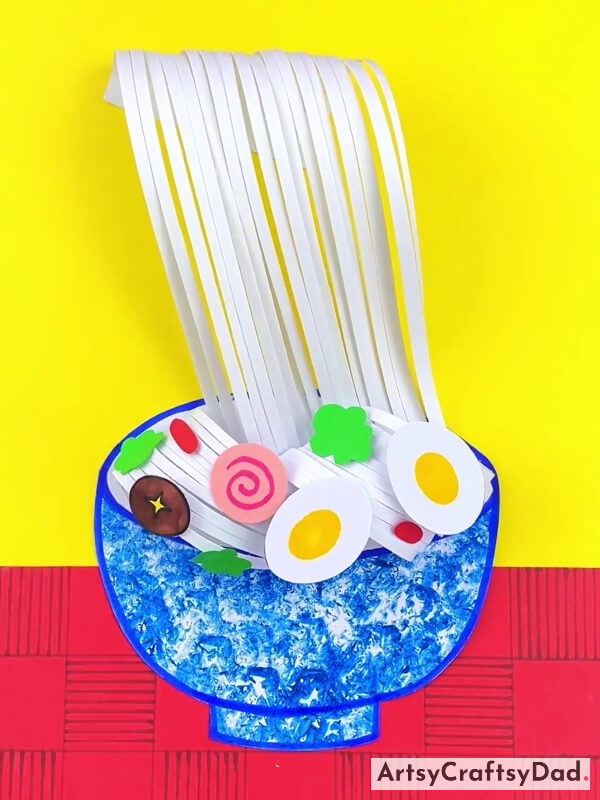
Paste more items in the bowl.
Step #19: Pasting One Chopstick
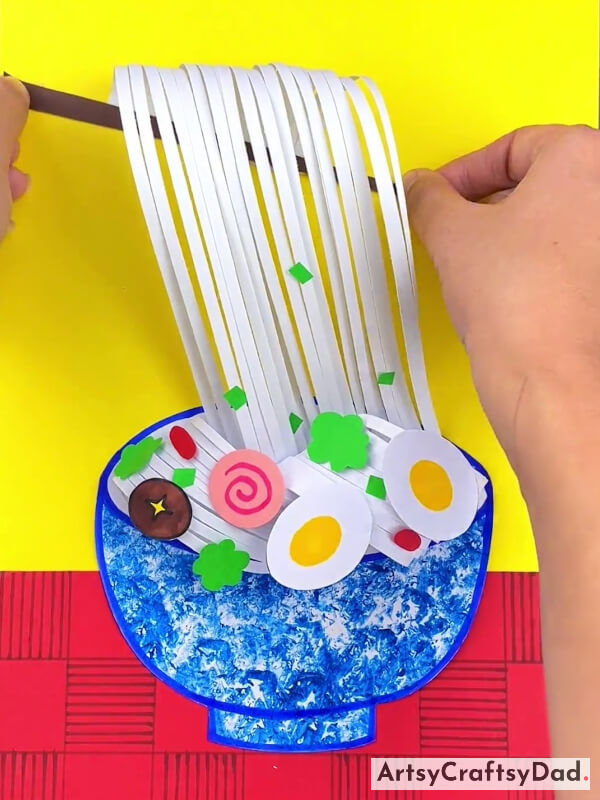
Take a piece of brown color paper & cut it into a strip for the chopstick & paste it under the noodle strip.
Step #20: Pasting Another Chopstick
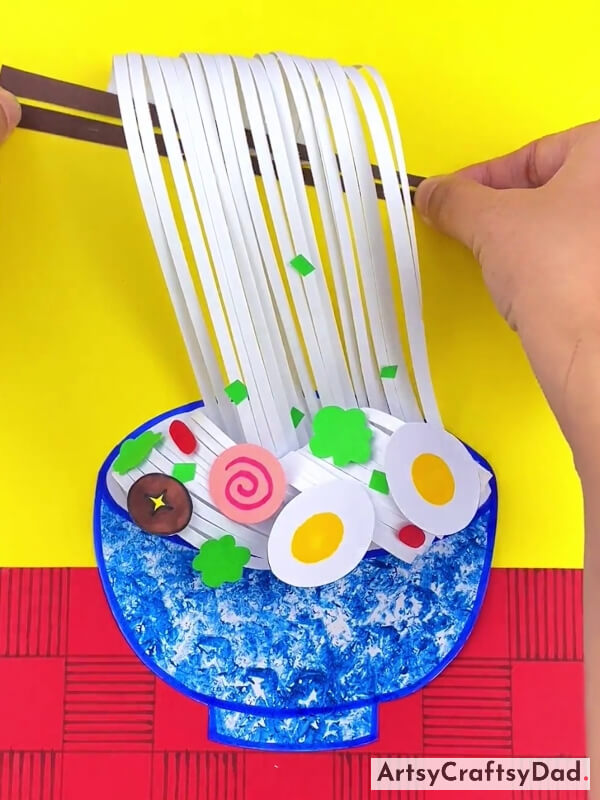
By following the same process make one more chopstick & paste near the other chopstick.
Finally, Our Handmade Hot Ramen Bowl Craft Is Ready!
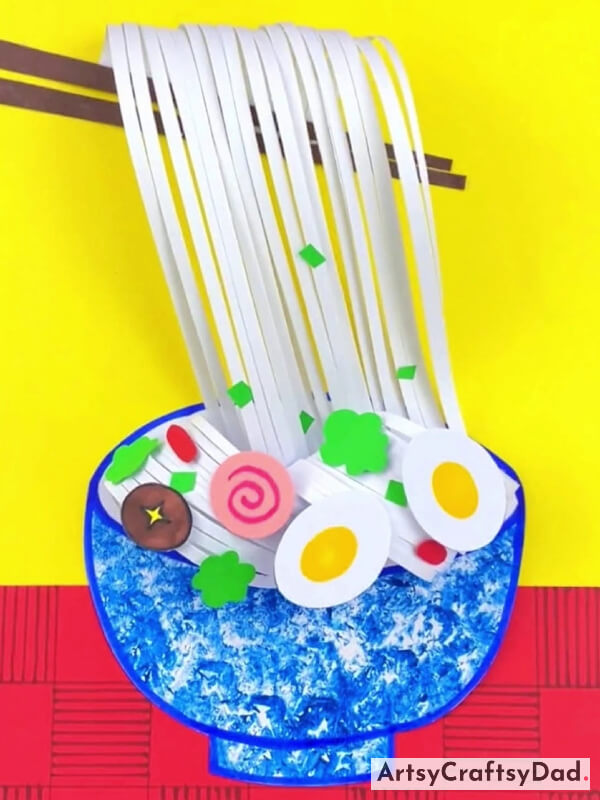
Our hot ramen bowl craft is ready.
In conclusion, the handmade hot ramen bowl craft tutorial for kids is a fun and engaging activity that not only allows children to express their creativity but also teaches them important skills such as patience, attention to detail, and problem-solving. By following the step-by-step instructions and using everyday materials, kids can create their own personalized ramen bowls that they can proudly display or use during pretend play. This craft tutorial is not only a great way to keep children entertained but also encourages them to explore different cultures and cuisines. So gather your materials and get ready to embark on a delightful culinary craft adventure with your little ones!
You Might Also Like
- Handmade Origami Cock/Hen Tutorial
- Thread Lanterns Tutorial – Handmade Craft
- Paper Heart Origami Craft Tutorial For Kids
- Paper Origami Sofa Craft Tutorial For Kids
- DIY Paper Princesses Pencil Topper Craft Tutorial For Kids


