Looking to get creative with your crafting? Check out our step-by-step tutorial for beginners on creating a beautiful stamping apple tree craft. Discover tips and tricks for achieving stunning results with different stamping techniques and materials. Perfect for both kids and adults.
Welcome to our tutorial on stamping apple tree craft for beginners! If you have always been fascinated by the art of stamping and want to try your hand at creating beautiful apple tree designs, then you have come to the right place. In this tutorial, we will guide you through each step of the process, from gathering the necessary materials to creating your unique apple tree stamp. Whether you are a complete beginner or have some experience in stamping, this tutorial is designed to be easy to follow and enjoyable for all skill levels.
Apple Tree Craft Tutorial For Kids
Must Read: Colorful Tree Earbud Stamping Artwork For Kids
Supplies & Tools
- White Drawing Sheet
- Acrylic Paint (Yellow, Light Green, Dark Green, and Black Paint)
- Stamp
- Colored Clays (Red, Sky-Blue)
- Sketch Pen (Black, White)
- Earbud
- Paint Brush
- Transparent Acrylic Sheet
Apple Tree Instructions
Step #1: Drawing Tree Trunk Part
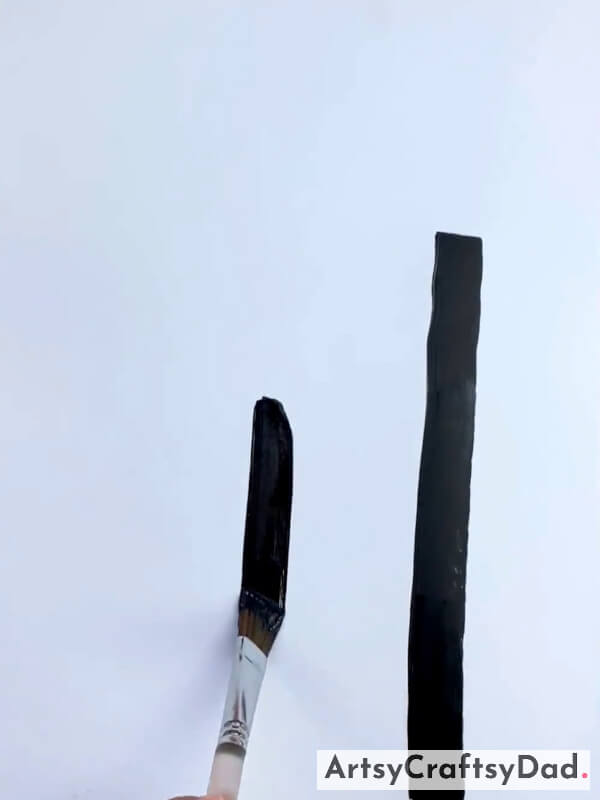
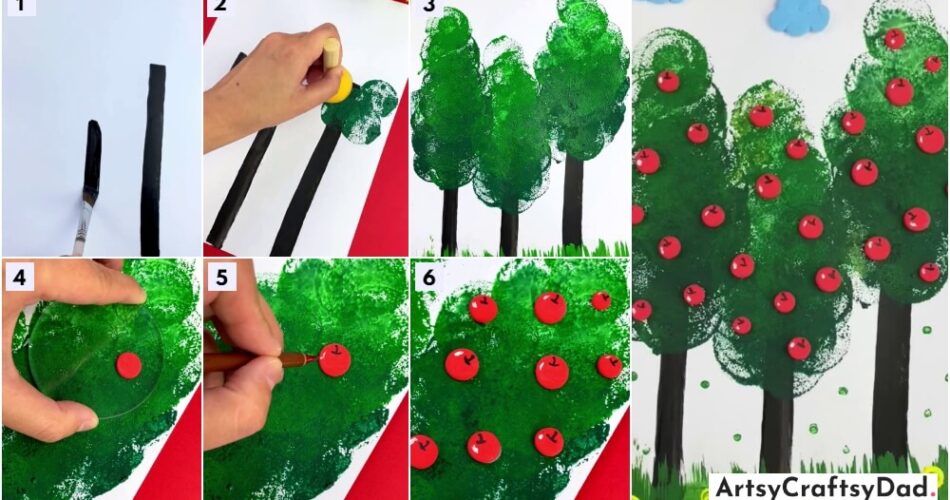
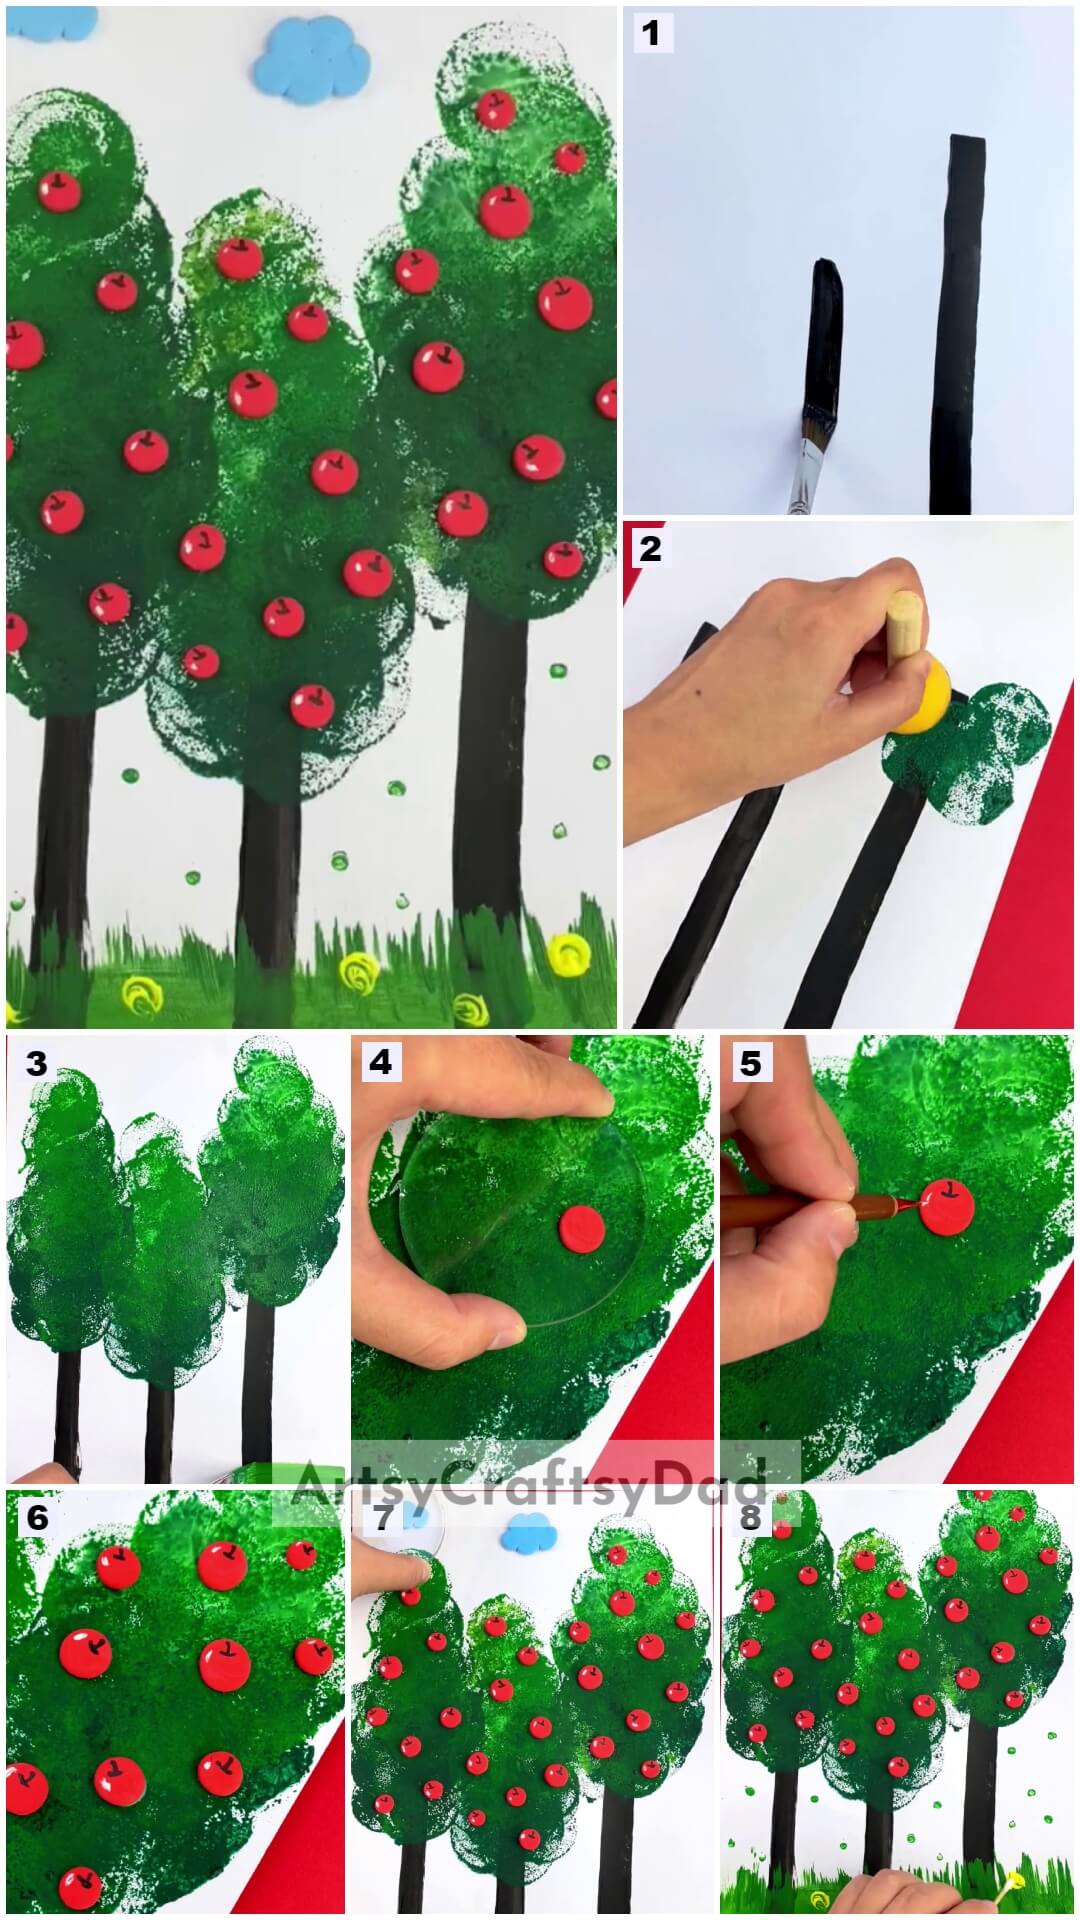
For the first step, take a white drawing sheet of paper. Then, grab a clean paintbrush and black paint then dip the paintbrush into the black paint. Now, one by one, draw the two tree trunk parts on the paper.
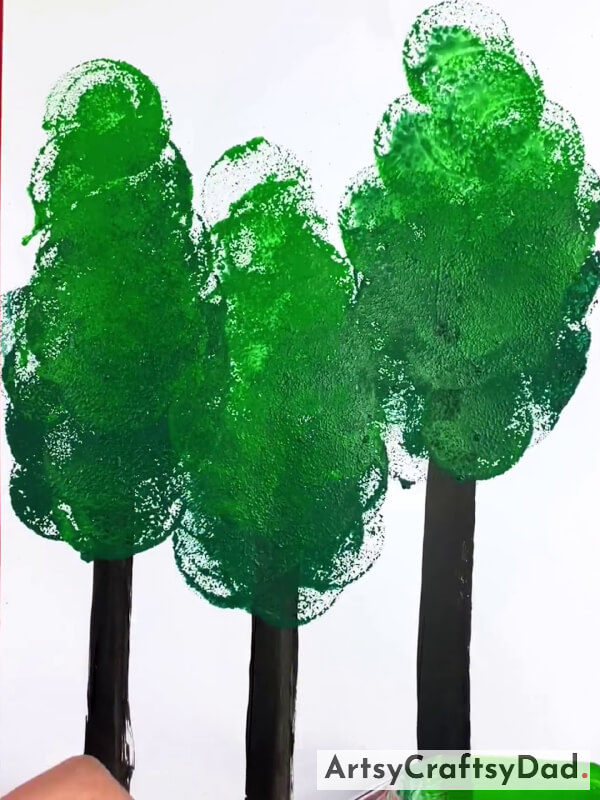
Step #2: Completing Drawing Trees Trunk Parts
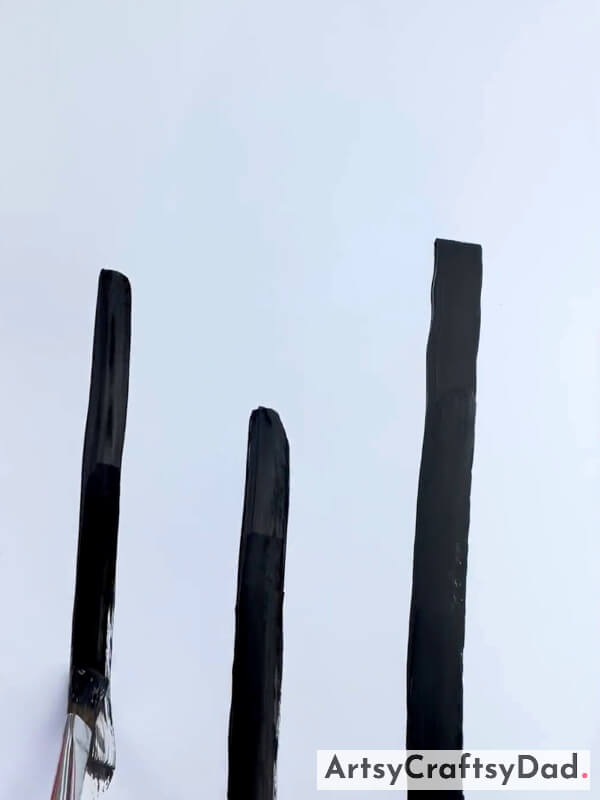
In this step, we complete drawing three tree trunk parts and the middle tree trunk should be shorter than the other two.
Step #3: Making Leaves Of Trees Using Stamp
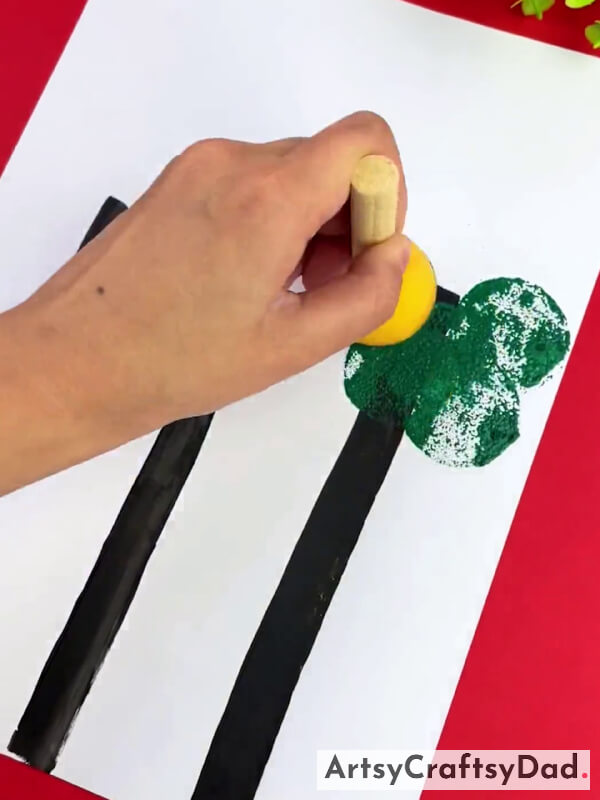
In this step, take a stamp & darker green color paint. Then dip the stamp into the paint & start making the leaves of the tree using the stamp on the upper part of the tree trunk.
Step #4: Making Leaves By Stamping Light Green Color
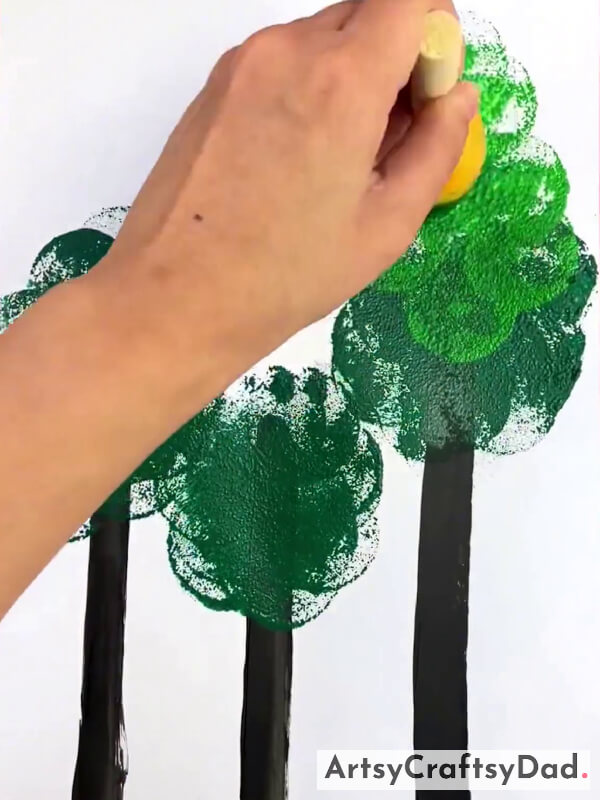
Now, follow the same process for the rest two tree trunks. Take light green paint & dip the stamp into it & start making light green leaves by stamping on the dark green leaves.
Step #5: Drawing Grass On The Bottom Side
Draw grass at the bottom of the trees using a paintbrush with a light green color.
Step #6: Completing Drawing Grass
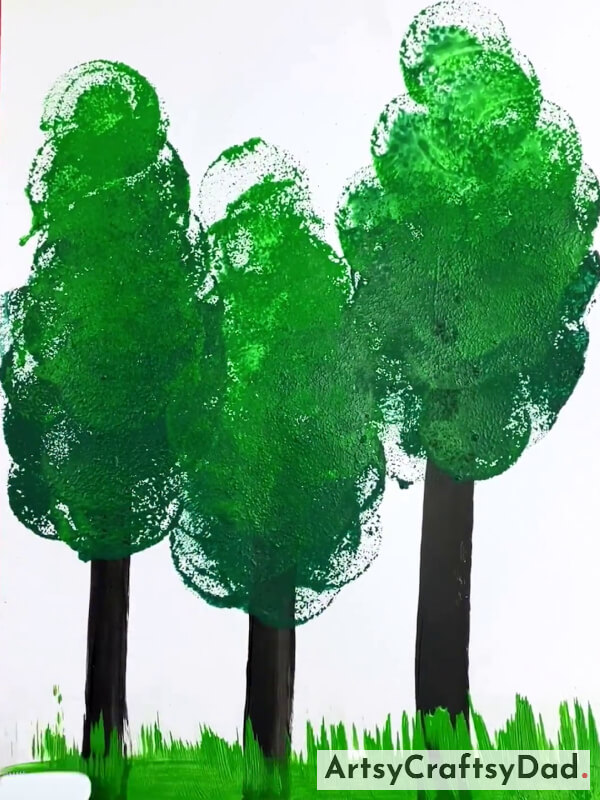
Now, your trees are ready with Grass. It’s time to add more detail to the art with additional items or colors.
Step #7: Making An Apple With Clay
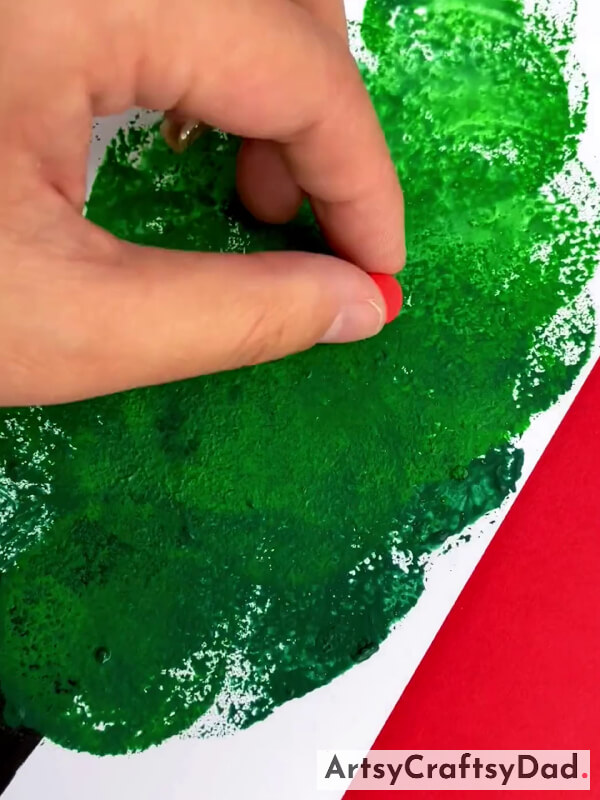
Take red color clay & make a little circle to make an apple then paste it on the tree leaves.
Step #8: Pressing Red Clay Ball
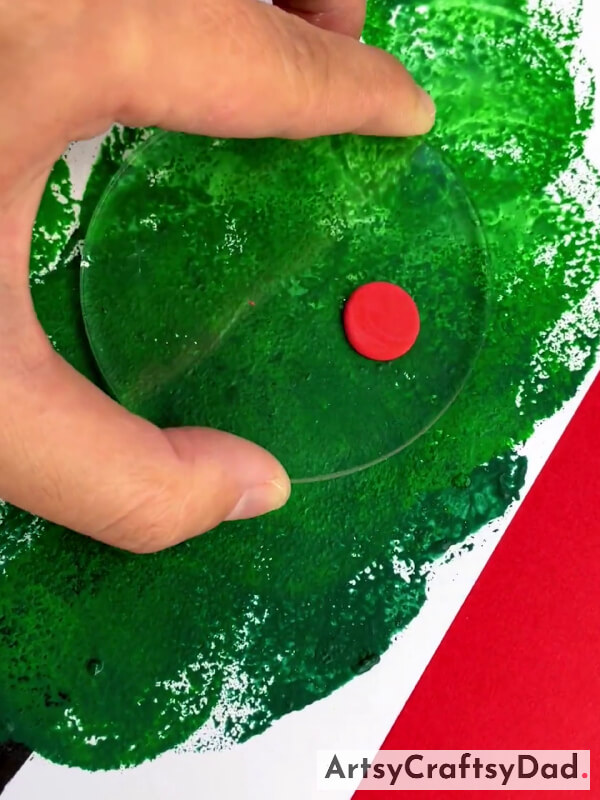
Now, take a circular transparent acrylic sheet & press the red clay ball by applying some pressure with your hand.
Step #9: Adding Details To The Apple
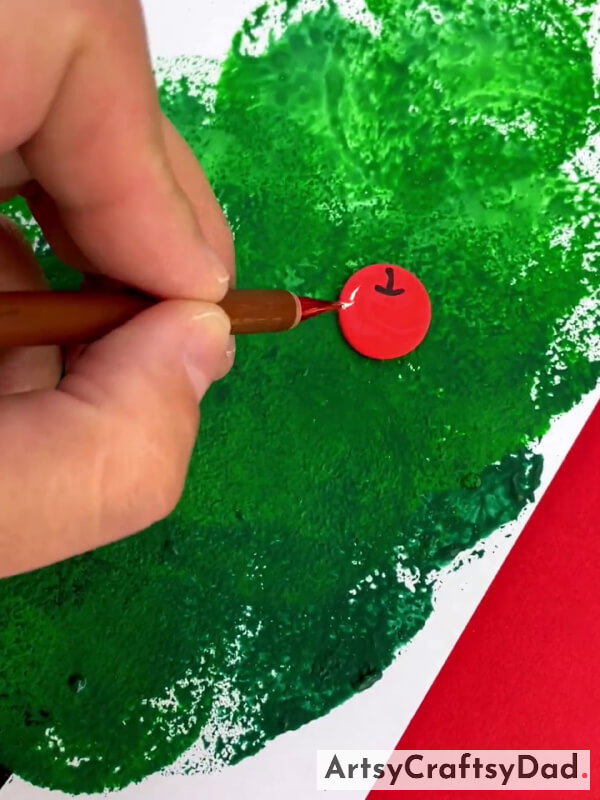
Using black and white pens, add details to the clay to make it look like an apple, as shown in the image above.
Step #10: Making More Apples

Make some more apples by the same process & paste them all on tree leaves as you see in the above image.
Step #11: Completing Trees With Apples
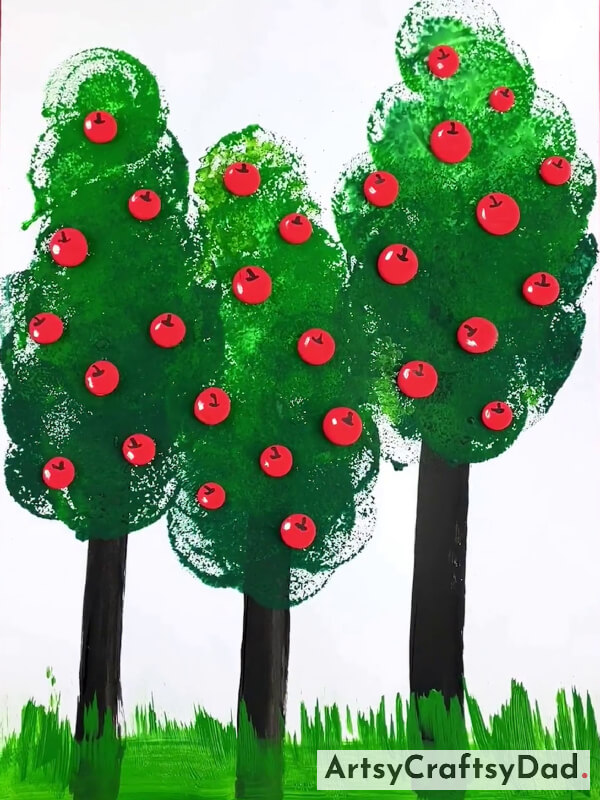
Make more apples by the same process for rest two trees.
Step #12 : Making Cloud With Clay
Take sky-blue color clay & make four balls of similar size from it then paste them on the top of the middle tree as you see in the above image.
Step #13: Pressing Clay Balls To Make Cloud
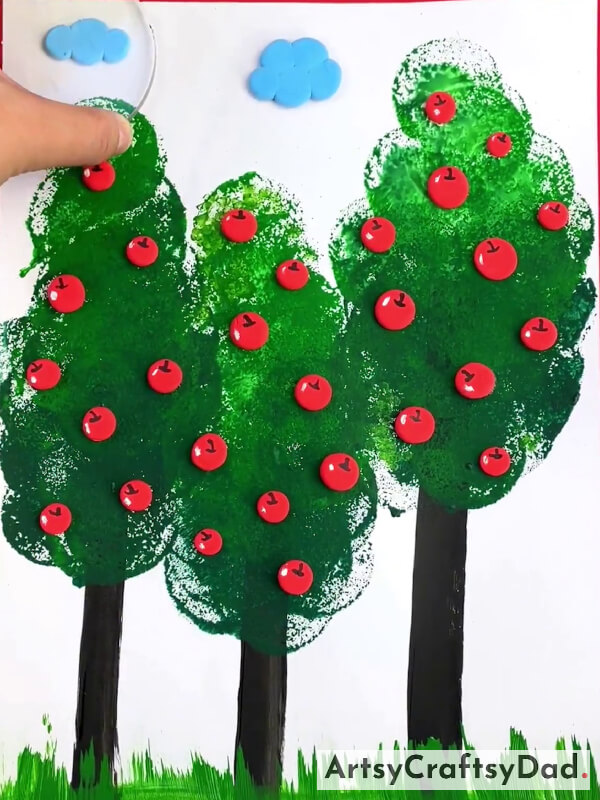
Now, once again, take a transparent acrylic sheet and place it above the sky-blue clay balls. Press the tray with hand power to shape the clay, resembling clouds.
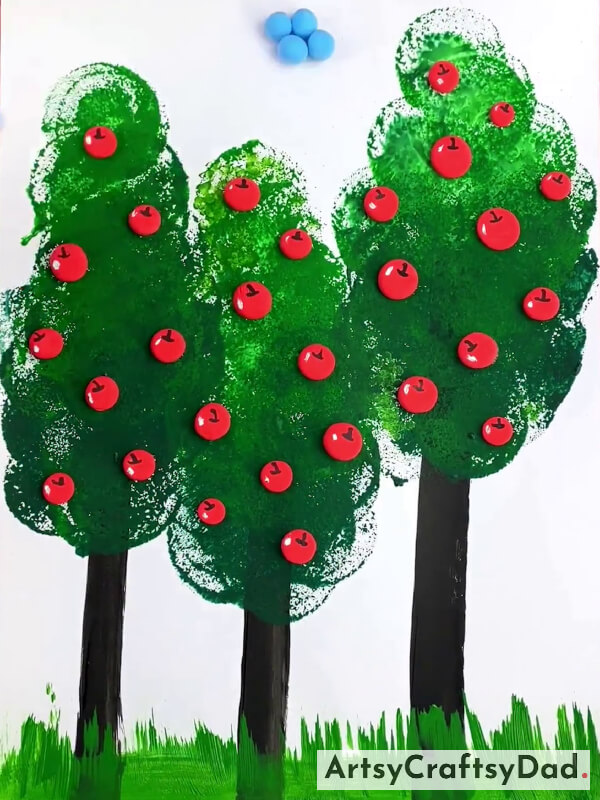
Step #14: Drawing Falling Leaves and Flowers Using Earbuds
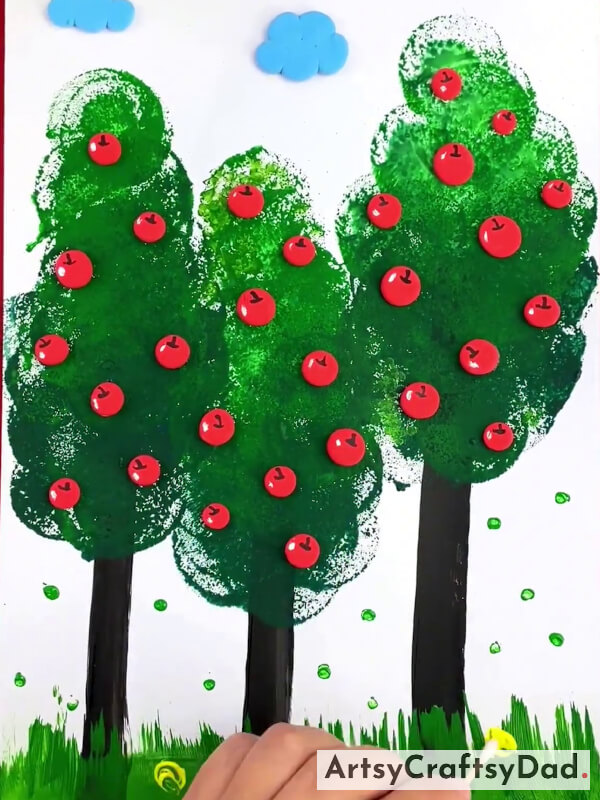
Take green paint & an earbud dip it into the green paint then draw some dots on the white sheet that represent falling leaves. After that take yellow paint & take another earbud & dip it into yellow paint & draw flowers on the grass.
Your Beautiful Apple Tree Craft Is Ready!
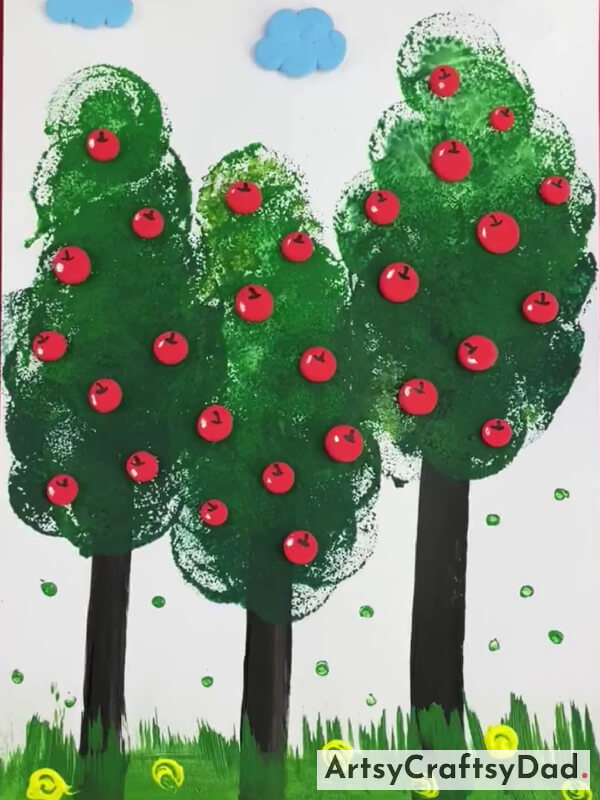
Complete our craft by drawing some more yellow flowers by repeating the same process. Voila! Your Creative Apple Tree craftwork using clay and stamps is ready to be showcased!
In conclusion, the stamping apple tree craft tutorial for beginners is a fun and creative way to engage in hands-on activities while also learning about nature and the changing seasons. By using simple materials and following the step-by-step instructions provided, anyone can create a beautiful and unique artwork that showcases their artistic abilities. Whether it’s for personal enjoyment or as a gift for a loved one, this craft project is sure to bring joy and satisfaction.
You Might Also Like This
- Fruit Foam Net Apple Craft Tutorial For Kindergartners
- Designer Apple Paper Craft Tutorial For Kids
- Stamping Colorful Dandelions Artwork Tutorial
- Simple Apple Craft Activities for Harvest Festival and Fall
- Bubble Wrap Pomegranates Craft Tutorial For Beginners

