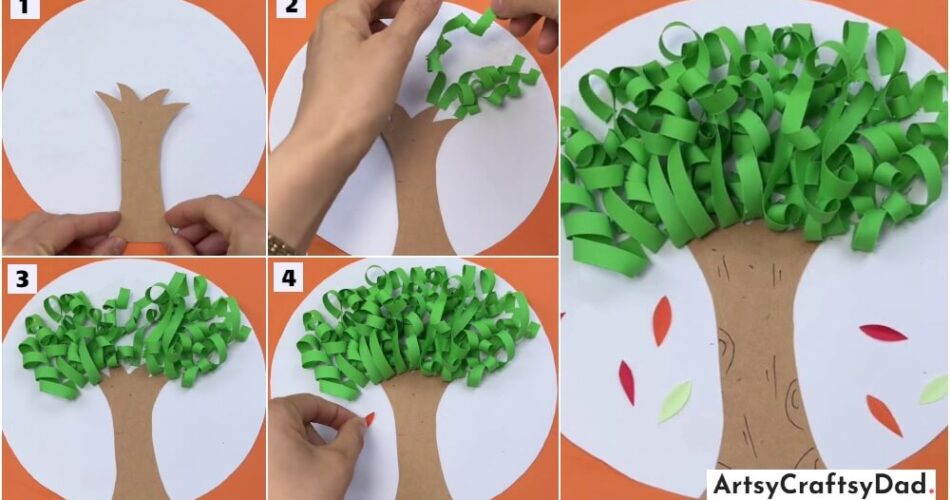
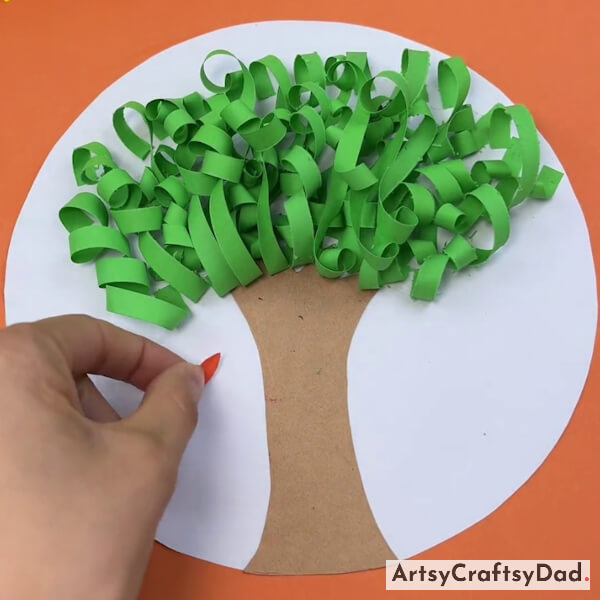
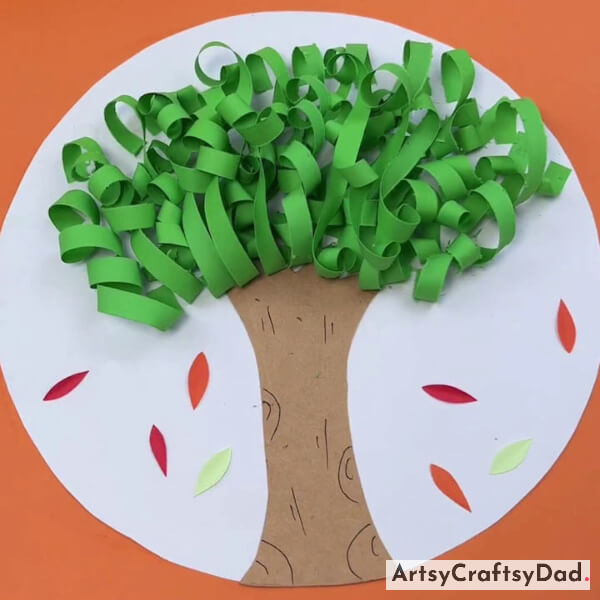
Learn how to create a beautiful tree craft using paper strips with our step-by-step tutorial. This fun and easy DIY project is perfect for kids and adults alike. Follow along as we guide you through each stage of the process, from gathering your materials to shaping and assembling the strips into a stunning tree shape. Get creative and customize your tree with different colors and patterns.
Hello, my friends! Today we will make a lovely paper strip tree craft. In this craft tutorial, we will give you step-by-step detailed instructions, so you can make this craft without facing any difficulty. This craft is good for the kids because it is easy for kids to make & this craft also develops children’s creativity & increases their interest in the crafts. You only need some simple materials to make this craft like different colored craft papers, scissors, and glue. So grab your materials and get ready to have some crafting fun with your little ones!
Easy Paper Strips Tree Craft Tutorial For Kids
Must Read: Dumpling Dragon Boat Paper Craft Step-By-Step Tutorial
Supplies & Tools
- White Drawing Sheet
- Colour Paper(Brown, Green, Orange, Red, Pastel Green)
- Glue
- Scissors
Strips Tree Instructions
Step #1: Making Tree Trunk
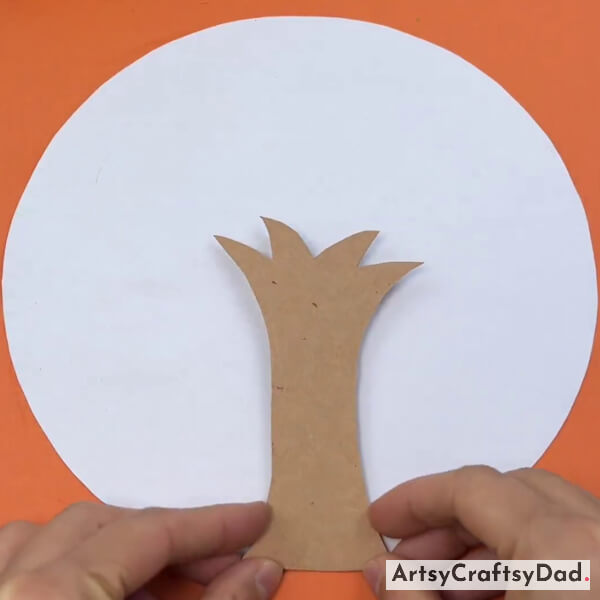
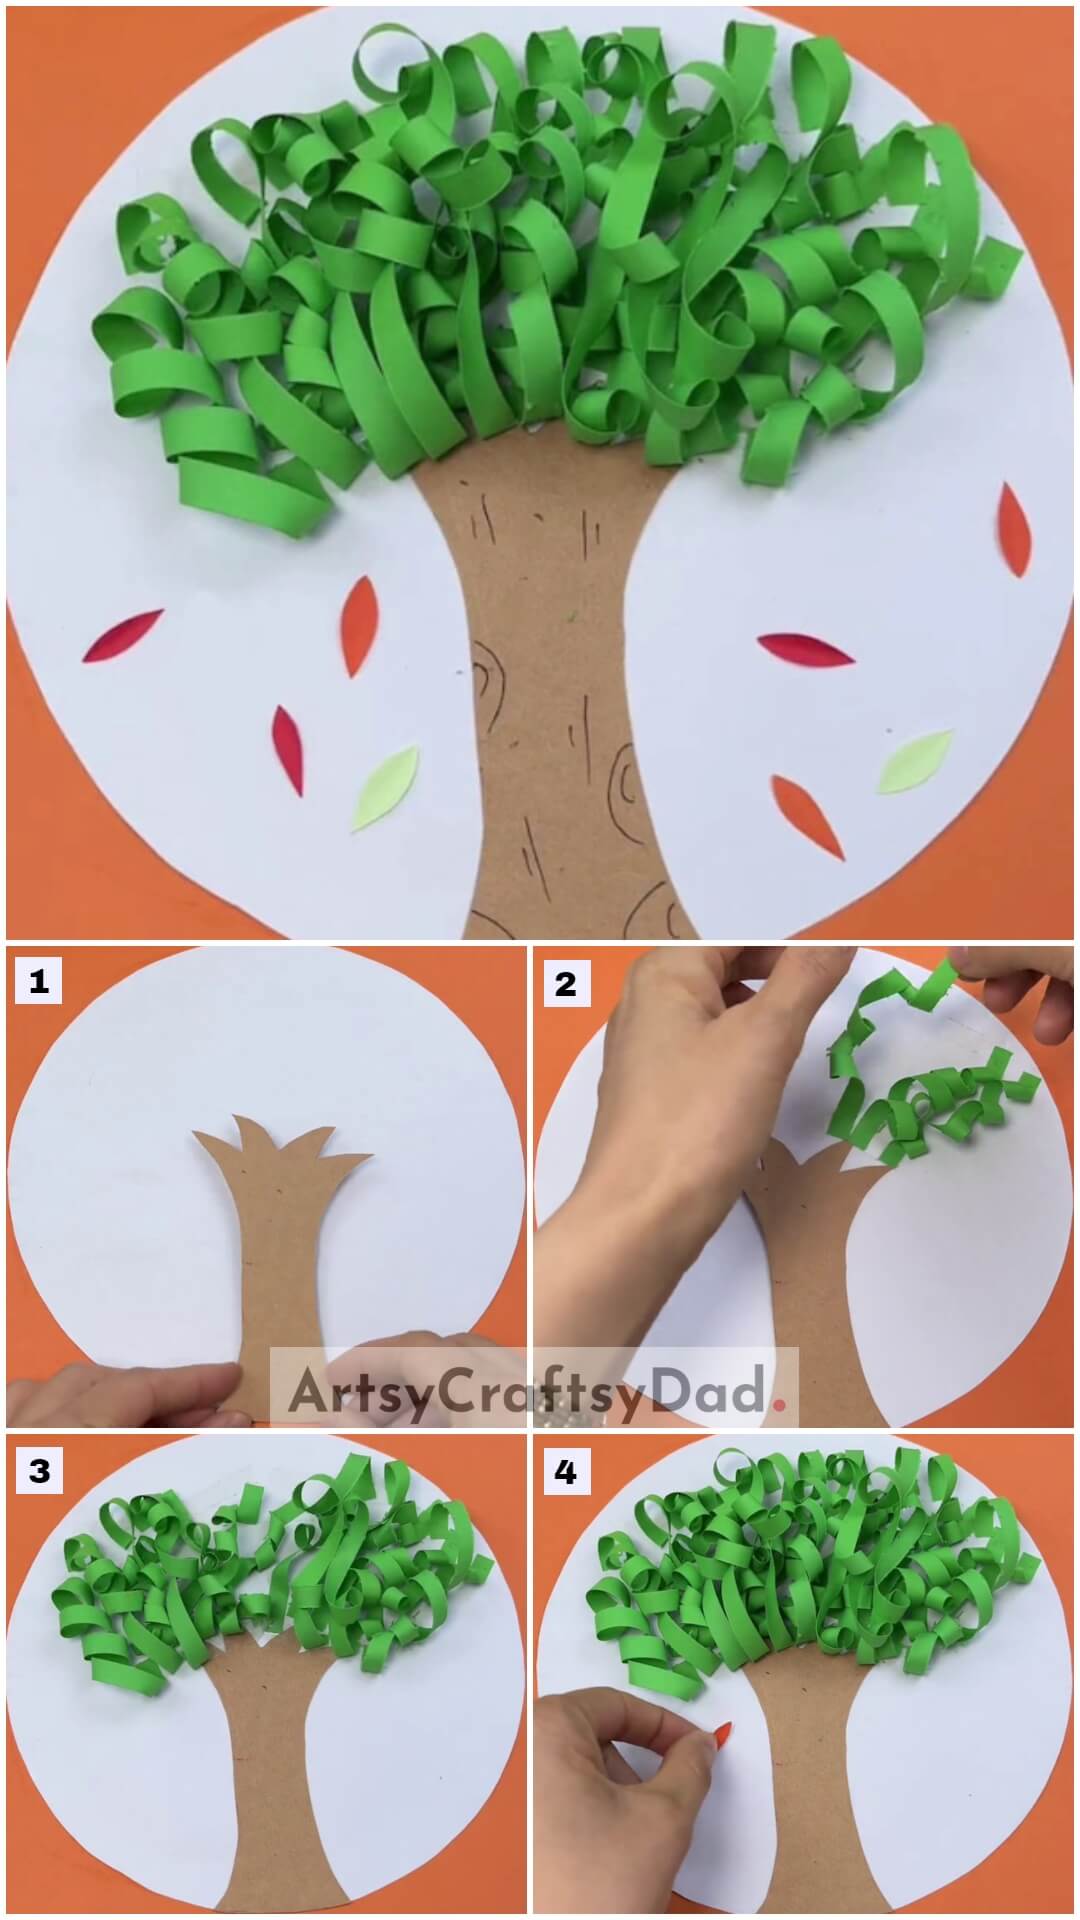
Create a big circle on a white drawing sheet, & then carefully cut it out & use it as a craft base. Take a brown paper & cut it out in a tree trunk shape and paste it on the lower side of the craft base.
Step #2: Start Making Paper Strips
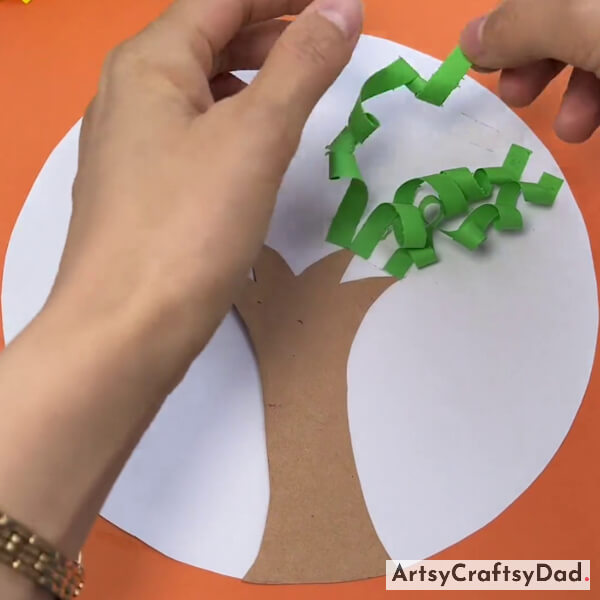
After that, take green paper & cut it out into long green paper strips as tree leaves and paste them on top of the trunk.
Step #3: Pasting Paper Strips
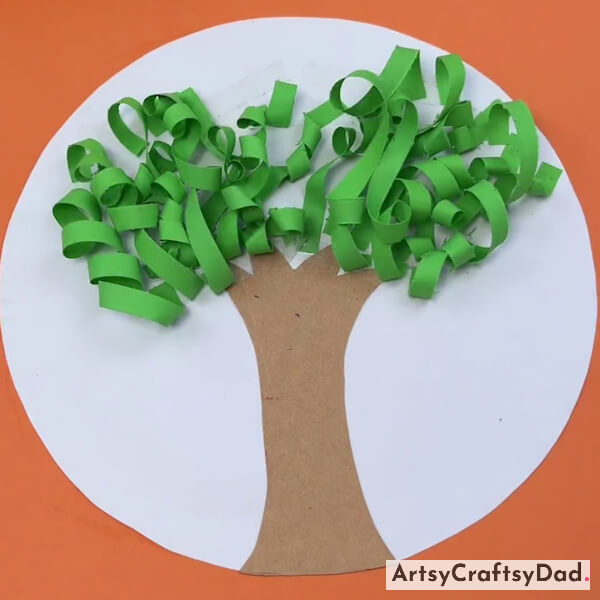
Continue pasting paper strips on the complete tree by the same process.
Step #4: Making A Small Falling Leaf
Take orange color paper & make a small leaf and paste it under the tree.
Complete Look Of Paper Strips Tree Craft!
Make two more orange leaves & paste them on the craft base. Now, make some more leaves using red, and pastel green paper & paste them using the same process. Pick a black marker and draw some details on the tree trunk to make it craft realistic and beautiful. Now, with this, our final craft is completed here.
This fun journey of making strip tree crafts is ended here. I hope you have enjoyed making crafts as I did. This craft was easy but beautiful at the same time. Kids could decorate their room with this lovely craft & whenever your friends come to your home they will see your creation & feel proud of you. Also, you could customize it by adding your ideas. Don’t forget to drop your feedback in the comment section.
Thanks for choosing us! Have a nice day!
You Might Also Like This
- How To Make Paper Fish Aquarium Step By Step Tutorial
- Clay Tomato Step By Step Craft Tutorial For Kids
- Leaf Fox Craft Step-by-Step Tutorial For Kids
- Easy To Make 3D Tree Craft Tutorial For Kids
- Clay Heart Leaf Tree Craft Tutorial For Kids
