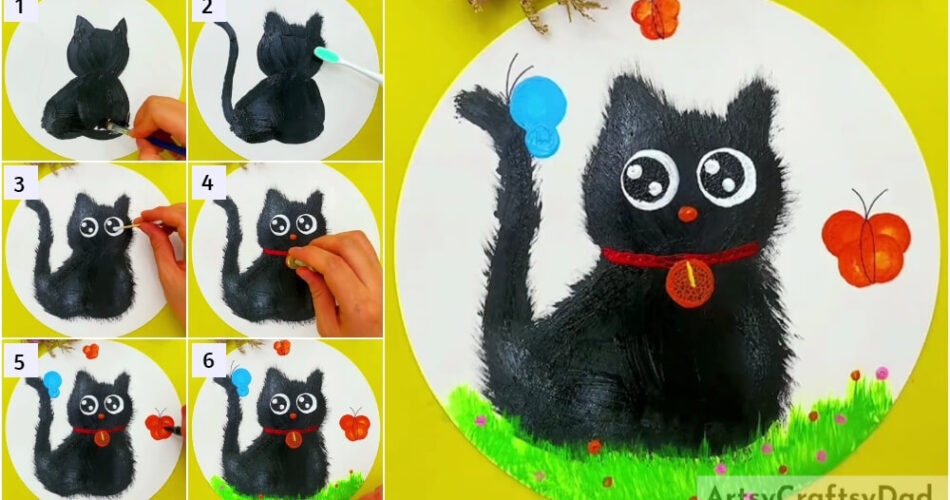
Discover a beginner’s tutorial on painting a black cat in a garden. Learn step-by-step techniques to create a captivating masterpiece that combines the beauty of felines with vibrant garden scenery.
Welcome to our beginner’s tutorial on painting a black cat in a garden! In this step-by-step guide, we will explore the techniques and tools required to create a beautiful and enchanting painting of a black cat amidst a vibrant garden setting. Whether you’re a novice or an aspiring artist, this tutorial is designed to help you unleash your creativity and create a stunning masterpiece.
Cute Black Cat In Garden Painting For Kids
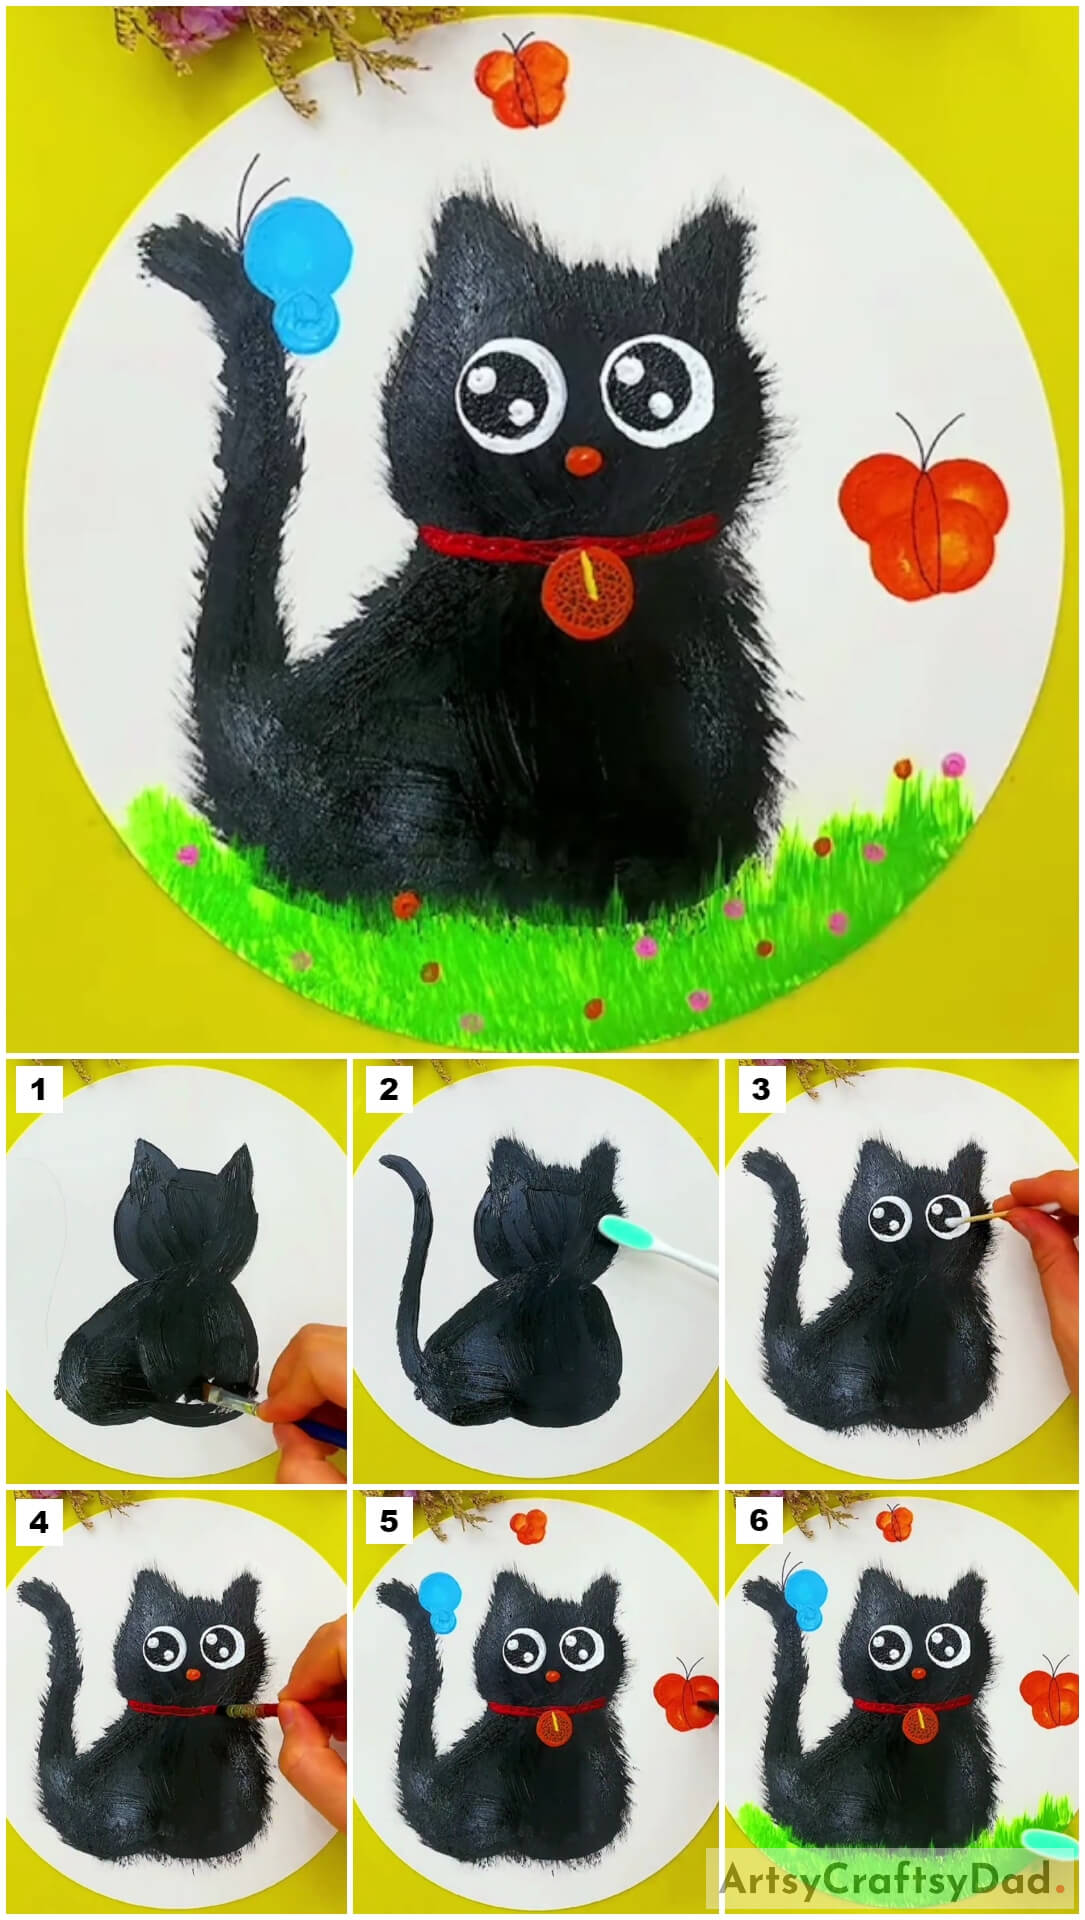
Must Read: Shaded Cactuses: Stamp Painting Step-by-Step Tutorial
Supplies & Tools
- Scissors
- Paints (Black, Red, White, Sky Blue, Orange, Green, Pink)
- Paint Brush
- Colored Papers (White, Yellow)
- Stamp
Black Cat In Garden Painting Tutorial
Step #1: Painting Cat Shape With The Black Paint
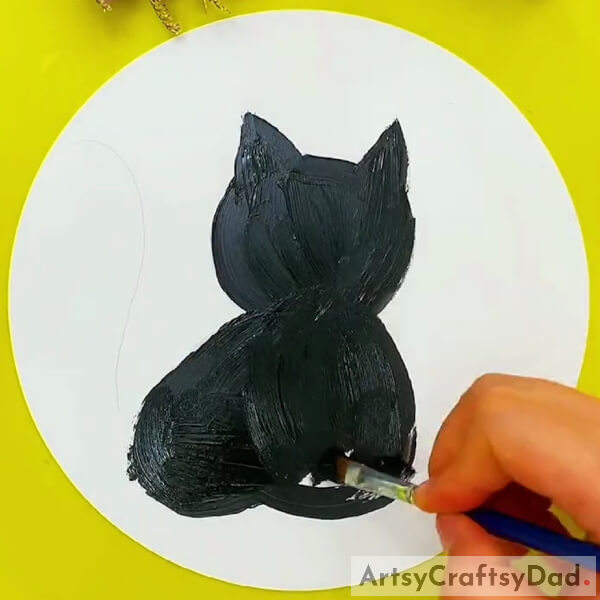
Take a piece of white paper & cut it into the shape of a circle with the help of scissors. Now, paste it on the yellow paper with the help of glue & use a paintbrush, to make a cat shape with black color paint on a white circle.
Step #2: Using A Brush
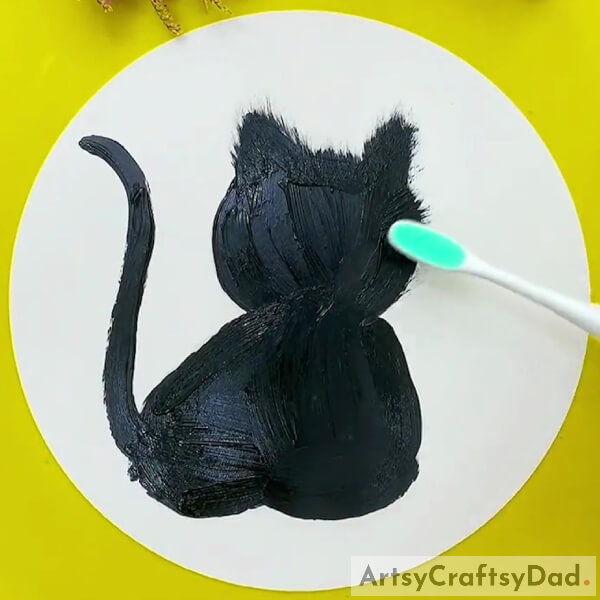
Now, use a brush & make cat hair by rubbing that plastic stick on the paint.
Step #3: Making White Circles Using Stamp
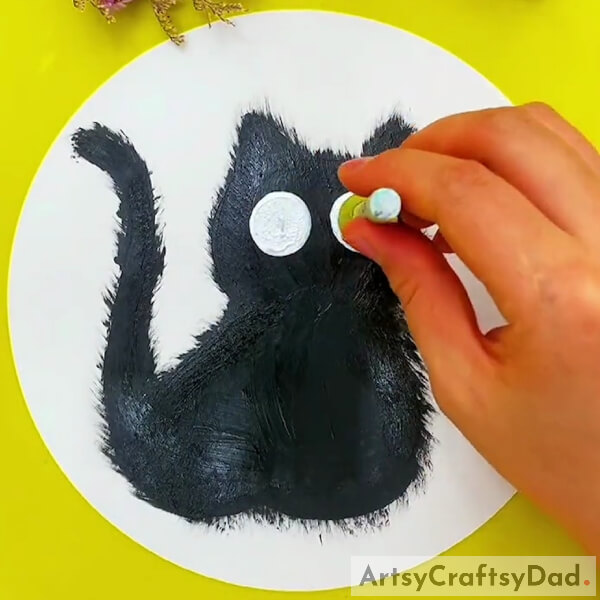
Now, we use a stamp for the eyes of the cat. Here we use white paint & with the help of a stamp make two circles on the head of a cat.
Step #4: Making Black Circles Using Stamp
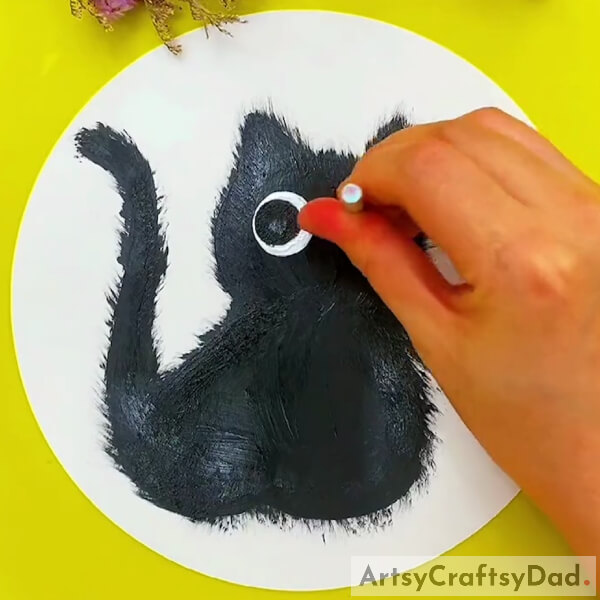
Now, take another small-sized stamp & make two little black circles on two white circles.
Step #5: Making Dots Using Cotton Buds
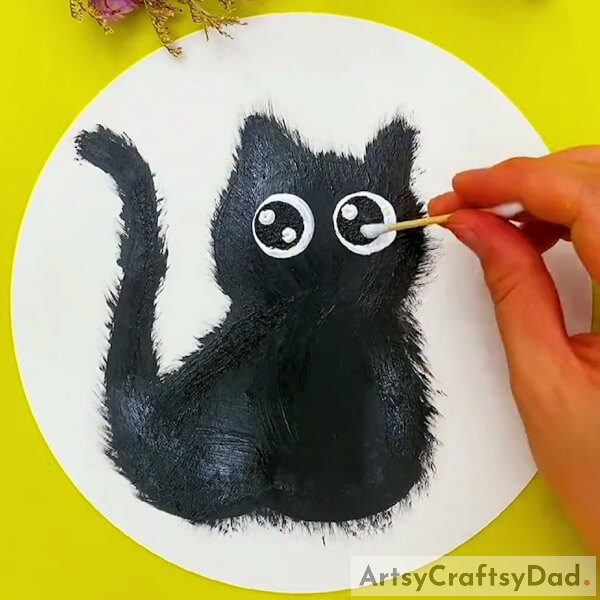
Now, use cotton buds & make two little dots on the left eye & two on the right eye of the cat with white paint.
Step #6: Drawing Collars Using Paint Brush
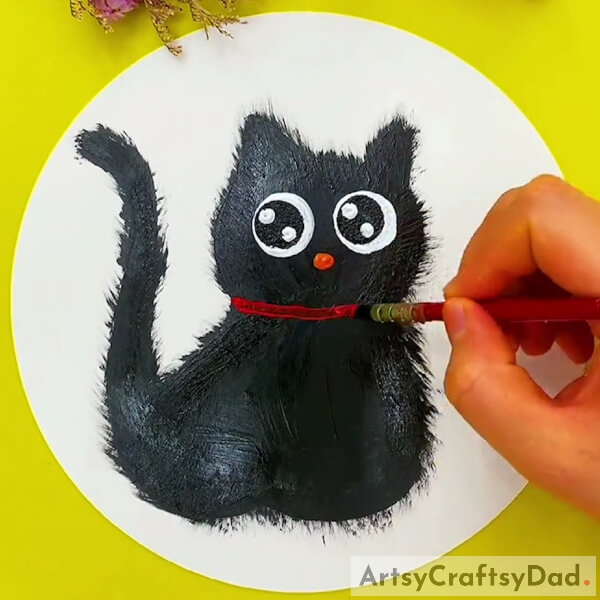
Now, we make the nose of the cat with orange paint by using a paintbrush under the eyes of the cat. Now use red paint for the collar of the cat & make a thin strip on the cat’s neck using a paintbrush.
Step #7: Making Cat’s Little Bell Using Stamp
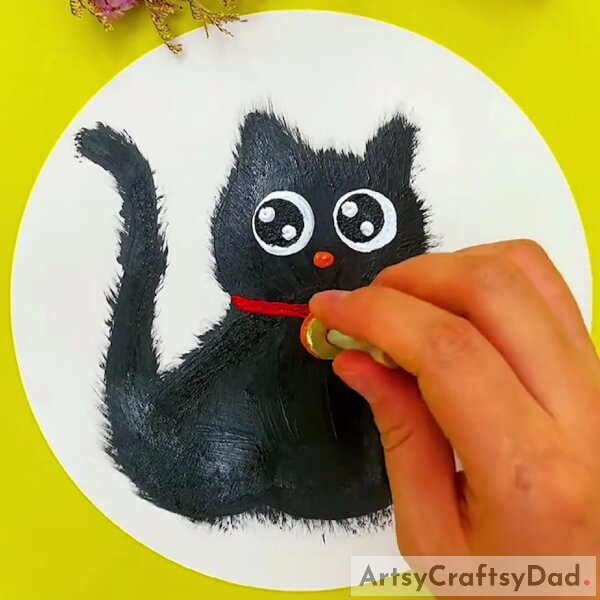
Here we going to make a little bell for the cat. Now use a stamp & make a circle on the center of the cat’s red collar from orange paint.
Step #8: Making Two Circles Using Stamp
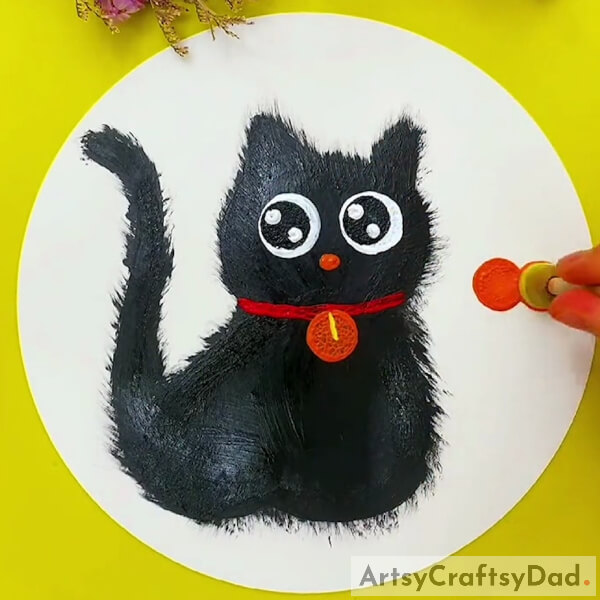
Now, again use the stamp & make two orange circles on the left middle side of the white paper circle with the help of the stamp.
Step #9: Making Two More Circles Using Stamp
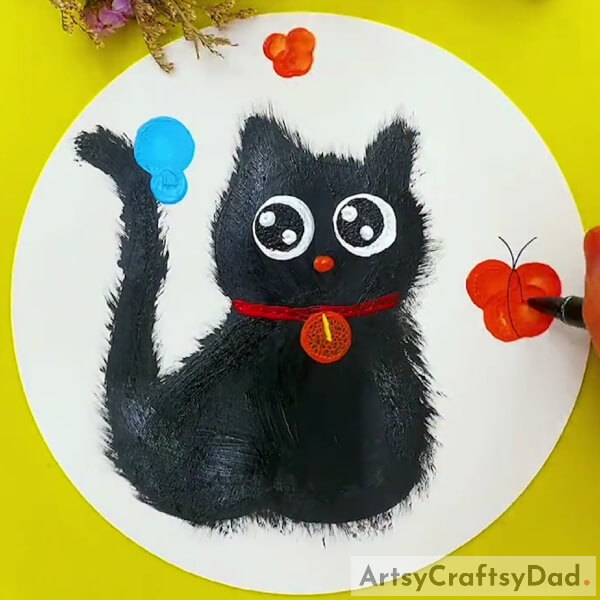
Again we use a stamp but smaller in size & make two more circles at the bottom side on those two bigger orange circles. Now use a black marker or pen & give it the look of a butterfly. Now again use sky blue paint & make two circles one is bigger & other is smaller by using stamps on the near left side of the cat’s tail.
Step #10: Making Grass
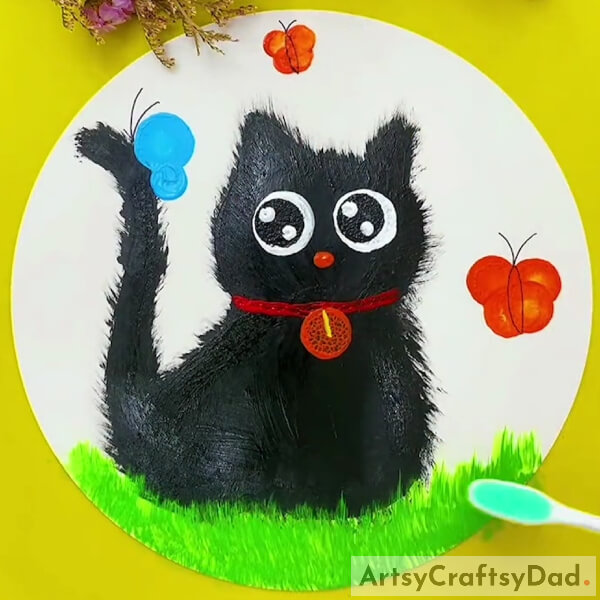
Here we going to make a garden. Use green paint & make grass at the bottom side of the cat using a paintbrush. Now use a plastic stick & rub it on green paint to give it a look of grass.
Step #11: Making Little Dots On Grass Using Different Colors
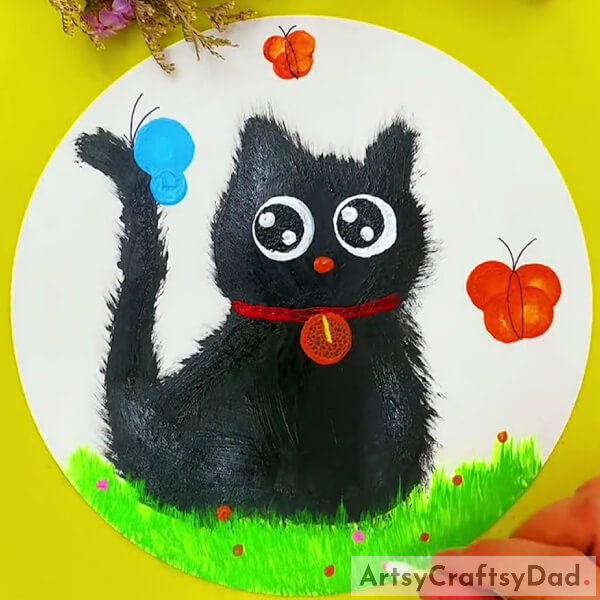
Now use orange, pink, and red, paints & make little dots on the grass by using a paintbrush.
This Is The Final Look Of Our Black Cat In Garden Painting
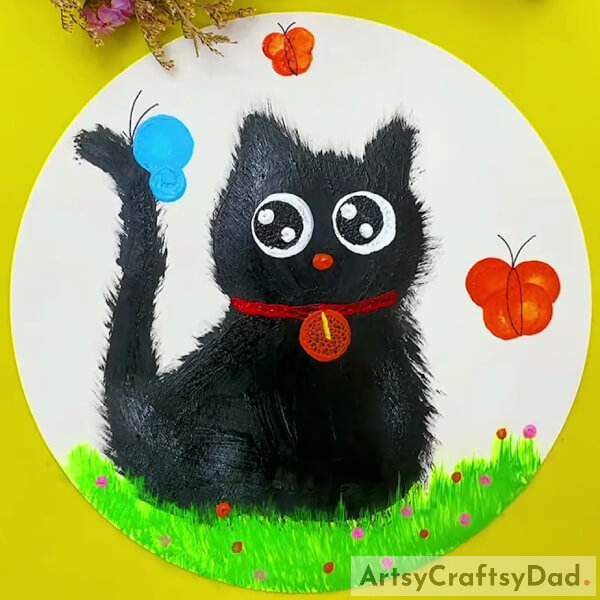
Yapee! Our Black Cat Garden Painting is ready!
In conclusion, painting a black cat in a garden can be a rewarding and enjoyable experience for beginners. By following the techniques and tips outlined in this tutorial, you can learn to capture the grace and mystery of a black cat while bringing a colorful garden scene to life on your canvas. So grab your brushes and let your imagination soar!
You Might Also Like
- Giraffe Face Painting Step-by-Step Tutorial For Kids
- Handprint Crane Painting Tutorial For Beginners
- Cotton Bud Sunflower Garden Step-By-Step Tutorial For Kids
- Mushroom Garden: Stamp Painting Tutorial For Kids
- Circle Stamp Capsicum Painting Tutorial For Beginners
