Learn how to create an adorable paper cup crown with the help of this step-by-step tutorial, this tutorial is suitable for both kids and adults.
Welcome to this paper cup and clay crown craft tutorial! In this tutorial, we are going to learn how to make colorful eye-catching paper cup crowns. To create this paper cup crown, you should have some easily available supplies, such as colored paper cups, different colored clay, pearls, colored stones, glue, double-sided tape, and scissors. This craft is suitable for kids and beginners. Let’s get started!
Crowns Craft Using Paper Cup And Clay For Beginners
Must Read: Painted Decorative Clay Vase Craft Tutorial
Supplies & Tools
- Paper Cup (Pink Color Cup Or Also Can Use White Color Cup)
- Clay (Different Colors)
- Color Stones (Mixture Of Different Colors)
- Double Sided Tape
- Glue
- Scissors
- White Pearls (You Can Take Any Color)
Crowns Craft Instructions
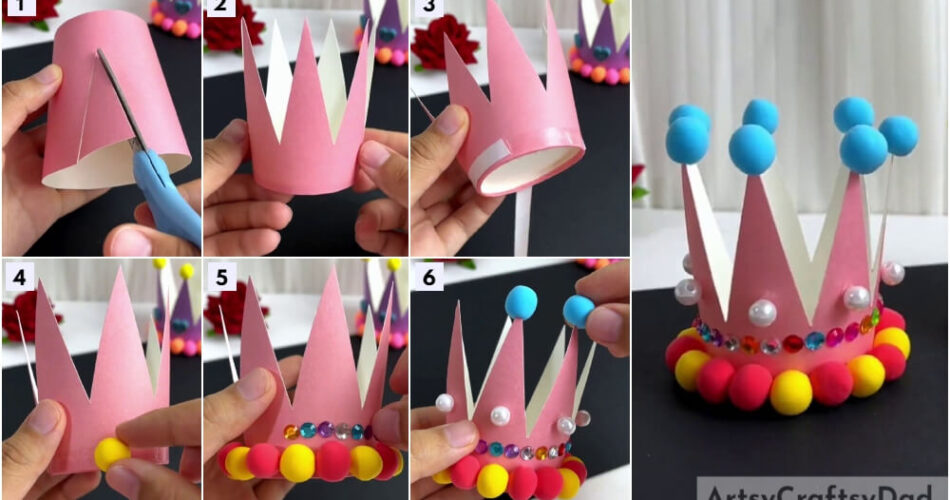
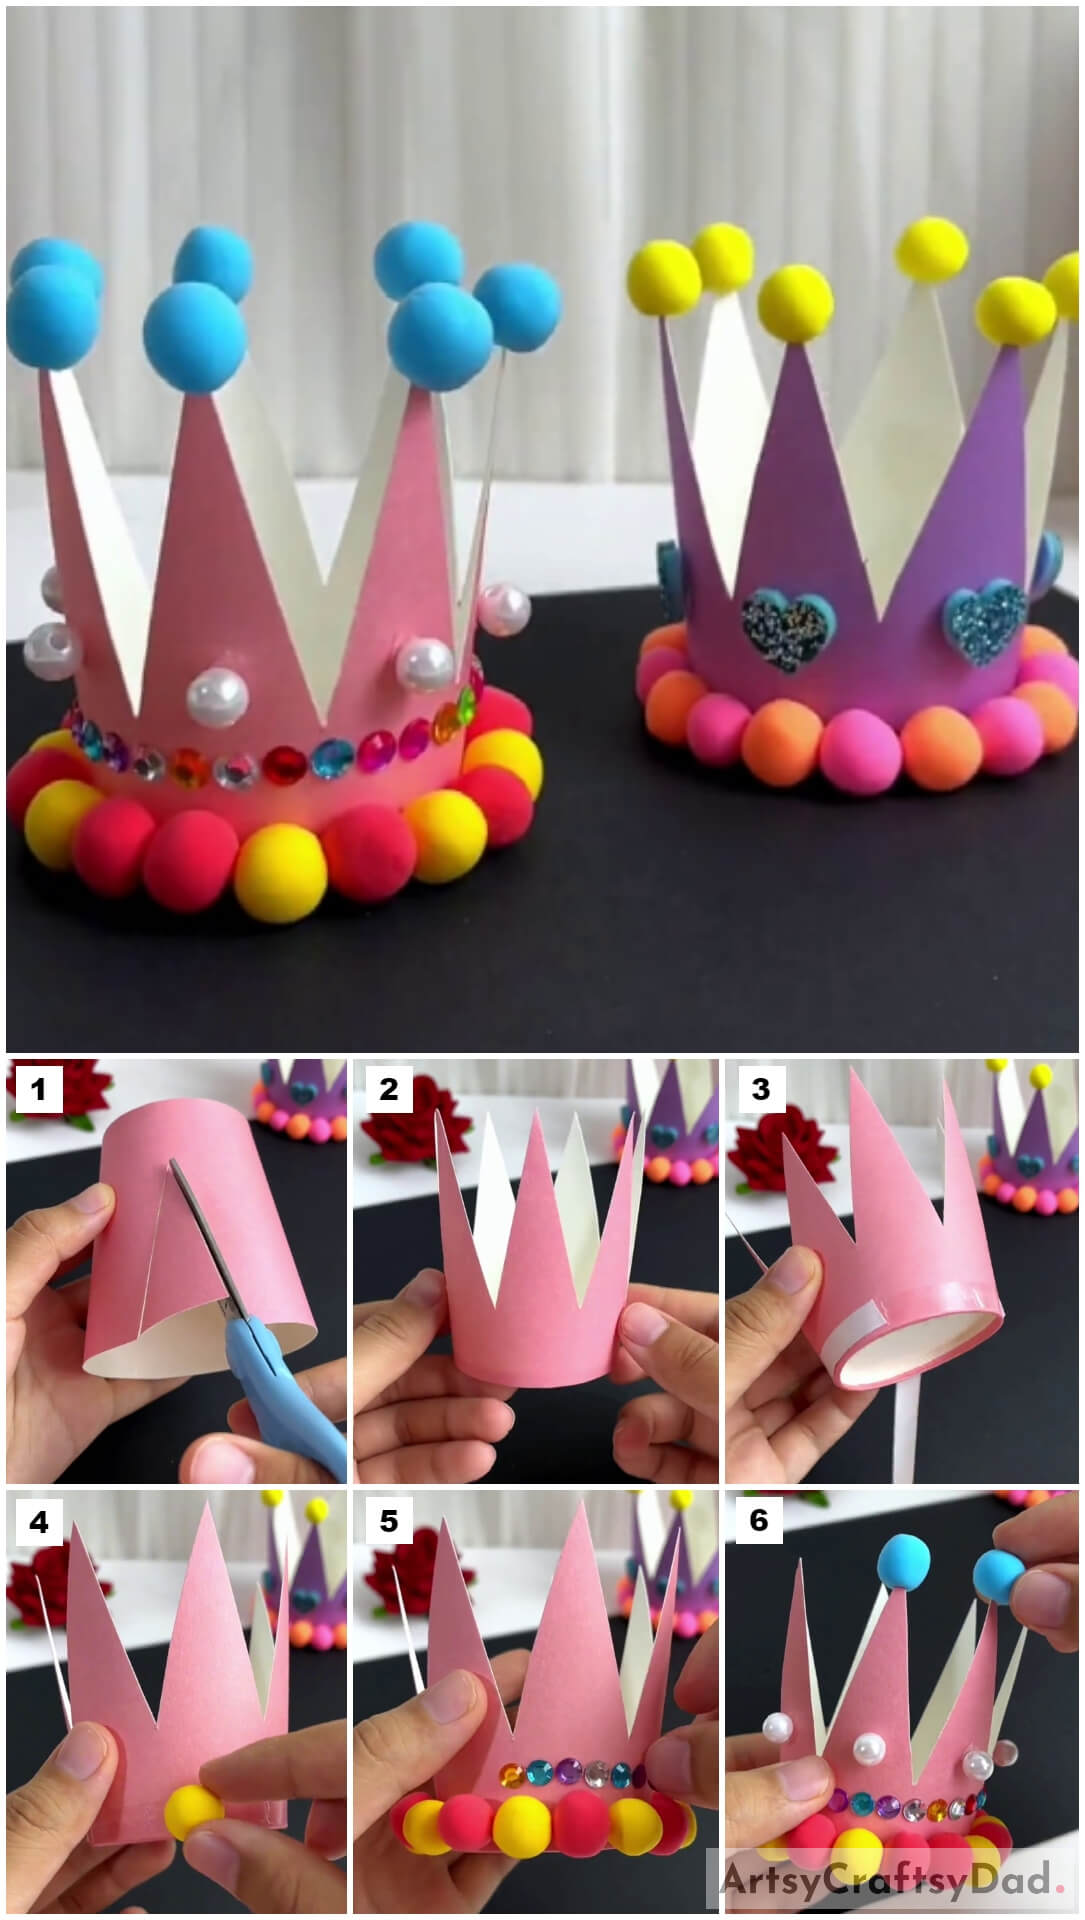
Step #1: Cutting Paper Cup Edges Using Scissors
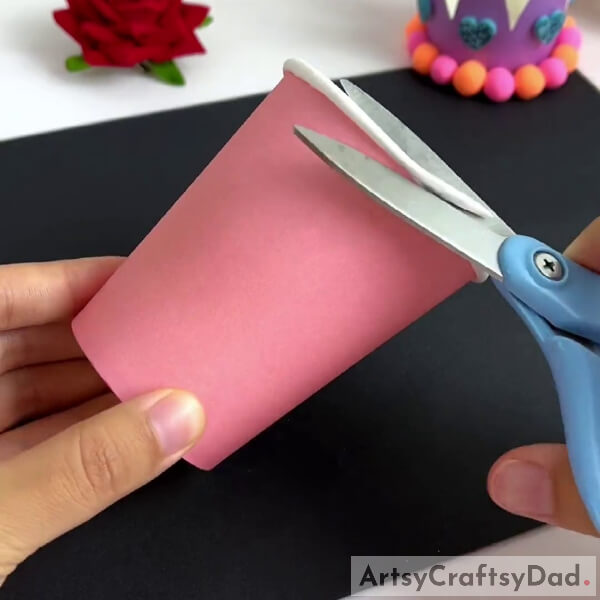
Grab your scissors and cut the top edge of your pink color paper cup. If you don’t have pink color paper cup, just paint pink color on plain paper cup, also you can choose your desired color.
Step #2: Cutting Triangles From Paper Cup
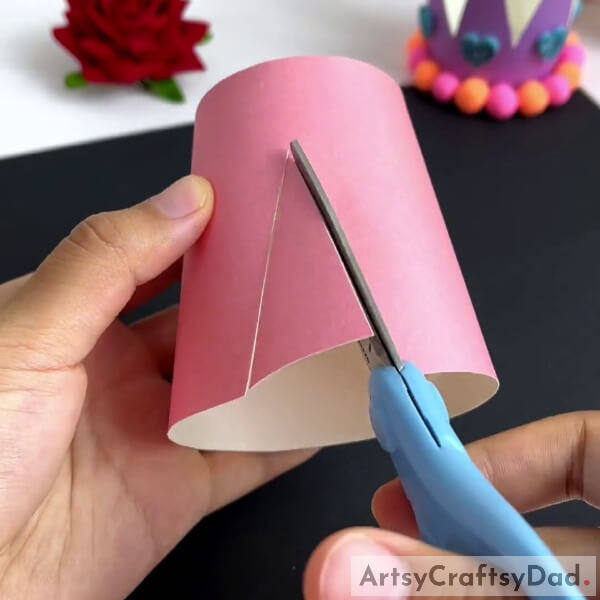
From the top of your paper cup, cut triangle-shaped pieces around that cup to get a crown-like outcome, and make sure to leave a few inches at the bottom of your paper cup.
Step #3: Completing Paper Crown
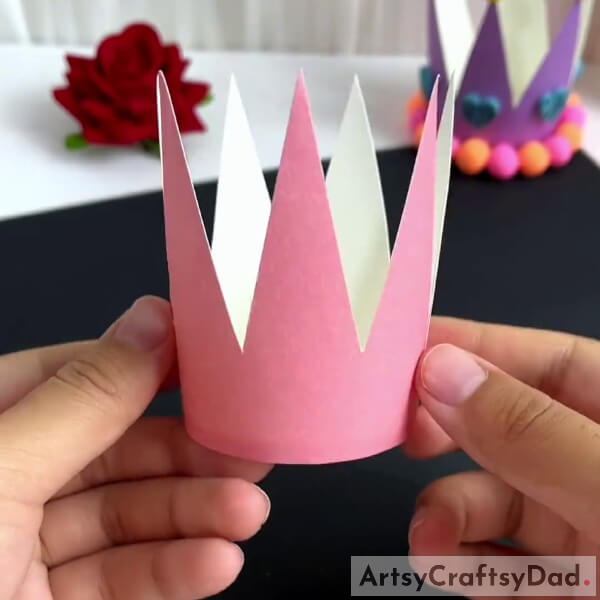
After cutting triangles out from your paper cup, your outcome should look like this.
Step #4: Pasting Double Sided Tape Around the Crown

Cut a lengthy piece of double-sided tape and paste it around at the bottom of our crown as shown in the image.
Step #5: Pasting Red And Yellow Color Clay Around the Crown
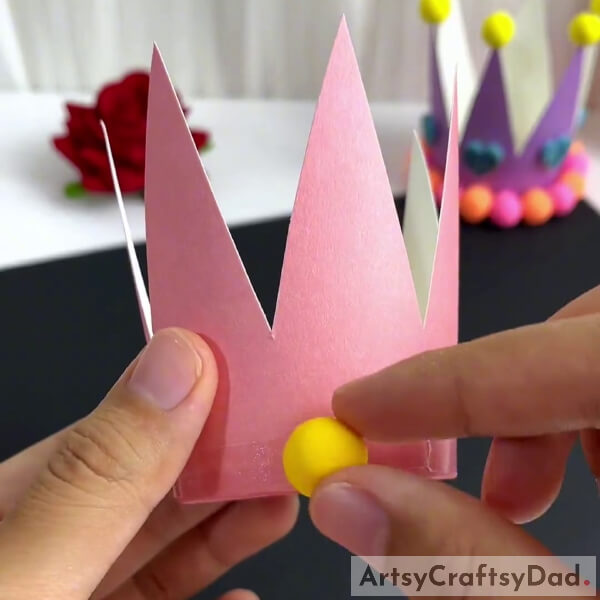
Cut a few small pieces from yellow and red colored clay and separately roll them all into circles. Paste all circle-shaped yellow clay around the bottom of your crown, in between those yellow color clay paste pieces of circle-shaped red color clay.
Step #6: Pasting Color Stones Around the Crown For Decoration
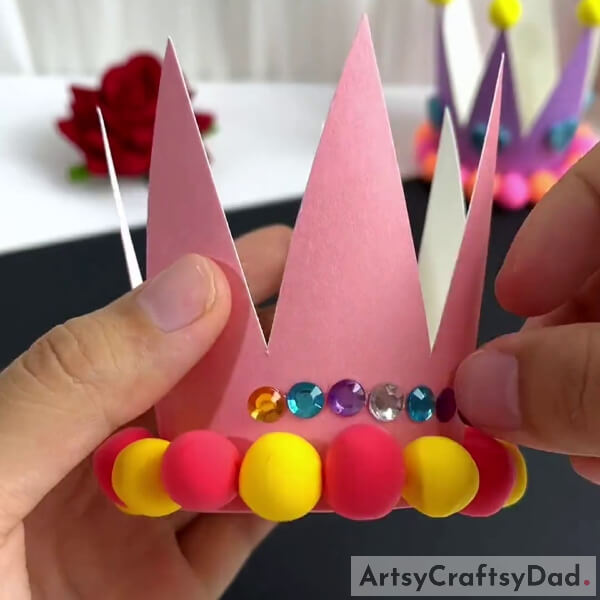
To decorate your crown, apply some glue above the yellow and red color clay that we pasted before and paste colorful stones around your crown.
Step #7: Pasting Pearls And Blue Color Clay On the Crown
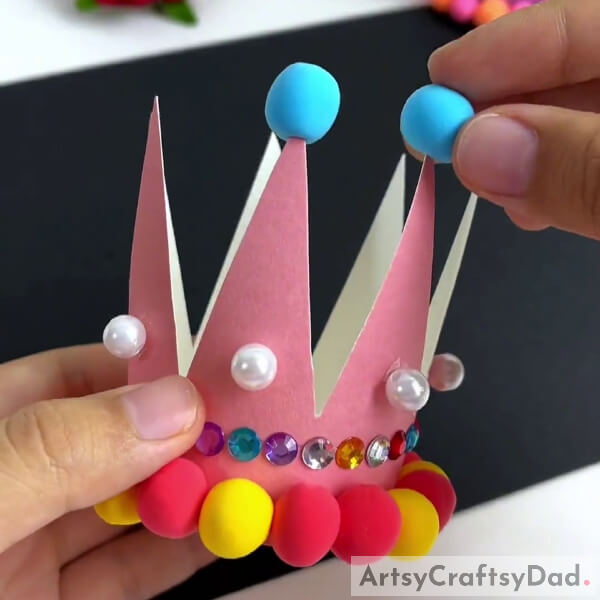
Cut some medium-sized pieces from blue color clay and roll all of them into a round shape. Then fix those pieces on the top of your crown as shown. Apply some glue on your white pearls and paste it around your crown just as in the image.
Our Cute Eye Catching Paper Cup Crown Is Ready!
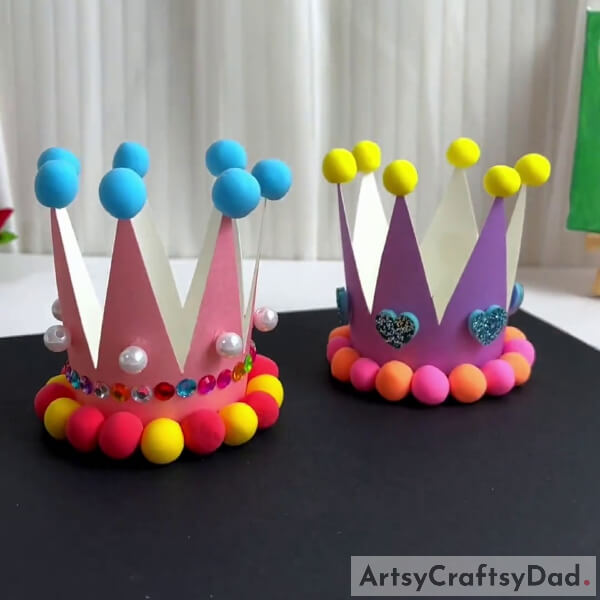
That’s all our adorable paper cup crown is ready! If you like to give more decoration for your crown, you can paste more stones and stickers on it. Also, create more crowns and give a different kind of decoration to it, also you can choose different colored clay. This adorable craft is perfect for kids’ birthday party decoration and home decoration.
Hope you like this step-by-step paper cup crown tutorial. Share your thoughts about this tutorial in the comment section below. Looking for arts and crafts ideas? Visit our website for more useful craft ideas like this.
Thank you for visiting our website.
You May Also Like
- Clay Snails On Leaves Craft Tutorial For Kids
- Clay-Paper Sunflower Garden Craft Tutorial
- Clay Heart Leaf Tree Craft Tutorial For Kids
- Clay Chicks In Garden Craft Tutorial
- Simple Paper Tearing Flowers Craft Tutorial


