Looking for a fun and engaging art project for your kids? Check out this step-by-step tutorial on creating adorable 3D paper chick art! This easy-to-follow craft will keep your little ones entertained while enhancing their creativity and fine motor skills.
Looking for a fun and creative craft project for kids? Look no further than this 3D Paper Chick Art and Craft tutorial! This easy and engaging activity is perfect for children of all ages, allowing them to use their imagination and artistic skills to create their very own adorable paper chick. With just a few simple materials and step-by-step instructions, kids can enjoy hours of entertainment while honing their fine motor skills and creativity. Let’s dive in and get crafting!
Lovely Chick Paper Art And Craft
Must Read: Chick Hatch Fun Paper Craft Tutorial For Kids
Supplies & Tools
- Craft Paper (Yellow, Orange)
- Googly Eye
- Scissors
- Glue
3D Paper Chick Procedure
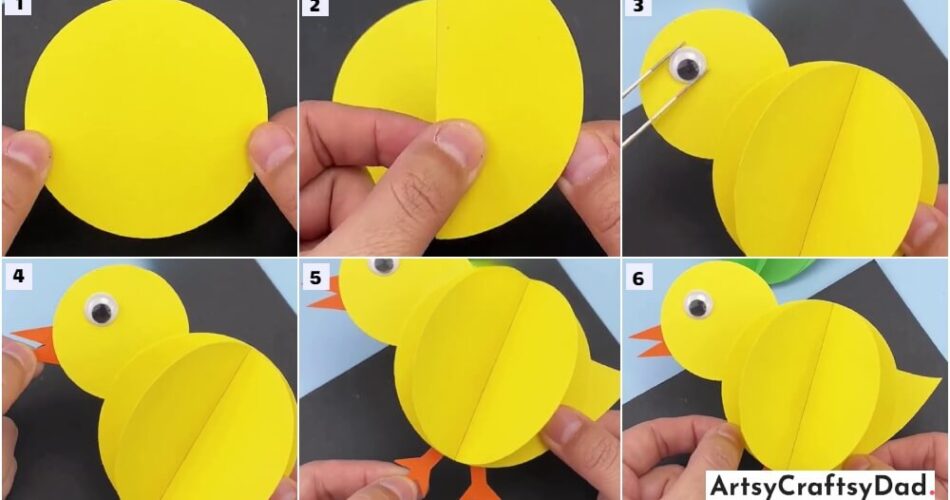
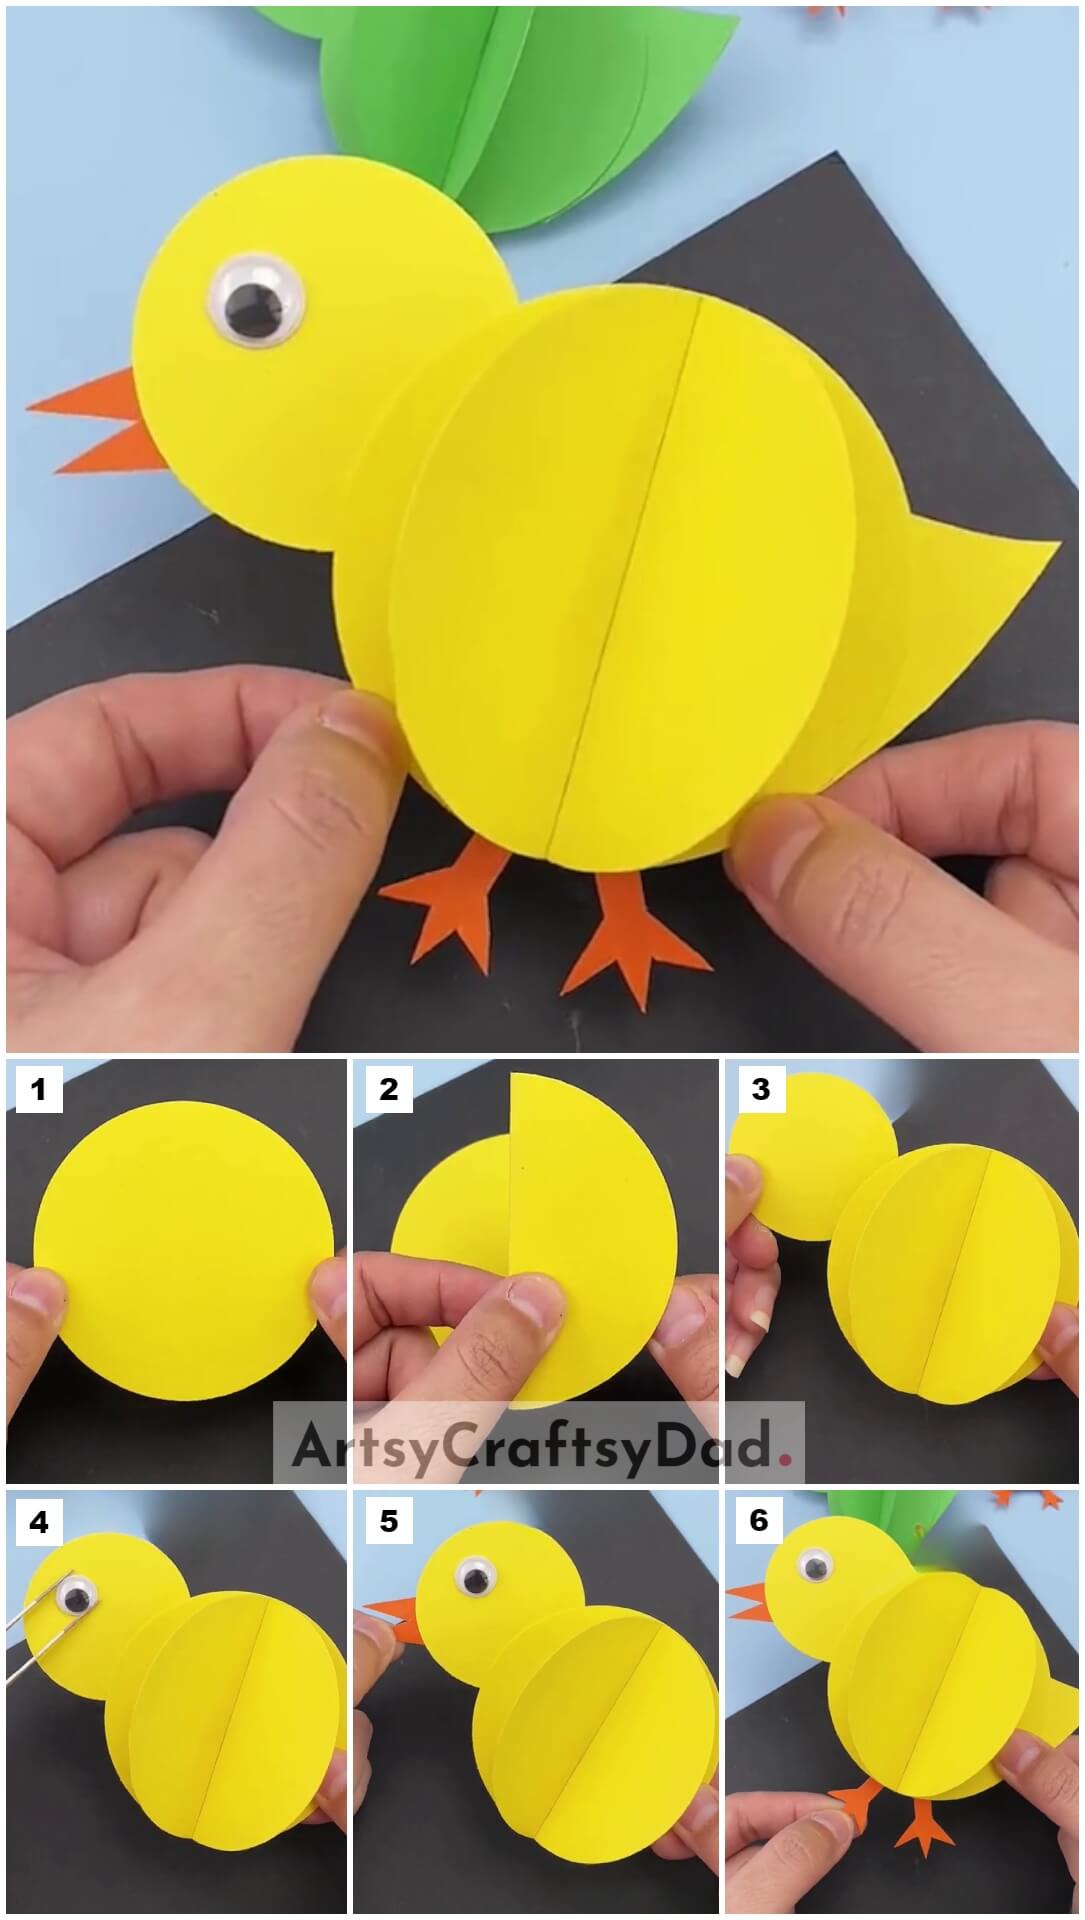
Step #1: Cutting Out Big Circle
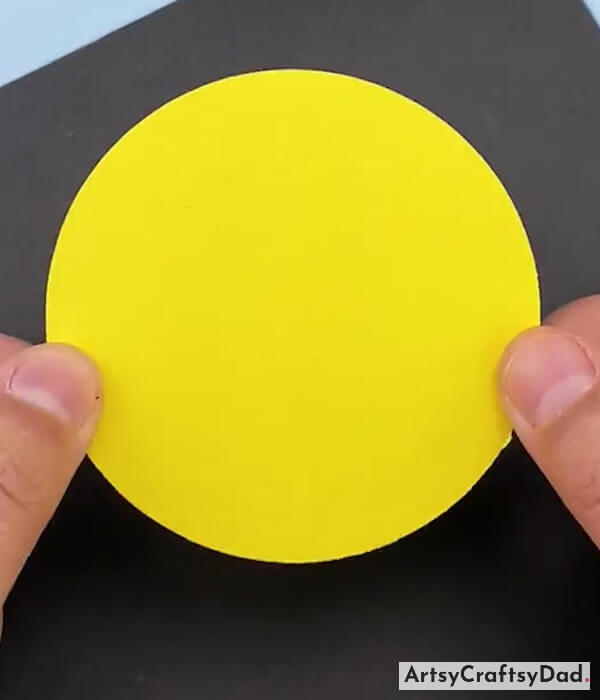
Take a yellow craft paper & cut it into a circle using scissors.
Step #2: Cutting Another Circle
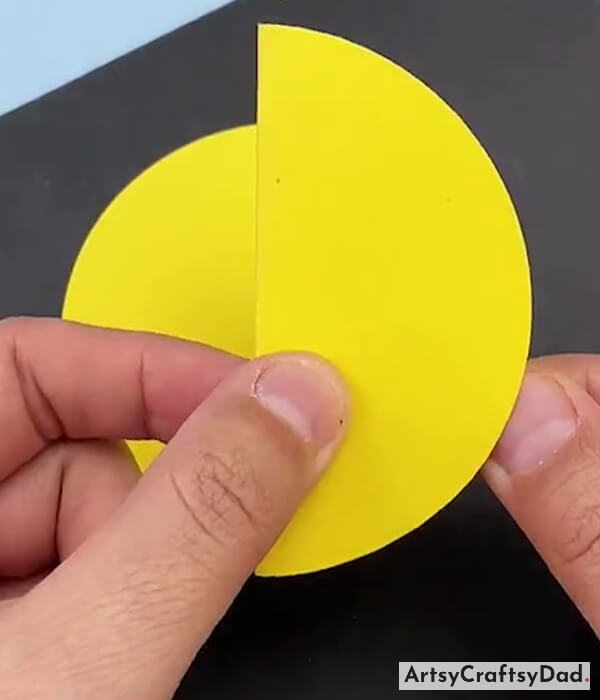
Again take a yellow craft paper & cut it into a circle & fold it in half to make a semi-circle.
Step #3: Pasting Semi-Circle On Circle
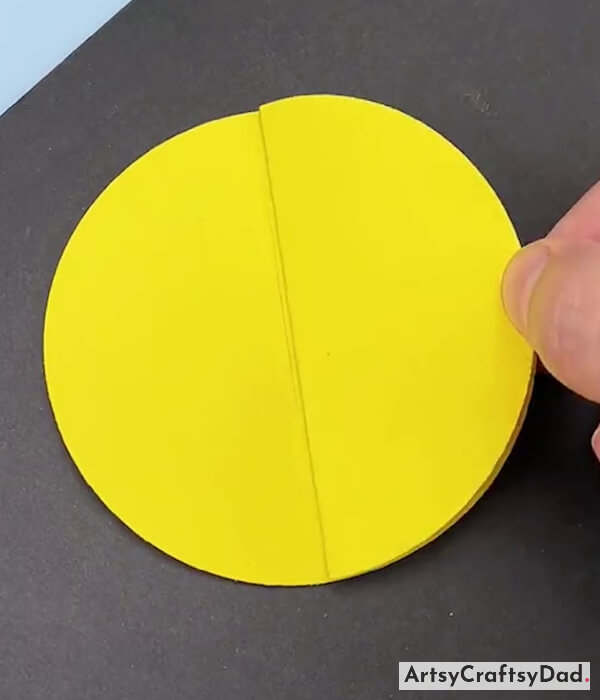
Now, paste this semicircle vertically on the center of the circle by using glue.
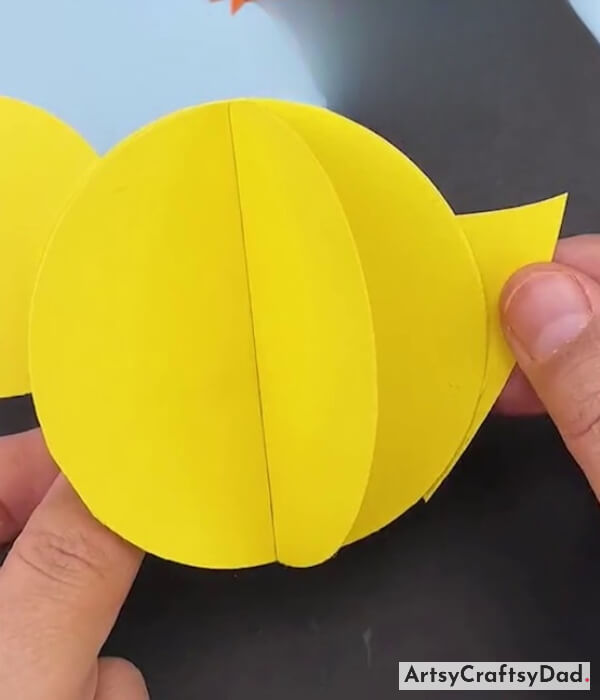
Step #4: Unfolding The Semicircle
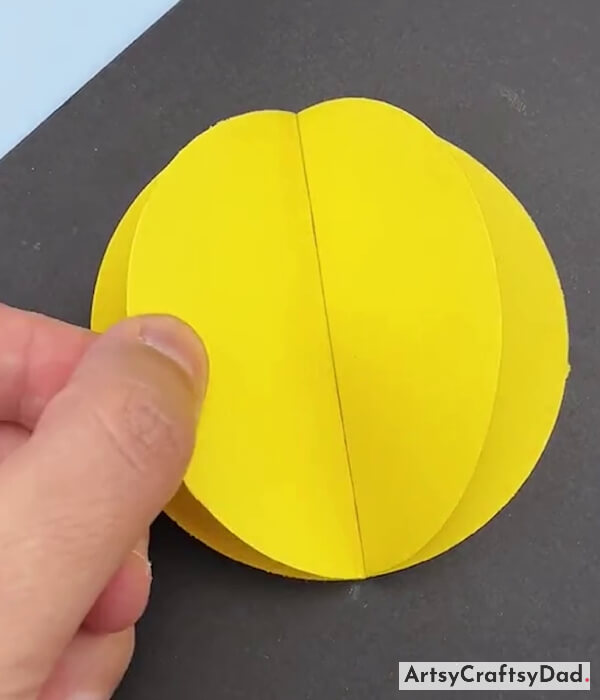
Now, unfold the semicircle & use it as a chick’s body.
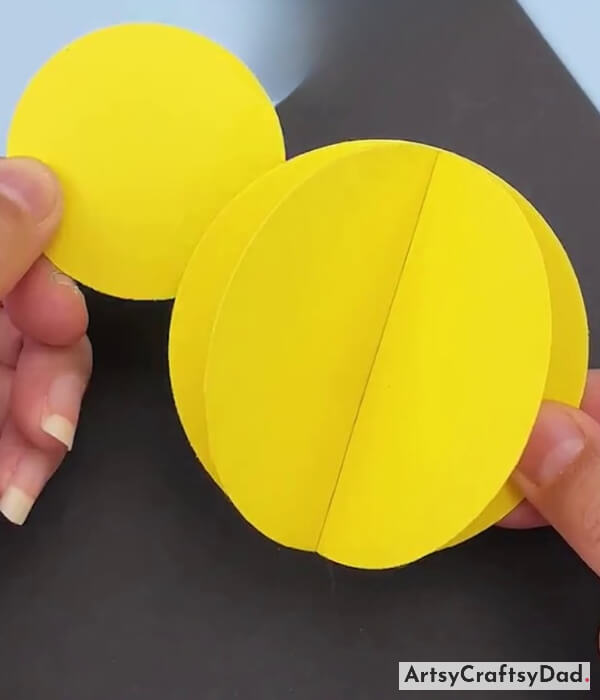
Step #5: Holding Chick’s Body
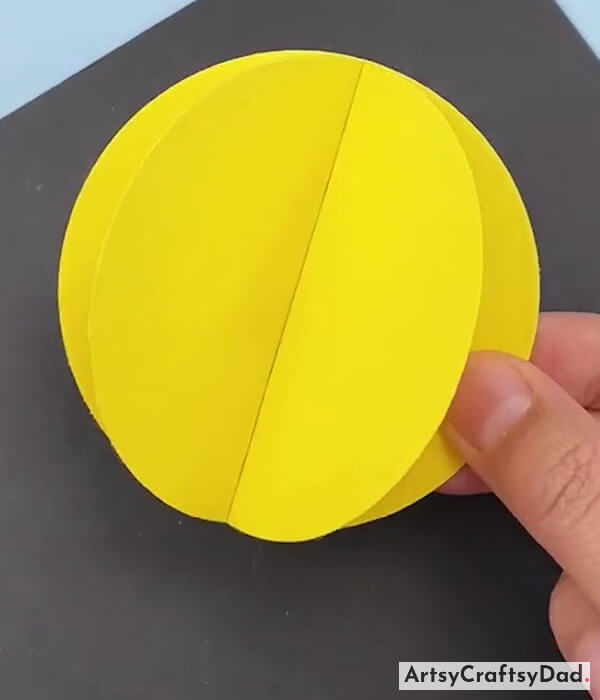
Now, the chick’s body is completed here.
Step #6: Making Chick Head
Again take a yellow craft paper & cut it into the circle as a chick head but it should be smaller in size than the previous circles.
Step #7: Pasting Googly Eye
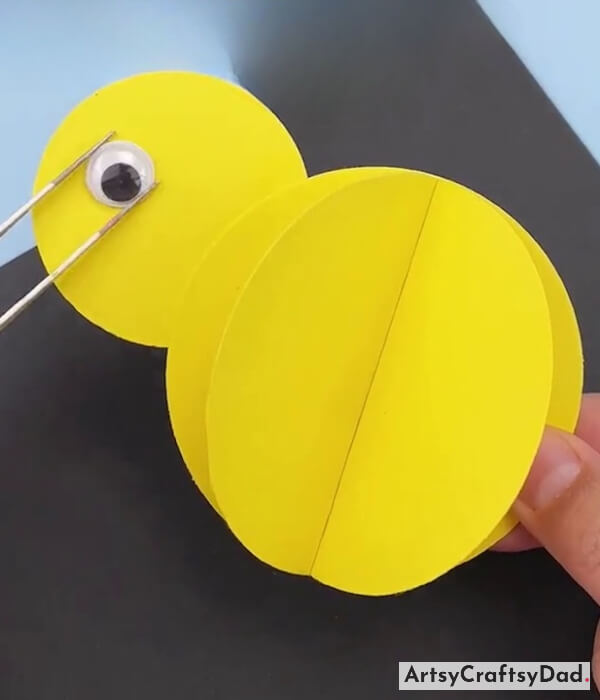
Take a googly eye & paste it on the chick’s face.
Step #8: Making Chick’s Beak
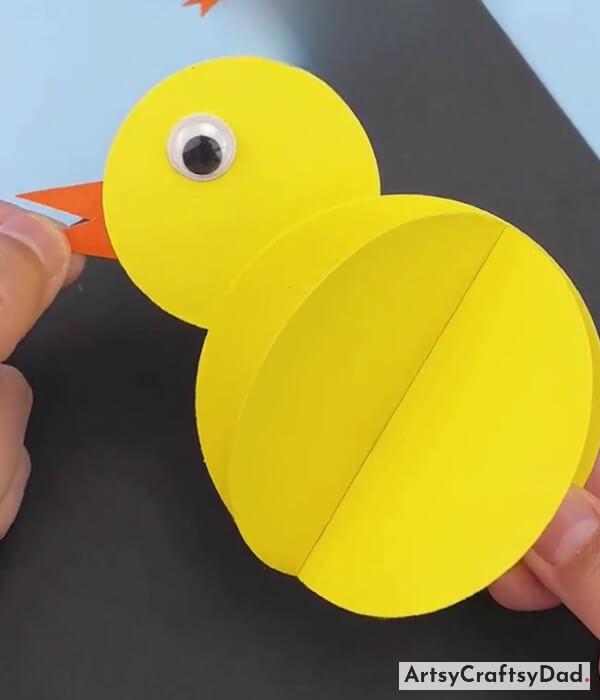
Take an orange color craft paper & cut it into a beak shape & paste it on the left side of the chick’s face by using glue.
Step #9: Making Tail Of Chick
Take a yellow paper & cut it into a tail shape & paste it on the right side of the chick’s body.
Step #10: Making Leg Of Chick
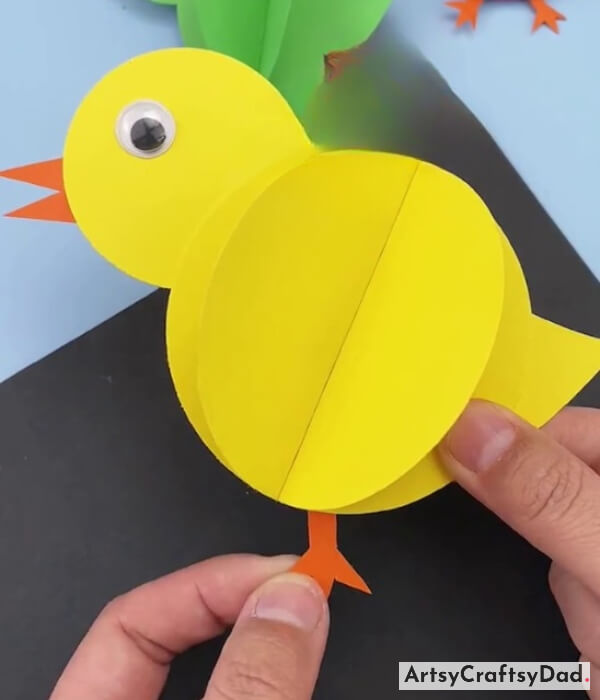
Take an orange craft paper & cut it into a leg shape & paste it at the bottom of the chick’s body.
Step #11: Pasting Another Chick’s Leg
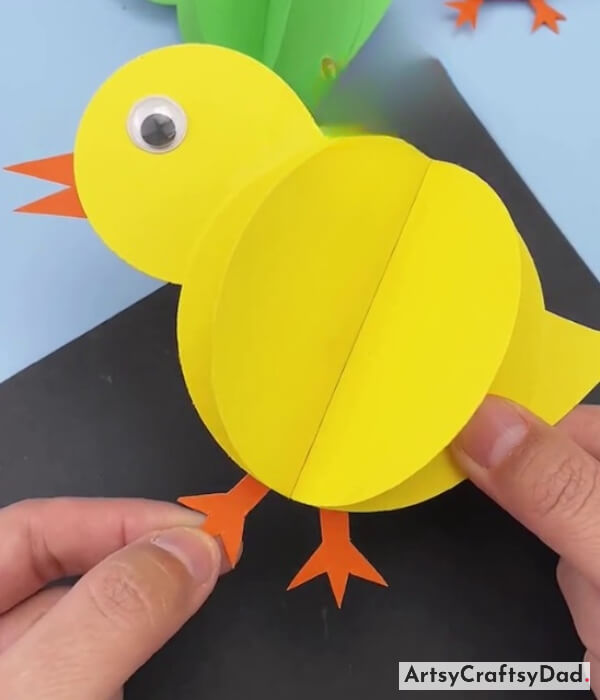
Follow the same process & make another leg & paste it in the same manner as you can see in the image.
This Is The Final Look Of 3D Paper Chick Craft!
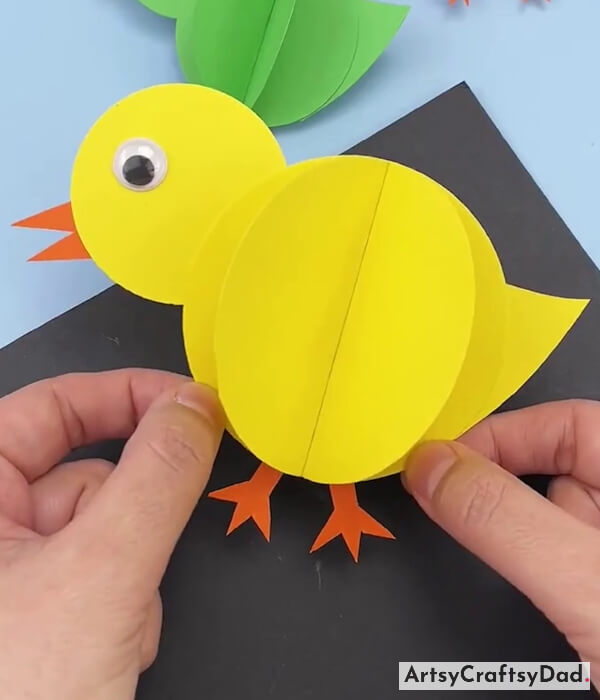
Our 3D paper chick art & craft is ended here.
We have achieved our beautiful 3D paper chick craft that looks amazing. With easy-to-follow instructions and minimal materials required, this tutorial is perfect for parents and teachers looking for an educational and entertaining project. If you want to make some other 3D paper crafts by making other animals then you should visit our other websites too where you get unbounded 3D crafts for ideas. Don’t miss to drop your feedback in the comment section.
Thanks for visiting our website!
You Might Also Like This
- Paper Flower Garden Craft Tutorial For Kids
- Paper Pinwheel Flower Craft Tutorial For Kids
- DIY Paper & Paper Cup Hot Air Balloon Craft Tutorial For Kids
- Colorful Hedgehog Paper Craft Tutorial For Kids
- Paper Cutting Cute Tigers Craft Tutorial For Kids

