Looking for a Palm Cut Out Paper Duck Craft Tutorial for kids? If yes, then this is the right place for you to search.
Easy Palm Cutout Duck Craft For Kids
Supplies & Tools:
- A circular plain black sheet
- An A4 size yellow, and orange colored plane sheet
- A pair of scissors
- Glue
- A black marker pen
- White small circular stickers
- Black circular stickers
- Red oval-shaped stickers
- A silver glitter pen
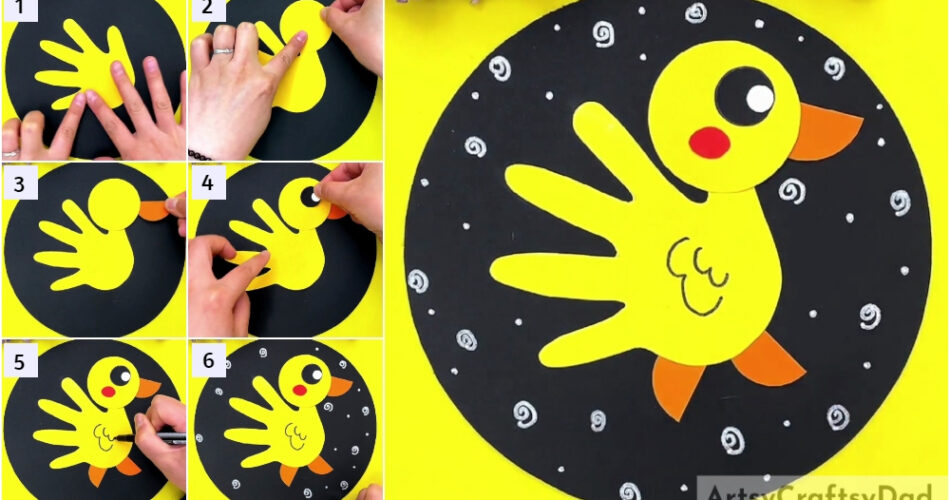
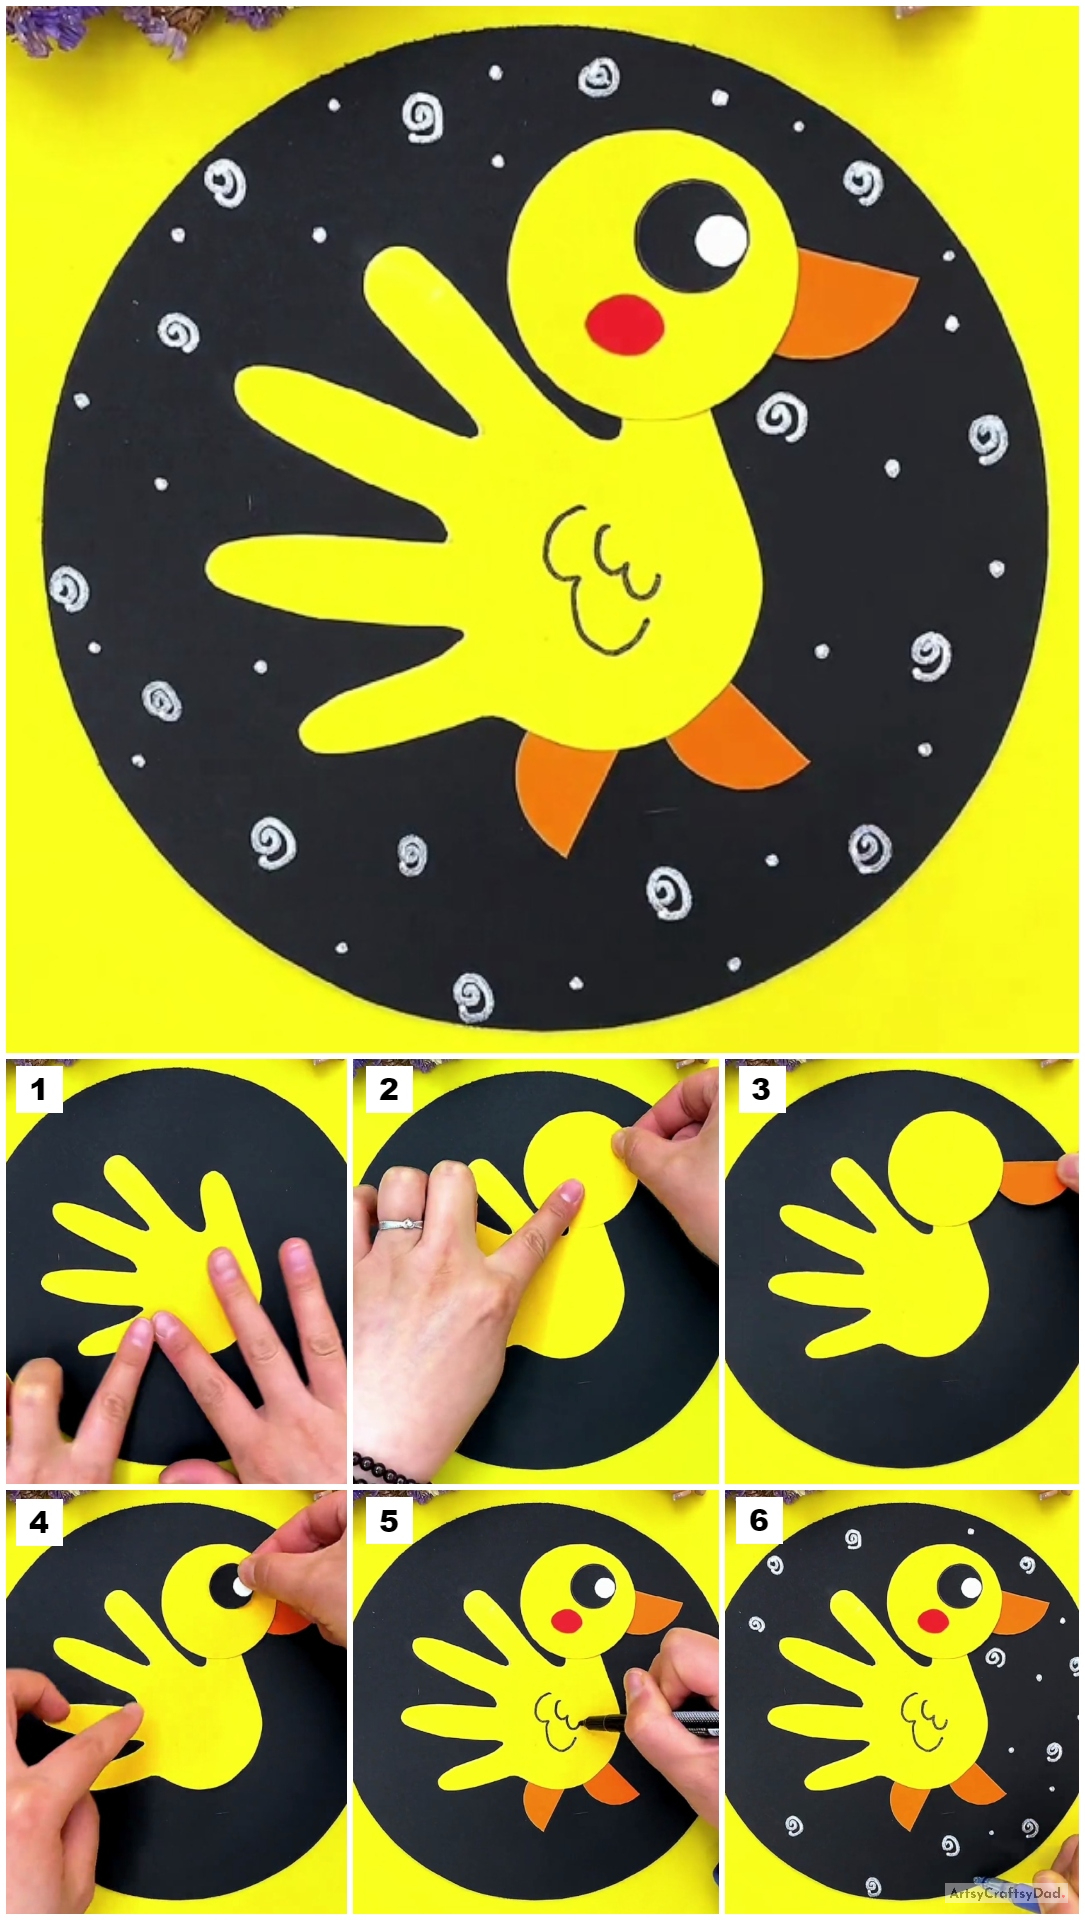
Palm Duck Instructions
Step #1: Tracing The Palm
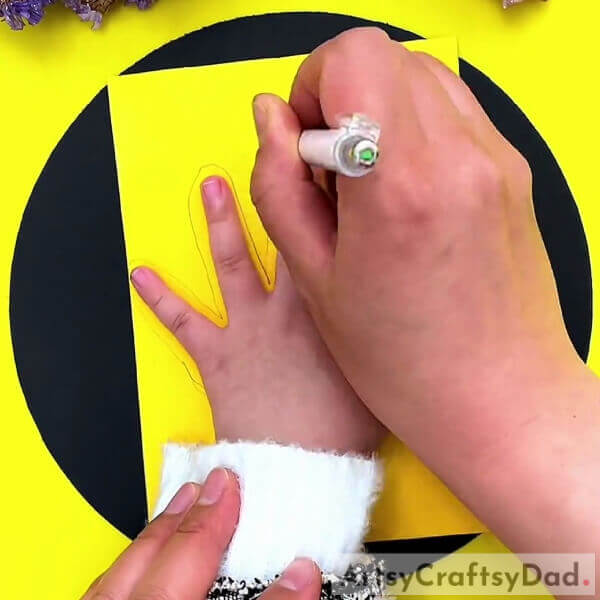
Trace the outline of a child’s palm on the yellow-colored sheet. Make sure the child’s hand is stable.
Step #2: Cutting Out The Layout
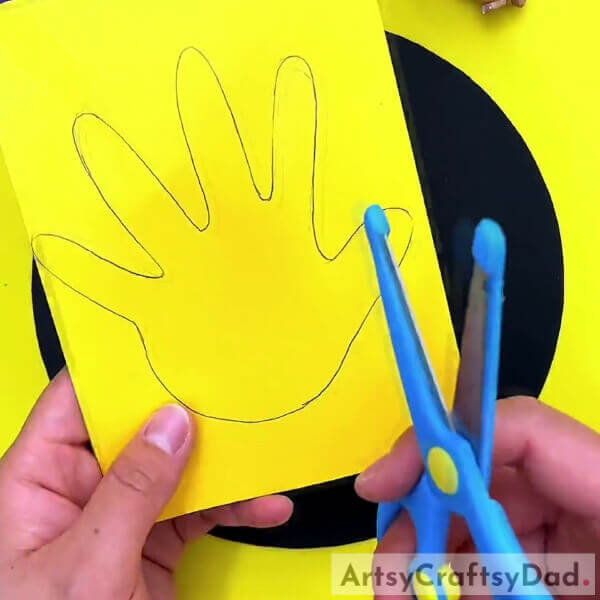
After tracing the palm, cut out the traced shape of the palm using a pair of scissors. Use the scissors carefully.
Step #3: Pasting The Palm
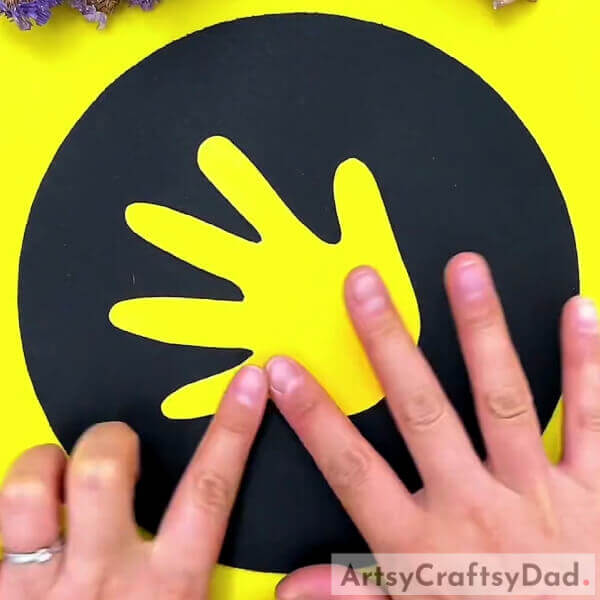
Now, take the plain circular black sheet and paste the palm cut out on it using some glue.
Step #4: Pasting Head Of The Duck
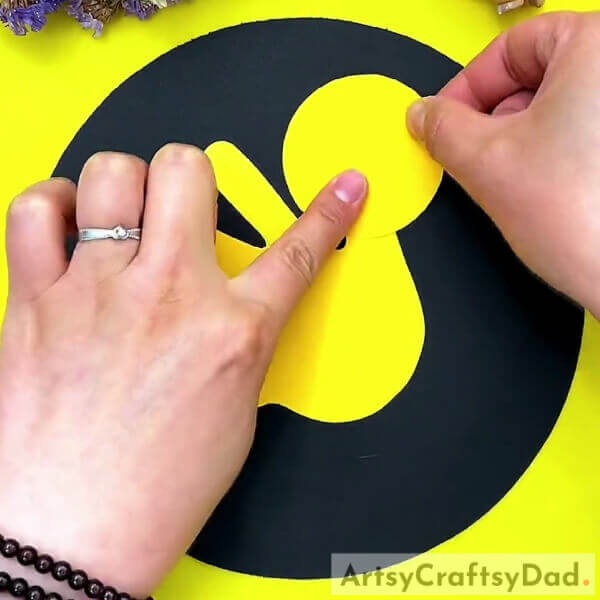
Take the plain yellow sheet and cut a circle out of it. This will be the head of the duck.
Step #5: Making Beak Of The Duck

Take the plain orange sheet and cut another circle out of it. Further, cut the circle into a semicircle to make the beak of the duck.
Step #6: Pasting The Beak
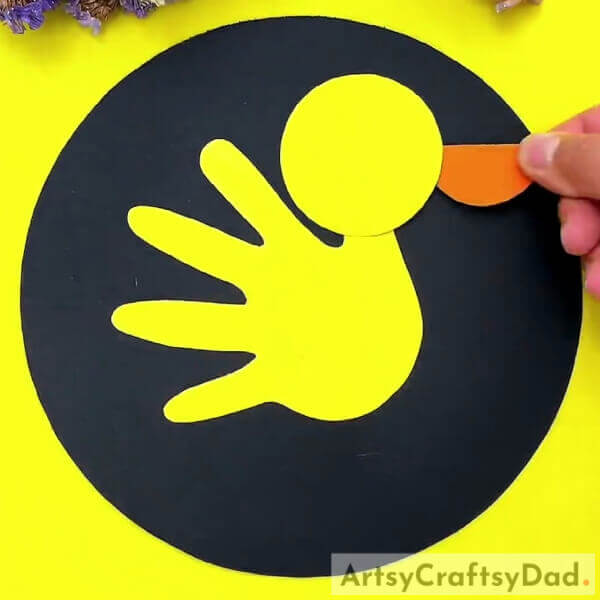
By using some glue, paste the semicircle at the place of its beak.
Step #7: Making Eyes of the Duck
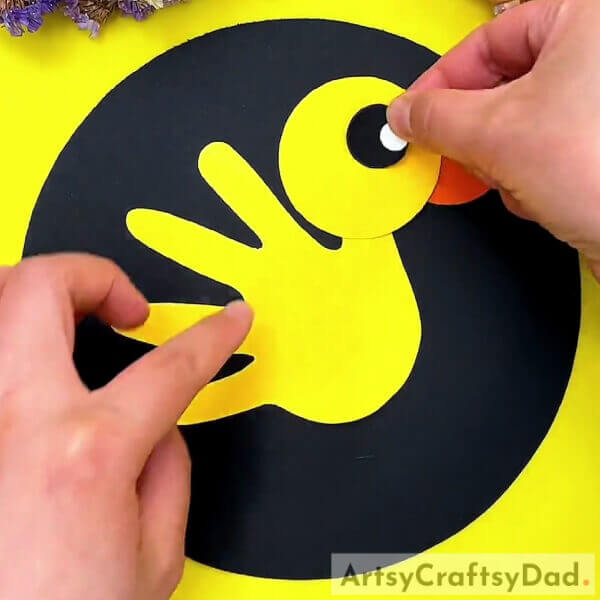
Take a black circular sticker and a small white circular sticker, paste the black sticker at the place of the duck’s eye followed by the white circular sticker on it.
Step #8: Attaching Cheeks And Feet
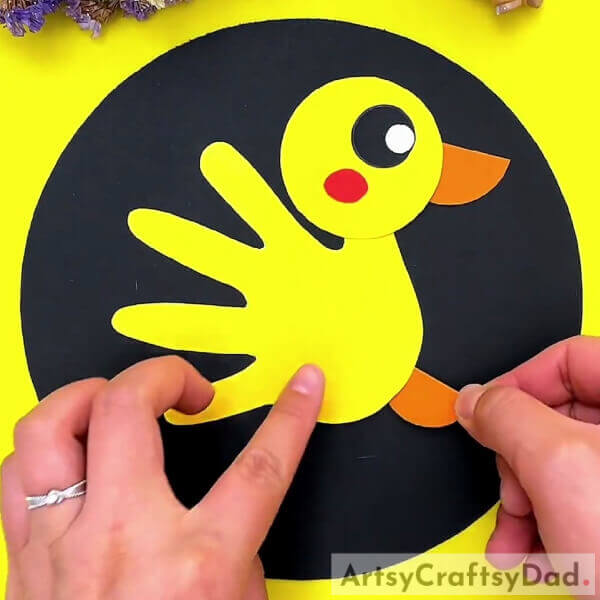
For the cheek of the duck, paste a red oval-shaped sticker on its cheek. For the feet, cut two small semi-circles out of the range sheet and paste them in the place of the duck’s feet.
Step #9: Drawing Wings
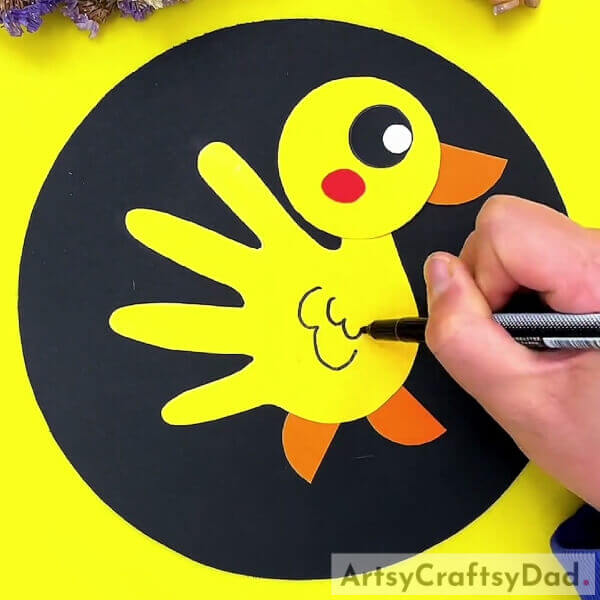
Take a black marker pen and draw the wings of the duck as shown in the given picture.
Step #10: Detailing Background
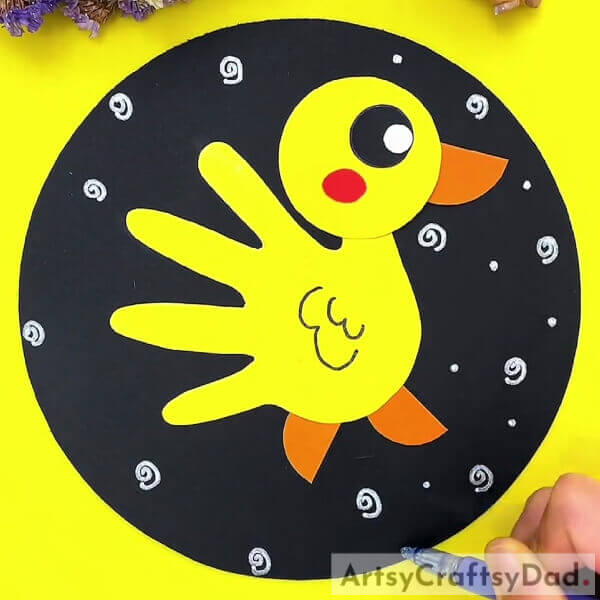
For the background, draw some patterns using a silver glitter pen.
Hurray !Your Paper Duck Craft Is Ready!
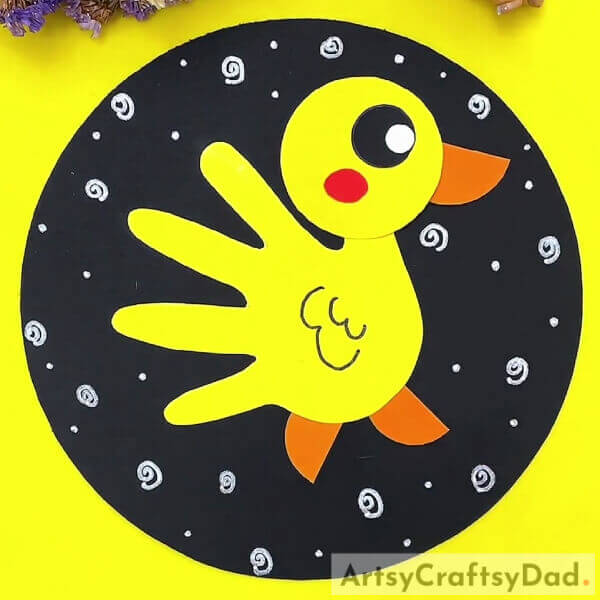
Congratulations! Your artwork is ready to be displaced. This was an exciting activity. Just by using some easily available stationery materials. The background selected is black and the duck is yellow, the two colors beautifully contrast each other. The duck’s body is made by cutting out the layout of a child’s palm. The orange beak, its eye, and its cheek make a cute-looking duck. For the background, the patterns are drawn using a silver glitter pen. The silver and the black color are looking good together. Overall, it was a nice activity to do.
Hope you liked this Palm Cut-out Paper Duck Craft Step-by-step Tutorial. Don’t forget to share your comments and inform us about your experience. Make sure to revisit our website soon!
Thanks for visiting our website.
You May Also Like:
- Clay Snails On Leaves Craft Tutorial For Kids
- Henna Palm Design – Step By Step (Tutorial)
- Clay-Paper Sunflower Garden Craft Tutorial
- Clay Heart Leaf Tree Craft Tutorial For Kids
- How to make a Paper Flower Vase – Paper Craft Tutorial


