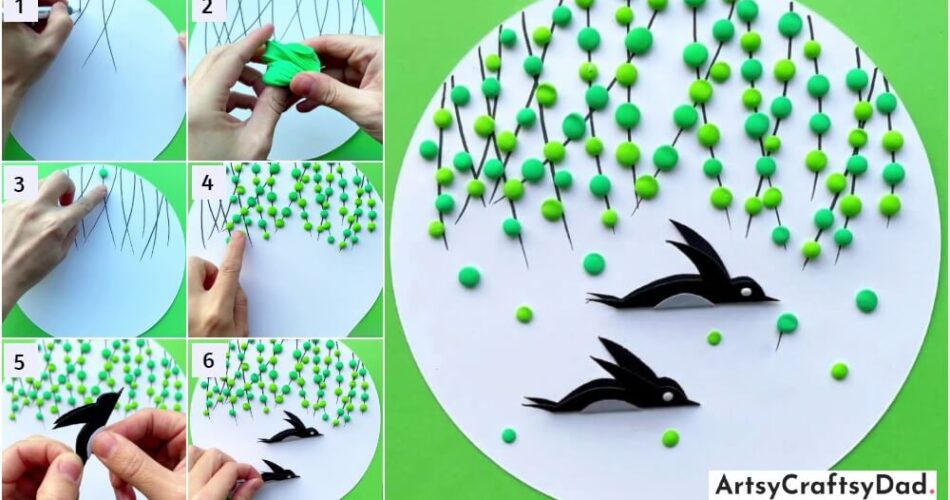
Learn how to create a stunning clay craft of birds flying under a tree with this easy-to-follow tutorial. Discover the step-by-step process of molding and shaping the clay to create intricate bird and tree designs. This tutorial is perfect for beginners and bird enthusiasts alike.
Welcome to this exciting tutorial on creating a clay craft featuring awesome birds flying under a tree. In this tutorial, you will get step-by-step all the instructions so that you can make this bird flying under tree clay craft without any difficulty. If you are a nature lover or simply enjoy crafting, this project is perfect for you. Not only will you learn the techniques of working with clay, but you will also be able to showcase your creativity by bringing to life a beautiful scene of birds gracefully soaring beneath a tree. So, grab all paper, clay, and a black marker & start to create our beautiful birds flying under tree craft.
Amazing Birds Flying Under Tree Clay Craft For Kids
Must Read: Cute Birds On Tree Painting Hack Tutorial
Supplies & Tools
- Colored Clay ( Dark And Light Green )
- Black & White Drawing Paper
- Black Marker
Flying Bird & Clay Tree Instructions
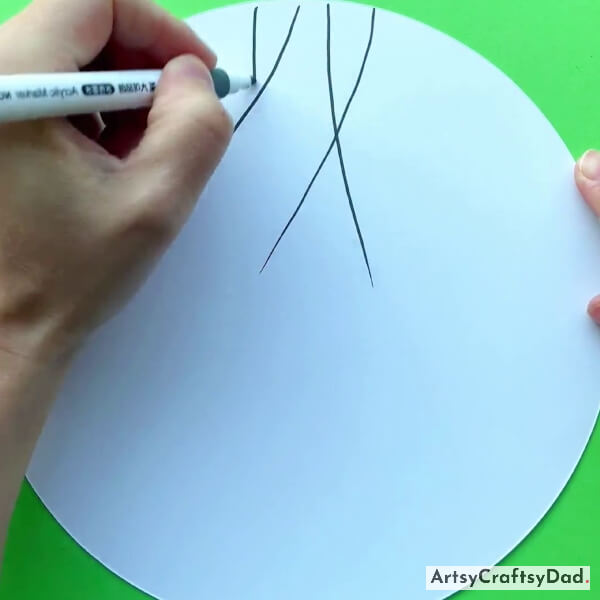
Step #1: Drawing Tree Branches
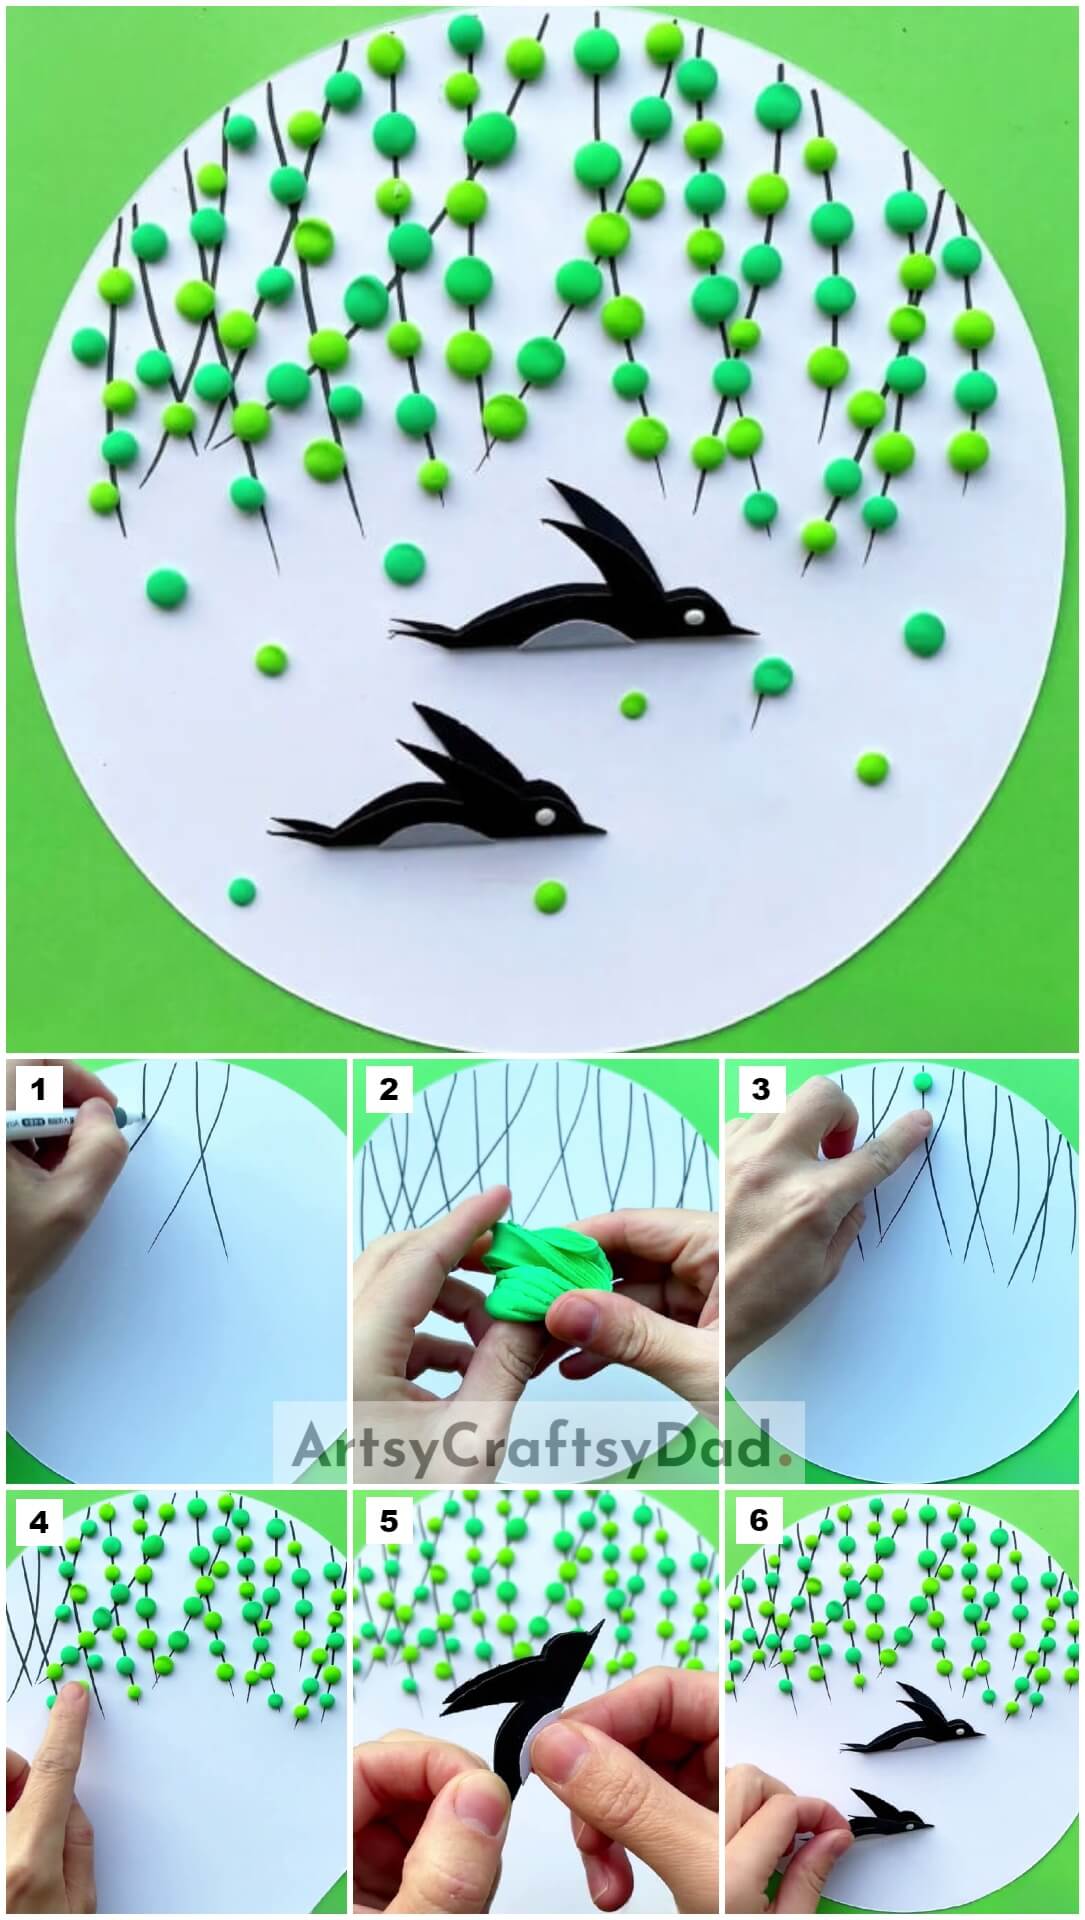
Take a white drawing sheet & cut it into a circle & use it as a craft base.
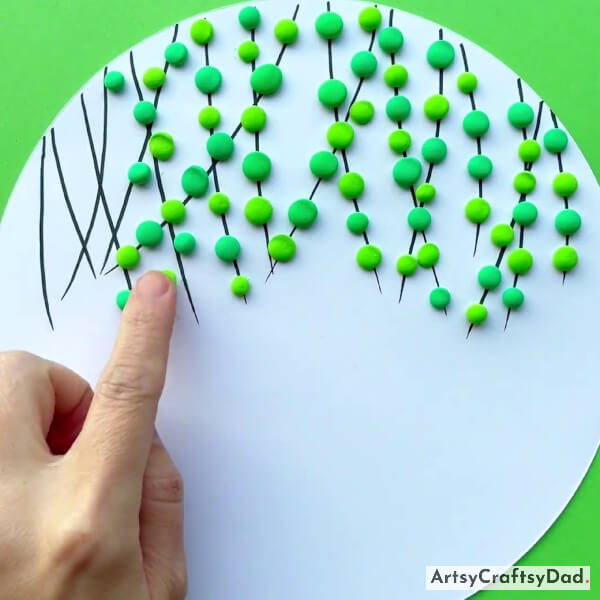
Take & a black marker & draw some tree branches on the top side of the craft base in a way that they cross each other.
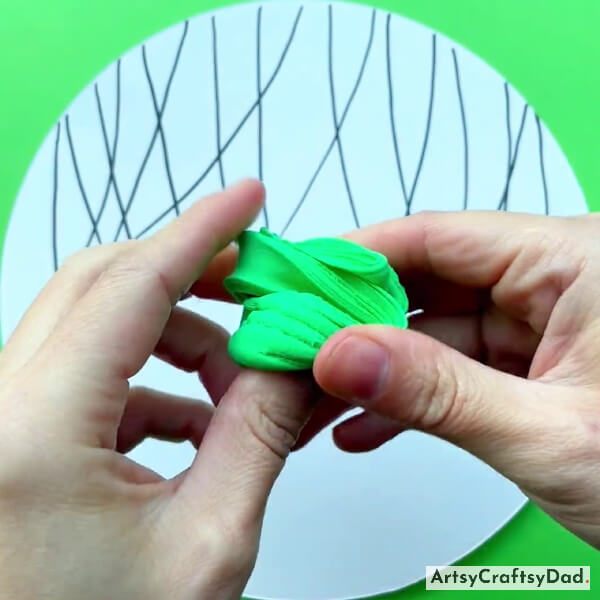
Step #2: Working With Clay
Take dark green color clay.
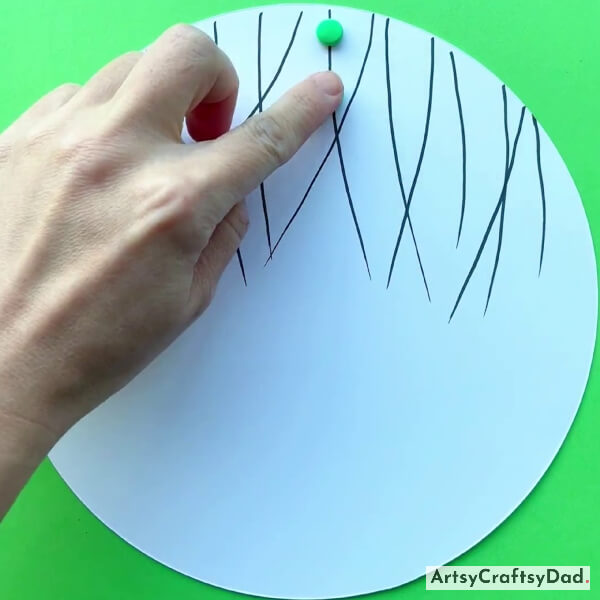
Step #3: Pasting Clay Balls
Now, make a little green clay ball & paste it on a tree branch using glue.
Step #4: Pasting More Clay Balls
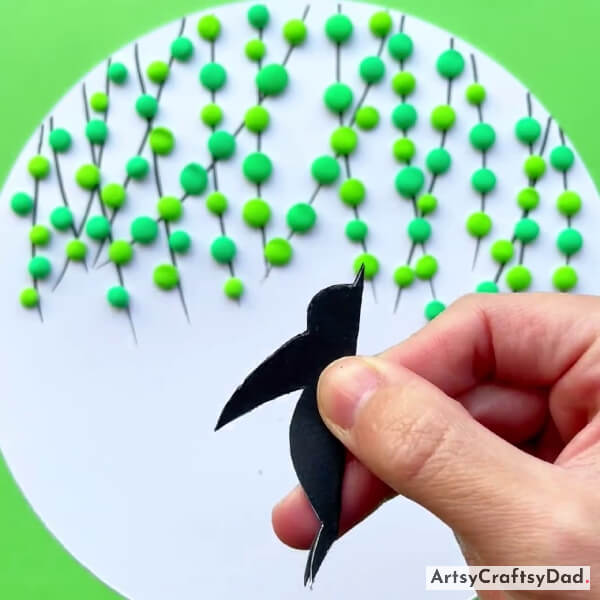
Now, take light green clay & make some balls. Now, paste dark green & light green balls on all the branches one after the other one by one as shown in the above image.
Step #5: Making Paper Bird
Take a black drawing paper & cut it into a bird-shape as shown in the above image.
Step #6: Continue Making Bird
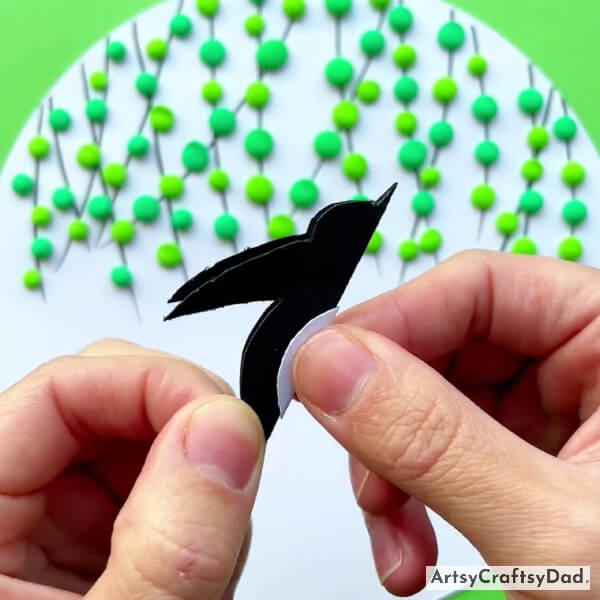
Now, take a white drawing sheet & cut it into a small circle & paste it on the bird’s belly.
Step #7: Pasting Eyes
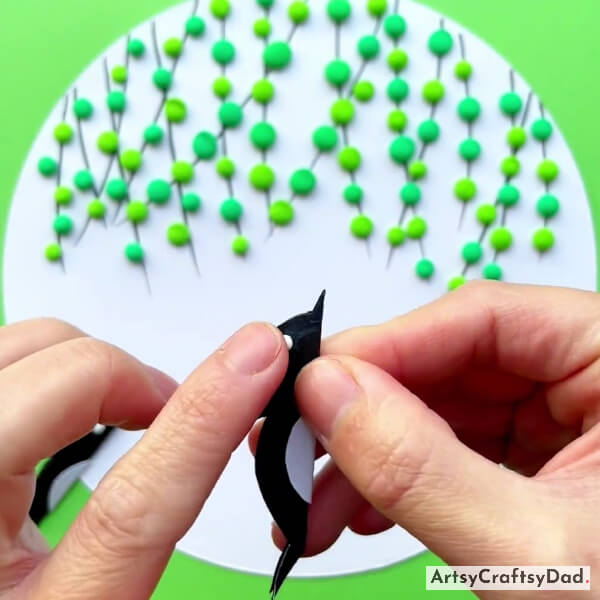
Take a small piece of white clay & make a tiny ball that shows a bird’s eye & paste it on the bird’s face.
Step #8: Making & Pasting Another Bird
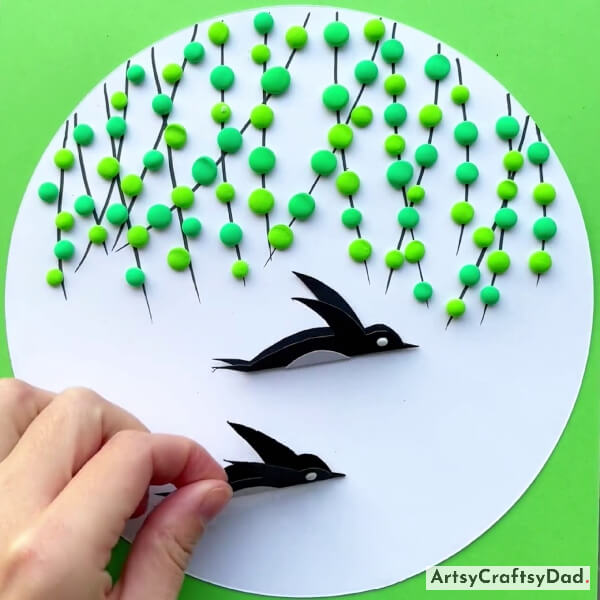
Now, paste the bird on the craft base below the branches. Repeat the same process & make another bird & paste it below the first bird.
Hurry! Our Flying Birds Craft Is Ready!
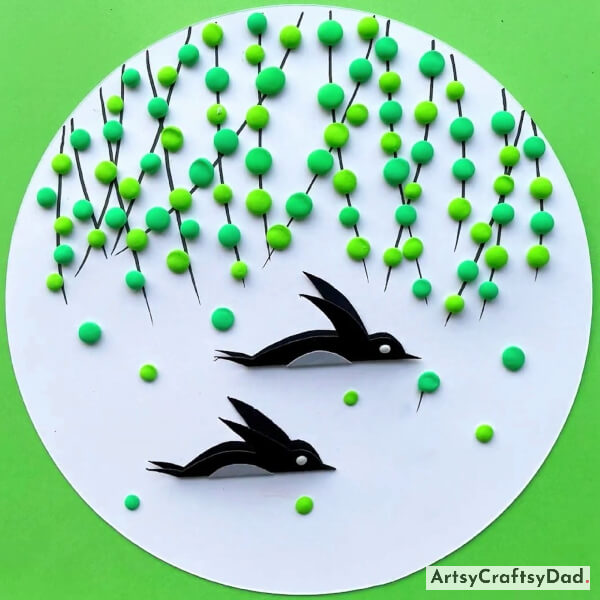
Complete our craft by pasting some light & dark green clay balls on the white craft base around the birds.
Hurrah! Your Flying Birds Clay Craft Is Ready
Our craft is ended here. I hope you have created this easy but beautiful craft without any difficulty. The awesome Birds Flying Under Tree Clay Craft Tutorial is a fantastic way to showcase creativity and craftsmanship. By following the step-by-step instructions provided, individuals can create beautiful clay crafts depicting birds in flight under a tree. It’s not only for personal enjoyment or as a gift for a loved one, this craft tutorial offers an opportunity to create something truly unique and awe-inspiring. Please share your feedback in the comment section. If you want to make more easy crafts then you should visit our other websites for more ideas. Keep creating masterpieces by trying new crafts.
Thanks for visiting us! Have a nice day!
You Might Also Like This
- Paper And Clay Tree Craft Tutorial For Beginners
- Clay Heart Leaf Tree Craft Tutorial For Kids
- Flying Paper Rice Dumplings Art & Craft Tutorial
- Clay Flower Pot Model Craft Tutorial For Kids
- Designer Chicks: Tissue And Clay Craft Tutorial
