Looking for a fun and creative craft activity for kids? Check out our step-by-step tutorial on how to create a colorful clay tree! This engaging project will not only keep your little ones entertained but also help develop their fine motor skills and creativity.
Are you looking for a fun and creative activity to keep your kids engaged? In this step-by-step tutorial, we will guide you through the process of creating a colorful clay tree craft with your little ones. Not only will this craft project allow your children to explore their artistic side, but it will also enhance their fine motor skills and hand-eye coordination. So gather your materials and get ready to embark on a colorful journey with your kids!
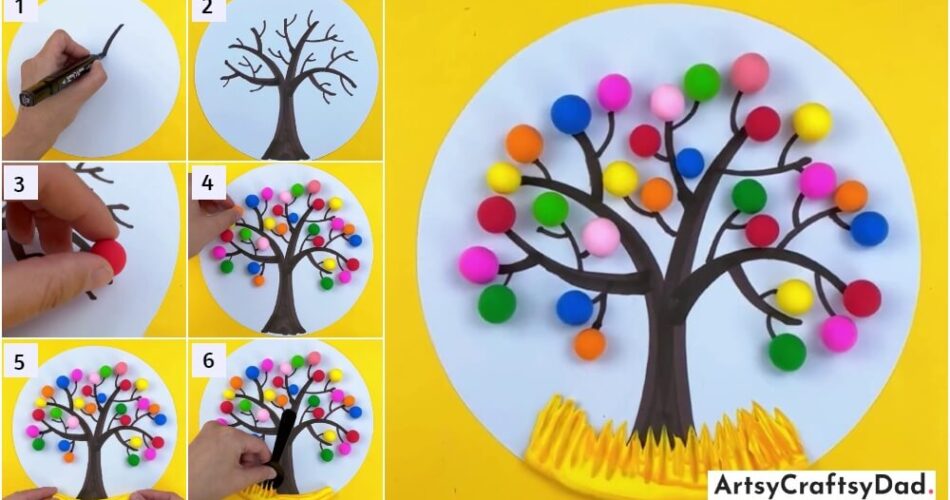
Gorgeous Colorful Tree Craft Using Clay
Must Read: Colorful Clay Cactuses Craft Tutorial For Kids
Supplies & Tools
- Colored Clay (Red, Blue, Dark Yellow, Dark Pink, Light Pink, Green, Orange, Peach)
- Brown Marker
- Fork
- White Drawing Sheet
- Glue
Colorful Clay Tree Instructions
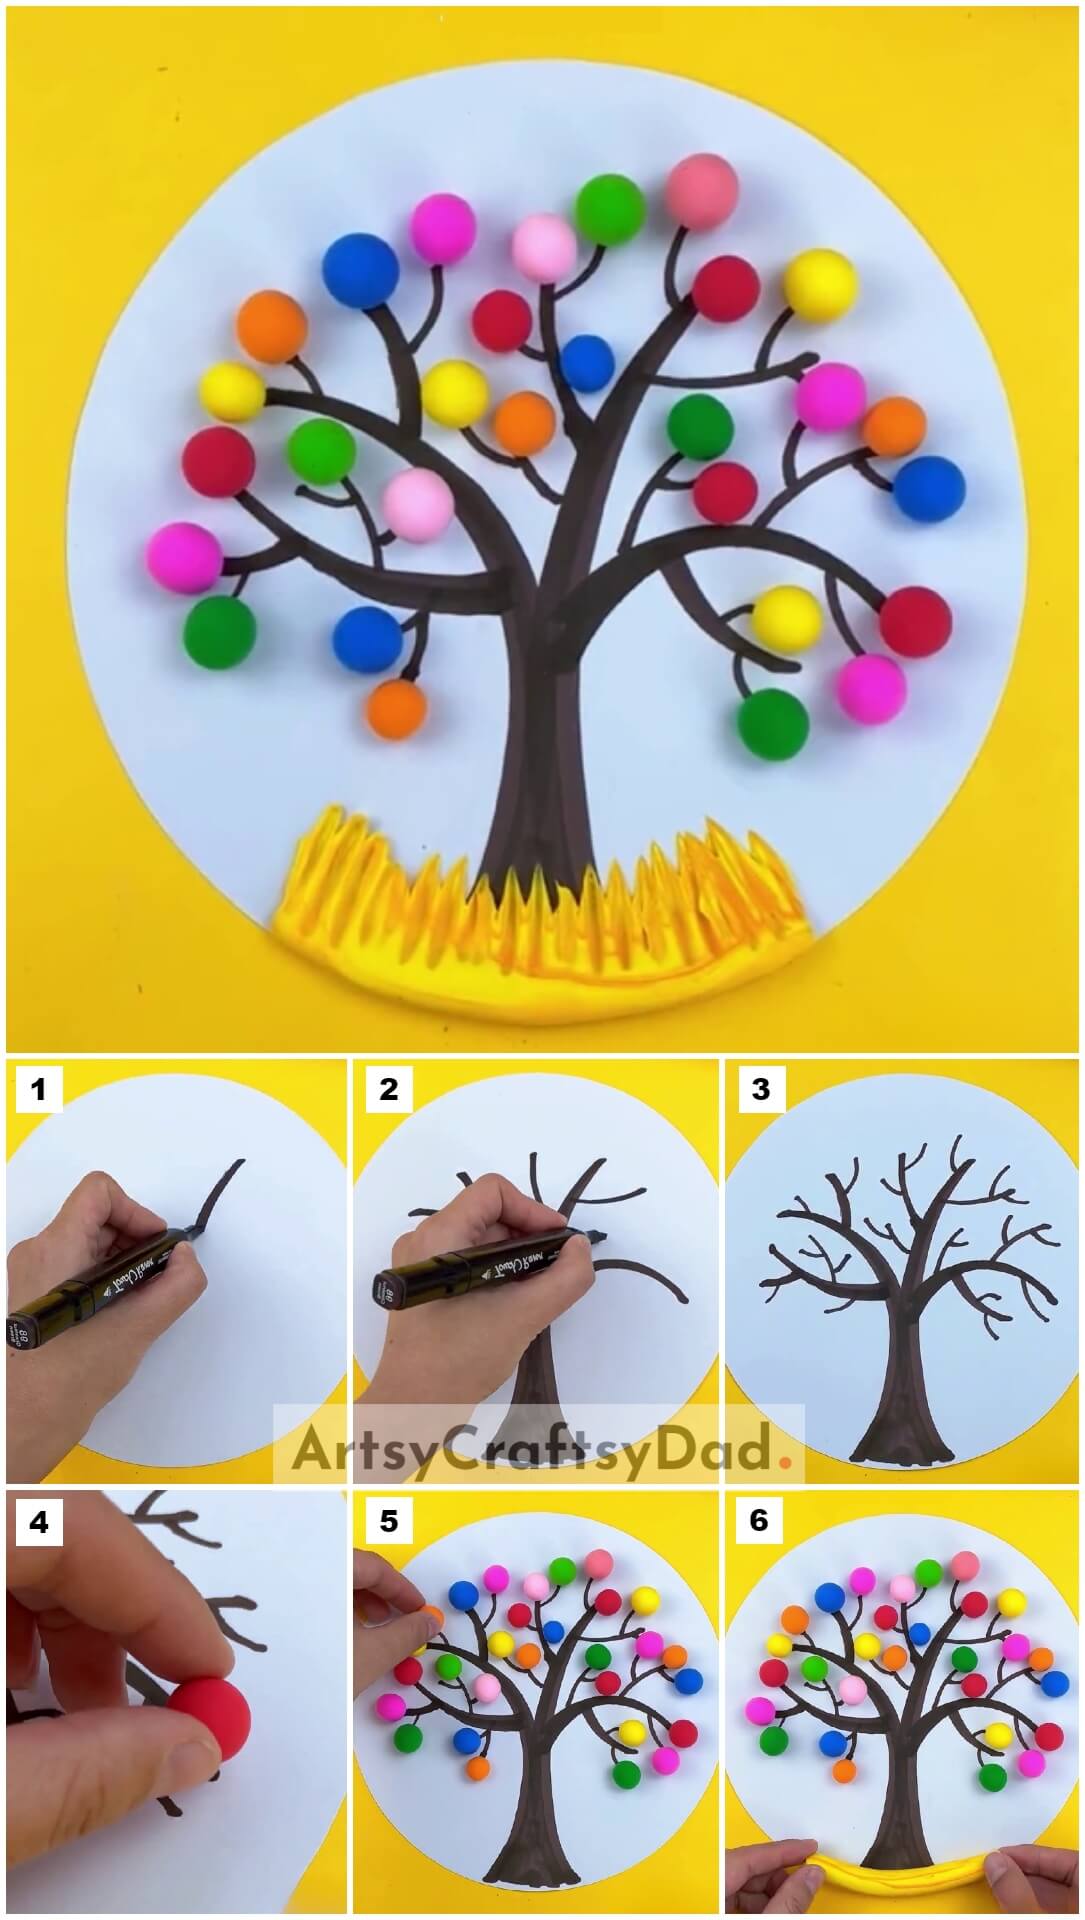
Step #1: Start Drawing
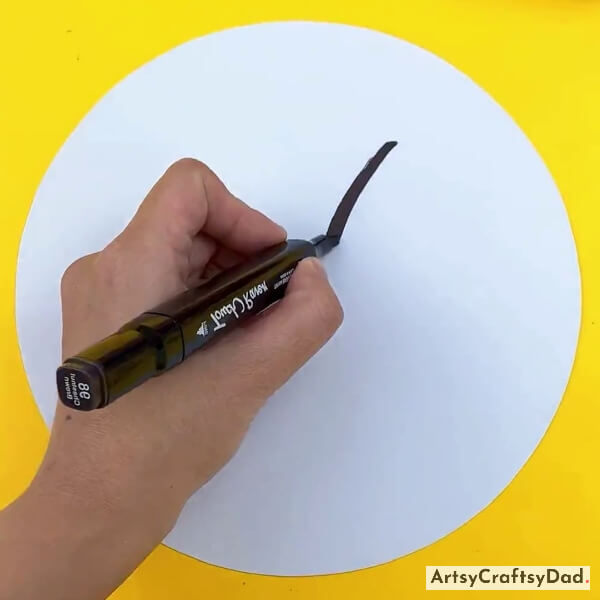
Take a white drawing sheet & cut it into a circle using scissors & start drawing using a brown marker.
Step #2: Drawing Tree And Its Branches
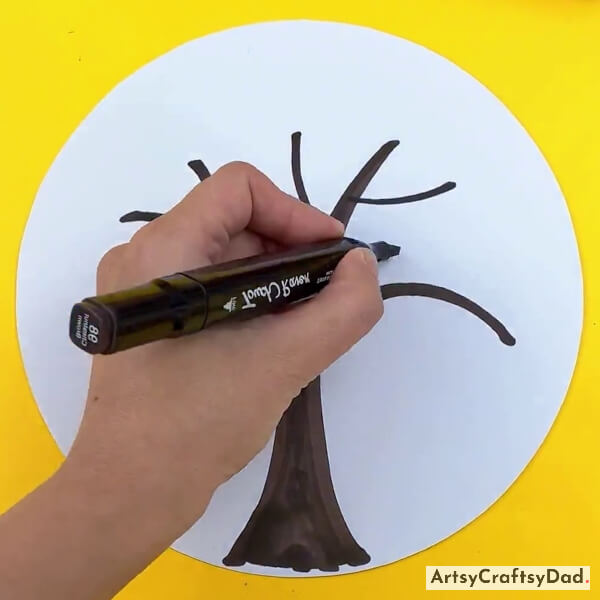
Start drawing the tree trunk part and branches of the tree.
Step #3: Completing Tree Drawing

Complete the tree drawing by drawing twigs on the branches.
Step #4: Making A Clay Ball

Now, take red color clay & make a small ball & paste it on one end of the tree branch using glue.
Step #5: Pasting Another Clay Ball
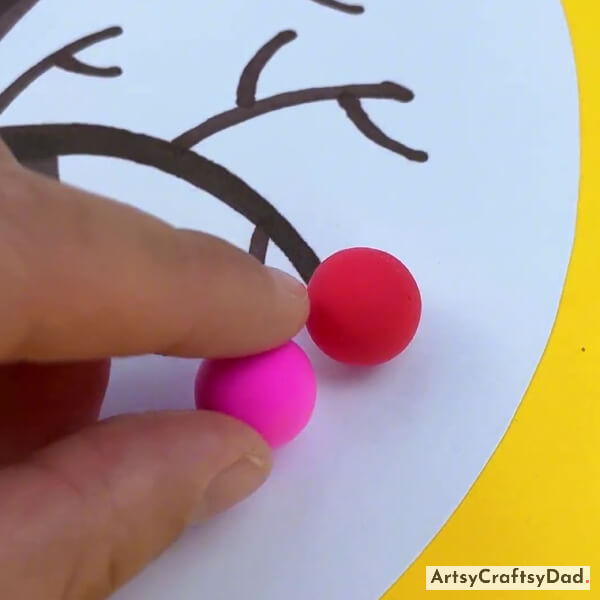
Paste one more pink color clay ball on the end of another branch.
Step #6: Pasting Clay Balls On Entire Branches
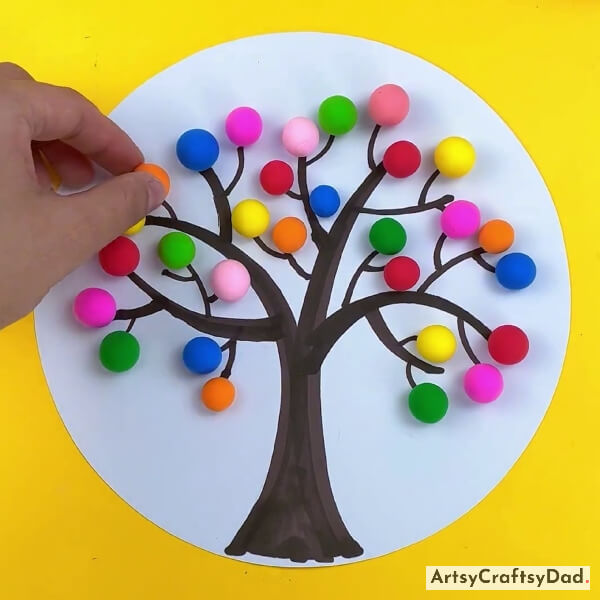
Paste some more different colored clay balls just like the above steps.
Step #7: Making Clay Ground
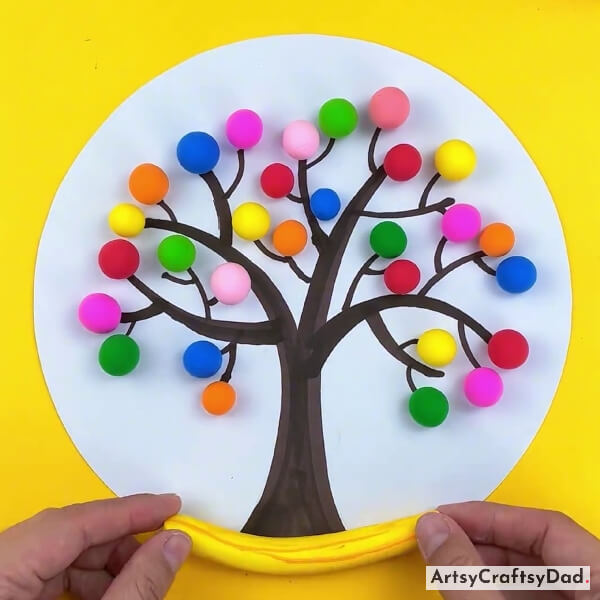
Take dark yellow & orange colored clays & roll them into two different layers one by one then take these layers & roll them together to make one layer as shown in the above figure. Put this layer under the tree to make ground.
Step #8: Spreading Clay With Fork
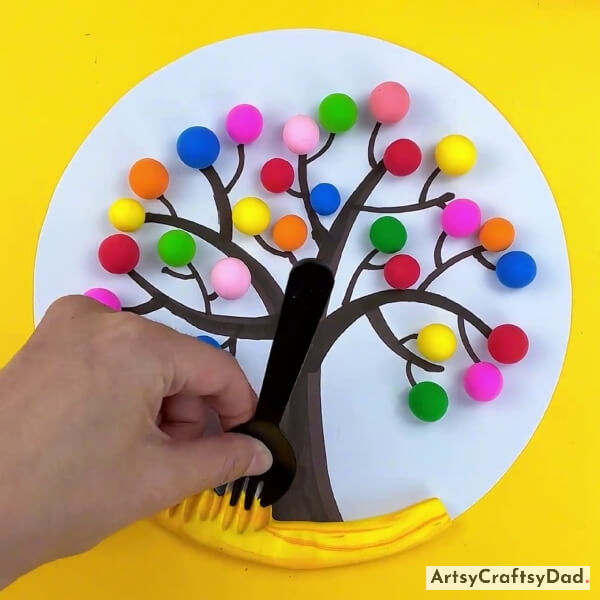
Now, spread the clay layer in an upside direction by using a fork.
Finally, Our Colorful Clay Tree Craft Is Complete!
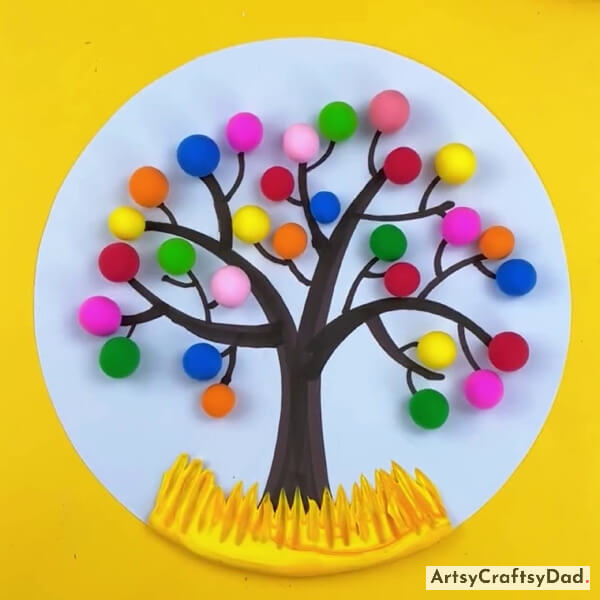
Completely spread clay here. Yay! Our colorful clay tree craft is ready.
This beautiful colorful tree clay craft ends here. This craft also allows them to learn about different colors and shapes, while creating a beautiful artwork to be proud of. Whether done at home or in a classroom setting, this tutorial provides an enjoyable and educational experience for young minds. You could customize this craft by adding your ideas. If you want to try some more clay crafts like this then you could visit our other websites.
Thanks for choosing us! Keep trying & creating new crafts!
You Might Also Like This
- Beautiful Peacock: Colorful Clay Craft Tutorial
- Kandinsky Circles Tree Clay Craft Tutorial
- Paper And Clay Tree Craft Tutorial For Beginners
- Colorful Tree Earbud Stamping Artwork For Kids
- Clay Flower Pot Model Craft Tutorial For Kids


