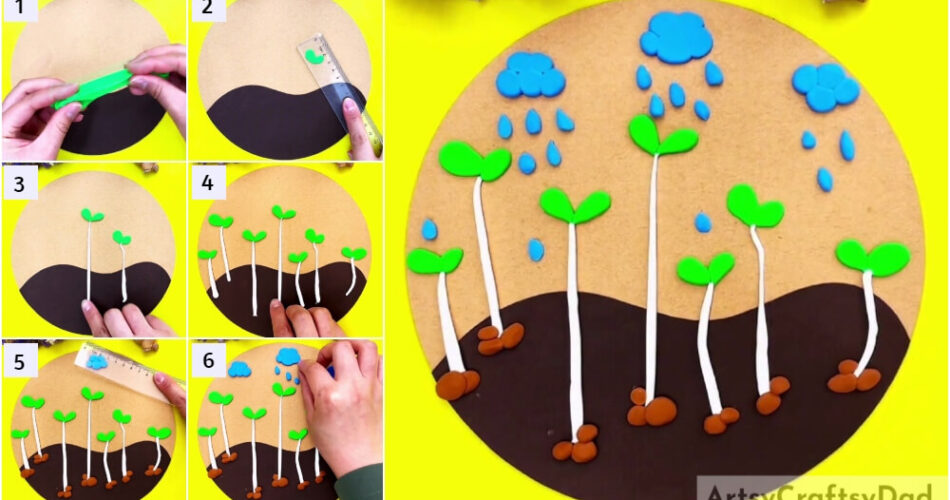
Teach the kiddos about seed germination with an amazing craft! This tutorial will guide you to make a seed germination clay craft!
We welcome you here on this tutorial article to make a seed germination craft while playing with clay! This craft is full of motor skills and learning as the kiddos will be able to drive their motor skills and will be keen to learn about ‘seed germination’ throughout the process! The results will be ravishing and will let you ace your science class cart model! Grab the listed materials and have a great time doughing and molding clay to make this craft in just the blink of an eye!
Simple Seed Germinating Clay Craft Tutorial For Kids
Must Read: Clay-Paper Sunflower Garden Craft Tutorial
Supplies & Tools:
- Circular Cardboard
- Scale
- Colored Clay (Blue, White, Green, And Brown)
- Brown Paper Sheet
- Glue
- Scissors
Clay Flower Instructions
Step #1: Making Ground
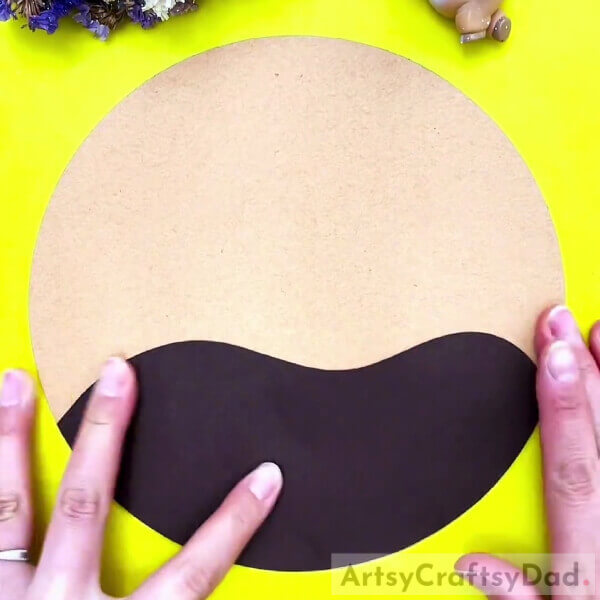
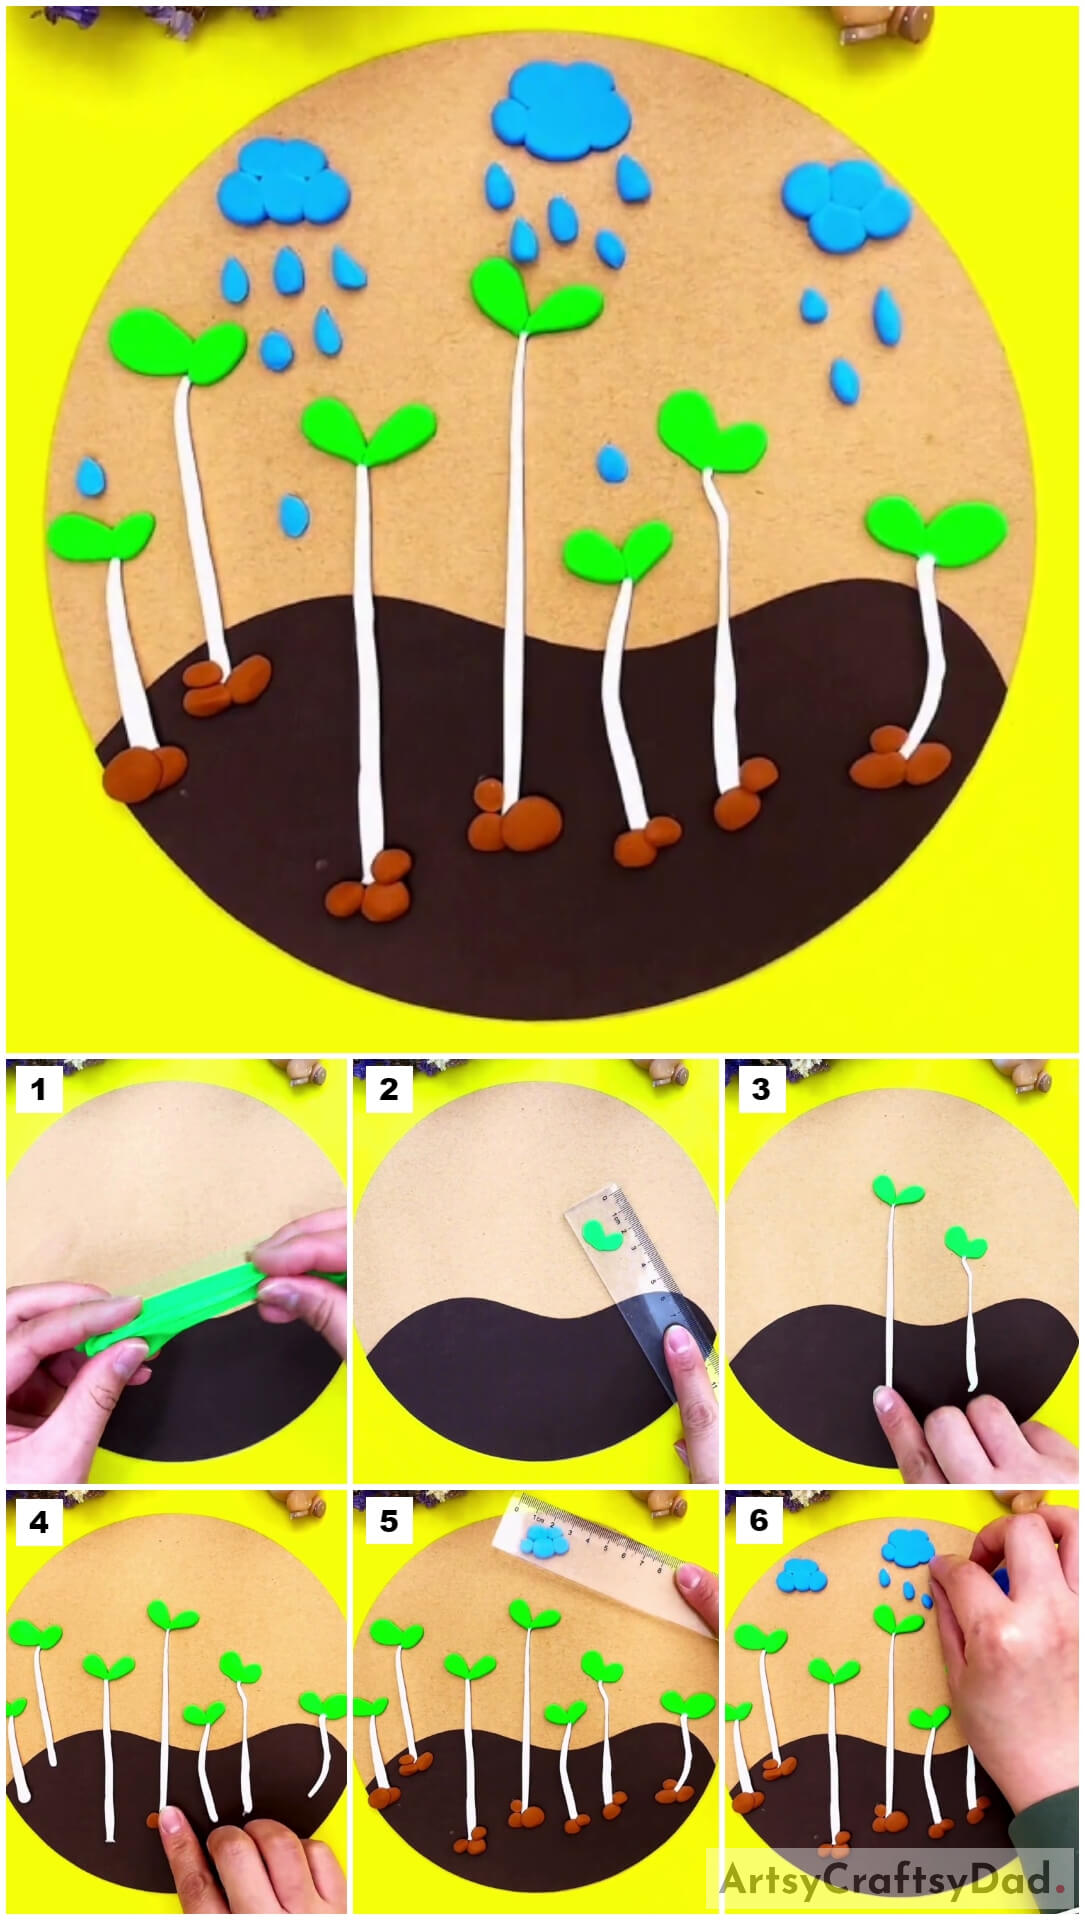
Begin this craft by taking a circular cardboard as the base for the craft and a brown paper sheet. Using scissors cut the brown paper in half making a wavy boundary and paste it over the below half of the base using glue. Again, cut the extra part of the sheet coming out of the base using scissors. This will be the ground in your craft.
Step #2: Taking Green Clay
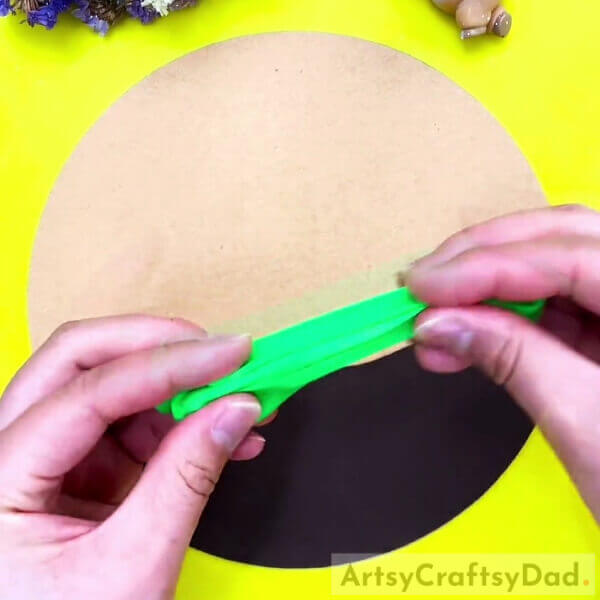
Take green-colored clay and pull out a piece of it.
Step #3: Making Tiny Clay Drop Shapes
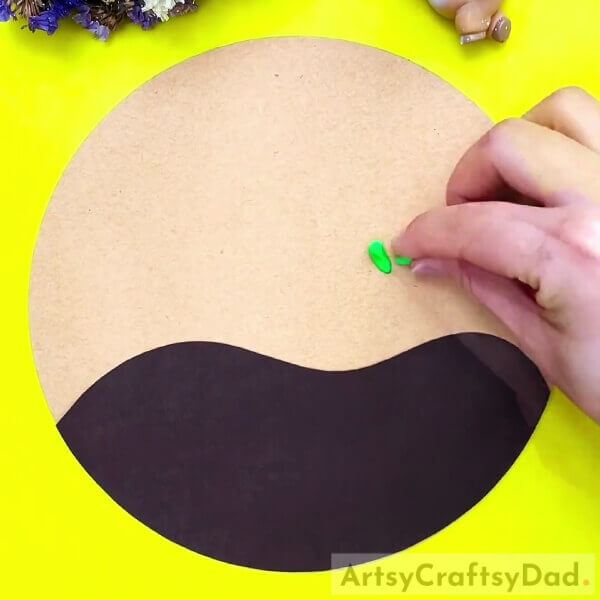
Using the green clay, dough some tiny clay drop shapes and place them over the base in a ‘V’ shape above the ground as shown in the image.
Step #4: Flattening The Clay

Using a scale, press and flatten the clay drop shapes to make the leaf shapes over the base.
Step #5: Making Stem And Another Leaf
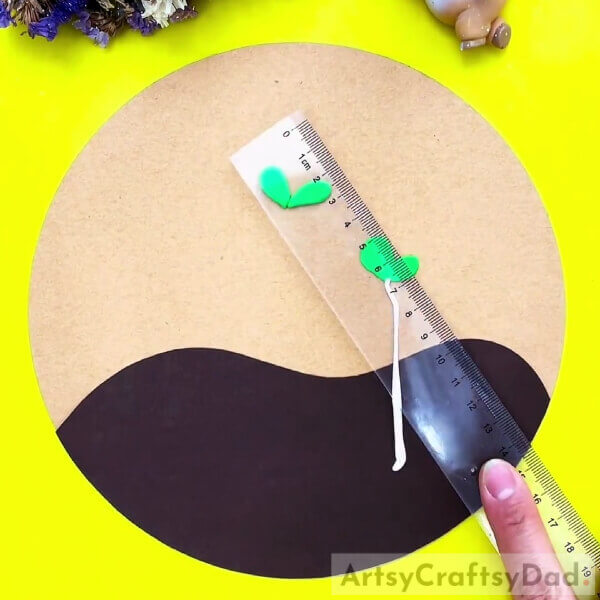
Take white colored clay and dough a thin long roll from it, and place it below the leaf you made in a vertical line reaching the middle of the ground. Press it with the scale to flatten it. This will be the stem of the germinated seed and the leaf. Now, following the same procedure as before, make another leaf beside the already made one and a little above as shown in the image.
Step #6: Making The Stem Of Other Leaf

Again dough the white clay into a thin and long roll to make the stem of the previously made leaf beneath it.
Step #7: Making More Leaves And Stems

Make more and more leaves with irregular stems over the base reaching the ground randomly with different heights and sizes.
Step #8: Making Sand Circles

Using brown clay, make tiny balls form it and place collectively 2-3 irregular balls at the end of the stem on the ground to make it look like the stems came out from the germinating seeds from the ground.
Step #9: Making Clouds

Dough clay balls of blue clay and arrange them irregularly to form a cloud shape and flatten them using scale. Make 2-3 clouds above the ground at the top of the base.
Step #10: Making Rain Drops

Now, dough tiny raindrops from the blue clay and stuck them over the base, making them come from the clouds to the ground.
This Is The Final Look Of Your Seed Germination Clay Craft!
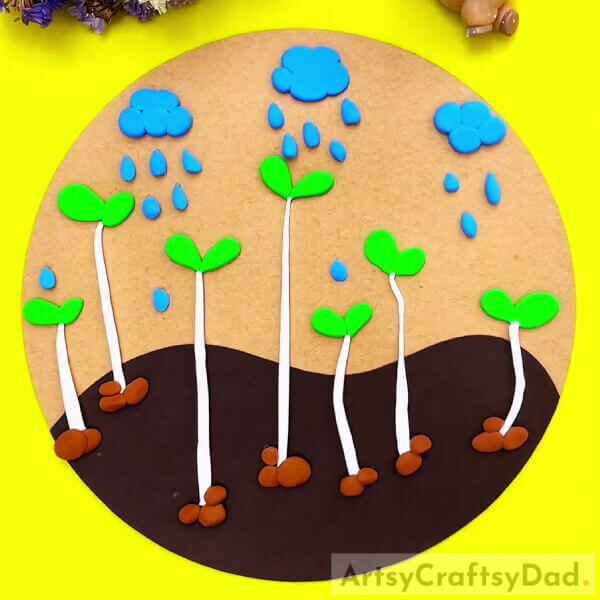
Voila! Look at the amazing results of your creation! Your seeds are germinating flawlessly!
Make this craft for your science craft project and let everyone be envious of your being the teacher’s favorite! You can even display it as an educational piece in your room! It is absolutely an exciting way to know nature and explore their creative side! This craftwork completion will also let your kids involved in the gardening process and they will love to watch the seeds grow day by day!
Hope you liked the article and the crat idea! Share it with your buddies as much as you can to encourage us to keep bringing such crafts for you!
Thank you for visiting our website!
You May Also Like
- Easy Craft Ideas from Clay/Plasticine for Easter
- How To Make New Year’s Toys from Polymer Clay
- How to make peacock lamp using clay for home decor
- Harry Potter Polymer Clay DIYs for Kids
- How to Make Peacock Clay Pot at Home


