Looking for a fun Easter craft for kids? Check out our cute paper Easter bunny craft tutorial! This step-by-step guide will show you how to create adorable bunnies out of paper that your kids will love. Get creative and enjoy some quality time with your little ones this Easter with our easy-to-follow tutorial.
Easter is a time for celebration and fun, especially for children who eagerly anticipate the arrival of the Easter bunny. In this tutorial, we will guide you through the steps to create an adorable paper Easter bunny. This craft is not only easy to make but also perfect for kids of all ages. Whether you are a parent, teacher, or simply looking for a creative project to enjoy with your little ones, this tutorial will provide an enjoyable and educational experience for everyone involved. So gather your materials and let’s get started on this cute paper Easter bunny craft!
Adorable Easter Bunny Craft Using Paper
Must Read: Paper Cutting Cute Tigers Craft Tutorial For Kids
Supplies & Tools
- White Drawing Sheet
- Googly Eyes
- Craft Paper (Red, Light Pink)
- A Pair of Scissors
- Marker( Black & Red, Dark Pink )
- Scissors
- Bowl
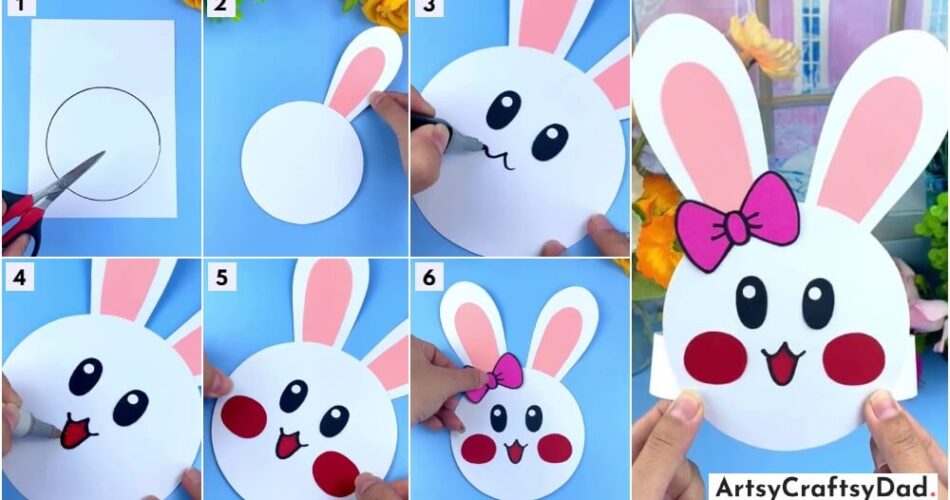
Paper Bunny Instructions
Step #1: Drawing Circle
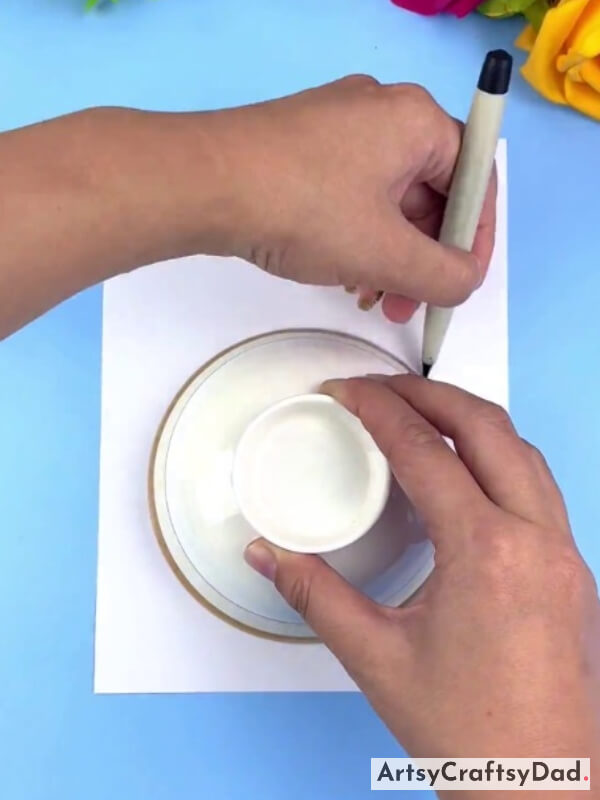
Take a white drawing sheet & draw a circle by using a bowl on the sheet with a black marker.
Step #2: Cutting Out Circle
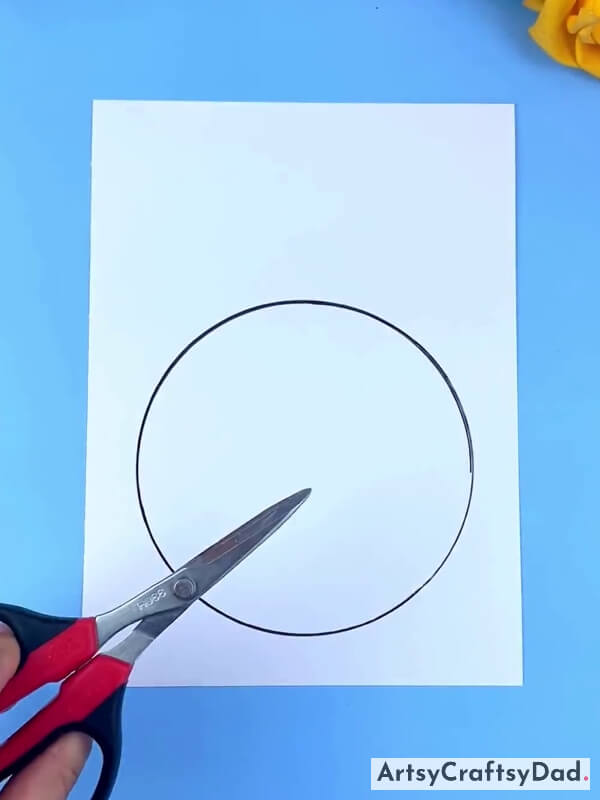
Now, cut out the circle that we drew on the white sheet & use it as the bunny head.
Step #3: Making Ears
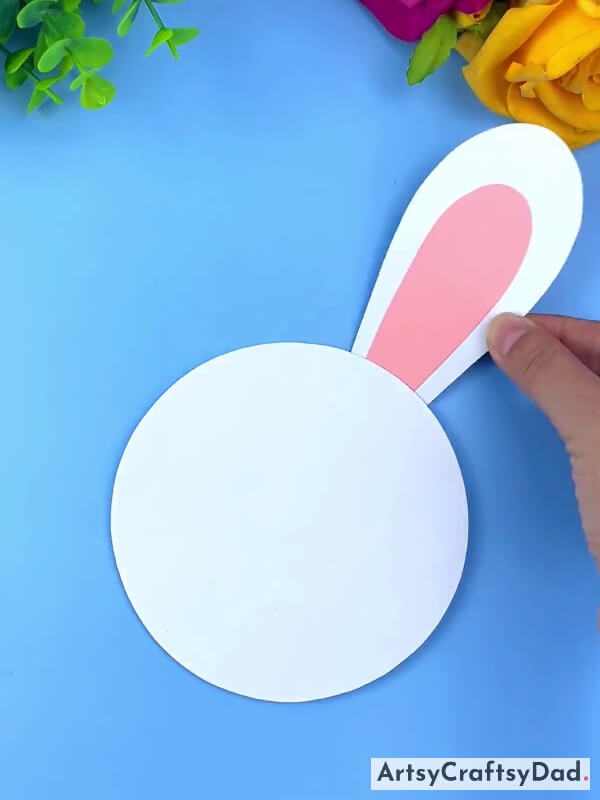
Take a white sheet & cut it out into a bunny ear shape & then paste it on the bunny’s head. Now, take a light pink craft paper & draw the inner portion of the ear & cut it out & paste the inner portion of the ear on the white ear as shown in the image.
Step #4: Pasting Another Ear
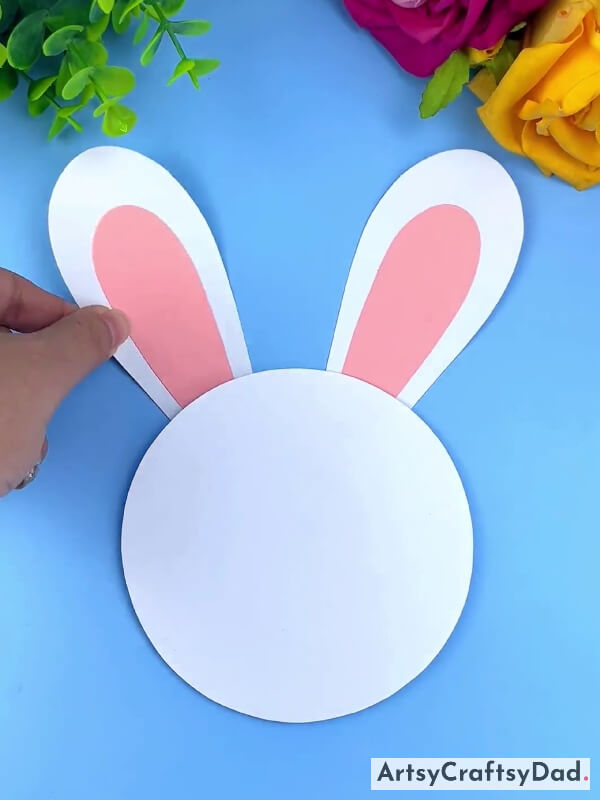
Make another ear & paste it by repeating the same steps as we did above.
Step #5: Pasting Googly Eyes
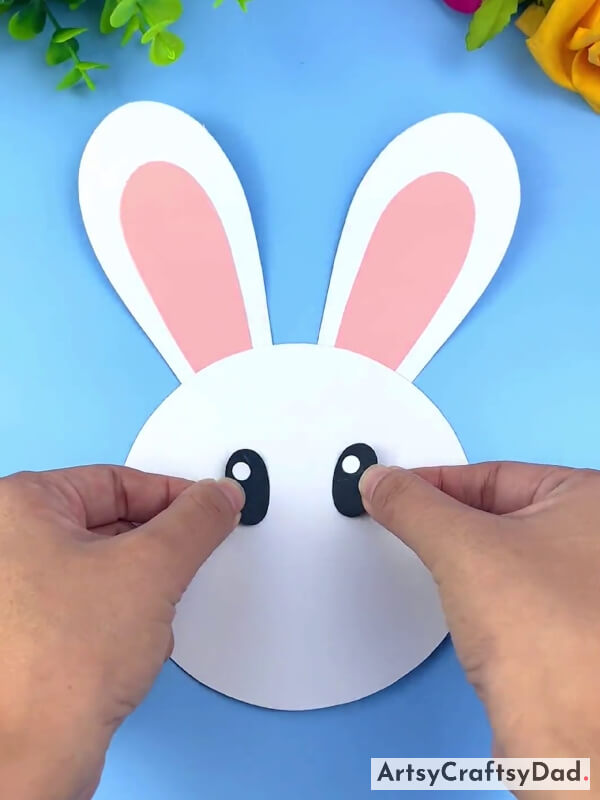
Take two googly eyes & paste them on the bunny’s face.
Step #6: Drawing Mouth
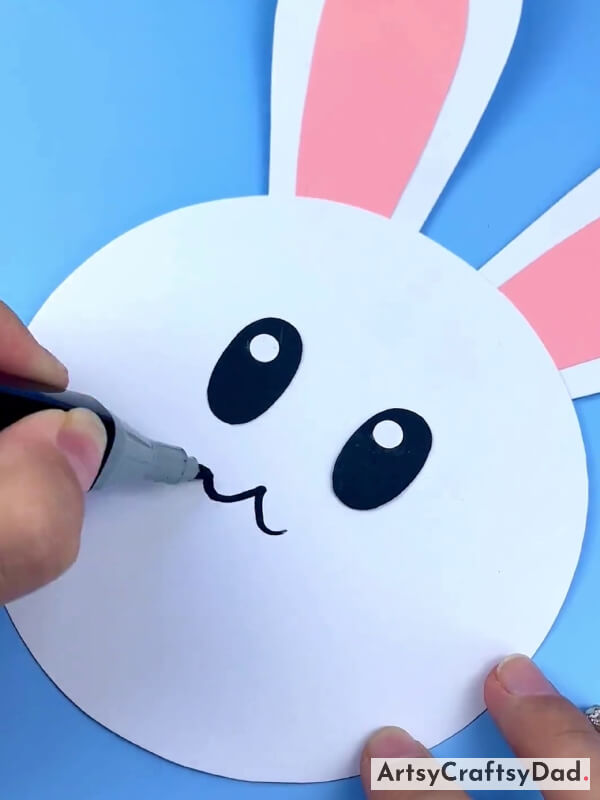
Take a black marker & draw the bunny’s mouth.
Step #7: Coloring Tongue
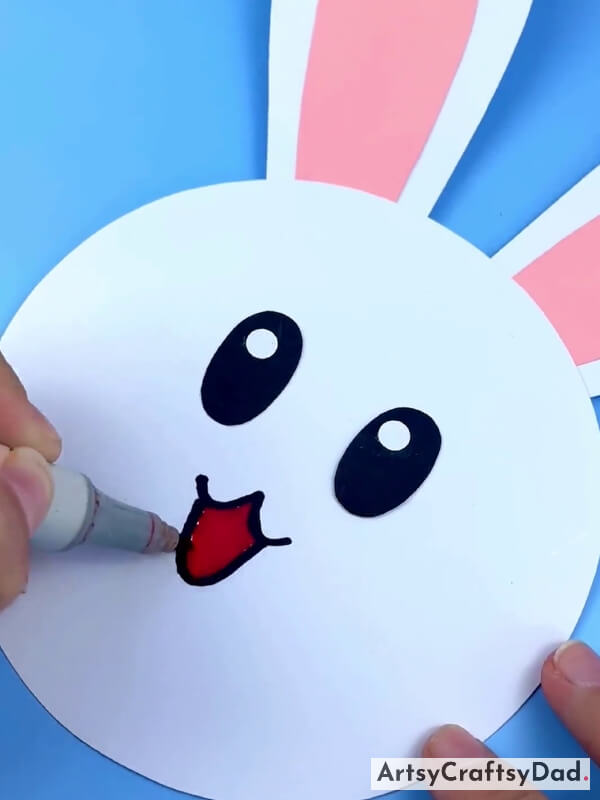
Draw the bunny tongue under the mouth area with a black marker & then color the tongue with red color.
Step #8: Making Blushes
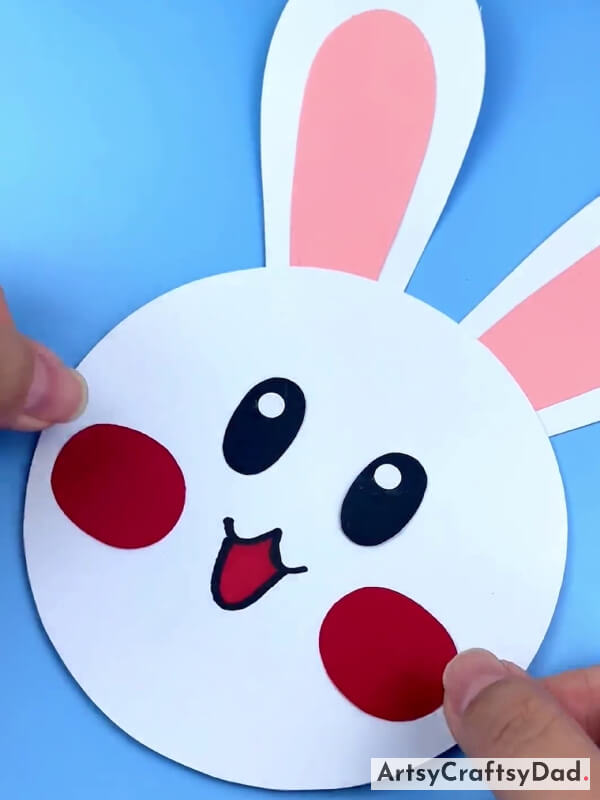
Take red craft paper & cut it into two irregular circles & paste them on the bunny’s cheeks as blush.
Step #9: Making Bow Paper Clip
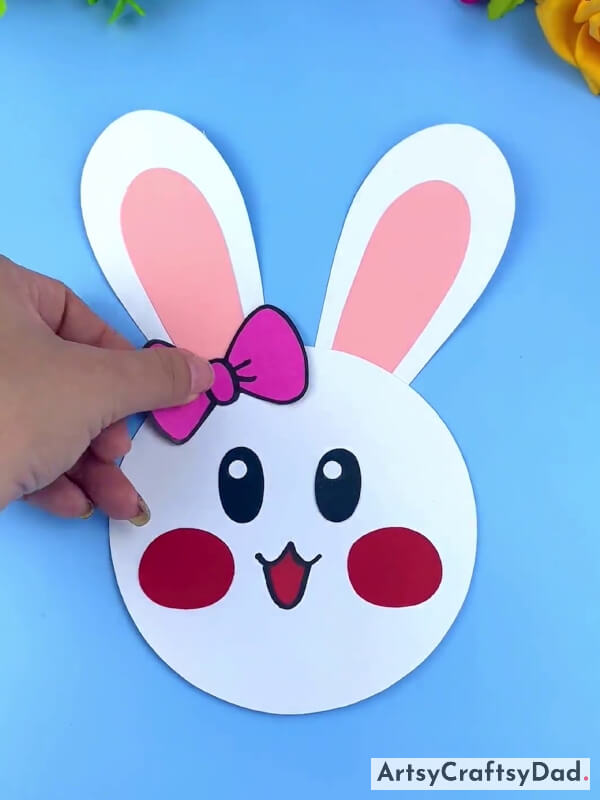
Now, take a white drawing sheet & draw a bow clip with a black marker & then color it with a dark pink marker. Then cut it out & paste it on the rabbit’s head.
Step #10: Working With Paper Strips
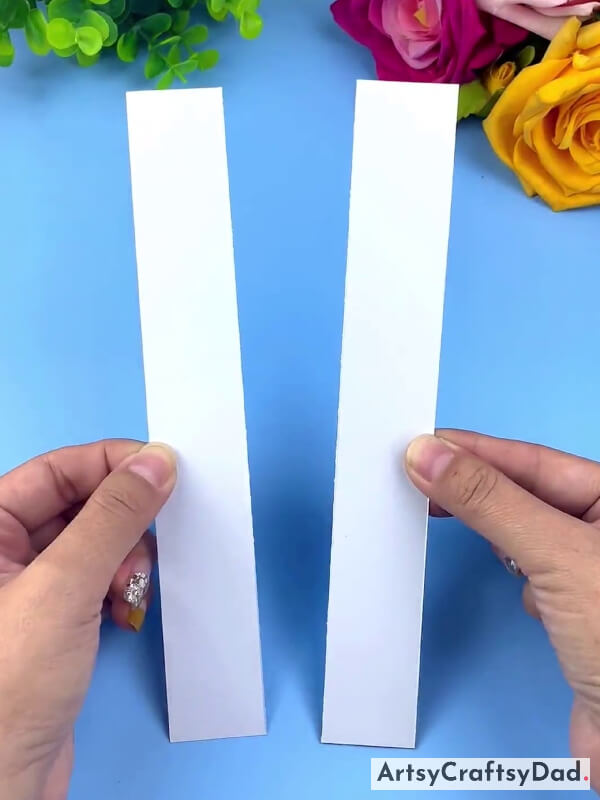
Take a white drawing sheet & cut it into two same-size strips.
Step #11: Joining Strips
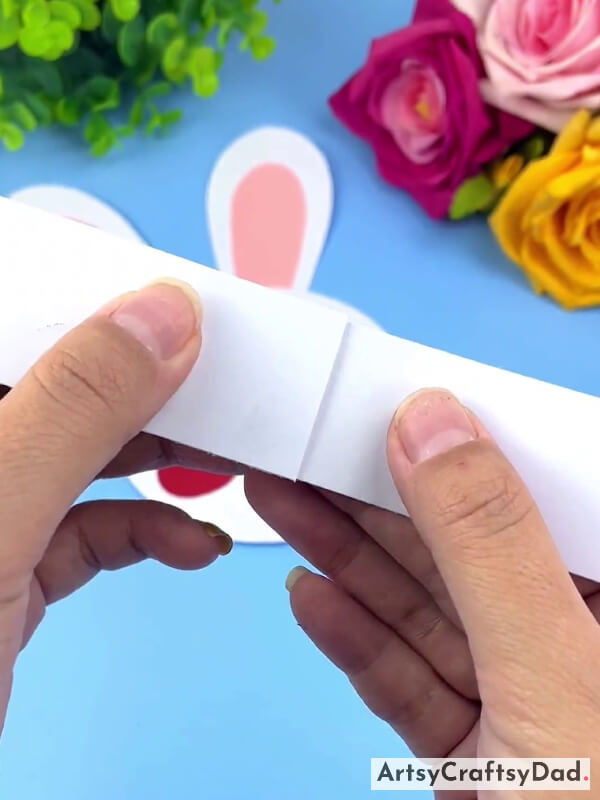
Now, join two ends of strips using glue.
Step #12: Joining Strips Other Two Ends
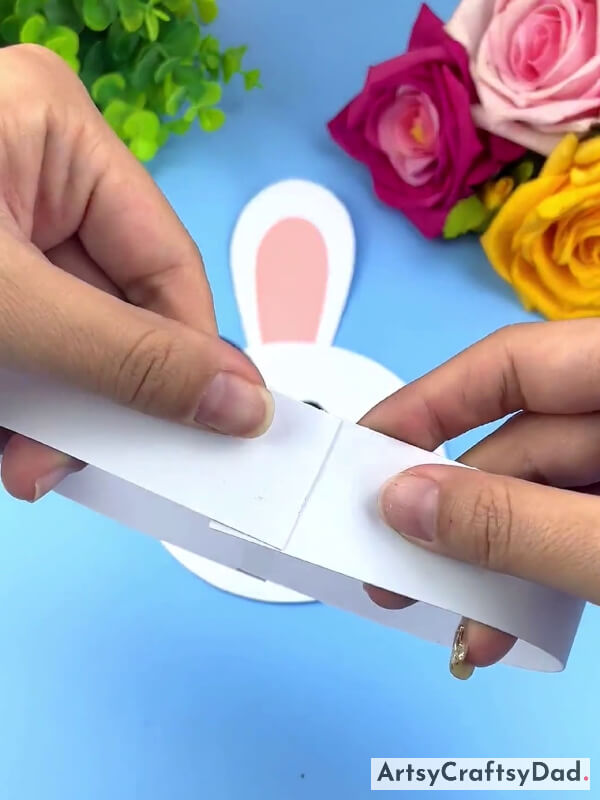
Now, join the other two ends of the strips.
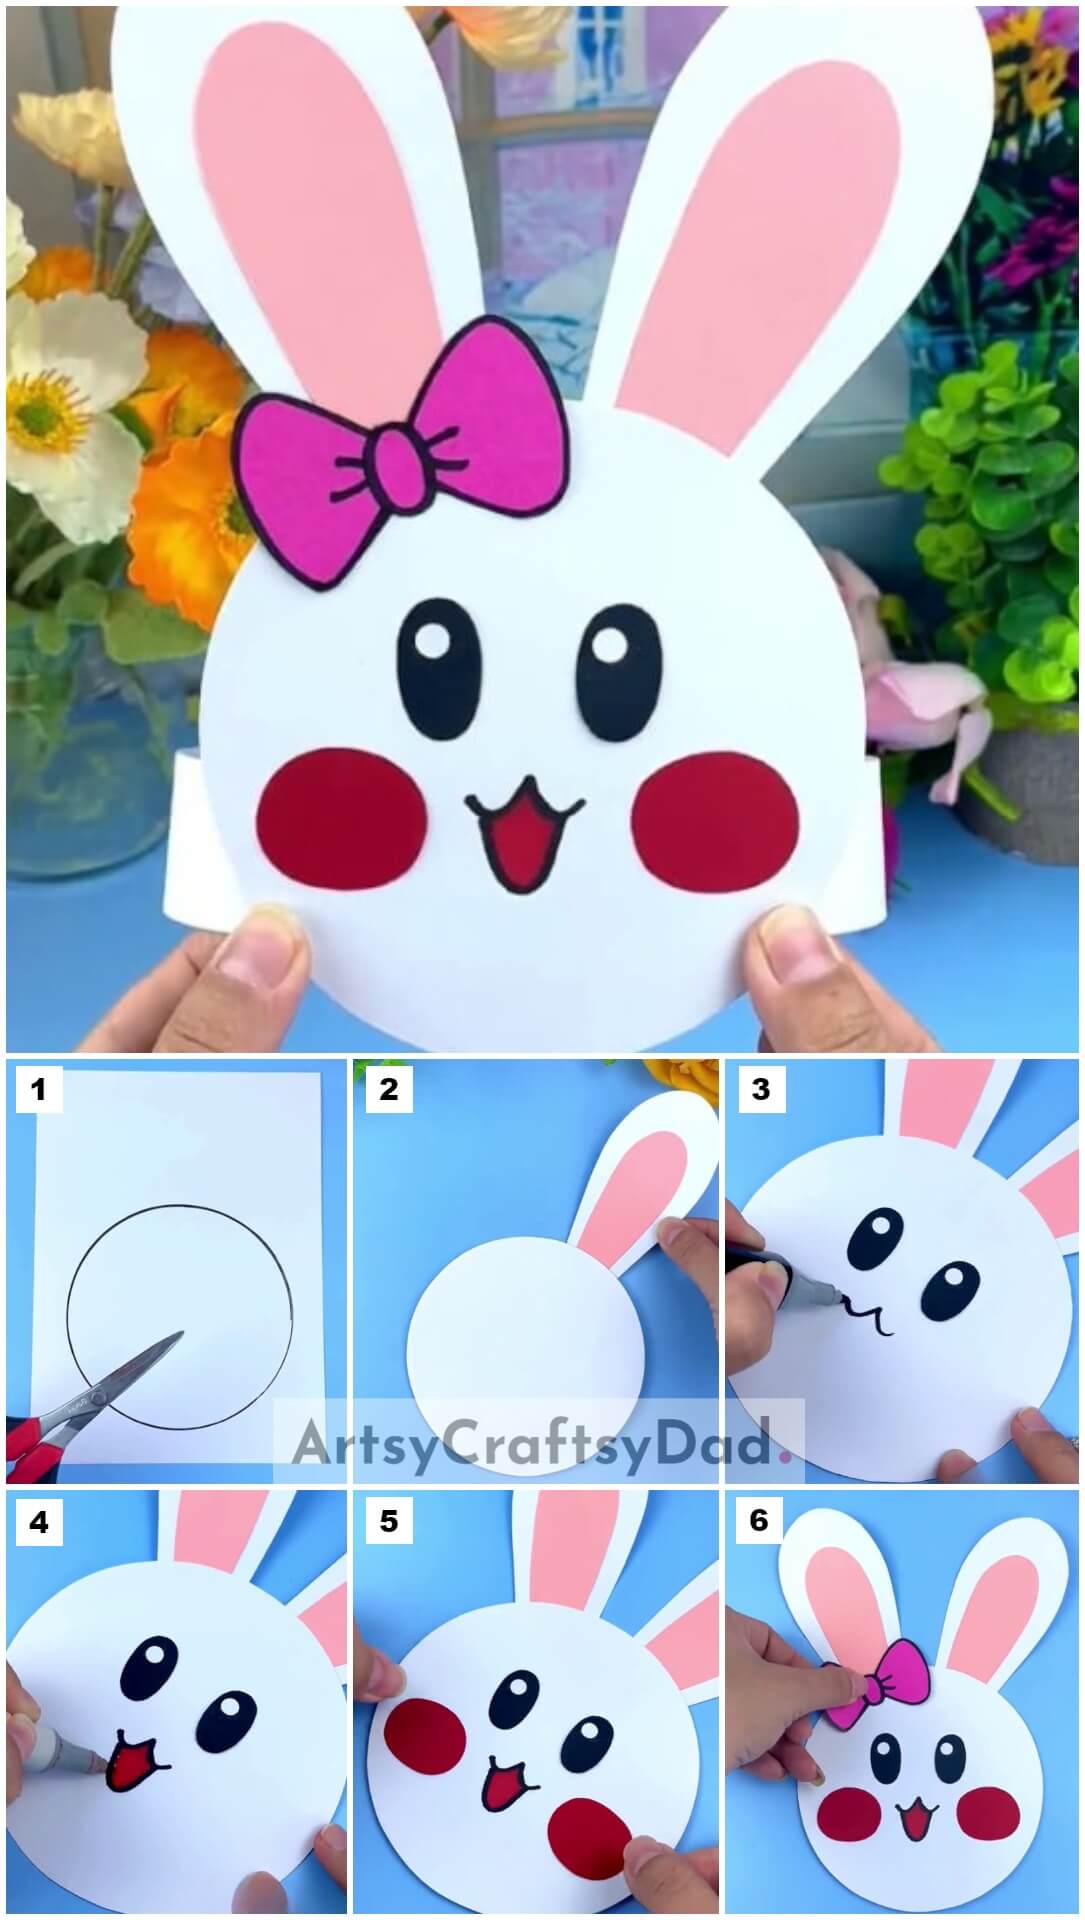
This Is The Conclusive Look Of Our Bunny Craft!
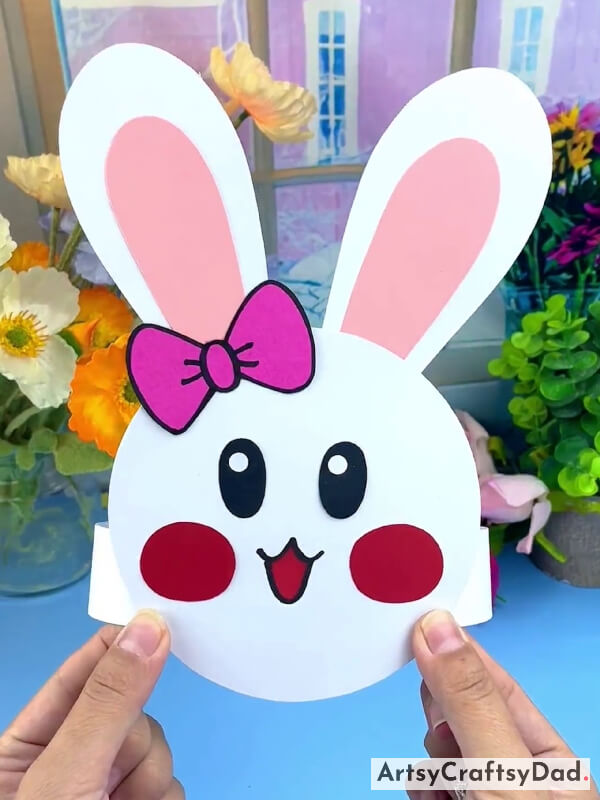
Complete the bunny craft by pasting that strip behind the bunny & our craft is ready now.
We have finished our adorable bunny craft here. I hope you did not face any difficulty in making this masterpiece. Don’t stop just go & show this craft to your friends & family they will be proud of you. By following the simple steps outlined in this tutorial, children can create their own adorable paper Easter bunny decorations that will surely bring joy and excitement to any Easter celebration. Like this you could also produce some other crafts if you need any ideas just visit our other websites where you find limitless ideas & crafts for practice. Don’t miss to share your thoughts in the comment section.
Thanks for visiting our website! Have a nice day!
You Might Also Like This
- Easy Craft Ideas from Clay/Plasticine for Easter
- Cute Kitten Stamp Painting Tutorial For Kids
- Easy Paper Dinosaur Animal Craft Tutorial For Kids
- Cute Dinosaur: Stamp Painting Tutorial For Kids
- Colorful Paper Rainbow Wall Hanging Craft Tutorial For Kids


