Are you looking for a fun and creative art project for your kids? Look no further! Our colorful paper flying birds artwork tutorial is the perfect activity to keep your little ones entertained. With easy-to-follow instructions and vibrant materials, your children will be able to create their flock of flying birds in no time.
In this tutorial, we will guide you step-by-step on how to create vibrant and eye-catching flying bird artwork using simple materials such as colored paper, scissors, and glue. This fun and engaging activity is perfect for children of all ages who love arts and crafts. It will also provide them with the opportunity to learn about different bird species and their colorful plumage. So, gather your art supplies and get ready for a delightful journey into the world of paper birds!
Flying Birds Artwork Step By Step Tutorial Using Paper
Must Read: Stamping Colorful Dandelions Artwork Tutorial
Supplies & Tools
- Drawing Paper(Red, Yellow, White, Sky-Blue)
- Googly Eyes
- Marker(Black, Green)
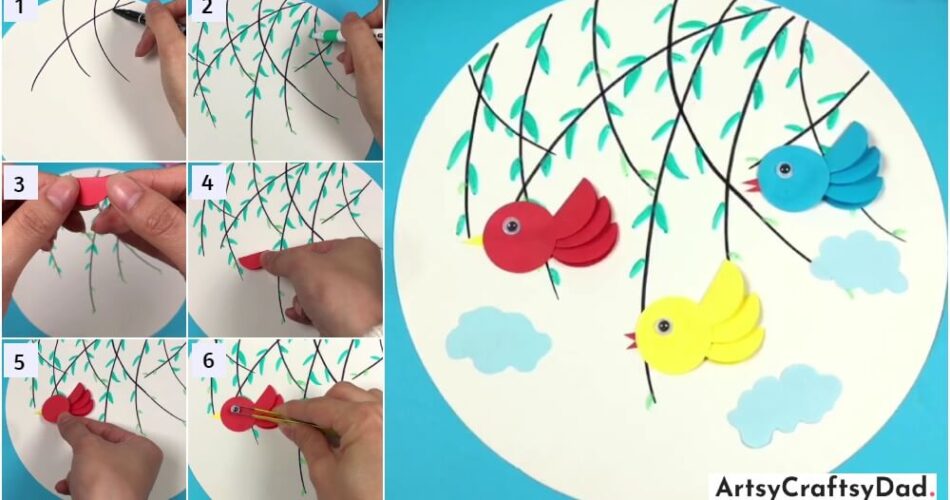
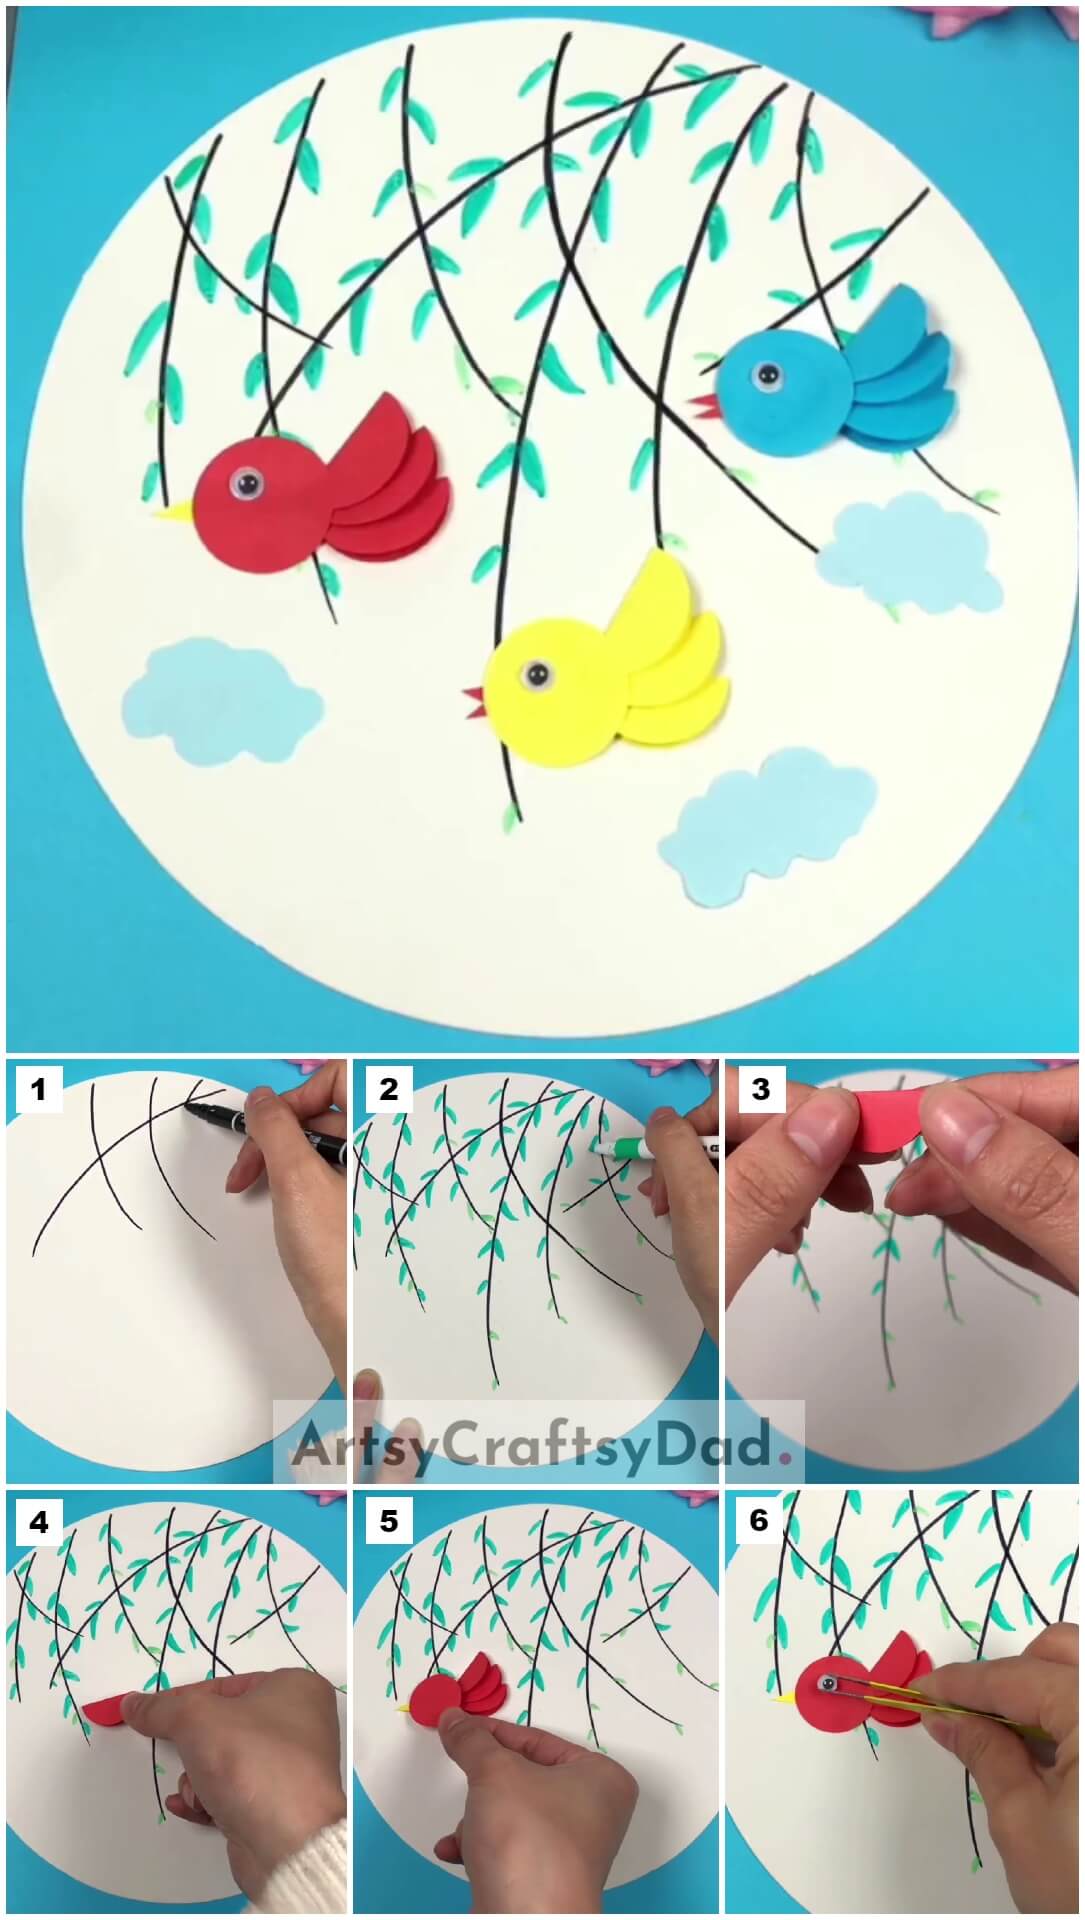
Flying Birds Instructions
Step #1: Drawing Branches
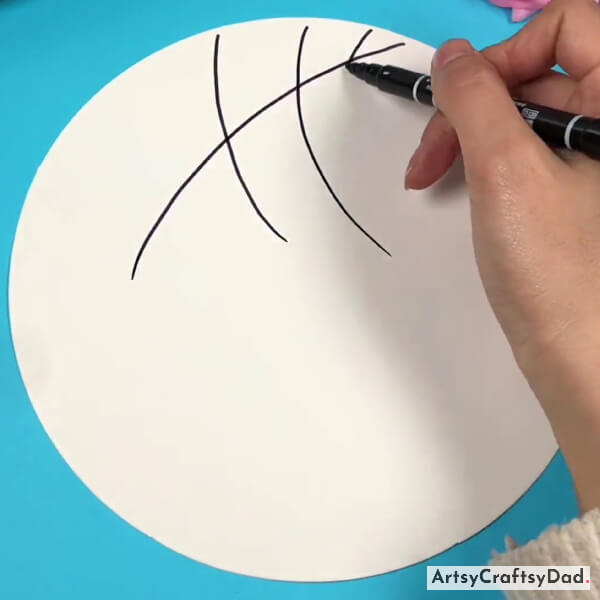
Begin by selecting a white drawing sheet and cutting out a circle shape to serve as a base for our project. Now, pick up a black marker and start creating crisscross branches from the top side of the sheet.
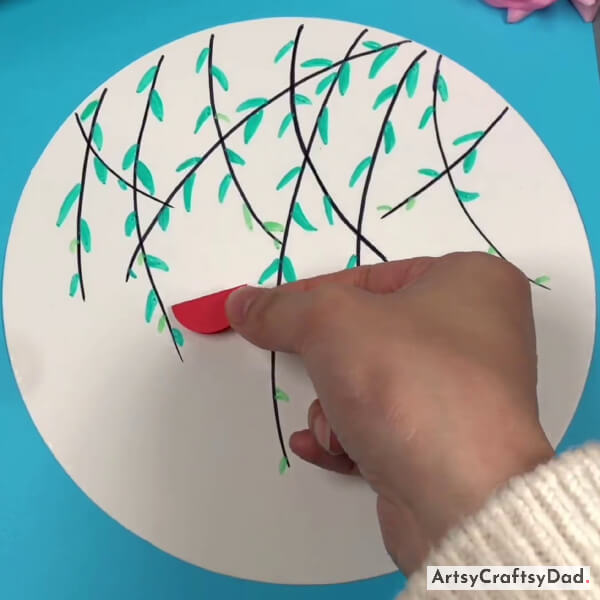
Step #2: Drawing Leaves
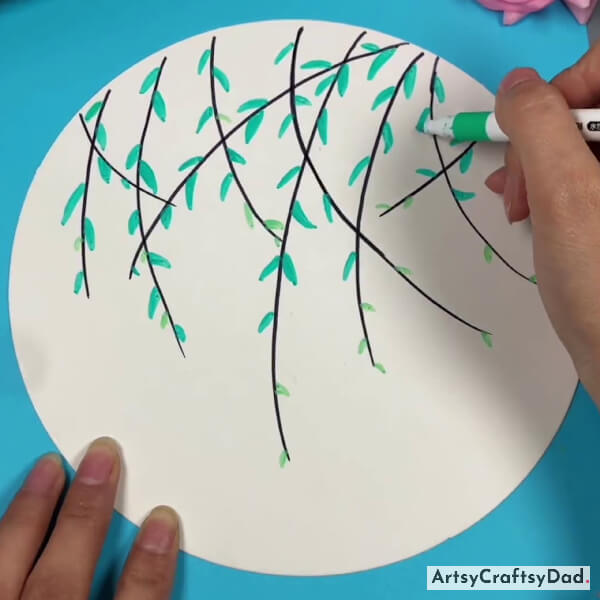
After creating branches take a green marker and draw leaves around all the branches.
Step #3: Folding Paper & Start Making Bird Wings
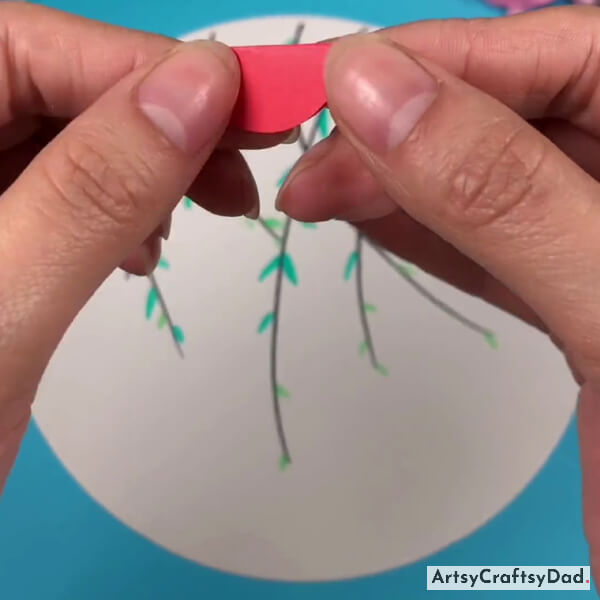
Afterward, take a red drawing paper and cut out a circle from it, then fold it in half from the middle to make bird wings.
Step #4: Pasting Bird Wings
Paste the folded paper a little downward and between the branches.
Step #5: Pasting More Bird Wings
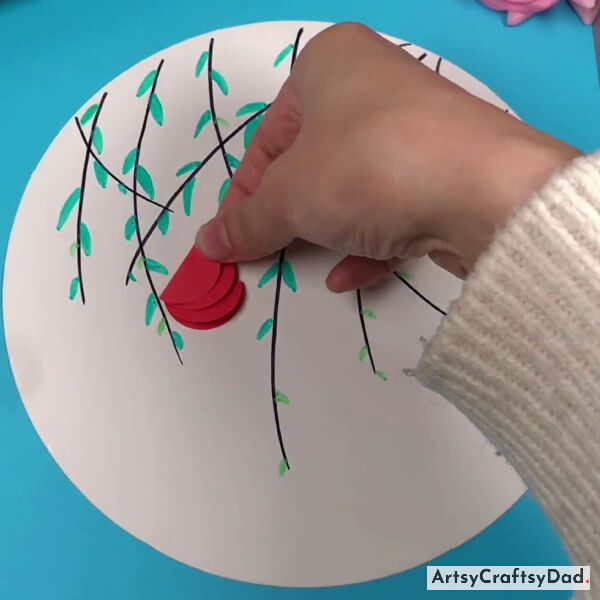
Paste more papers above the previous ones to create the wings of the bird.
Step #6: Making Bird’s Face
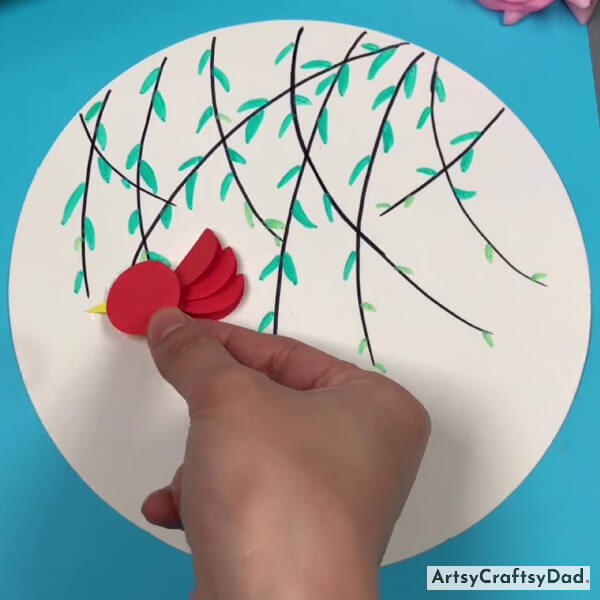
Step #7: Pasting Googly Eyes
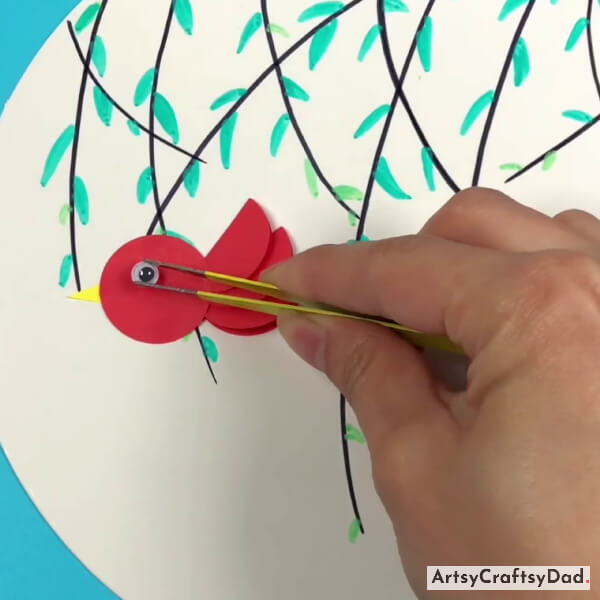
After making face paste googly eye on the face.
Step #8: Making Another Bird
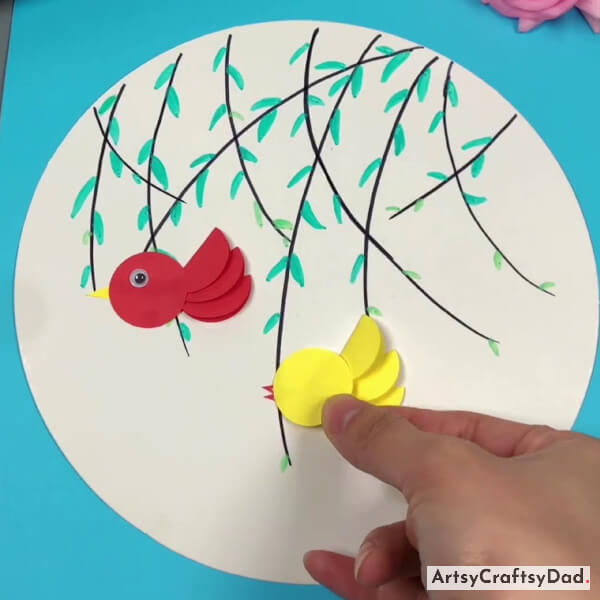
Similarly, create another bird with a different yellow paper by the same process & paste it just below the first one.
Step #9: Pasting Googly Eyes
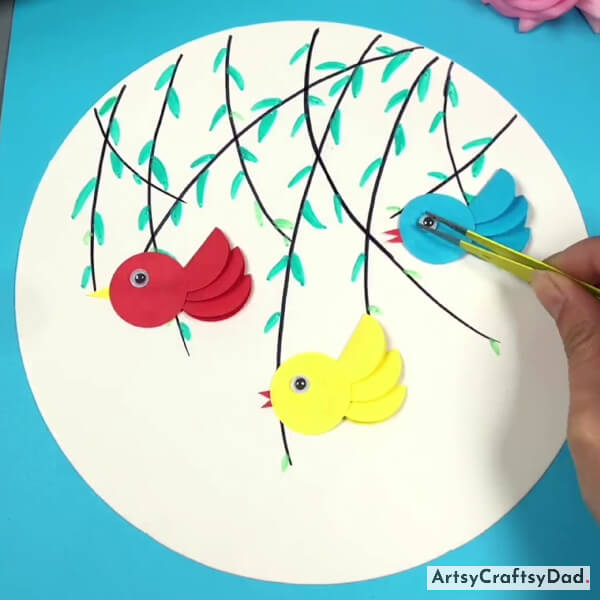
Create one more bird as made above using sky-blue paper with googly eyes and paste it on the right side just behind the red bird.
Our Flying Birds Craft Is Completed Here!
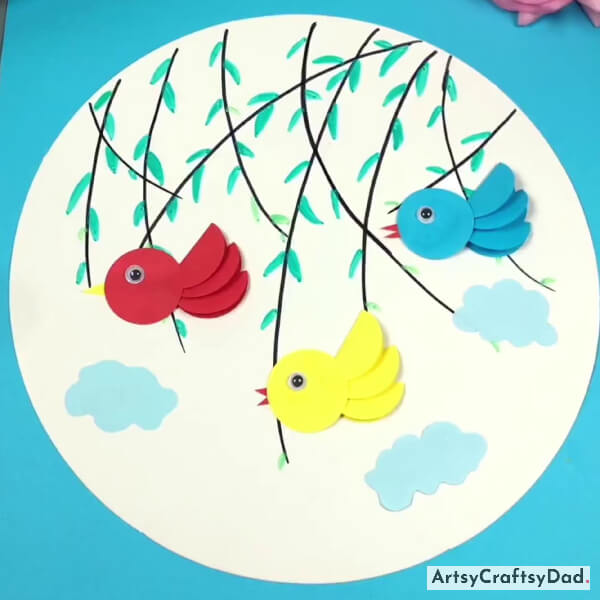
Enhance the craft’s beauty by adding clouds made from sky-blue paper & pasting them on the craft base, and now our final craft is ready.
Our lovely flying bird colorful paper craft is finished here. Kids could use this craft in the school project or in their free time to have fun learning about creating crafts. You could customize this craft by adding your ideas or by making different types of birds with different colored papers. If you want to explore more exciting crafts like this then visit our website which is filled with the different types of crafts. Share your thoughts in the comment section because that will encourage us for future crafts.
Thanks for visiting us!
You Might Also Like This
- Flying Paper Rice Dumplings Art & Craft Tutorial
- Cute Birds On Tree Painting Hack Tutorial
- Colorful Hedgehog Paper Craft Tutorial For Kids
- Bubble Wrap Carrot Artwork Craft Tutorial For Kids
- Clay Circles Tree Artwork Craft Tutorial For Kids


