Looking for a fun and interesting craft activity? Check out our paper rabbit craft tutorial! In this step-by-step guide, you’ll learn how to create adorable paper rabbits using simple materials. Whether you’re a beginner or an experienced crafter, this tutorial is perfect for all skill levels.
Hello, my creative friends! Are you ready to have a fun and interesting paper rabbit craft tutorial? If your answer is yes then you are at the right place. I know you are looking for a creative and entertaining way to spend your time, and this tutorial is perfect for you. If you are not an experienced crafter, this activity will surely bring out your inner artist. Follow along as we guide you through the step-by-step process of creating an adorable paper rabbit using simple materials that you can easily find at home. Get ready to unleash your imagination and have a fantastic time bringing this adorable creature to life!
Easy Paper Rabbit Craft Ideas For Kids
Must Read: Pistachio Shell Corn Craft Tutorial Using Paper
Supplies & Tools
- Craft Paper (Pink, White)
- Color Sketch Pen (Pink, Black)
- Scissors
- Glue
Rabbit Craft Procedure
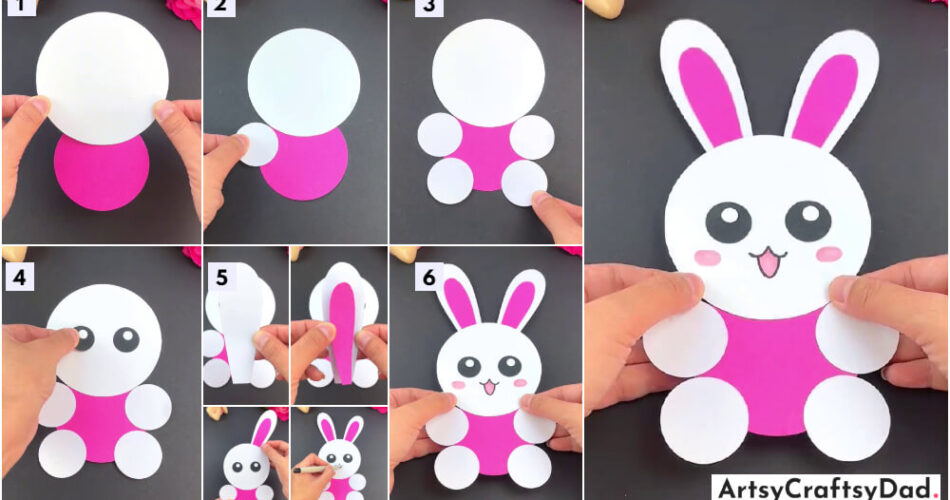
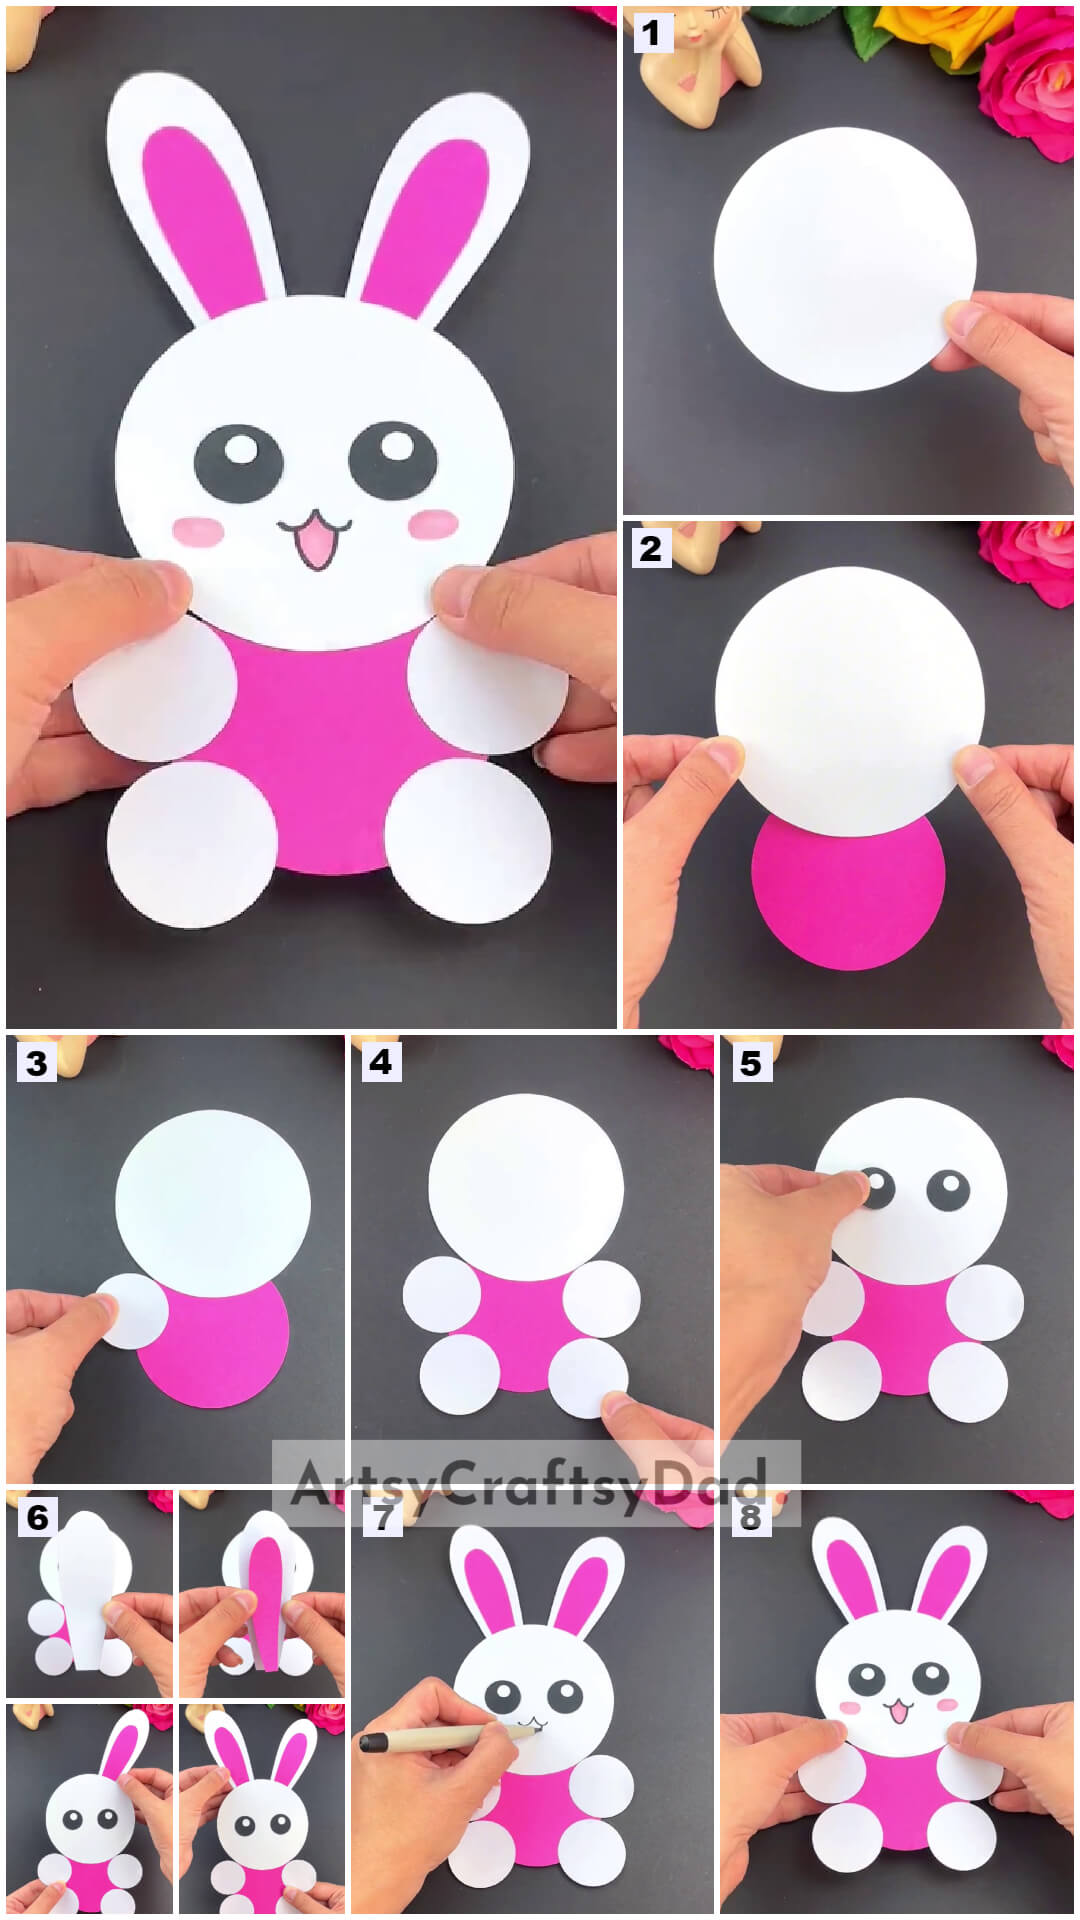
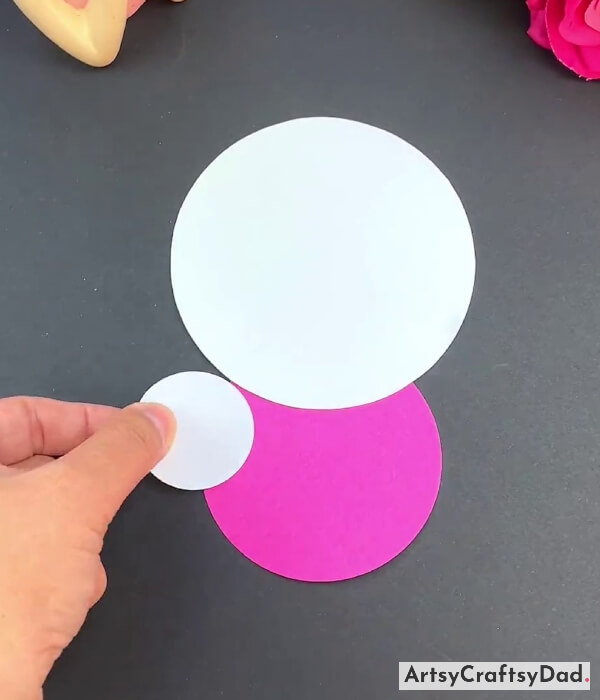
Step #1: Cutting White Craft Paper Into A Circle
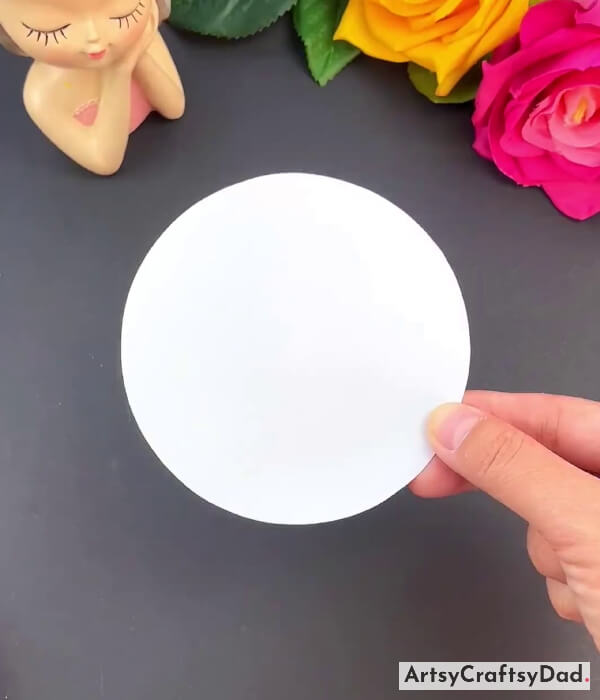
Take a piece of white craft paper & cut it into a circle for the rabbit head by using scissors.
Step #2: Adding The Head Of The Rabbit Over The Lower Body
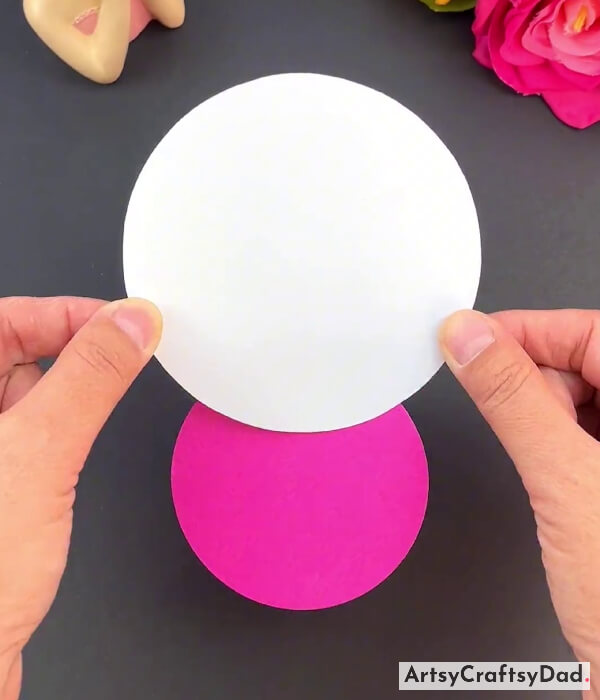
Take a piece of pink paper & cut it into a smaller size circle than a white circle & then paste it.
Step #3: Adding Hand Of Rabbit
Again take a white paper & cut it into a small size circle for the rabbit’s hand & paste it on the left side of the rabbit’s body.
Step #4: Adding Another Hand Of Rabbit
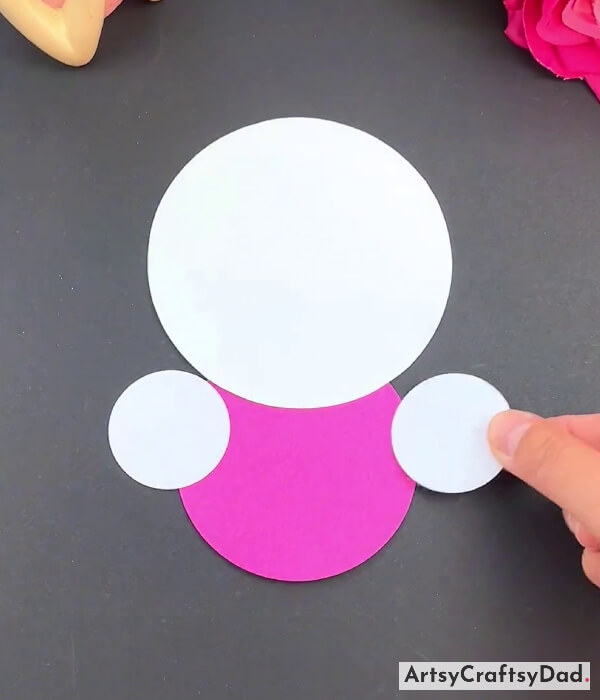
By following the same process. Paste the other hand on the right side of the rabbit’s body.
Step #5: Adding Legs Of Rabbit

Now, make two more circles of white paper for the rabbit legs & paste them on the lower side of the body one on the left & one on the right side.
Step #6: Making Eyes
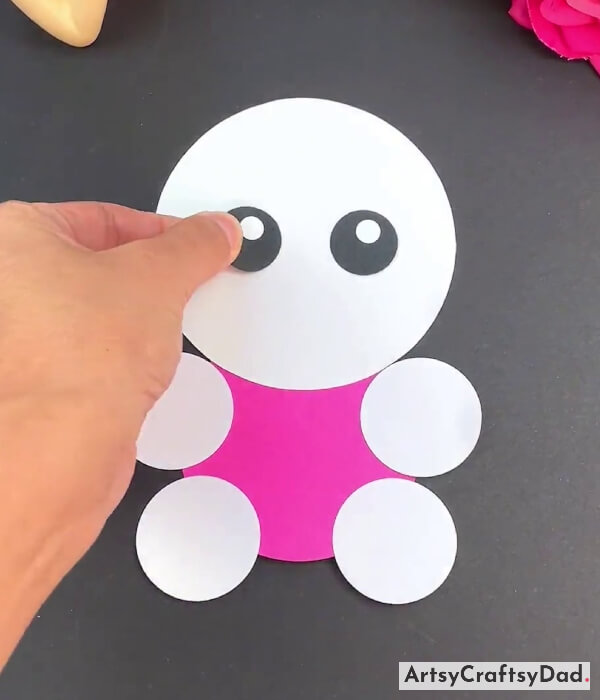
Take a piece of black craft paper & cut it into two circles & paste them on the head of the rabbit. Now, take a white craft paper & cut it into two little circles & paste them on the black circles as shown in the figure.
Step #7: Making Ear For Rabbit
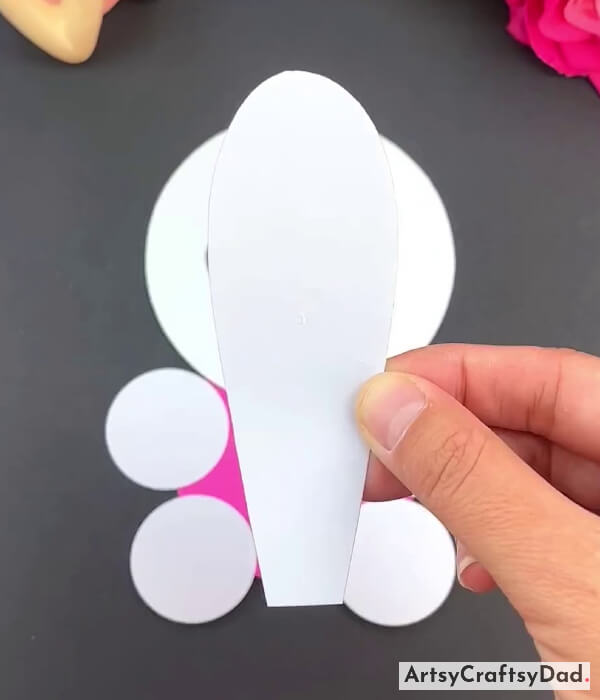
Take a white craft paper & cut it into rabbit ears shape.
Step #8: Complete Making Ear
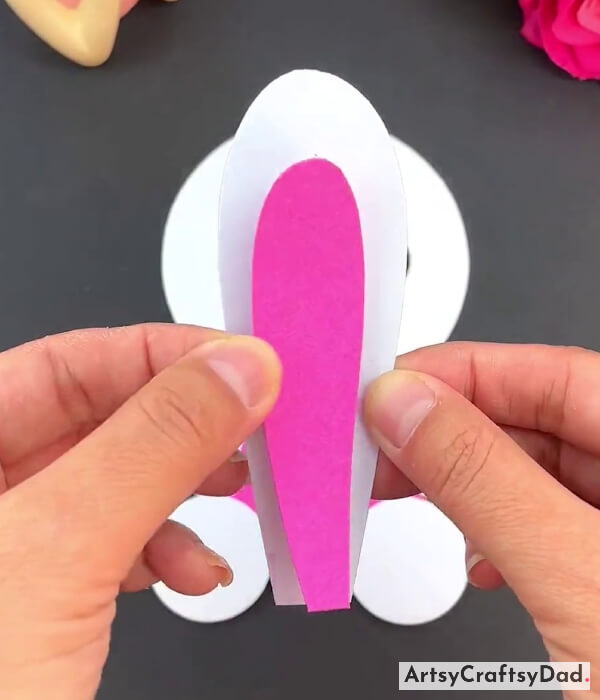
Take a pink piece of paper & cut it into a rabbit’s ear shape & paste it on the white shape that we cut in the above step.
Step #9: Pasting Ear

Now, paste it on the top of the rabbit head.
Step #10: Pasting Another Ear
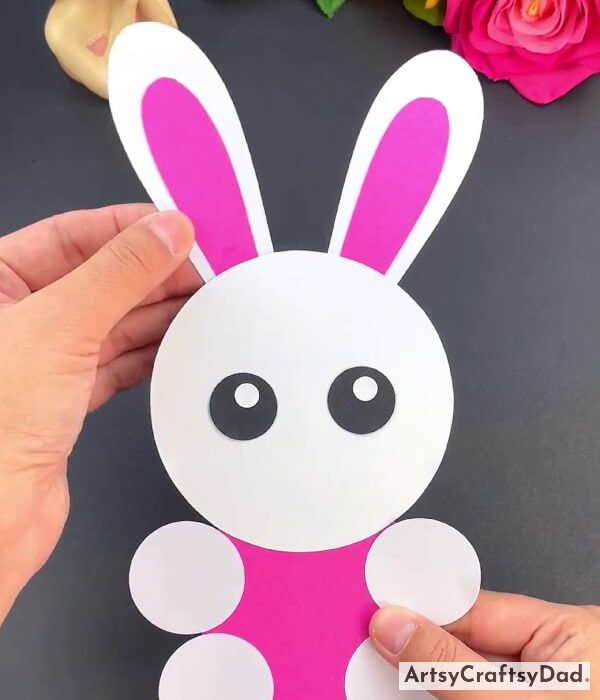
Now, follow the same process & make another ear & paste it on the rabbit’s head in the same manner.
Step #11: Drawing Mouth For Rabbit
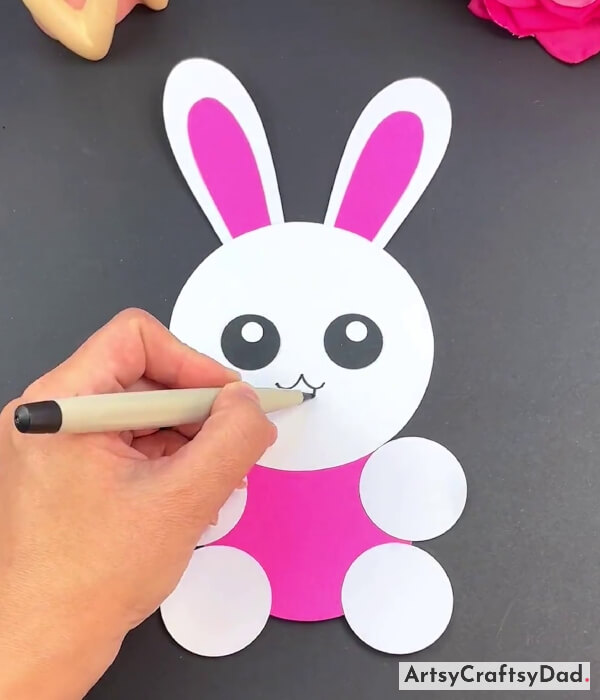
Take a black color sketch & draw the mouth & tongue of the rabbit.
Yay, Your Rabbit Paper Craft is Ready!
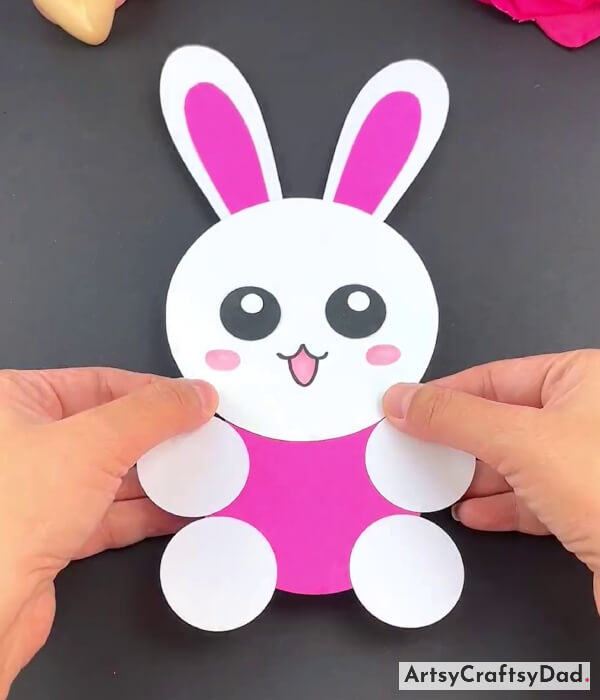
Take a pink color sketch & fill the color in the tongue & draw blushes on the rabbit cheeks. Now, our cute & adorable rabbit craft is ready!
Hurry, We have created an adorable rabbit craft. This paper rabbit craft tutorial provides an enjoyable and engaging activity for both children and adults alike. With its simple yet creative design, this craft allows individuals to explore their artistic abilities while also fostering a sense of accomplishment. You could customize this craft by coloring in with different colors in your way & can make it more attractive. Don’t stop yourself here, make some more crafts by visiting our other websites where you can get unlimited ideas & explore your self creativity & imagination.
Thanks for visiting our website. Keep visiting in the future for more craft ideas.
You Might Also Like
- Colorful Paper Flower Hand Fan Craft Tutorial
- 20 Beautiful DIY Paper Craft Step-by-Step Tutorials
- Rice Dumpling, Cookie & Egg Pouch – Paper Craft Tutorial
- DIY Paper Princesses Pencil Topper Craft Tutorial For Kids
- Leaf Fox Craft Step-by-Step Tutorial For Kids


