Learn how to make a fun and educational seed-germinating clay craft for kids. This step-by-step tutorial will guide you through the process of creating a clay pot and planting seeds, teaching children about the germination process and the importance of caring for plants.
Welcome to our seed-germinating clay craft tutorial for kids! This fun and educational activity is perfect for children who are interested in gardening and nature. In this tutorial, we will guide your little ones through the process of making their very own seed-germinating clay pots. Not only will they get to exercise their creativity by decorating the pots, but they will also learn about the science behind seed germination and the growth of plants. So, let’s get started and watch their excitement grow as they witness their seeds sprout and flourish in their handmade clay pots!
Seed Germinating Craft Using Clay For Kids
Must Read: Clay Tomato Step-By-Step Craft Tutorial For Kids
Supplies & Tools
- Coloured Clay(Brown, Red, White, Green, Yellow)
- D-Scale
- Black Drawing Sheet
Seed Germinating Instructions
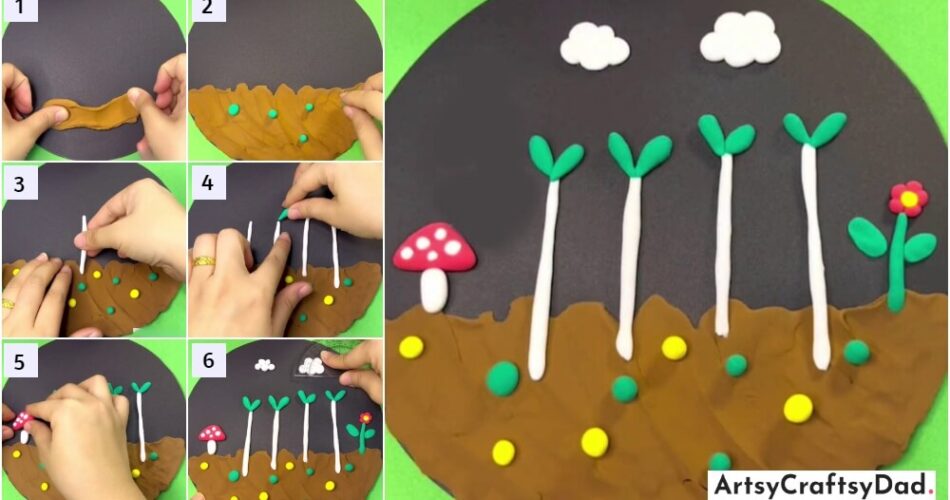
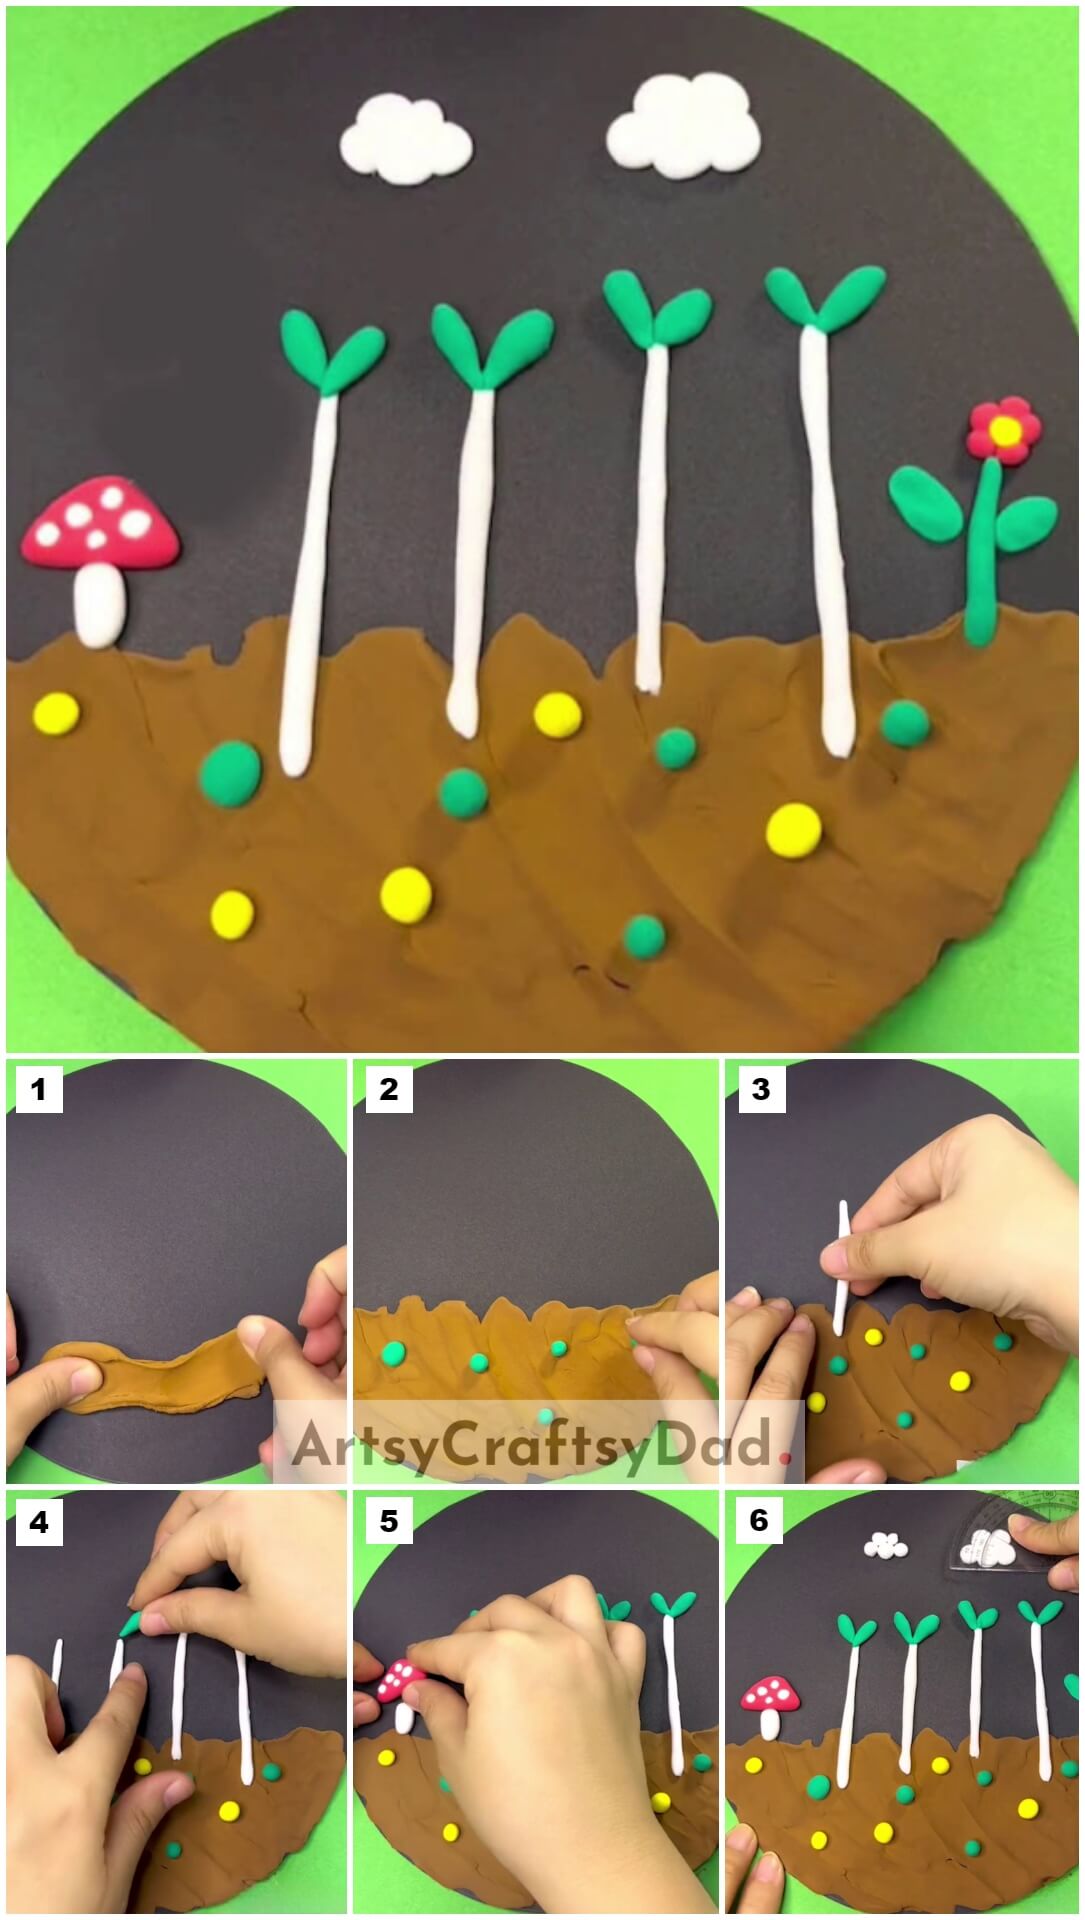
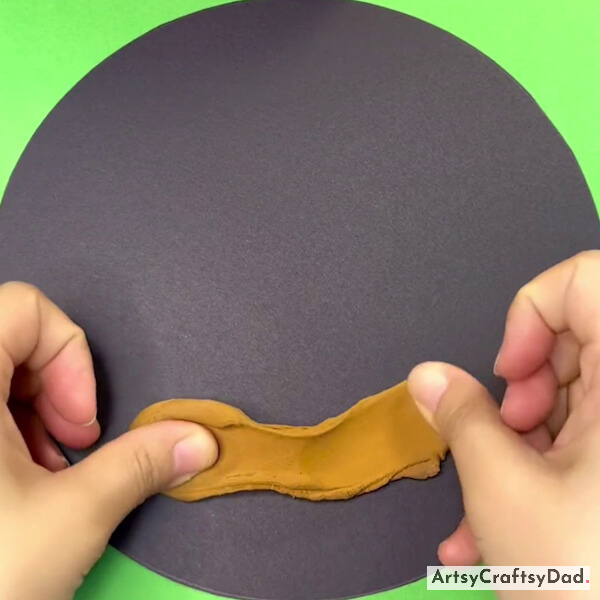
Step #1: Taking a Brown Clay
Take a black drawing sheet, draw and cut out a circle from it and this will serve as a base of our craft.
Now, take some brown clay & put it at the bottom of the base sheet as soil and start spreading it with your fingers.
Step #2: Spreading Clay
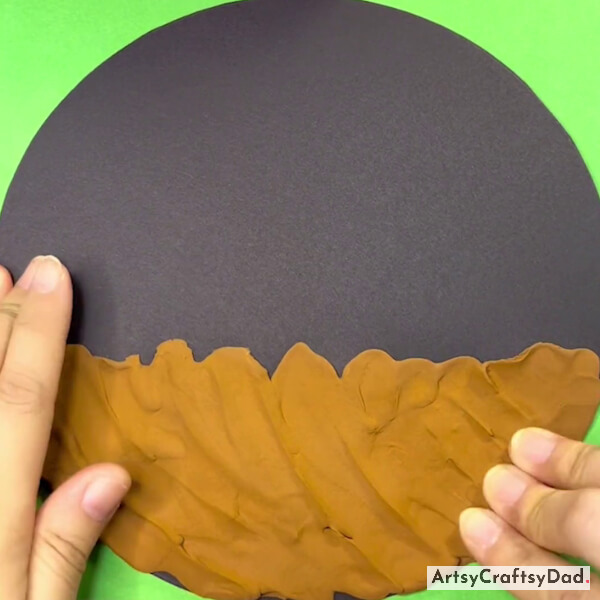
Take some more clay, and spread it on the complete bottom of the base sheet as shown above.
Step #3: Making Green Clay Balls
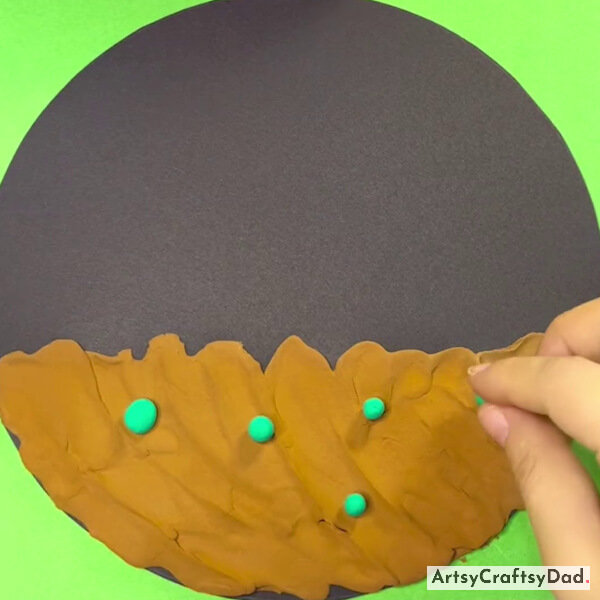
After that take green clay and make small balls from it, and fix them on the brown clay.
Step #4: Making Yellow Clay Balls
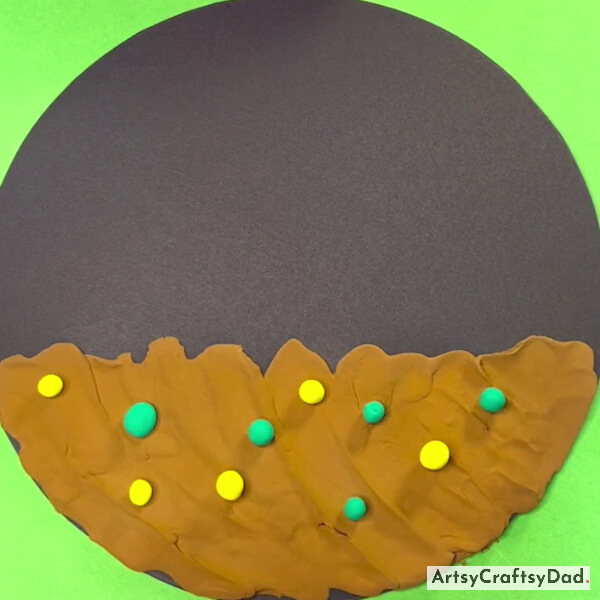
Similarly, take yellow clay, make small balls from it, and fix them on brown clay.
Step #5: Start Making Stems
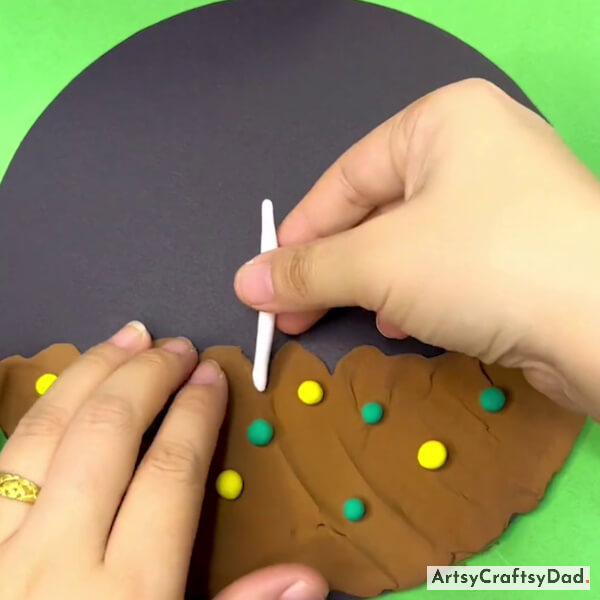
Now, take a small amount of white clay give it the shape of a stem, and paste it on top of brown clay.
Step #6: Making More Stems
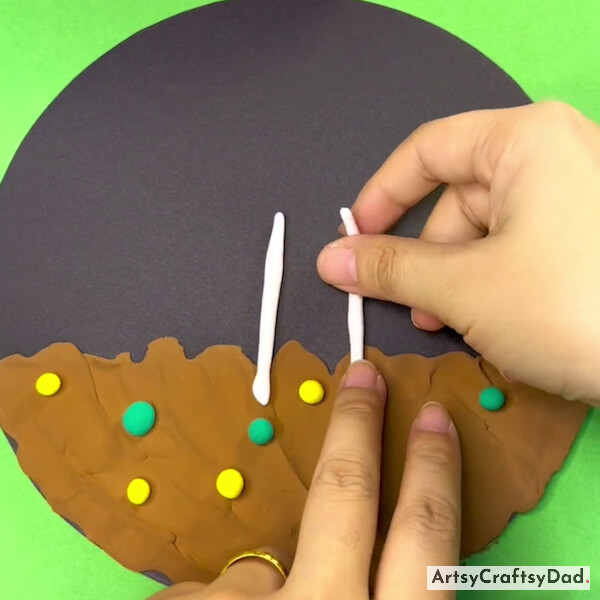
Make one more such stem and paste them on brown clay.
Step #7: Making Leaves
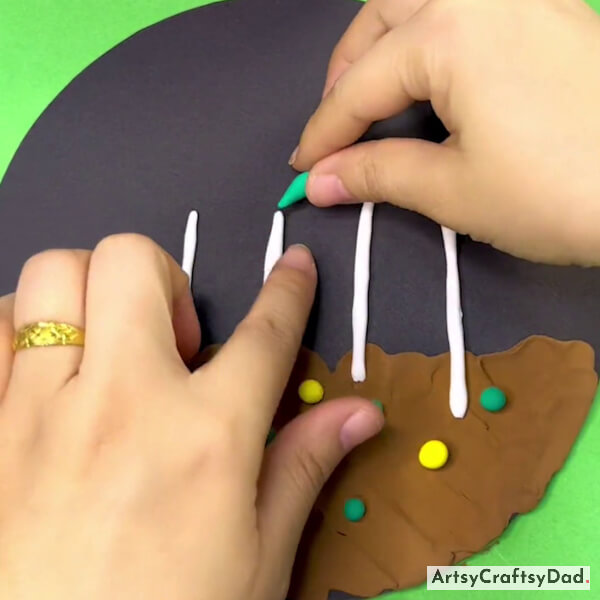
Furthermore, after making 4 stems, take a small amount of green clay give it the shape of the leaf, and paste it on the top stems.
Step #8: Making Mushroom

After pasting the leaves of all the stems. Take red clay & make a mushroom cap & then take white clay and make small balls from it & paste it on the mushroom’s cap. Now, paste the mushroom cap on the mushroom stem on the left side of the stems.
Step #9: Making Flower
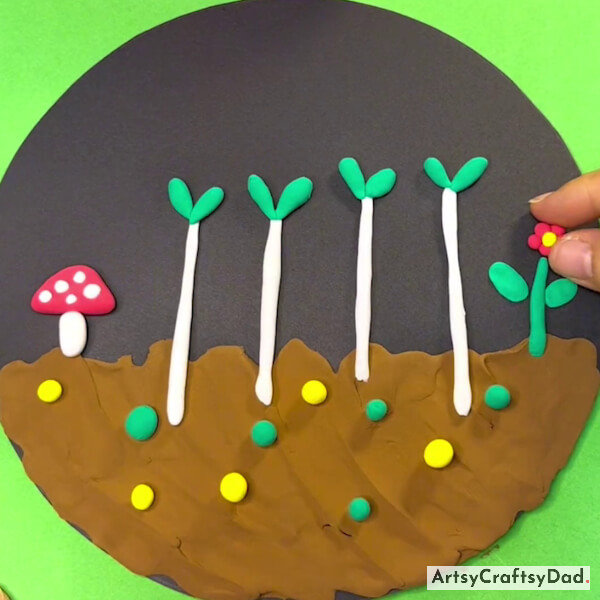
Now, take a green clay & make a plant leaves & stem. After that take red clay & yellow clay & make a little ball from yellow clay for the middle part of the flower called a pistil & make flower petals from red clay then paste the flower on the top of the green plant and place on the right side.
Step #10: Creating Clouds
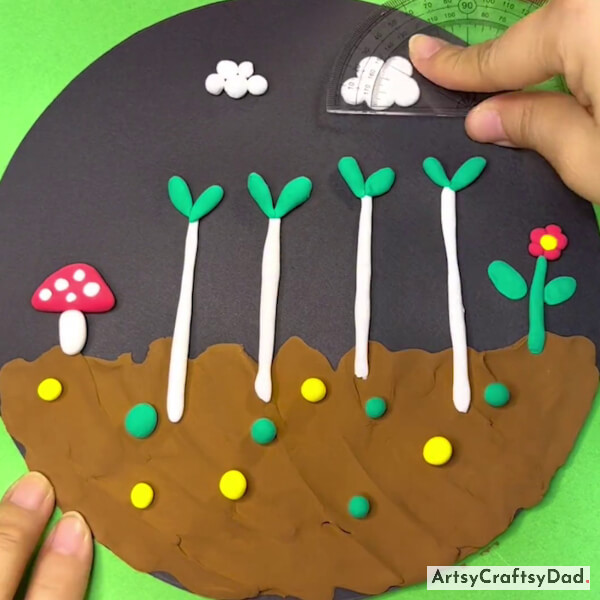
At last, take white clay & make little balls from it & paste them on the upper side of the base & make herd from them then press them with a D-Scale to make clouds with white clay. Repeat the same process to make another cloud.
This Is The Final View Of Our Seed Germinating Craft!
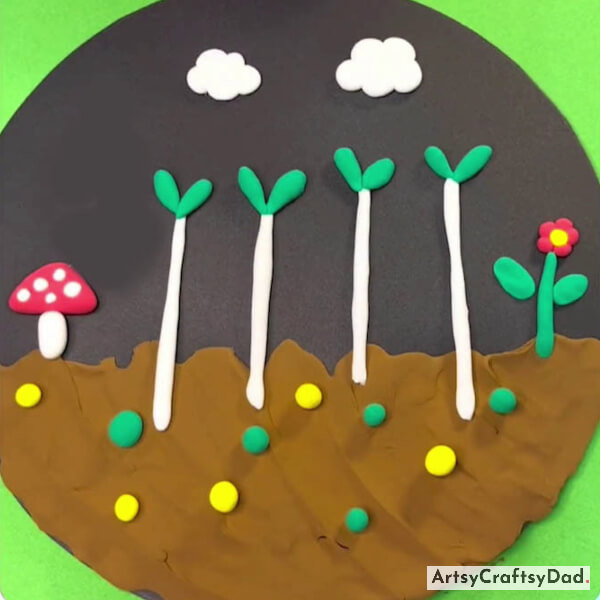
After making clouds our Seed Germinating Craft craft is ready.
Hey, we hope you have enjoyed the process of making this seed-germinating clay craft. Kids will love this beautiful craft. Kids could decorate their room with this beautiful work of art, I am sure they will be happy to see this beautiful creation that they created by their hand in their room. This craft gives kids a deeper understanding of nature and the growth cycle of plants. By learning about the growth cycle of plants kids also learn other important skills such as patience, responsibility, and problem-solving. With this simple and enjoyable craft, children can develop a love for gardening and an appreciation for the wonders of nature. Please give your response in the comment section. Have a nice day!
Thanks for visiting us!
You Might Also Like
- Clay Flower Pot Model Craft Tutorial For Kids
- Clay & Twig Bon-fire Craft Tutorial For Kids
- Clay Circles Tree Artwork Craft Tutorial For Kids
- Colorful Clay Cactuses Craft Tutorial For Kids
- Clay Poached Egg Craft Tutorial For Kids


