Looking for a fun and creative activity for teens? Learn how to make unique animal art and crafts using walnut shells with this step-by-step tutorial. From adorable critters to intricate designs, this tutorial will guide you through the process of transforming walnut shells into stunning works of art.
Welcome to the wonderful world of walnut shell animal art and craft tutorials! This creative and engaging activity is perfect for teens who are looking for a fun and unique way to express their artistic talents. With just a few simple materials and a little bit of imagination, you can transform ordinary walnut shells into adorable animals that will bring joy and charm to any space. Whether you’re a beginner or a seasoned crafter, this tutorial will guide you through the step-by-step process of creating your very own walnut shell animal masterpieces.
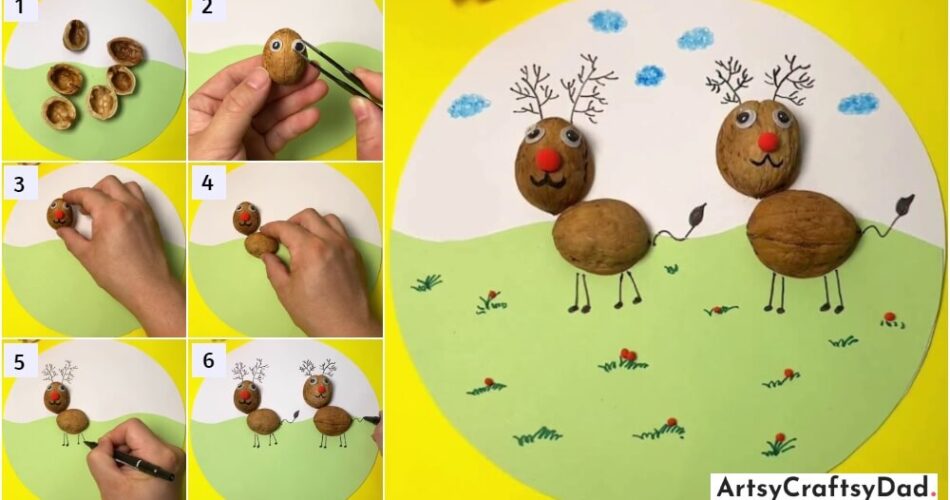
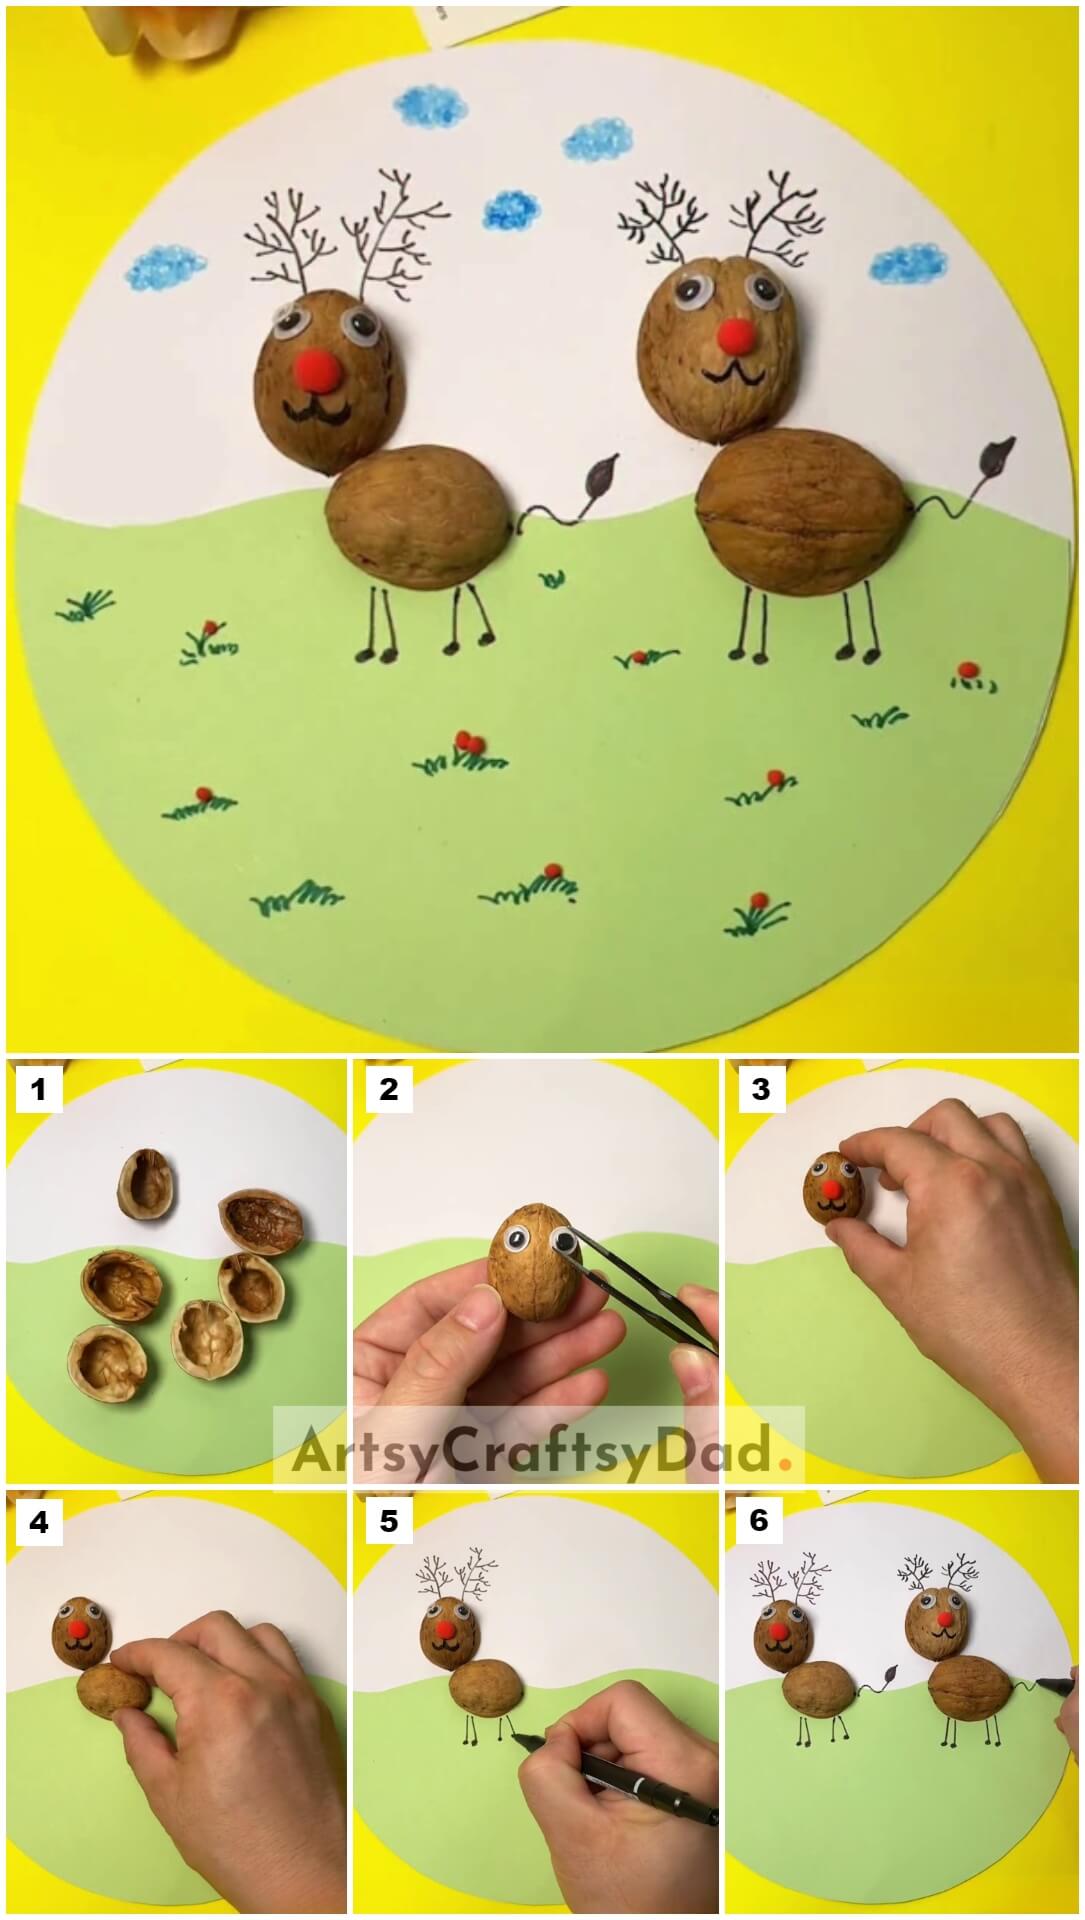
Reindeer Walnut Shell Art And Crafts For Teens
Must Read: Deer Landscape: Walnut Shell & Leaves Craft Tutorial
Supplies & Tools
- Scissors
- Walnut Shell
- Craft Paper (Light Green)
- White Drawing Sheet
- Orange Color Clay
- Marker (Blue, Black)
- Googly Eyes (Two Pairs)
Walnut Shell Reindeer Instruction
Step #1: Working With Base Of Craft
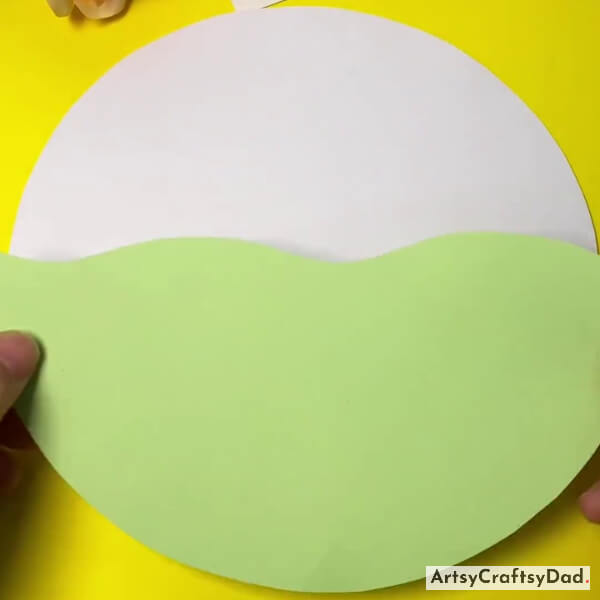
Take white drawing paper, and cut it out into a circle using scissors. This circle will be the base of our crafting project.
Take a light green colored drawing sheet, cut it into the wavy shape as shown above, and paste it on the white base.
Step #2: Collecting Walnut Shell

Now, collect walnut shells that are not broken or cracked.
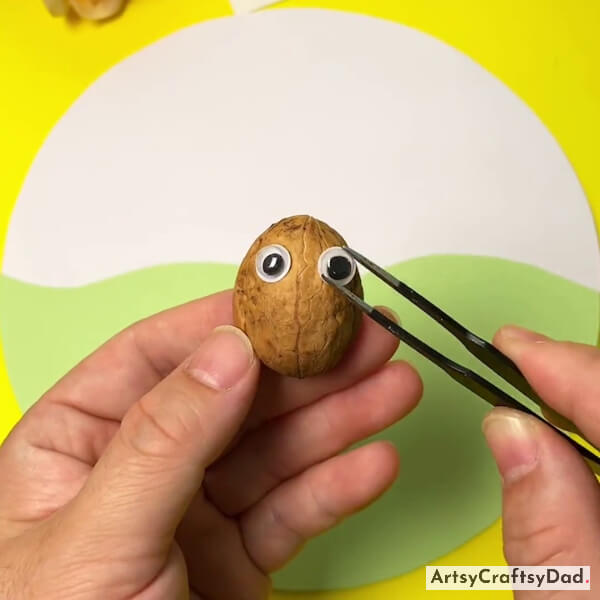
Step #3: Pasting Googly Eyes
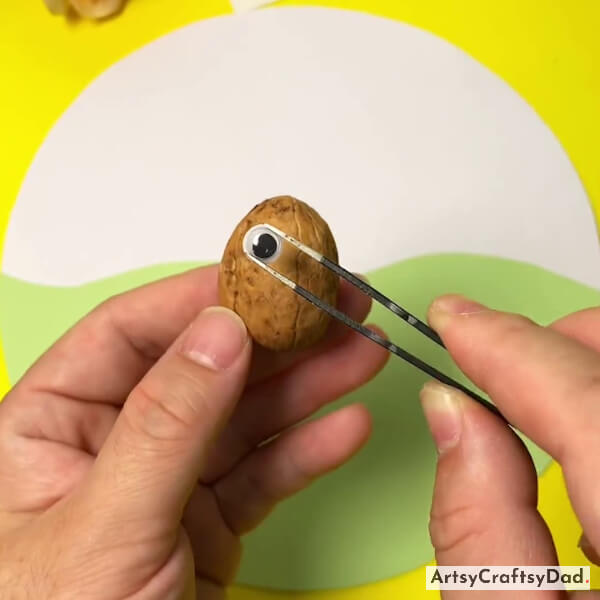
Take a walnut vertically and paste one googly eye on it.
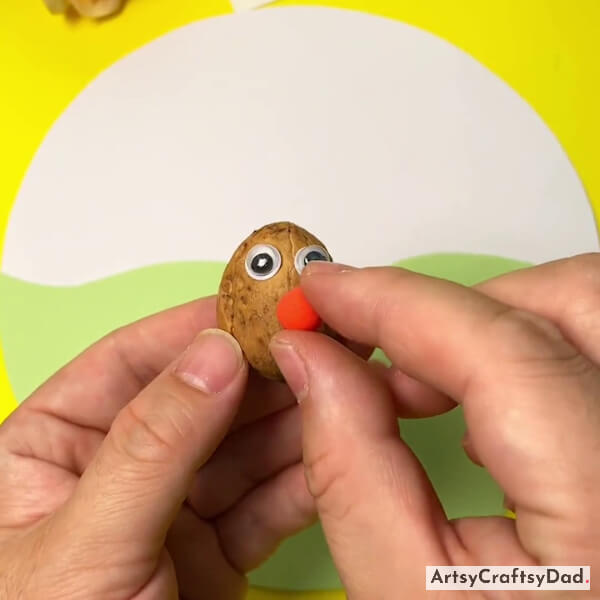
Step #4: Pasting Another Eyes
Paste another eye on the reindeer’s face.
Step #5: Making Clay Nose
Step #6: Pasting Reindeer Face On Base
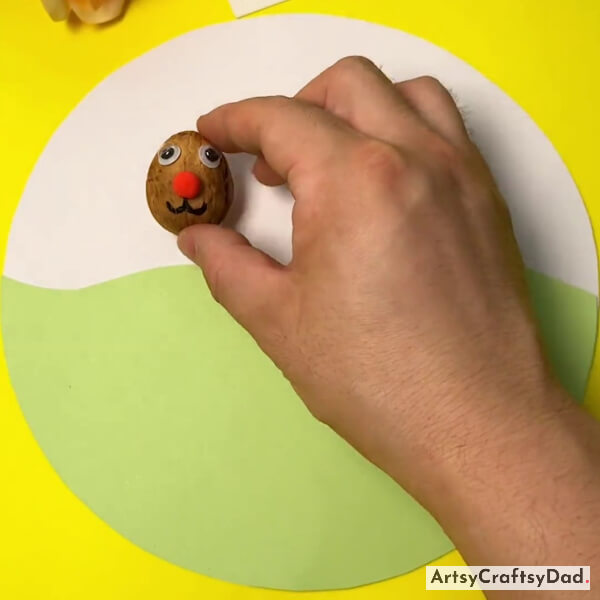
After attaching the nose, take a black color marker draw the mouth of the reindeer, and paste it on the craft base.
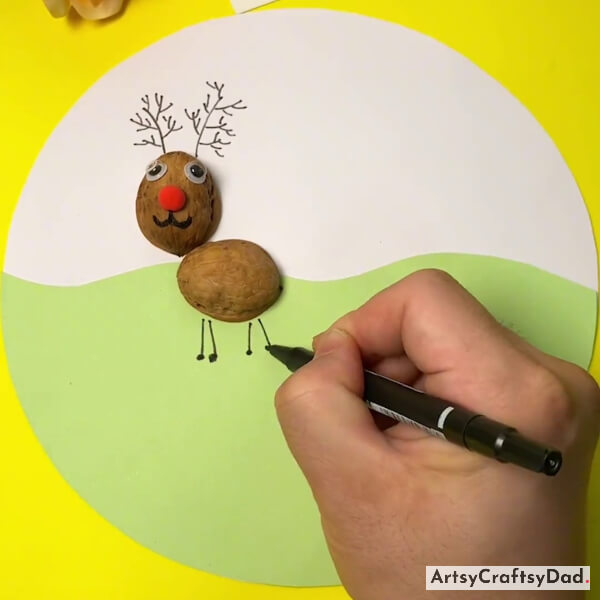
Step #7: Making Reindeer Body
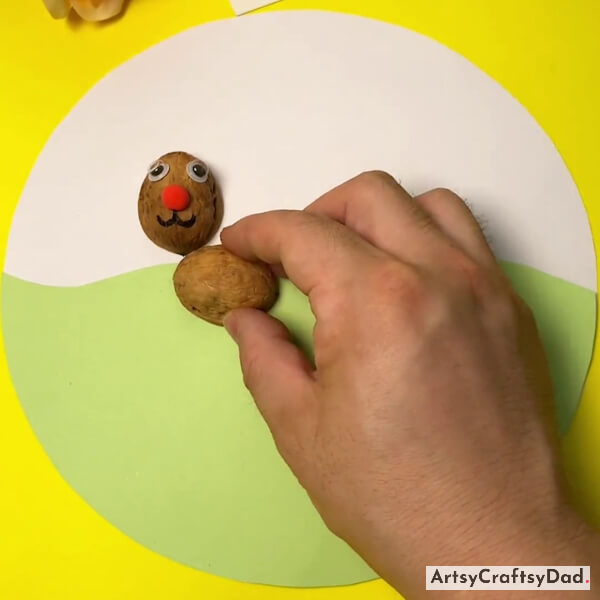
Take another walnut shell and paste it horizontally as the body of a reindeer under its face.
Step #8: Drawing Legs
Step #9: Drawing Tail
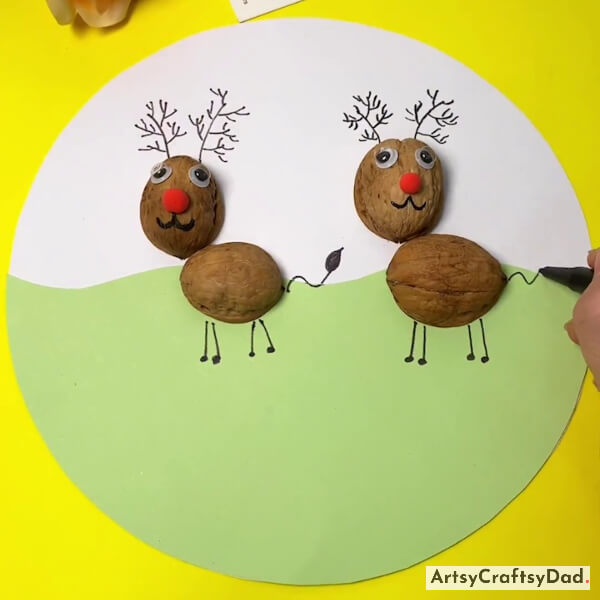
Draw the reindeer tail. Now, following the same process as above, create one more reindeer and paste it just behind the first one, and follow the same process to make the reindeer & add all the features.
A Final Glimpse Of Reindeer Craft!
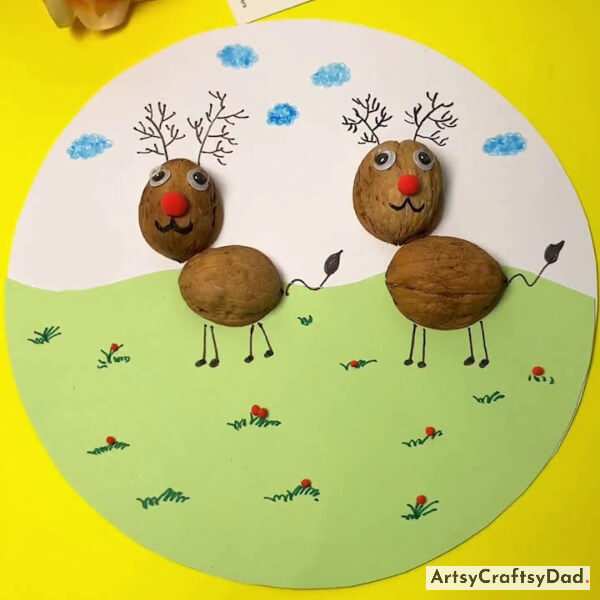
After drawing tails, use a blue color marker to make clouds over the reindeer, and with a green color marker, draw grass on the light green paper. Additionally, paste small orange clay balls on the grass.
Hurry! You have completed our stunning walnut shell animal reindeer craft. I knew that you could make this craft without any difficulty & show this masterpiece to your friends & family. I am sure they will be proud of you. This craft is perfect for teens looking to explore their artistic side. By using simple materials like walnut shells and paint, teens can create unique and adorable animal figures that can be displayed or given as gifts. It also encourages teens to think outside the box and use their imagination. Don’t miss to drop your comment in the comment section because your small efforts help us to know about our craft & motivate us to make more creative craft in the future.
Thanks for visiting our website!
You Might Also Like This
- Pistachio Shell Corn Craft Tutorial Using Paper
- Hen With Chicks: Artificial Grass & Peanut Shell Craft Tutorial
- Easy Paper Dinosaur Animal Craft Tutorial For Kids
- Plants With Roots In The Soil: Clay & Peanut Shell Craft Tutorial
- Pistachio Shell Lily Garden With Clay Craft


