
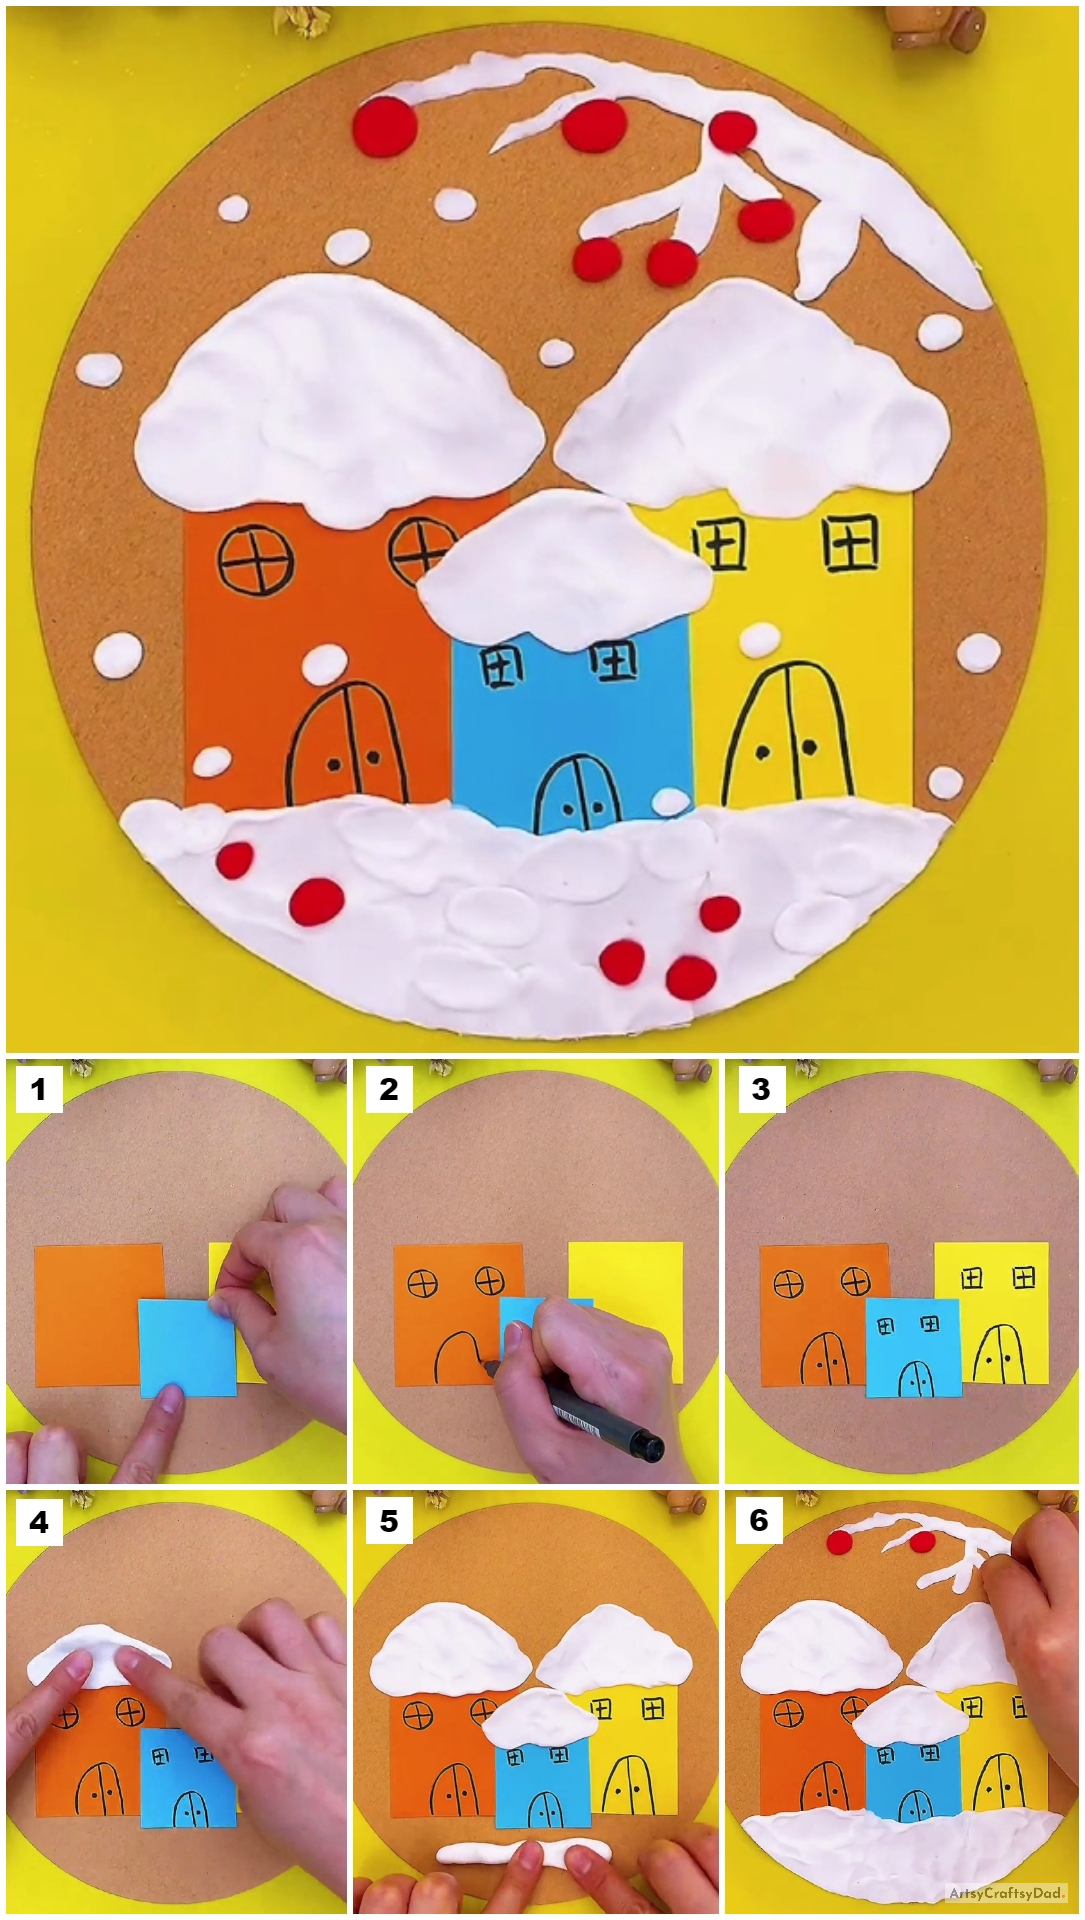
Get the feel of snow right in your room! Create this snow town landscape craft with this step-by-step tutorial and decorate it in your room!
Welcome to this amazing craft for making a town landscape view in the snowy season! This step-by-step tutorial will guide you on each and every step of this craft-making! Beginners and kiddos can also make this craft on their own without taking the help of any adult or experienced person! This craft will be a fun journey for your little ones to have in the boring afternoon time instead of engaging in those harmful screens and devices! The results will motivate them to unleash their creativity!
Snow Town Landscape Craft Tutorial For Winters Project
Must Read: Polymer Clay Mushroom Tutorial For Kids
Supplies & Tools:
- Circular Cardboard
- Colored Paper Sheets (Orange, Yellow, And Blue)
- Colored Clay (Red And White)
- Black Marker
- Scissors
- Glue
Snow Town Craft Tutorial
Step #1: Pasting An Orange Rectangle

Begin this craft by taking circular cardboard as the base for this craft. Now, using scissors, cut out a rectangle from the orange paper sheet and paste it over the base on the left side.
Step #2: Pasting A Yellow Rectangle
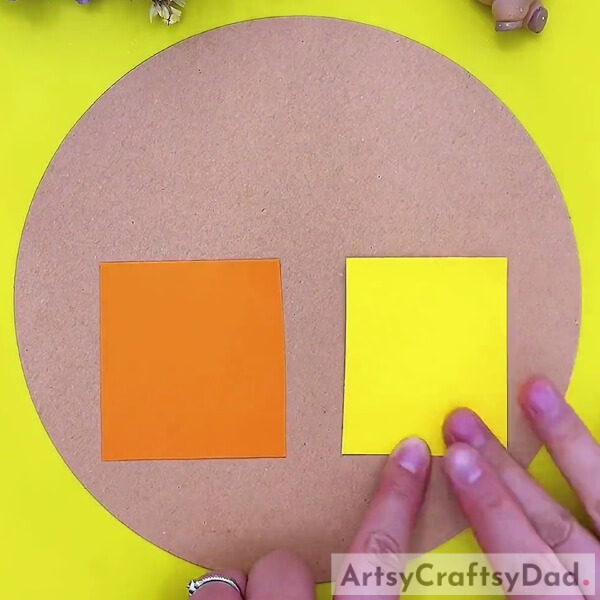
Similarly, cut out a yellow paper rectangle using scissors and paste it over the left side of the base as shown in the image.
Step #3: Pasting A Blue Rectangle
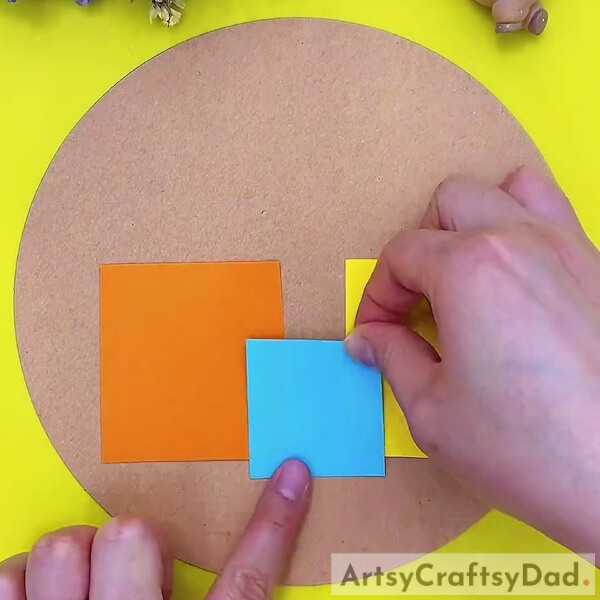
Using scissors, cut out a smaller rectangle from the blue paper sheet and paste it in between the orange and yellow ones a little lower as shown in the image. These 3 rectangles will be the houses of your town.
Step #4: Drawing The Windows And Door Of The Orange House
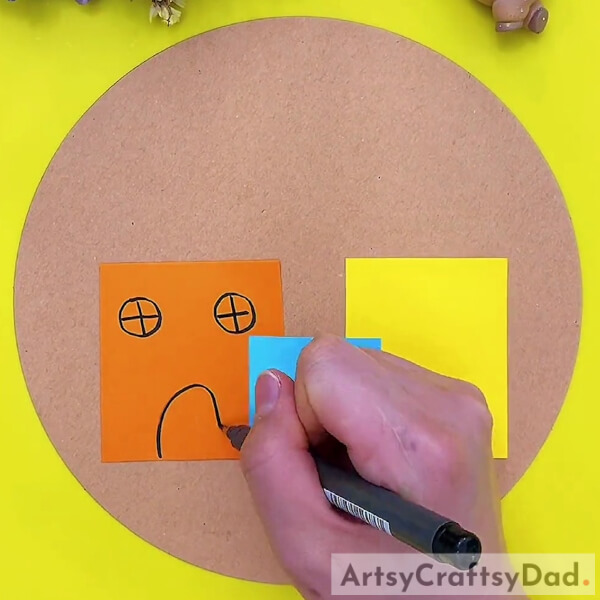
Using a black marker, draw the circle windows on the orange house with the partition. Also, draw the arched door at the bottom of the orange house as shown in the image.
Step #5: Detailing The Other Houses
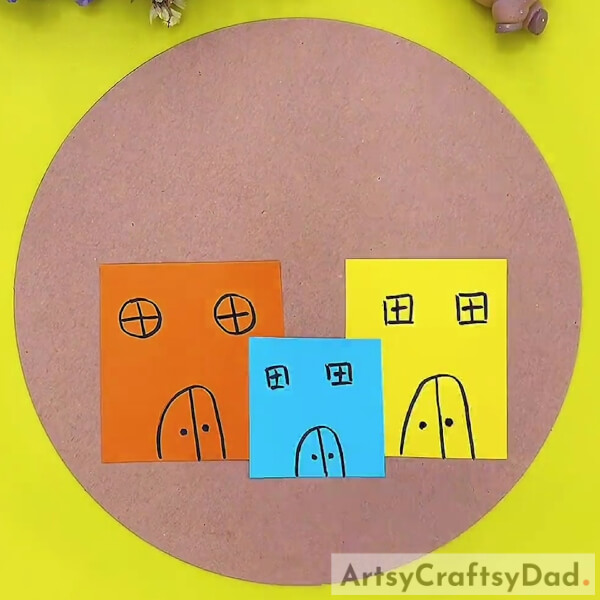
Using the marker, draw the arched doors of the other two houses. Make square windows in both houses above the door side by side. Now, make a vertical line to make the partition of the door, also make dotted door handles on the sides of the partition in the middle as shown in the image.
Step #6: Making The Triangular Roof
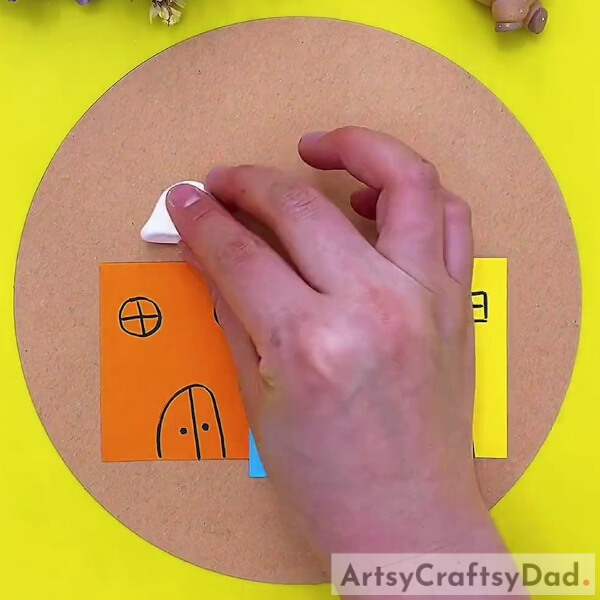
Now, take white clay and dough it to try making a triangle shape and place it over the base above the orange house. This will be the roof of your house.
Step #7: Shaping The Triangular Roof
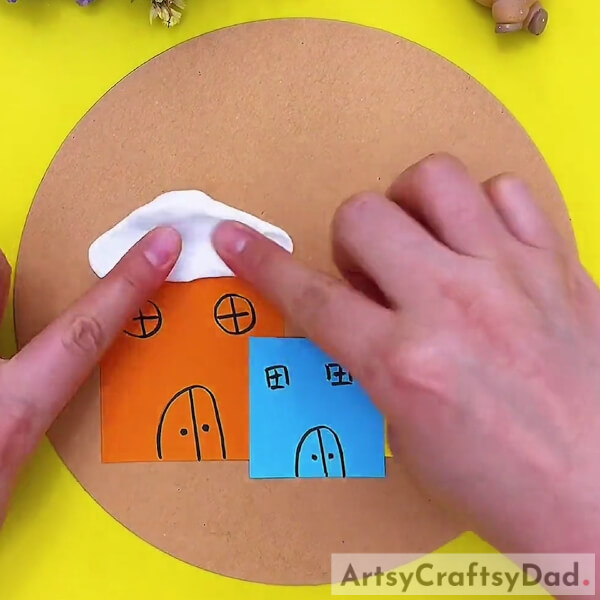
Using your fingers, press the clay to flatten it and shape it into the triangular roof of your house.
Step #8: Making Roofs And Ground

Following the same, make the triangular roofs of the remaining houses. Now, make a long roll of white clay and place it over the base beneath the houses. Press this roll to make a ground beneath the houses.
Step #9: Completing Making The Ground
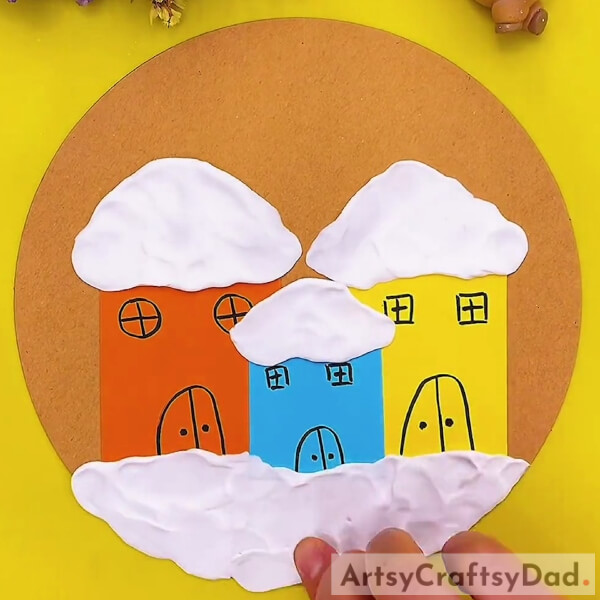
Spread the white clay roll all over beneath the houses to make the snowy ground of the season.
Step #10: Making Tree Branch

Using the white clay make the tree branches over the base on the right top of the base. To make it look like covered with snow.
Step #11: Making Fruits On The Branches
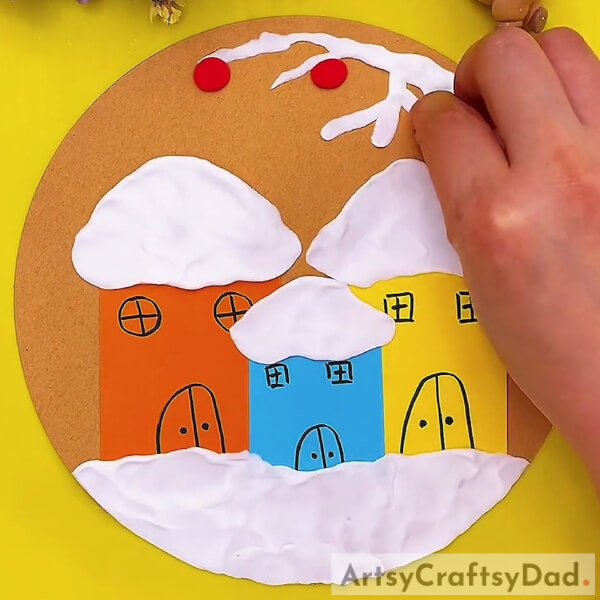
Dough clay balls from the red clay and place them over the tree branch randomly, press them to flatten them, and make the fruits hanging over the branches.
Step #12: Completing Making The Fruits
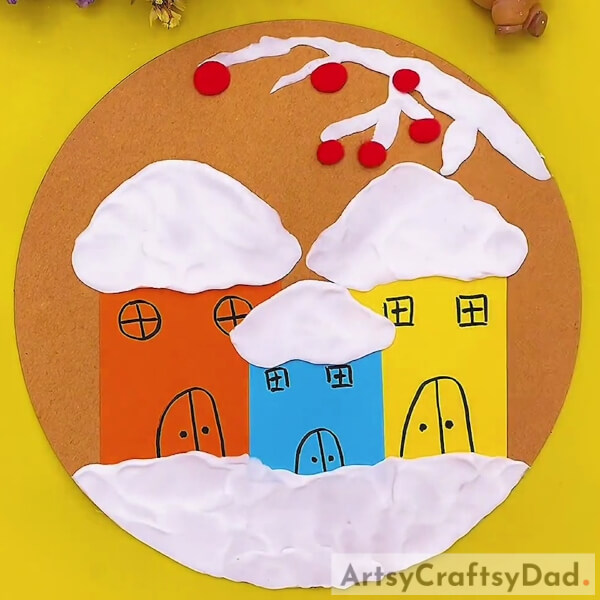
Make the fruits over the branches of random sizes as shown in the image.
Step #13: Making Some Fallen Fruits On the Ground

Make some fruits on the ground as well to make them look fallen from the tree.
This Is The Final Look Of Your Snowy Town!
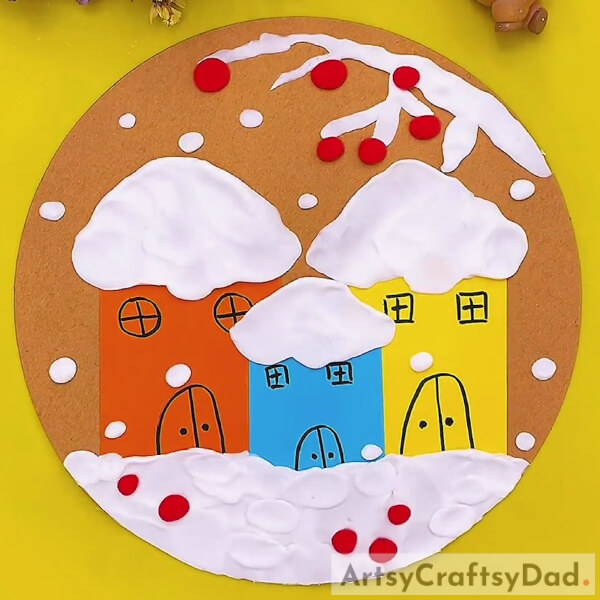
For the last step, make some clay balls of white clay place them over the whole craft, and flatten them to make them look like snowfall!
Congratulations! You have finally succeeded in making your snowy town landscape!
You will surely love to stare at this craft and get the feel of the chilled and soft snow on winter days! Ahh, I yearn for that time of the year! You should definitely decorate this piece on the wall of your room to look at it anytime you want! You can also customize this craft as per your preference, a different tree or big house a snowman standing, anything! Your imagination is the limit!
We hope you like the article! If so give it a like and share it as much as you can to keep us motivated to bring more such crafts for you!
Thank you for visiting the website!
You May Also Like:
- Easy Town Landscape Drawing Tutorial For Kids
- Clay Snails On Leaves Craft Tutorial For Kids
- Clay-Paper Sunflower Garden Craft Tutorial
- Clay Heart Leaf Tree Craft Tutorial For Kids
- Clay Chicks In Garden Craft Tutorial


