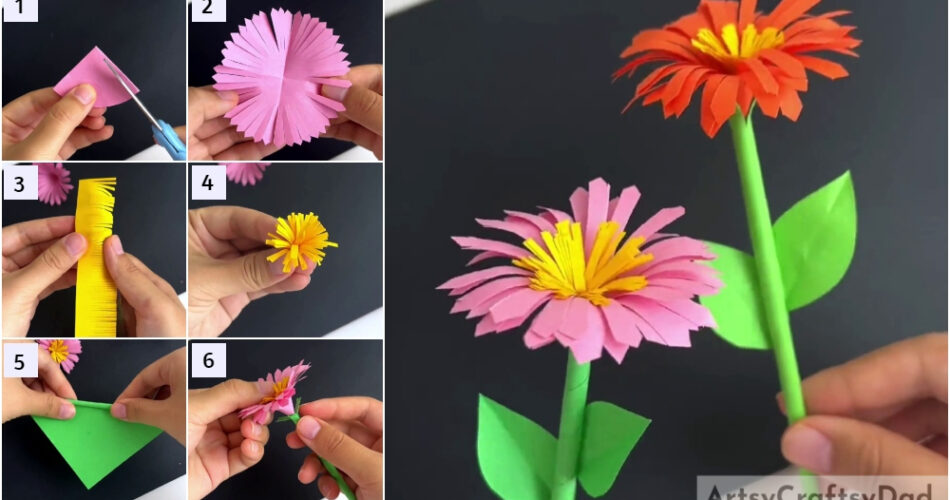
This tutorial will help you to create your own artificial paper flower using simple steps, which are suitable for all-age kids.
Welcome to this paper-cutting flower craft tutorial! In this tutorial, we are going to teach you how to create easy artificial paper flower crafts using a few craft supplies. This artificial paper craft is suitable for children, teenagers, and adults. To create this paper flower craft, you should have some colored craft paper, glue, a ruler, and scissors. Let’s get started!
Artificial Flowers Craft Using Paper For Kids
Must Read: How to make charming bouquet of flowers from felt (Tutorial)
Supplies & Tools
- Craft paper (pink, yellow, and green)
- Scissors
- Glue
- Ruler
Flowers Craft Instructions
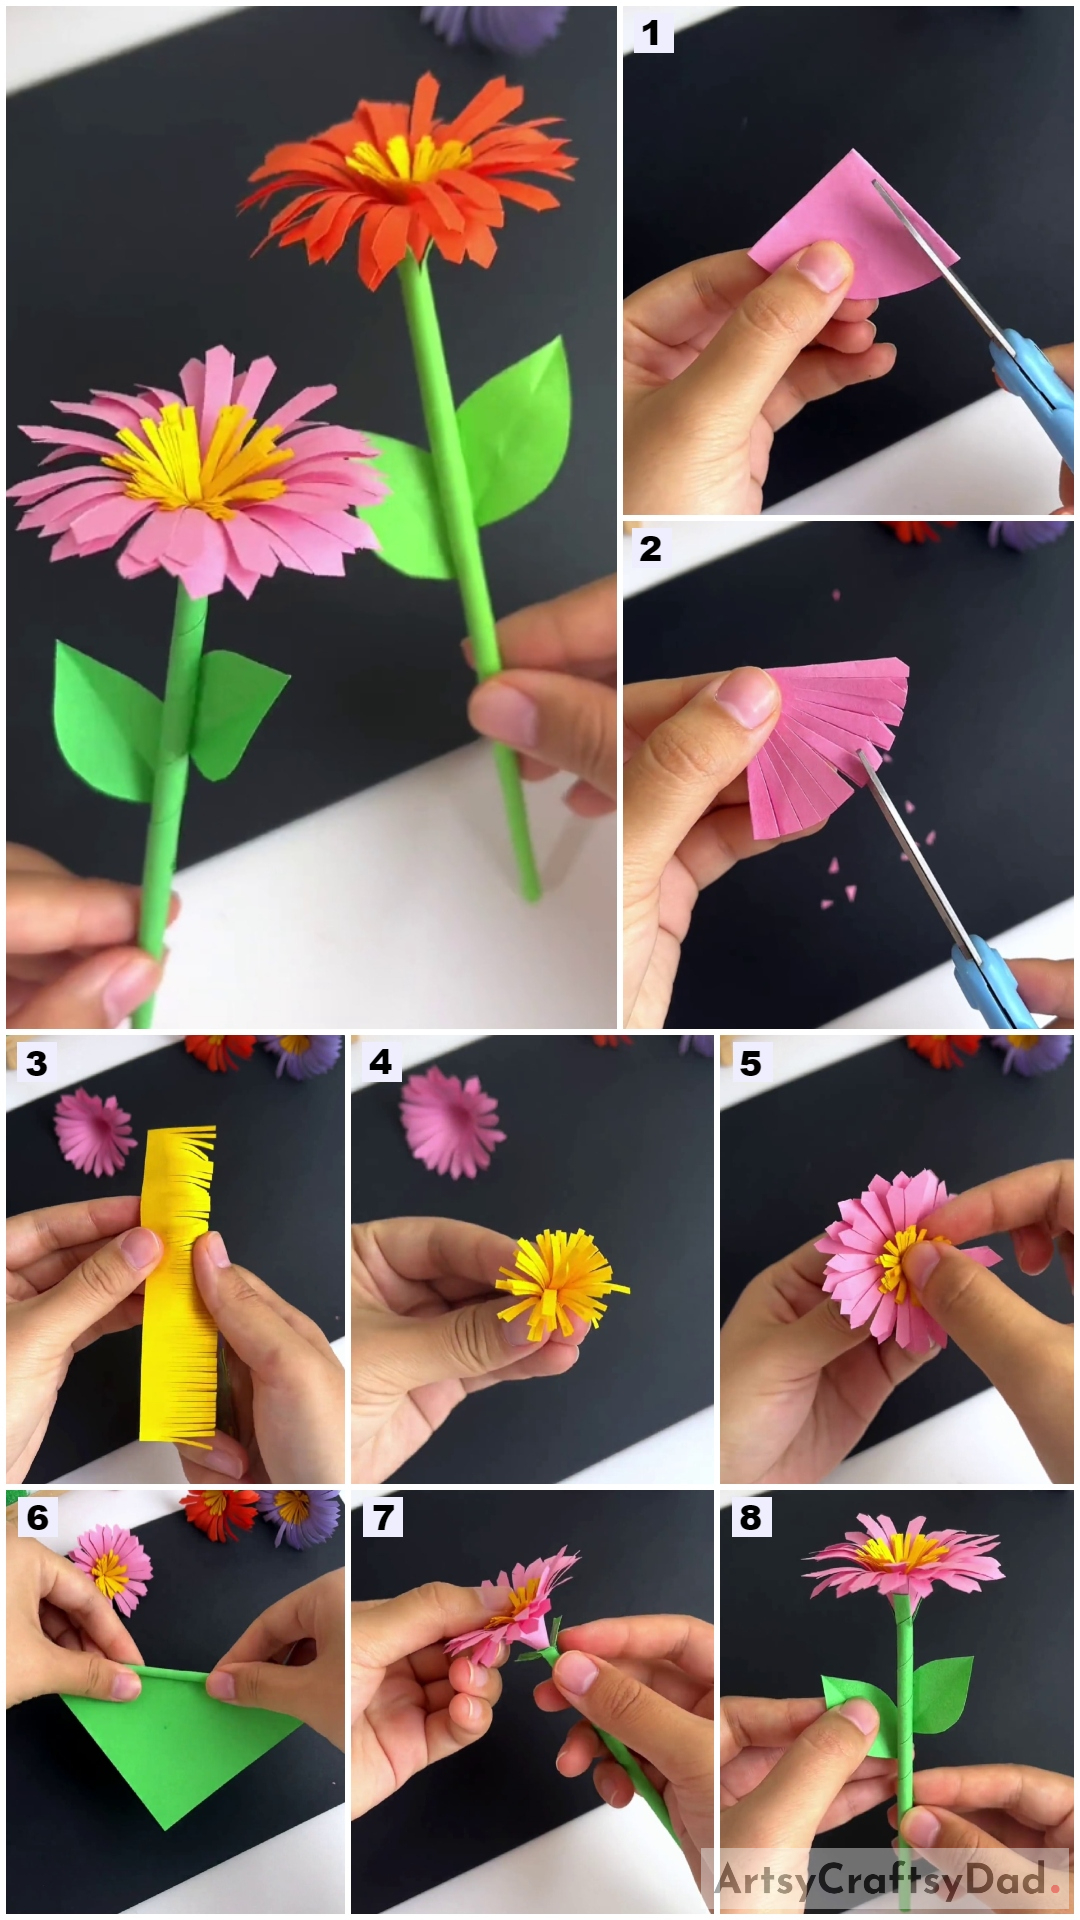
Step #1: Cutting And Folding Pink Craft Paper
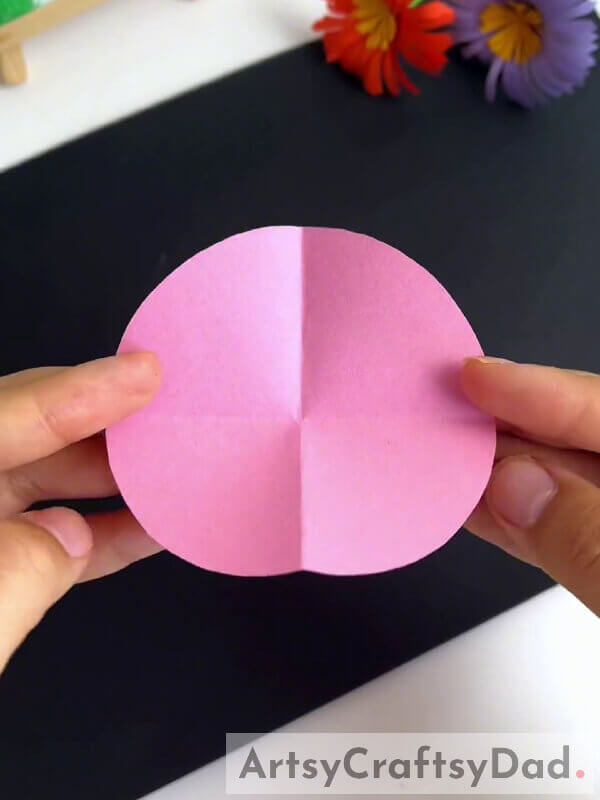
Cut a medium-sized circle from pink craft paper using scissors and fold it into half twice.
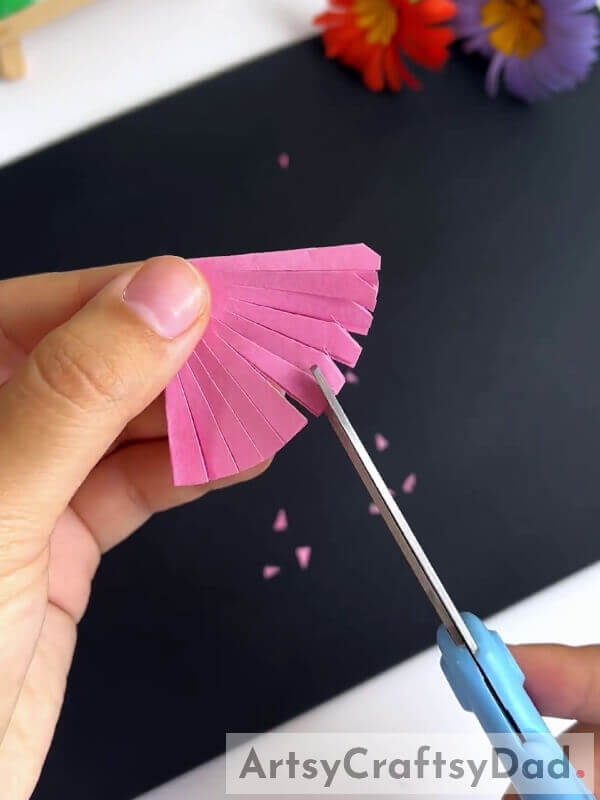
Step #2: Cutting Pink Craft Paper To Make Petals
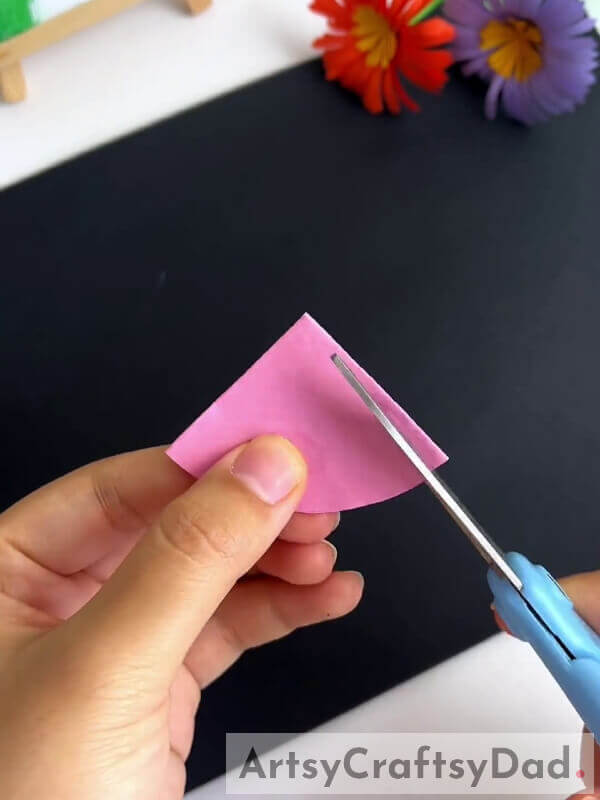
Then, straightly cut a few lines on your folded pink craft paper as shown in the image to create flower petals.
Step #3: Creating Tips For Our Flower Petals
Then, cut both edges on each flower petals using scissors to create sharp tips.
Step #4: Unfolding Our Pink Craft Paper
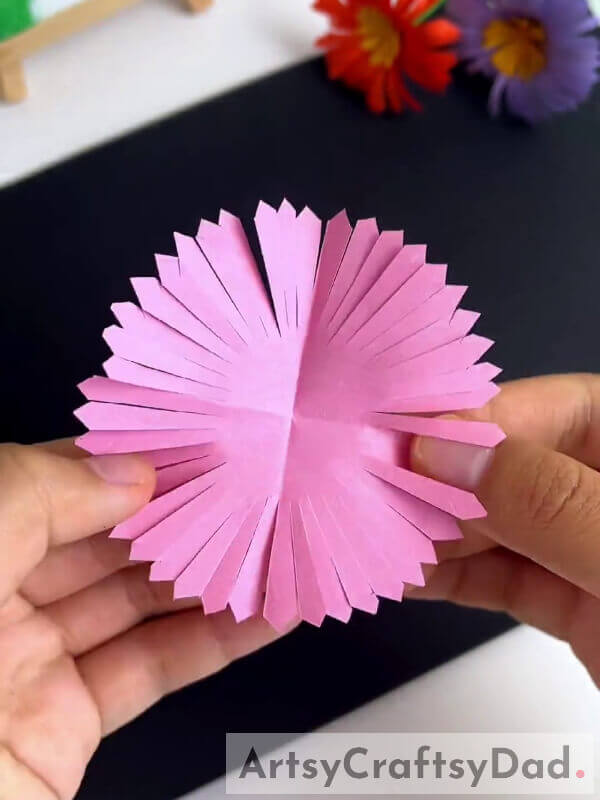
After cutting edges, carefully unfold your pink-colored craft paper. With the help of a ruler, bend down the flower petals slowly.
Step #5: Cutting In The Middle Of Our Flower
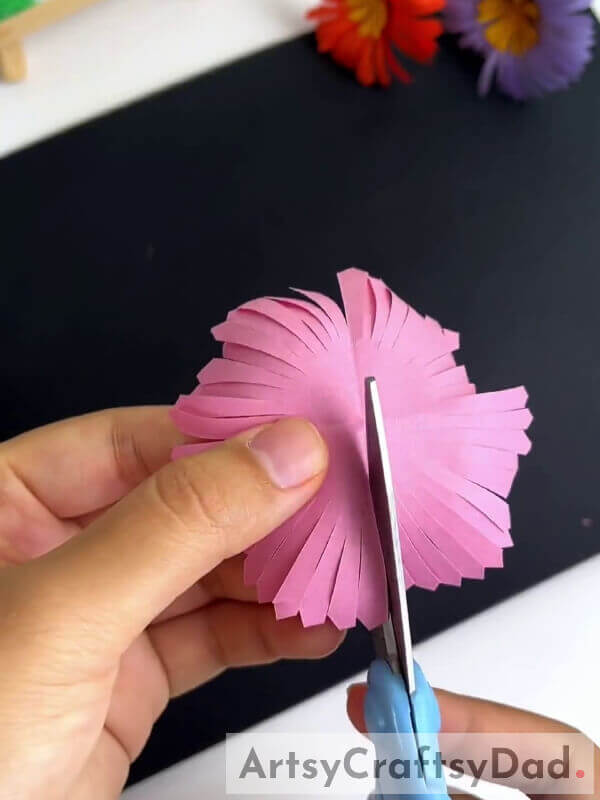
Make a cut in the middle of your flower until your scissors reach the center of the paper.
Step #6: Applying Glue And Pasting Flower
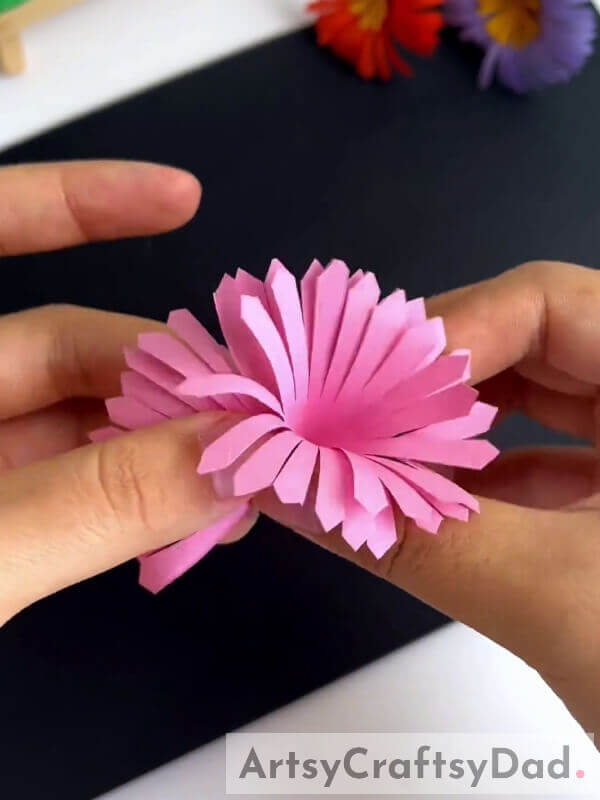
Now, apply some glue on both torn sides and roll one side of the paper inside to paste it and keep it aside.
Step #7: Cutting Yellow Color Craft Paper To Create Pollen
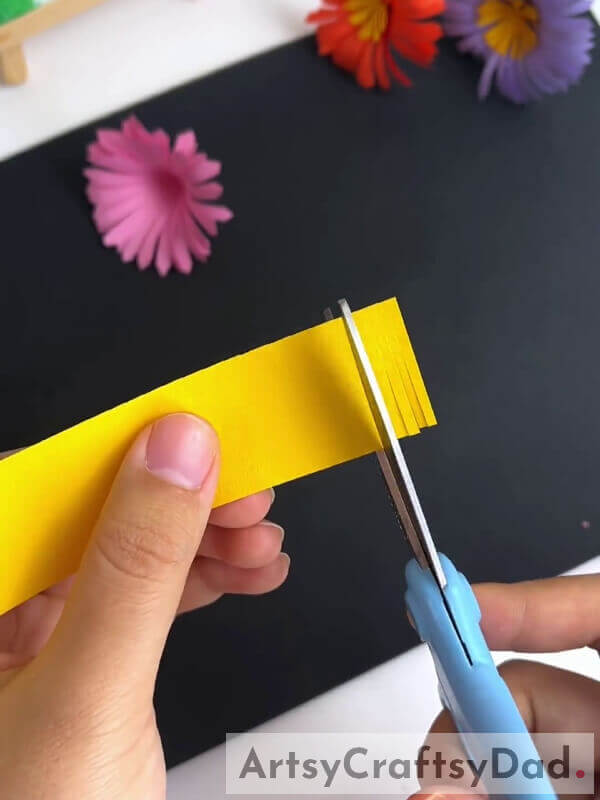
Cut a lengthy rectangular-shaped piece of yellow-colored craft paper. Then, cut some lines on one side of that lengthy piece as shown in the image.
Step #8: Bending Pollen With The Help Of A Ruler
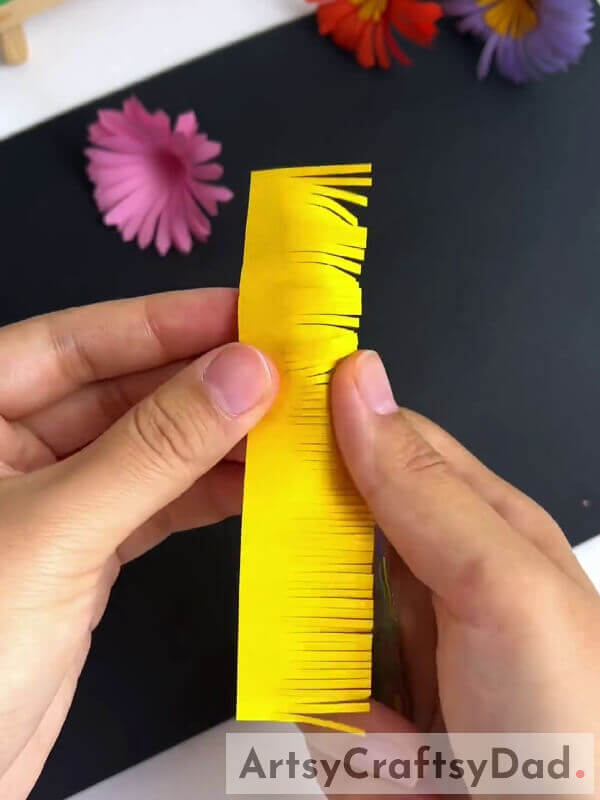
Grab your rulers and start to bend yellow color paper to create pollen as shown in the image.
Step #9: Rolling And Pasting Yellow Craft Paper

Apply some glue to the uncut area of your yellow paper and slowly roll it to paste it.
Step #10: Completing Pollen Creation
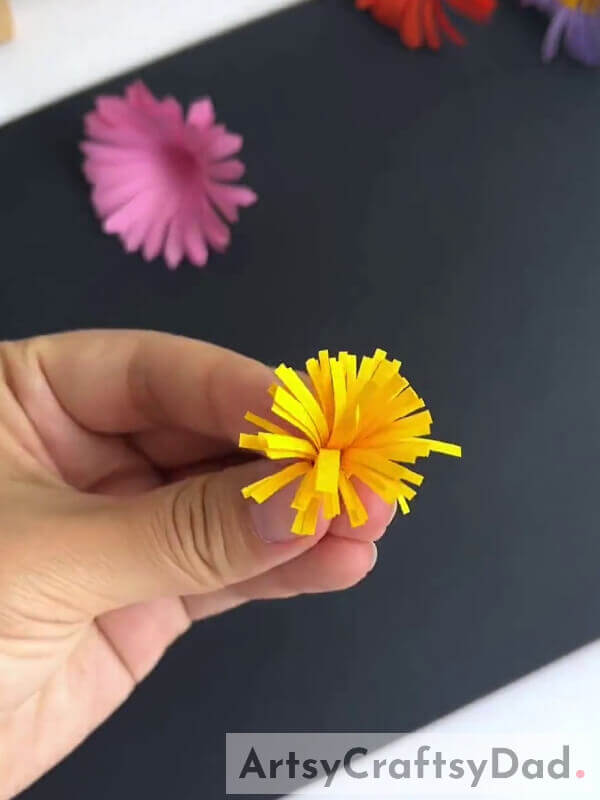
After rolling and pasting your yellow paper, your paper should look like this.
Step #11: Pasting Pollen In The Middle Of Our Flower
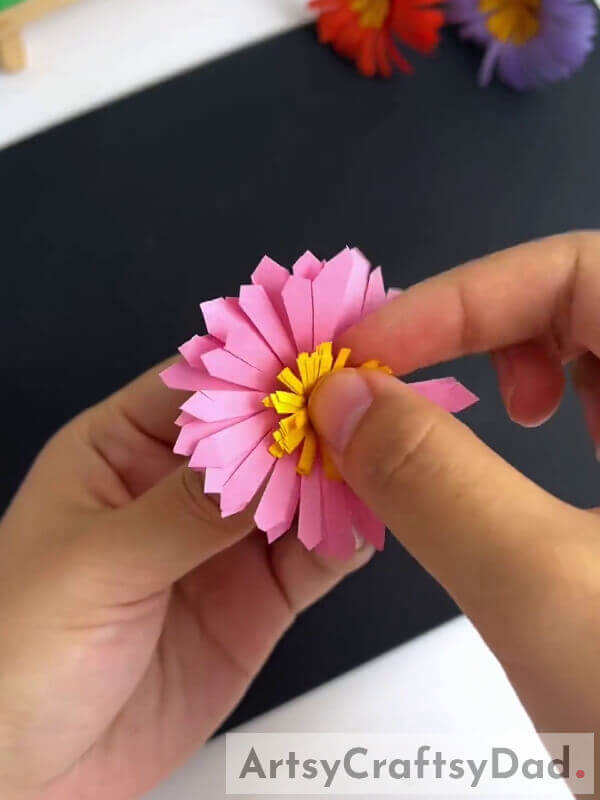
Apply some glue in the middle of your flower and paste your yellow color pollen with your flower.
Step #12: Creating A Flower Stalk Using Green Color Craft Paper

Cut a big square from green color craft paper roll that piece of paper as shown and cut two edges of that roll.
Step #13: Cutting Green Stalk To Paste It With Our Flower
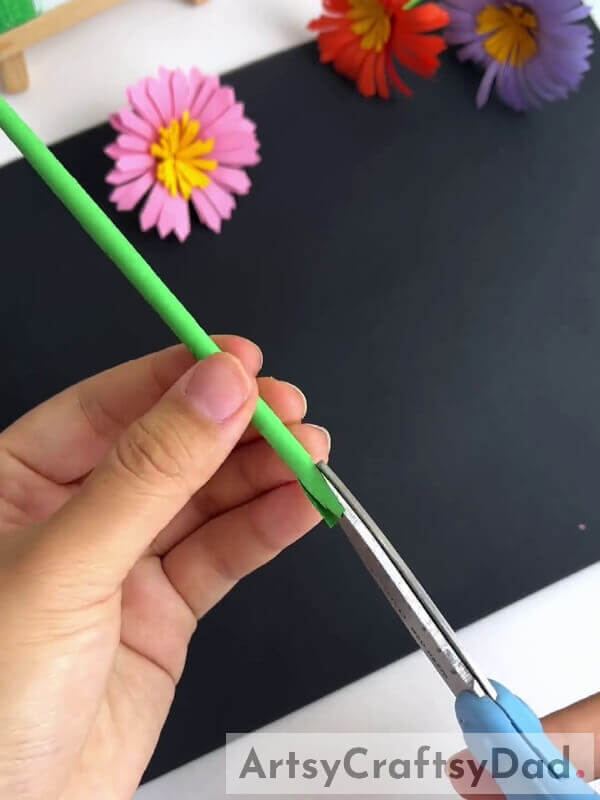
At one end of your green stalk, cut it into four divisions and bend it outside.
Step #14: Pasting Flower With Green Stalk
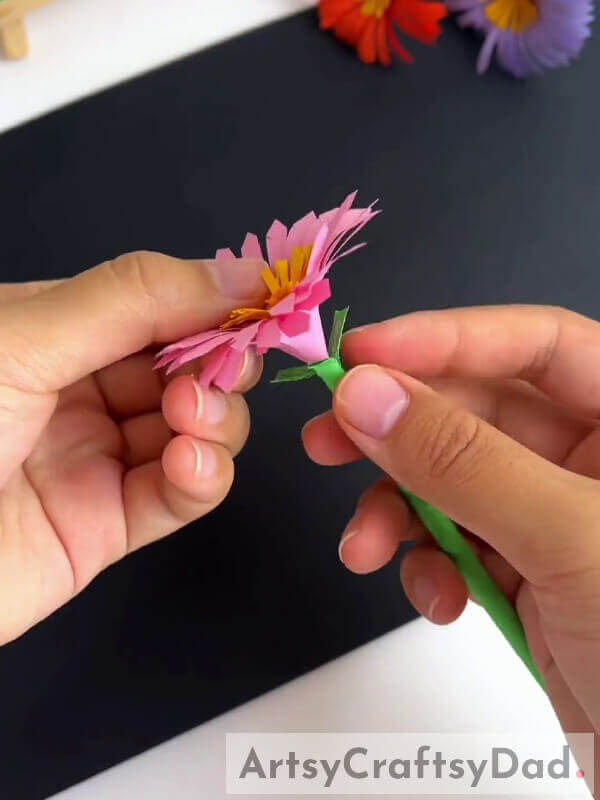
Then, apply some glue at those 4 divisions and paste your flower with it as shown in the image.
Step #15: Creating And Pasting Leaves For Our Flower
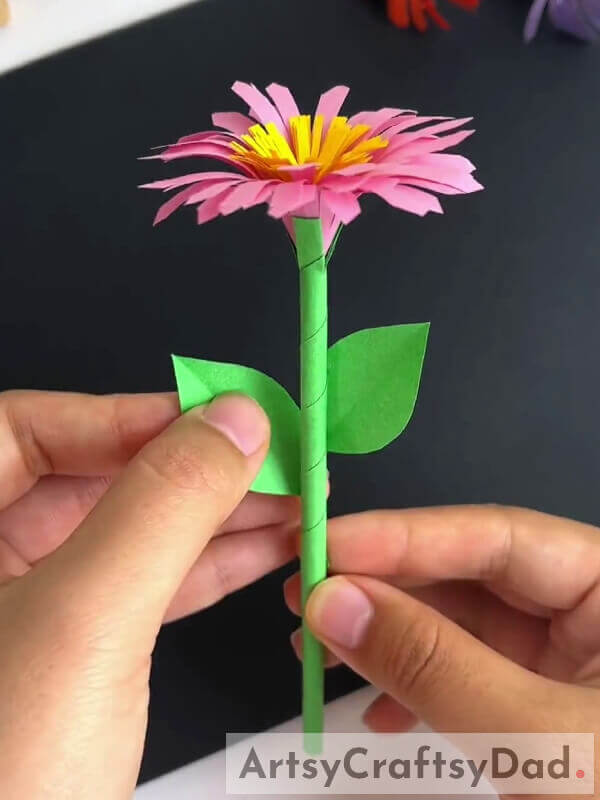
Take a piece of green craft paper and fold it into half, then cut two leaf-shaped pieces from it. Apply some glue at one end of each piece and paste it with your flower stalk one by one.
Easy Paper-cutting Artificial Flower Craft Is Done!
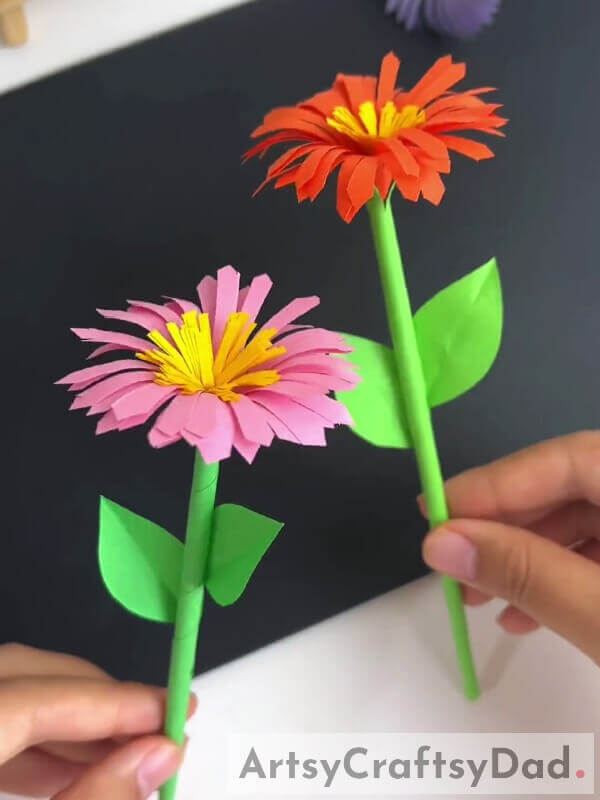
Okay! Our simple artificial flower craft is ready, You can create more paper flowers in different colors and put them into your flower vase to decorate your living room. Without putting much effort you can create colorful paper flowers by yourselves very easily.
We hope this paper-cutting artificial flower craft tutorial is useful for you. Leave your thoughts about our tutorial in the comment section. For more useful craft and art tutorials, visit our website.
Thank you for visiting our website.
You May Also Like
- Simple Paper Tearing Flowers Craft Tutorial
- Create a cascading bouquet of artificial flowers (Tutorial)
- Clay Snails On Leaves Craft Tutorial For Kids
- How to Make Easy Paper Cutting Designs
- Clay-Paper Sunflower Garden Craft Tutorial


