Looking for a fun and creative craft activity for your kids? Check out our Paper Heart Strawberry Craft Tutorial! This step-by-step guide will show you how to make adorable strawberry decorations using just paper and glue.
Are you looking for a fun and creative craft activity to do with your kids? This tutorial will guide you and your little ones through the process of making adorable paper heart strawberries that are perfect for decorating cards, garlands, or just as a cute standalone decoration. With easy-to-follow steps and simple materials, this craft is not only enjoyable but also a great way to encourage creativity and fine motor skills in children. So collect your scissors, glue, and colored paper, and get ready to make a paper heart strawberry for kids!
Amazing Heart Strawberry Craft Tutorial For Kids
Must Read: Paper Lollipop Origami Craft Tutorial For Kids
Supplies & Tools
- Craft Paper(Red, Green, Yellow)
- A Pair Of Scissors
- Googly Eyes
- Black Marker
- Glue
- Pencil
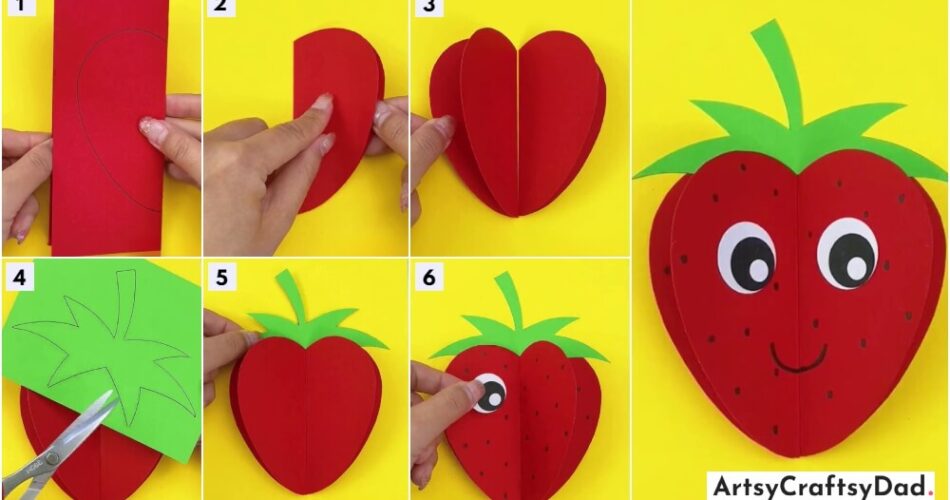
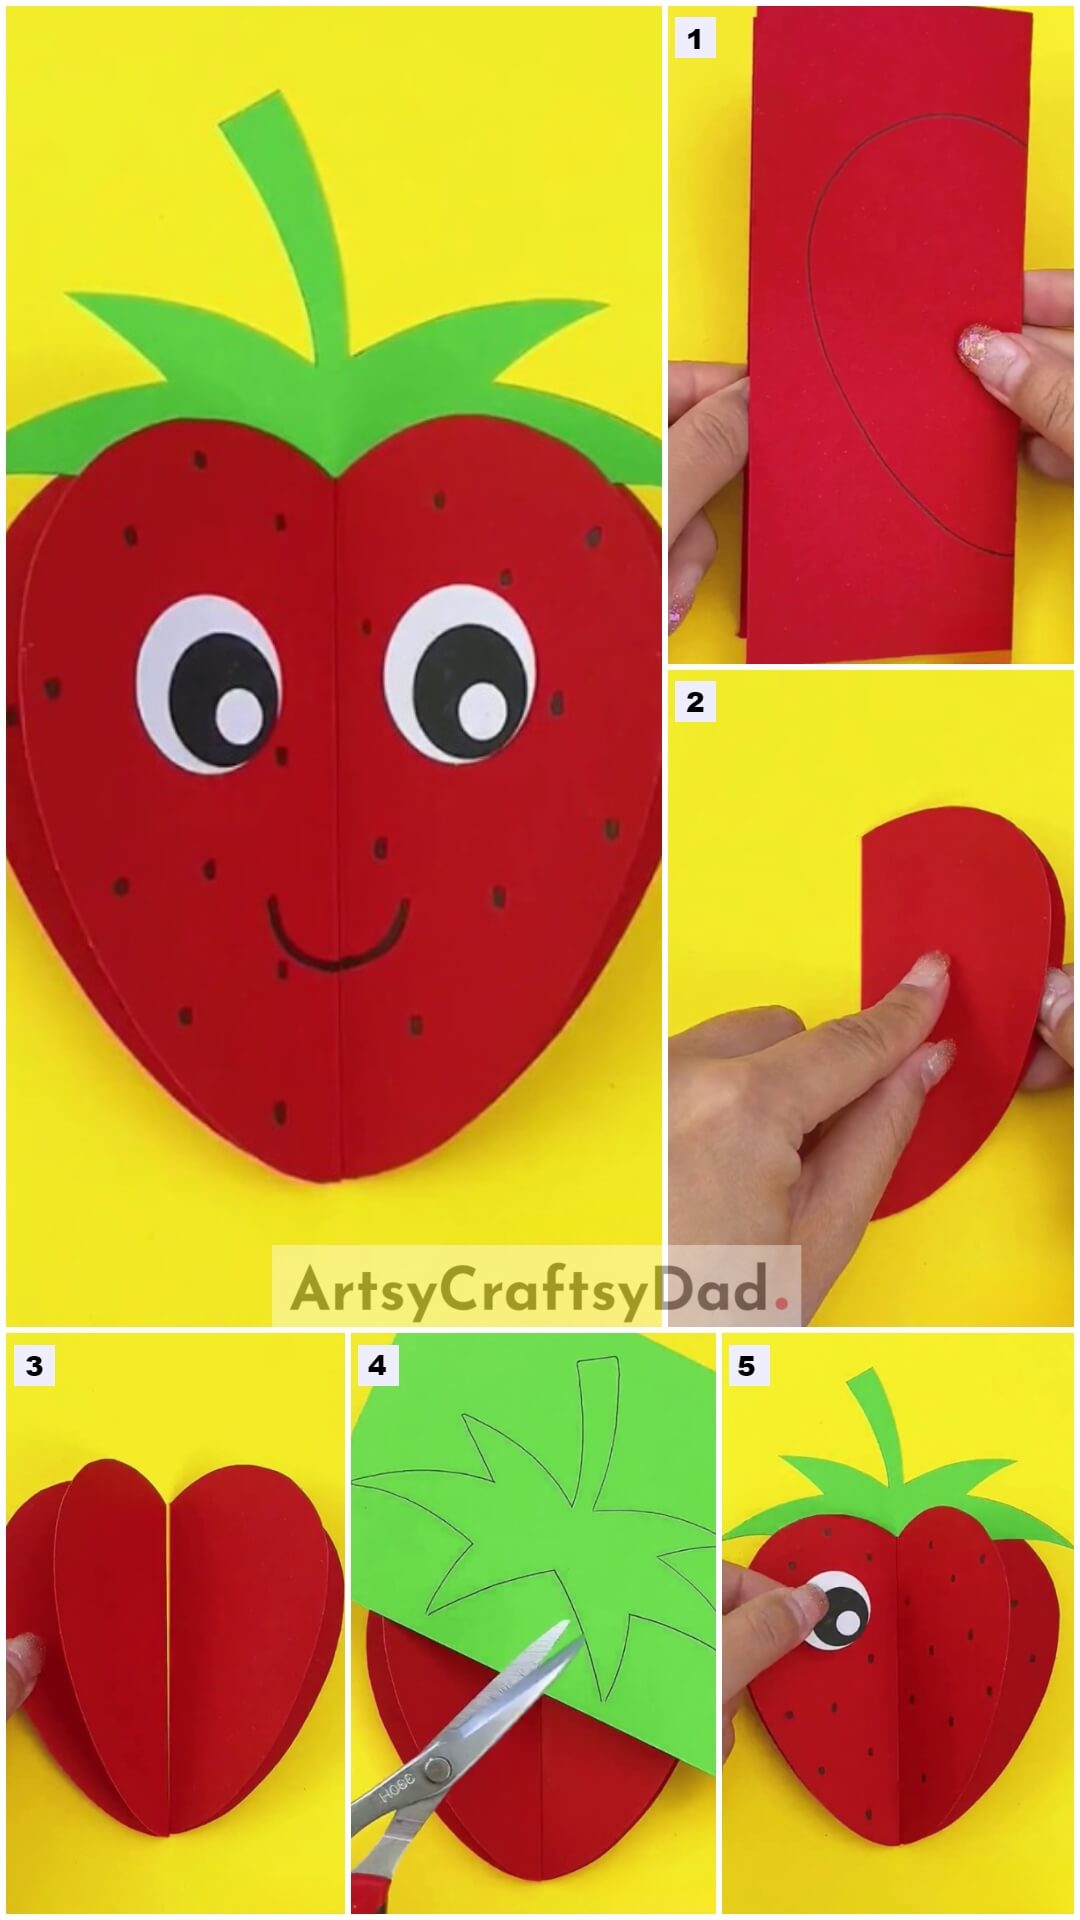
3D Strawberry Instructions
Step #1: Drawing Heart On Red Sheet
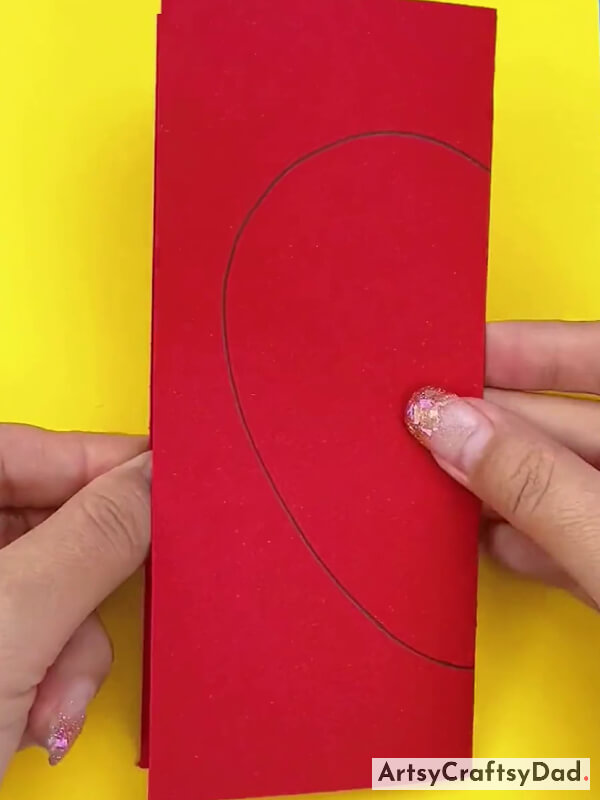
Take a yellow drawing sheet as the base of our craft. Take a red craft paper fold it from the middle and draw a half-heart shape using a pencil on it as shown above.
Step #2: Cutting Out The Heart Drawing
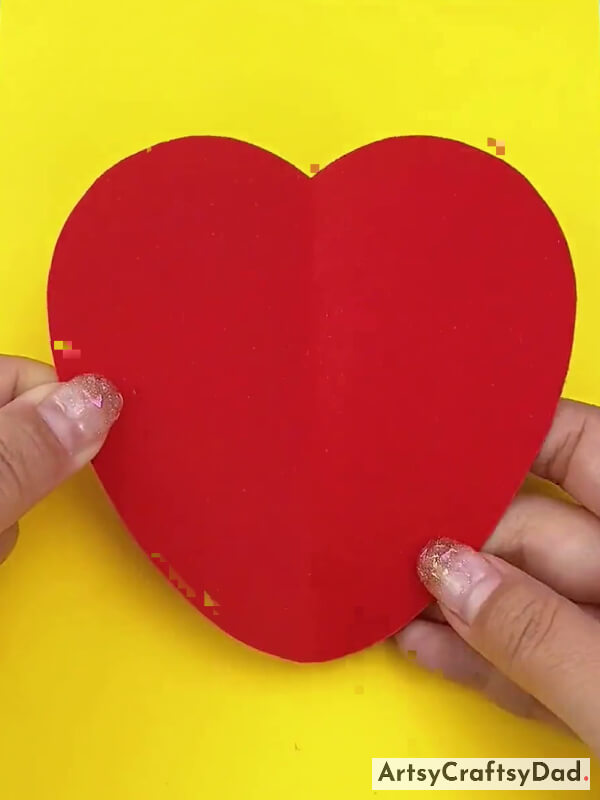
Cut out the heart shape that we drew with the help of scissors.
Step #3: Folding Heart Shape in Vertically Half
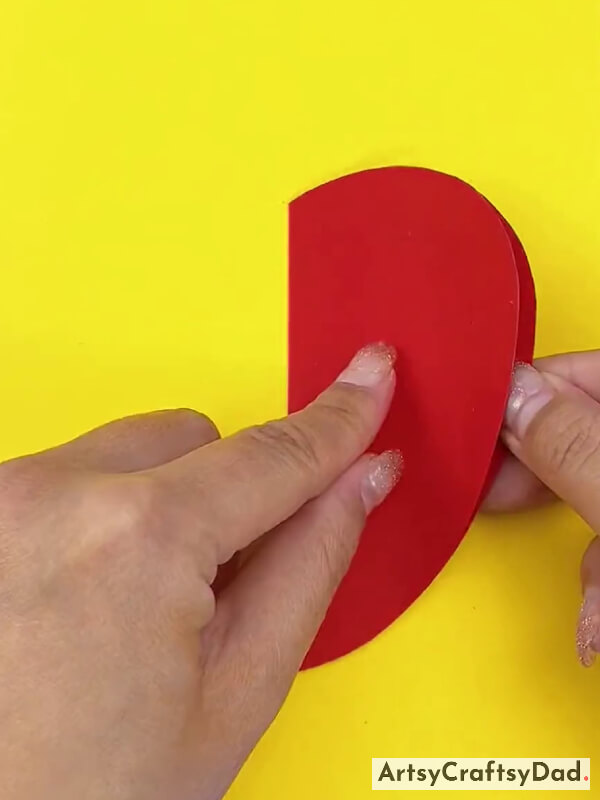
After cutting out the heart fold vertically half from the center and paste it on the yellow base.
Step #4: Pasting Another Heart

Similarly, make another heart shape and paste it in front of the previous one.
Step #5: Drawing Strawberry Calyx On Paper
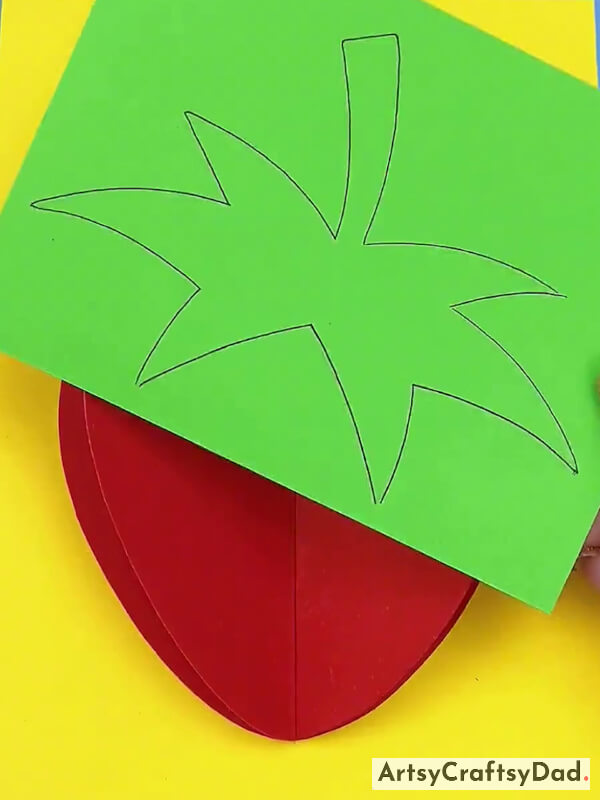
Now, take a piece of green craft paper and draw the Strawberry calyx(Also called the cap, the calyx is made up of sepals that look like small leaves) & leave it on it.
Step #6: Cutting Out Calyx

Cutting out the calyx that we drew on craft paper.
Step #7: Pasting Calyx
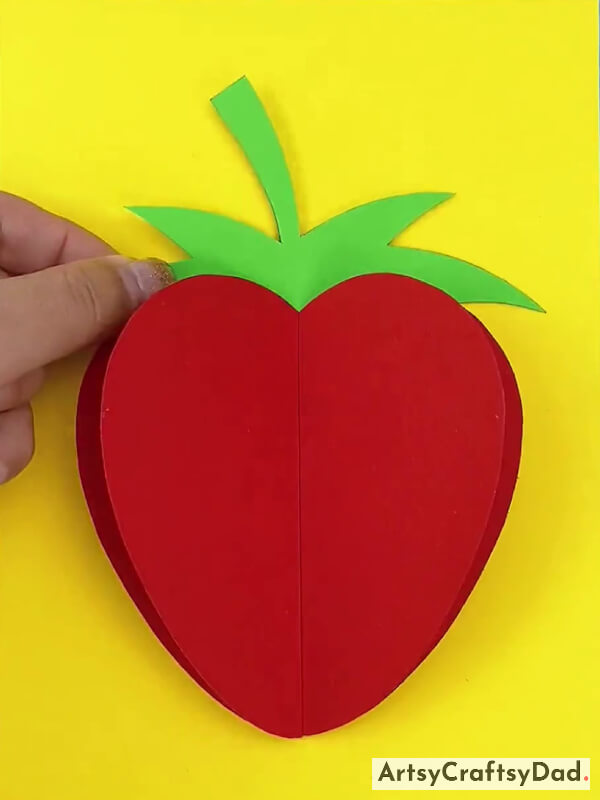
Now, paste the cut calyx on the top of Strawberry.
Step #8: Drawing Seeds
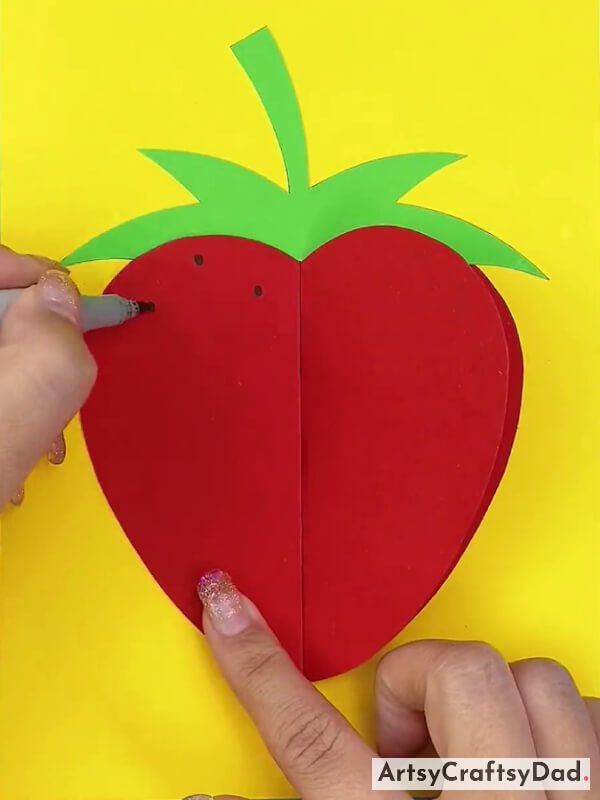
Pick up a black marker and start making dots on the Strawberry as seeds.
Step #9: Pasting Googly Eyes
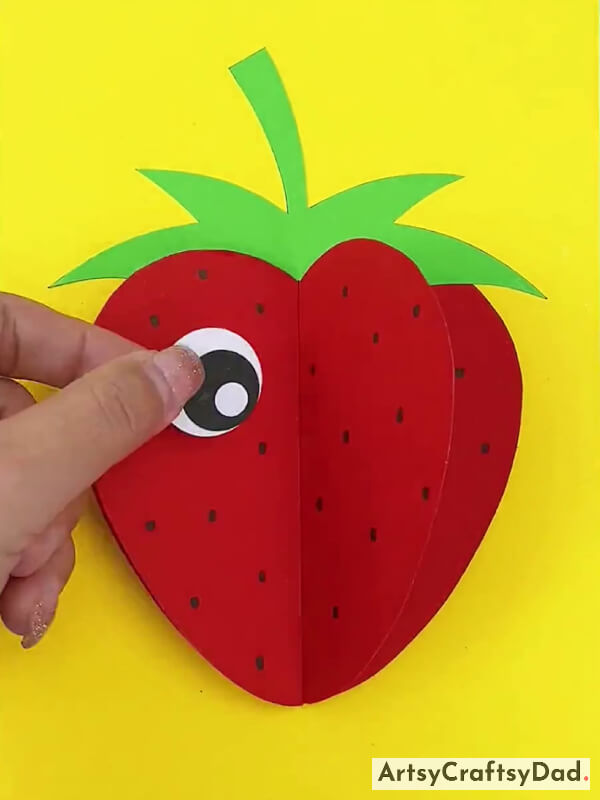
Afterward, paste a googly eye on the Strawberry.
Step #10: Pasting Another Eye
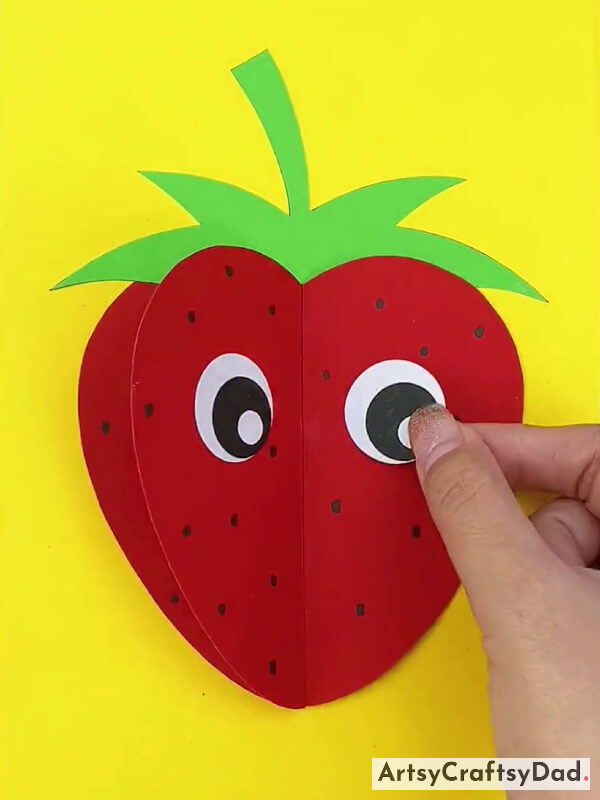
Continue pasting another eye of Strawberry.
Here Is The Complete Look Of Our 3D Paper Strawberry Craft!
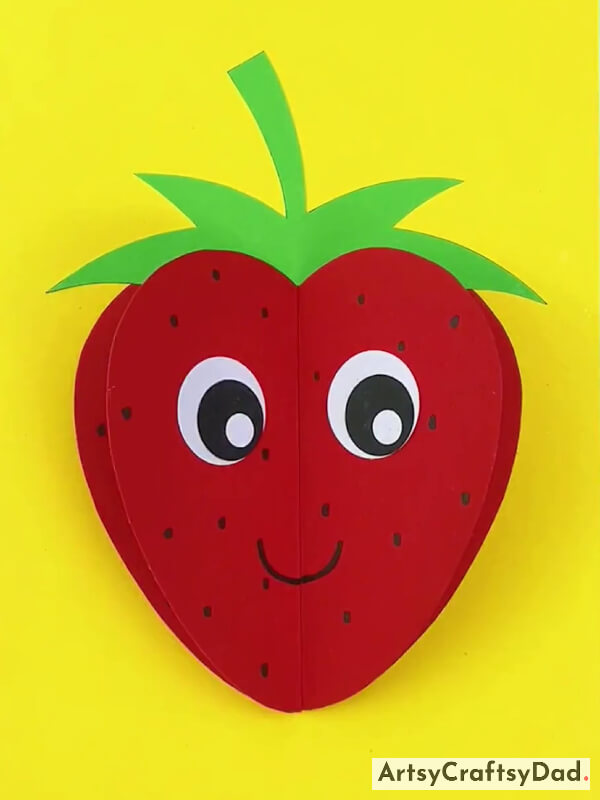
Here after drawing a smile on Strawberry our craft is complete.
Our beautiful strawberry craft is finished here. This craft not only provides an opportunity for children to engage in hands-on learning, but it also promotes imagination and artistic expression. Whether it is done as a solo activity or as a group project, this tutorial is sure to bring joy and satisfaction to young crafters. You could make some more 3-D crafts animals, fruits or vegetables, and other decorative crafts like stars, flowers, etc. For new ideas & help you could visit our other websites also. Please share your feedback in the comment section that will motivate us to create more exciting future crafts.
Thanks for choosing us!
You Might Also Like
- Paper Heart Origami Craft Tutorial For Kids
- Origami Paper Heart Craft Tutorial For Kids
- Heart-Shaped Honey Bee Paper Craft Tutorial For Beginners
- Fruit Foam Net Strawberry Model Craft Tutorial
- Clay Heart Leaf Tree Craft Tutorial For Kids


